2016 JEEP GRAND CHEROKEE light
[x] Cancel search: lightPage 100 of 276

Media
Uconnect offers connections via USB, SD, Bluetooth and auxiliary ports (If
Equipped). Voice operation is only available for connected USB and iPod devices.
(Remote CD player optional and not available on all vehicles.)
Push the VR button
. After the beep, say one of the following commands and
follow the prompts to switch your media source or choose an artist.
• Change source to Bluetooth
• Change source to iPod
• Change source to USB
• Play artist Beethoven; Play albumGreatest Hits; Play songMoonlight Sonata; Play
genre Classical
TIP: Press the Browse button on the touchscreen to see all of the music on your iPod
or USB device. Your Voice Command must match exactlyhow the artist, album, song
and genre information is displayed.
Uconnect 5.0 Media
ELECTRONICS
98
Page 124 of 276

Media
Uconnect offers connections via USB, SD, Bluetooth and auxiliary ports (If
Equipped). Voice operation is only available for connected USB and iPod devices.
(Remote CD player optional and not available on all vehicles.)
Push the VR button
. After the beep, say one of the following commands and
follow the prompts to switch your media source or choose an artist.
• Change source to Bluetooth
• Change source to iPod
• Change source to USB
• Play artist Beethoven; Play albumGreatest Hits; Play songMoonlight Sonata; Play
genre Classical
TIP: Press the Browse button on the touchscreen to see all of the music on your iPod
or USB device. Your Voice Command must match exactlyhow the artist, album, song
and genre information is displayed.
Uconnect 8.4A/8.4AN Media
ELECTRONICS
122
Page 129 of 276
Uconnect Access — If Equipped (8.4A/8.4AN)
WARNING!
ALWAYS obey traffic laws and pay attention to the road. Some Uconnect Access
services, including 9-1-1 and Assist, will NOT work without an operable 1X
(voice/data) or 3G (data) network connection.
NOTE:
Your vehicle may be transmitting data as authorized by the subscriber.
An included trial and/or subscription is required to take advantage of the Uconnect
Access services in the next section of this guide. To register with Uconnect Access,
press the “Apps” button on the 8.4-inch touchscreen to get started. Detailed
registration instructions can be found on the next page.
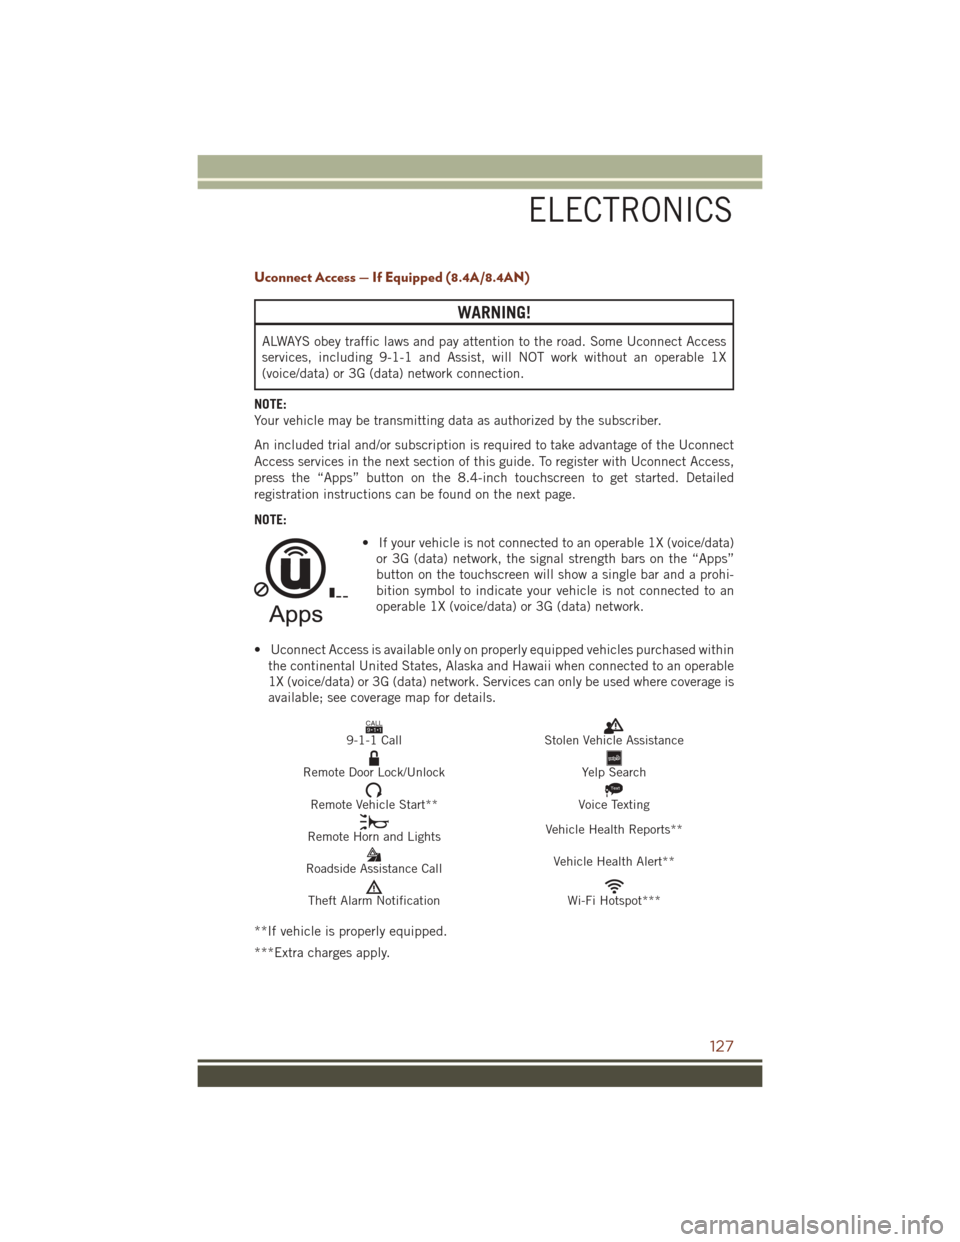
NOTE: • If your vehicle is not connected to an operable 1X (voice/data)or 3G (data) network, the signal strength bars on the “Apps”
button on the touchscreen will show a single bar and a prohi-
bition symbol to indicate your vehicle is not connected to an
operable 1X (voice/data) or 3G (data) network.
• Uconnect Access is available only on properly equipped vehicles purchased within the continental United States, Alaska and Hawaii when connected to an operable
1X (voice/data) or 3G (data) network. Services can only be used where coverage is
available; see coverage map for details.
CALL9119-1-1 CallStolen Vehicle Assistance
Remote Door Lock/UnlockYelp Search
Remote Vehicle Start**
Text
Voice Texting
Remote Horn and Lights Vehicle Health Reports**
Roadside Assistance Call Vehicle Health Alert**
Theft Alarm NotificationWi-Fi Hotspot***
**If vehicle is properly equipped.
***Extra charges apply.
ELECTRONICS
127
Page 147 of 276
Play A Blu-ray Disc
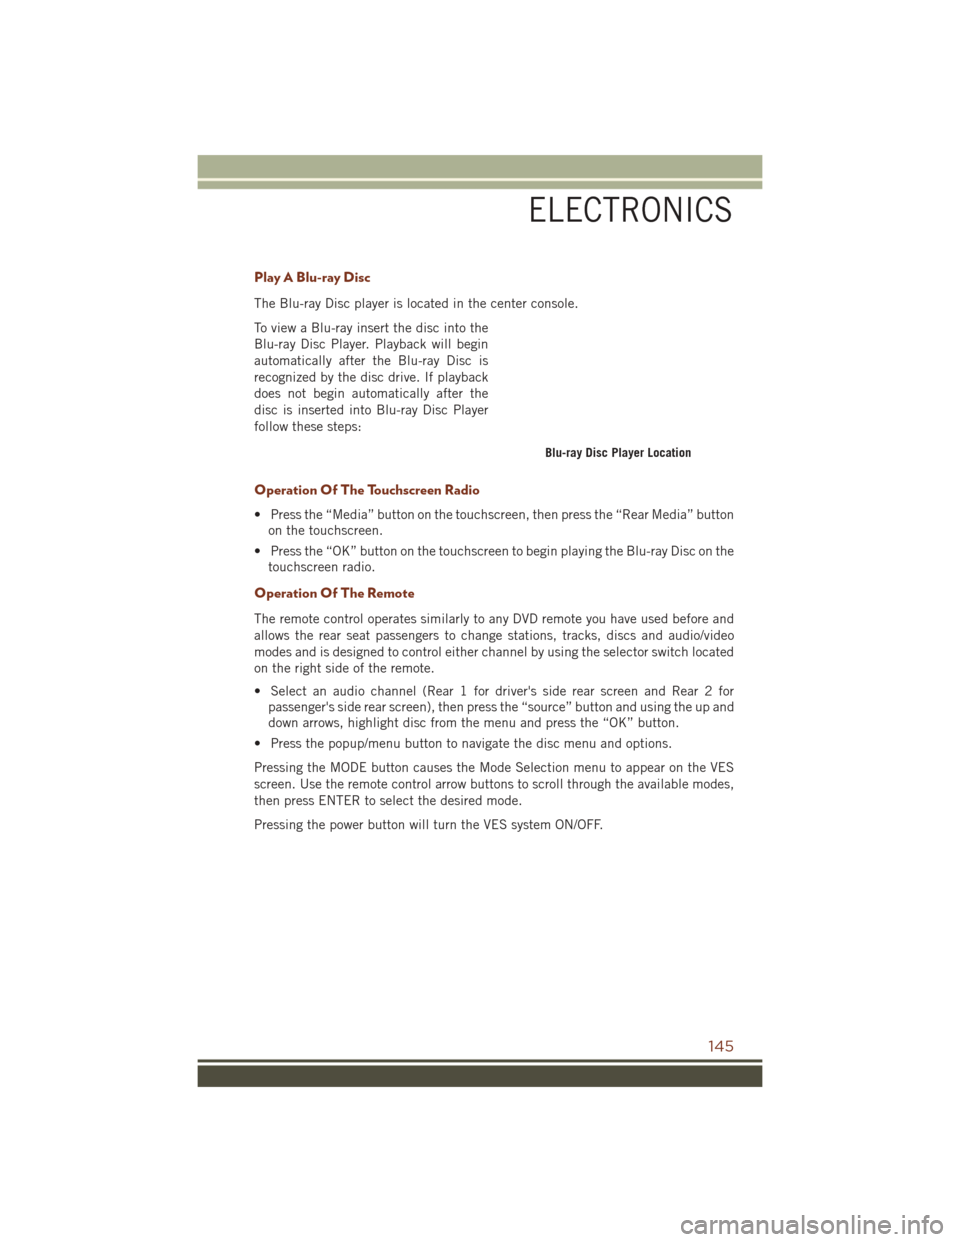
The Blu-ray Disc player is located in the center console.
To view a Blu-ray insert the disc into the
Blu-ray Disc Player. Playback will begin
automatically after the Blu-ray Disc is
recognized by the disc drive. If playback
does not begin automatically after the
disc is inserted into Blu-ray Disc Player
follow these steps:
Operation Of The Touchscreen Radio
• Press the “Media” button on the touchscreen, then press the “Rear Media” buttonon the touchscreen.
• Press the “OK” button on the touchscreen to begin playing the Blu-ray Disc on the touchscreen radio.
Operation Of The Remote
The remote control operates similarly to any DVD remote you have used before and
allows the rear seat passengers to change stations, tracks, discs and audio/video
modes and is designed to control either channel by using the selector switch located
on the right side of the remote.
• Select an audio channel (Rear 1 for driver's side rear screen and Rear 2 forpassenger's side rear screen), then press the “source” button and using the up and
down arrows, highlight disc from the menu and press the “OK” button.
• Press the popup/menu button to navigate the disc menu and options.
Pressing the MODE button causes the Mode Selection menu to appear on the VES
screen. Use the remote control arrow buttons to scroll through the available modes,
then press ENTER to select the desired mode.
Pressing the power button will turn the VES system ON/OFF.
Blu-ray Disc Player Location
ELECTRONICS
145
Page 150 of 276
PROGRAMMABLE FEATURES
DID Main Menu Selectable Items
The DID can be used to view the following main menu items:
• Speedometer• Stop/Start Info — If Equipped
• Vehicle Info • Audio
• Driver Assist • Messages
• Fuel Economy • Screen Setup
• Trip Info
Refer to “Driver Information Display (DID)” in “Understanding Your Instrument
Panel” in the Owner's Manual on the DVD for further information.
Uconnect Customer Programmable Features
The Uconnect system allows you to access Customer Programmable feature settings
such as Display, Voice, Clock, Safety & Driving Assistance, Lights, Doors & Locks,
Auto-On Comfort & Remote Start, Engine Off Options, Compass Settings, Audio,
Phone/Bluetooth, Suspension, SiriusXM Setup, Restore Settings, Clear Personal
Data, and System Information through buttons on the touchscreen.
• Push the SETTINGS button (Uconnect 5.0), or press the “Apps” button (Uconnect 8.4) located near the bottom of the touchscreen, then press the
“Settings” button on the touchscreen to access the Settings screen. When making
a selection, scroll up or down until the preferred setting is highlighted, then press
the preferred setting until a check-mark appears next to the setting, showing that
setting has been selected. The following feature settings are available:
• Display • Engine Off Options
• Voice • Suspension
• Clock • Audio
• Safety & Driving Assistance • Phone/Bluetooth
• Lights • SiriusXM Setup
• Doors & Locks • Restore Settings
• Auto-On Comfort & Remote Start • Clear Personal Data
• Compass (Uconnect 5.0) • System Information
NOTE:
Depending on the vehicles options, feature settings may vary.
Refer to “Uconnect Settings/Customer Programmable Features” found within “Un-
derstanding Your Instrument Panel” located in your Owner's Manual on the DVD for
further information.
ELECTRONICS
148
Page 151 of 276
DID Screen Setup
The following settings allow you to change what information is displayed in the
instrument cluster as well as the location that information is displayed:
• None• Average MPH (L/100km)
• Compass • Current MPH (L/100km)
• Outside Temperature • Trip A (Distance Only)
• Time • Trip B (Distance Only)
• Range to Empty
Trip A
Push and release the UPorDOWNarrow button until the Trip A icon is
highlighted in the DID (Toggle left or right to select Trip A or Trip B). Push and release
the OKbutton to display the Trip A information.
Trip B
Push and release the UPorDOWNarrow button until the Trip B icon is
highlighted in the DID (Toggle left or right to select Trip A or Trip B). Push and release
the OKbutton to display the Trip B information.
Fuel Economy
Push and release the UPorDOWNarrow button until the Fuel Economy icon
is highlighted. Push the RIGHT
arrow button and the next screen will display the
following:
• Average Fuel Economy/Miles Per Gallon (MPG Bar graph)
• Range To Empty (RTE)
• Current Miles Per Gallon (MPG)
ELECTRONICS
149
Page 152 of 276
UNIVERSAL GARAGE DOOR OPENER (HomeLink)
• HomeLink replaces up to three hand-held transmitters that operate devices
such as garage door openers, motor-
ized gates, lighting or home security
systems. The HomeLink unit is pow-
ered by your vehicles 12 Volt battery.
• The HomeLink buttons that are lo- cated in the overhead console or sun-
visor designate the three different
HomeLink channels.
• The HomeLink indicator is located above the center button.
Before You Begin Programming HomeLink
Ensure that your vehicle is parked outside of the garage before you begin program-
ming.
For efficient programming and accurate transmission of the radio-frequency signal,
it is recommended that a new battery be placed in the hand-held transmitter of the
device that is being programmed to the HomeLink system.
To erase the channels, place the ignition switch into the ON/RUN position, then push
and hold the two outside HomeLink buttons (I and III) for up to 20 seconds or until
the red indicator flashes.
NOTE:
Erasing all channels should only be performed when programming HomeLink for the
first time. Do not erase channels when programming additional buttons.
If you have any problems, or require assistance, please call toll-free
1-800-355-3515 or, on the Internet at HomeLink.com for information or assistance.
Programming A Rolling Code
NOTE:
For programming Garage Door Openers that were manufactured after 1995. These
Garage Door Openers can be identified by the “LEARN” or “TRAIN” button located
where the hanging antenna is attached to the Garage Door Opener. It is NOT the
button that is normally used to open and close the door. The name and color of the
button may vary by manufacturer.
1. Place the ignition switch into the ON/RUN position.
Universal Garage Door Opener (HomeLink)
ELECTRONICS
150
Page 153 of 276
2. Place the hand-held transmitter 1 to 3 inches (3 to 8 cm) away from theHomeLink button you wish to program while keeping the HomeLink indicator light
in view.
3. Push and hold the HomeLink button you want to program while you push and hold the hand-held transmitter button.
4. Continue to hold both buttons and observe the indicator light. The HomeLink indicator will flash slowly and then rapidly after HomeLink has received the
frequency signal from the hand-held transmitter. Release both buttons after the
indicator light changes from slow to rapid.
5. At the garage door opener motor (in the garage), locate the “LEARN” or “TRAINING” button. This can usually be found where the hanging antenna wire
is attached to the garage door opener motor. Firmly push and release the
“LEARN” or “TRAINING” button.
NOTE:
You have 30 seconds in which to initiate the next step after the LEARN button has
been pushed.
6. Return to the vehicle and push the programmed HomeLink button twice (holding the button for two seconds each time). If the device is plugged in and activates,
programming is complete.
NOTE:
If the device does not activate, push the button a third time (for two seconds) to
complete the training.
7. To program the remaining two HomeLink buttons, repeat each step for each remaining button. DO NOT erase the channels.
Programming A Non-Rolling Code
NOTE:
For programming Garage Door Openers manufactured before 1995.
1. Place the ignition switch to the ON/RUN position.
2. Place the hand-held transmitter 1 to 3 inches (3 to 8 cm) away from theHomeLink button you wish to program while keeping the HomeLink indicator light
in view.
3. Push and hold the HomeLink button you want to program while you push and hold the hand-held transmitter button.
4. Continue to hold both buttons and observe the indicator light. The HomeLink indicator will flash slowly and then rapidly after HomeLink has received the
frequency signal from the hand-held transmitter. Release both buttons after the
indicator light changes from slow to rapid.
ELECTRONICS
151