2016 JEEP GRAND CHEROKEE belt
[x] Cancel search: beltPage 27 of 276

Center Arm Rest Tether
For rearward facing infant seats secured in the center seat position with the vehicle
seat belts, the rear center seat position has an armrest tether that secures the arm
rest in the upward position.
1. To access the center seat arm rest tether, first lower the arm rest. The tether islocated behind the armrest and hooked onto the plastic seat backing.
2. Pull down on the tether to unhook it from the plastic seat backing.
3. Raise the armrest and attach the tether hook to the strap located on the front of the arm rest.
Center Seat Position Arm Rest Tether
Center Seat Arm Rest Raised Displaying The Tether
GETTING STARTED
25
Page 28 of 276

Installing The Child Restraint Using The LATCH Lower Anchors
NOTE:
Never“share” a LATCH anchorage with two or more child restraints.
1. Loosen the adjusters on the lower straps and on the tether strap of the child seat so that you can more easily attach the hooks or connectors to the vehicle
anchorages.
2. Attach the lower hooks or connectors of the child restraint to the lower anchorages in the selected seating position.
3. If the child restraint has a tether strap, connect it to the top tether anchorage. See below for directions to attach a tether anchor.
4. Tighten all of the straps as you push the child restraint rearward and downward into the seat. Remove slack in the straps according to the child restraint
manufacturer’s instructions.
5. Test that the child restraint is installed tightly by pulling back and forth on the child seat at the belt path. It should not move more than 1 inch (25.4 mm) in any
direction.
Installing The Child Restraint Using The Vehicle Seat Belts
The seat belts in the passenger seating positions are equipped with a Switchable
Automatic Locking Retractor (ALR) that is designed to keep the lap portion of the
seat belt tight around the child restraint. Any seat belt system will loosen with time,
so check the belt occasionally, and pull it tight if necessary.
Tether Anchorage Weight Limit
Always use the tether anchor when using the seat belt to install a forward facing child
restraint, up to the recommended weight limit of the child restraint.
To Install A Child Seat Using An ALR
1. Pull enough of the seat belt webbing from the retractor to pass it through the beltpath of the child restraint. Do not twist the belt webbing in the belt path.
2. Slide the latch plate into the buckle until you hear a “click.”
3. Pull on the webbing to make the lap portion tight against the child seat.
4. To lock the seat belt, pull down on the shoulder part of the belt until you have pulled all the seat belt webbing out of the retractor. Then, allow the webbing to
retract back into the retractor. As the webbing retracts, you will hear a clicking
sound. This means the seat belt is now in the Automatic Locking mode.
5. Try to pull the webbing out of the retractor. If it is locked, you should not be able to pull out any webbing. If the retractor is not locked, repeat the last step.
6. Finally, pull up on any extra webbing to tighten the lap portion around the child restraint while you push the child restraint rearward and downward into the
vehicle seat.
GETTING STARTED
26
Page 29 of 276

7. If the child restraint has a top tether strap and the seating position has a top tetheranchorage, connect the tether strap to the anchorage and tighten the tether strap.
See below for directions to attach a tether anchor.
8. Test that the child restraint is installed tightly by pulling back and forth on the child seat at the belt path. It should not move more than 1 inch (25.4 mm) in any
direction.
Installing The Top Tether Strap (With Either Lower Anchors Or Vehicle Seat
Belt)
When installing a forward-facing child restraint, always secure the top tether strap,
up to the tether anchor weight limit, whether the child restraint is installed with the
lower anchors or the vehicle seat belt.
Tether Strap Installation
1. To access the top tether strap anchorages behind the rear seat, pull the carpetedfloor panel away from the seat back, this will expose the top tether strap
anchorages.
2. Route the tether strap to provide the most direct path for the strap between
the anchor and the child seat.
3. If your vehicle is equipped with ad- justable rear head restraints, raise the
head restraint, and where possible,
route the tether strap under the head
restraint and between the two posts. If
not possible, lower the head restraint
and pass the tether strap around the
outboard side of the head restraint.
4. For the center seating position, route the tether strap over the seatback and
headrest.
5. Attach the tether strap hook of the child restraint to the top tether anchorage and remove slack in the tether strap according to the child restraint manufacturer’s
instructions. DO NOT USE the cargo tie down loops located on the load floor as
tether anchorages.
Top Tether Strap Mounting
GETTING STARTED
27
Page 37 of 276

WARNING!
• Adjusting a seat while driving may be dangerous. Moving a seat while drivingcould result in loss of control which could cause a collision and serious injury
or death.
• Seats should be adjusted before fastening the seat belts and while the vehicle
is parked. Serious injury or death could result from a poorly adjusted seat belt.
Manual Front Passenger Seatback Adjustment — Recline
To adjust the seatback, lift the lever located on the outboard side of the seat, lean
back to the desired position and release the lever. To return the seatback, lift the
lever, lean forward and release the lever.
WARNING!
Do not ride with the seatback reclined so that the shoulder belt is no longer resting
against your chest. In a collision you could slide under the seat belt, which could
result in serious injury or death.
Fold-Flat Front Passenger Seat
To fold the seatback to the flat load-floor position, lift the recline lever and push the
seatback forward. To return to the seating position, raise the seatback and lock it into
place.
CAUTION!
Do not place any article under a power seat or impede its ability to move as it may
cause damage to the seat controls. Seat travel may become limited if movement
is stopped by an obstruction in the seat's path.
Recliner Lever Location
GETTING STARTED
35
Page 38 of 276

WARNING!
• Adjusting a seat while the vehicle is moving is dangerous. The suddenmovement of the seat could cause you to lose control. The seat belt might not
be properly adjusted, and you could be severely injured or killed. Only adjust a
seat while the vehicle is parked.
• Do not ride with the seatback reclined so that the seat belt is no longer resting
against your chest. In a collision, you could slide under the seat belt and be
severely injured or killed. Use the recliner only when the vehicle is parked.
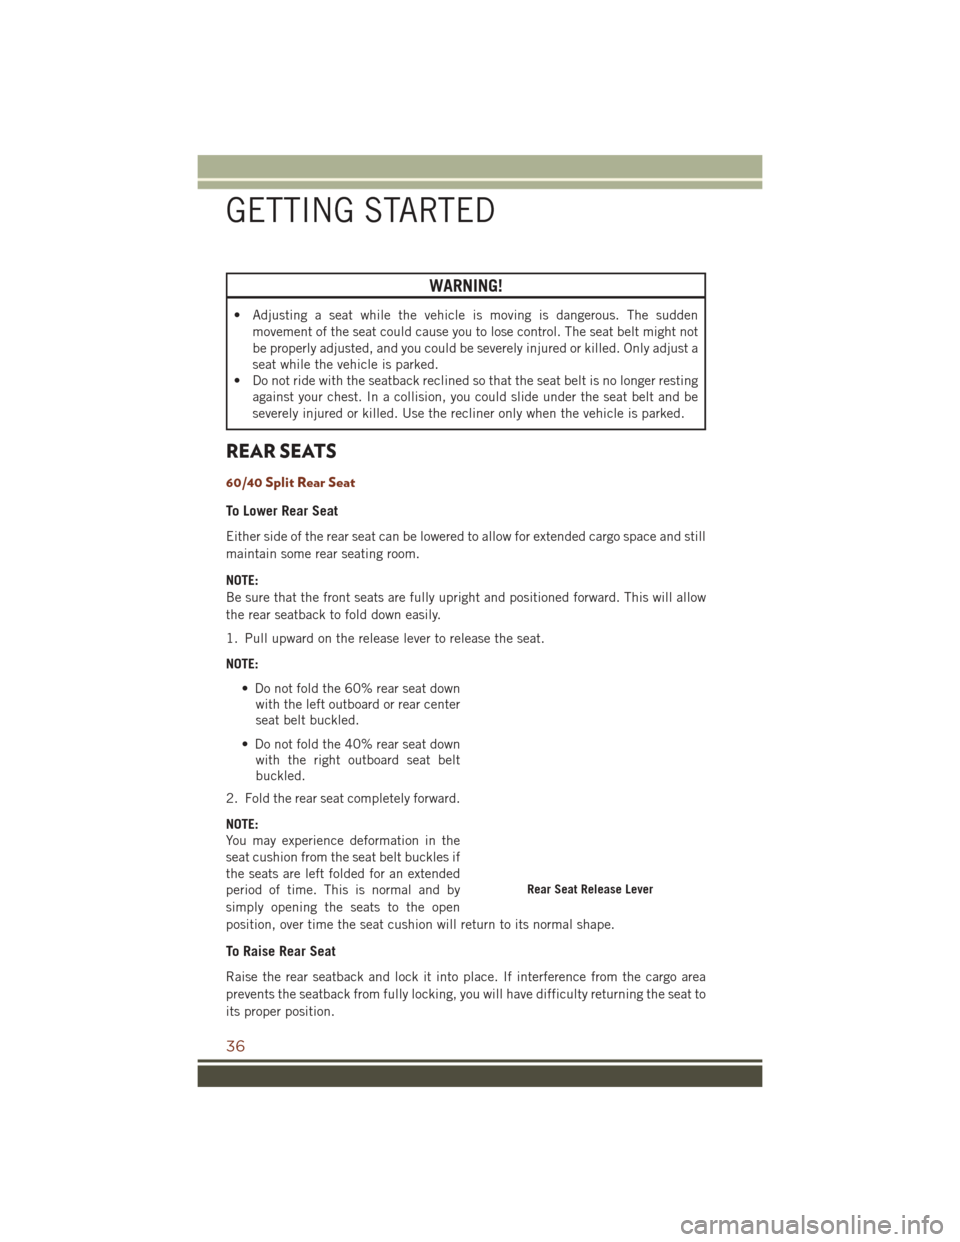
REAR SEATS
60/40 Split Rear Seat
To Lower Rear Seat
Either side of the rear seat can be lowered to allow for extended cargo space and still
maintain some rear seating room.
NOTE:
Be sure that the front seats are fully upright and positioned forward. This will allow
the rear seatback to fold down easily.
1. Pull upward on the release lever to release the seat.
NOTE:
• Do not fold the 60% rear seat downwith the left outboard or rear center
seat belt buckled.
• Do not fold the 40% rear seat down with the right outboard seat belt
buckled.
2. Fold the rear seat completely forward.
NOTE:
You may experience deformation in the
seat cushion from the seat belt buckles if
the seats are left folded for an extended
period of time. This is normal and by
simply opening the seats to the open
position, over time the seat cushion will return to its normal shape.
To Raise Rear Seat
Raise the rear seatback and lock it into place. If interference from the cargo area
prevents the seatback from fully locking, you will have difficulty returning the seat to
its proper position.
Rear Seat Release Lever
GETTING STARTED
36
Page 39 of 276

WARNING!
• Be certain that the seatback is securely locked into position. If the seatback isnot securely locked into position the seat will not provide the proper stability
for child seats and/or passengers. An improperly latched seat could cause
serious injury.
• The cargo area in the rear of the vehicle (with the rear seatbacks in the
locked-up or folded down position) should not be used as a play area by
children when the vehicle is in motion. They could be seriously injured in a
collision. Children should be seated and using the proper restraint system.
Reclining Rear Seat
To recline the seatback, lift the lever located on the outboard side of the seat, lean
back and release the lever at the desired position. To return the seatback, lift the
lever, lean forward and release the lever.
WARNING!
Do not ride with the seatback reclined so that the shoulder belt is no longer resting
against your chest. In a collision you could slide under the seat belt, which could
result in serious injury or death.
HEATED/VENTILATED SEATS
Front Heated Seats
The front heated seats control buttons are located within the climate or controls
screen of the touchscreen.
You can choose from HI, LO or OFF heat settings. The indicator arrows in touchscreen
buttons indicate the level of heat in use. Two indicator arrows will illuminate for HI,
one for LO and none for OFF.
• Press the heated seat button
once to turn the HI setting ON.
• Press the heated seat button
a second time to turn the LO setting ON.
• Press the heated seat button
a third time to turn the heating elements OFF.
If the HI-level setting is selected, the system will automatically switch to LO-level
after approximately 60 minutes of continuous operation. At that time, the display will
change from HI to LO, indicating the change. The LO-level setting will turn OFF
automatically after approximately 45 minutes.
NOTE:
• Once a heat setting is selected, heat will be felt within two to five minutes.
• The engine must be running for the heated seats to operate.
GETTING STARTED
37
Page 57 of 276

Distance Setting (ACC Only)
The specified following distance for ACC can be set by varying the distance setting
between four bars (longest), three bars (long), two bars (medium) and one bar (short).
Using this distance setting and the vehicle speed, ACC calculates and sets the
distance to the vehicle ahead. This distance setting displays in the DID.
• To increase the distance setting, push the Distance Setting—Increase button andrelease. Each time the button is pushed, the distance setting increases by one bar
(longer).
• To decrease the distance setting, push the Distance Setting—Decrease button and release. Each time the button is pushed, the distance setting decreases by one
bar (shorter).
ACC Operation At Stop
If the ACC system brings your vehicle to a standstill while following a target vehicle,
if the target vehicle starts moving within two seconds of your vehicle coming to a
standstill, your vehicle will resume motion without the need for any driver action.
If the target vehicle does not start moving within two seconds of your vehicle coming
to a standstill, the driver will either have to push the RES (resume) button, or apply
the accelerator pedal to reengage the ACC to the existing Set Speed.
While the ACC system is holding your vehicle at a standstill, if the driver seatbelt is
unbuckled or the driver door is opened, the parking brake will be activated, and the
ACC system will be cancelled.
Changing Modes (ACC Only)
If desired, the Adaptive Cruise Control mode can be turned off and the system can be
operated as a normal (Fixed Speed) Speed Control mode. When in the normal (Fixed
Speed) Speed Control mode the distance setting feature will be disabled and the
system will maintain the speed you set.
• To change between the different cruise control modes, push the ADAPTIVECRUISE CONTROL (ACC) ON/OFF button which turns the ACC and the normal
(Fixed Speed) Speed Control OFF.
• Pushing the normal (Fixed Speed) SPEED CONTROL ON/OFF button will result in turning ON (changing to) the normal (Fixed Speed) Speed Control mode.
Refer to your Owner's Manual on the DVD for further information.
OPERATING YOUR VEHICLE
55
Page 64 of 276

STOP/START SYSTEM — IF EQUIPPED
The Stop/Start function was developed to reduce fuel consumption. The system will
stop the engine automatically during a vehicle stop if the required conditions are
met. Releasing the brake pedal or pressing the accelerator pedal will automatically
re-start the engine.
Automatic Mode
The Stop/Start feature is enabled after every normal customer
engine start. At that time, the system will go into STOP/START
READY and if all other conditions are met, can go into a STOP/
START AUTOSTOP ACTIVE “Autostop” mode.
To Activate The Autostop Mode, The Following Must Occur:
• The system must be in STOP/START READY state. A STOP/START READY message will be displayed in the Driver Information Display (DID) within the
Stop/Start section. Refer to “Driver Information Display (DID)” in “Understanding
Your Instrument Panel” in your owner’s manual on the DVD for further information.
• The vehicle must be completely stopped.
• The shifter must be in a forward gear and the brake pedal depressed.
The engine will shut down, the tachometer will move to the zero position and the
Stop/Start telltale will illuminate indicating you are in Autostop. Customer settings
will be maintained upon return to an engine running condition.
Refer to the “Stop/Start System” in the “Starting And Operating” section located in
your Owner’s Manual on the DVD for further information.
Possible Reasons The Engine Does Not Autostop
Prior to engine shut down, the system will check many safety and comfort conditions
to see if they are fulfilled. Detailed information about the operation of the Stop/Start
system may be viewed in the DID Stop/Start Screen. In the following situations, the
engine will not stop:
• Driver’s seat belt is not buckled.
• Driver’s door is not closed.
• Battery temperature is too warm or cold.
• Battery charge is low.
• The vehicle is on a steep grade.
• Cabin heating or cooling is in process and an acceptable cabin temperature has not been achieved.
• HVAC is set to full defrost mode at a high blower speed.
OPERATING YOUR VEHICLE
62