Page 311 of 745
Red TelltaleLight What It Means
If jump starting is required, refer to “Jump Starting Procedures” in “What To Do In Emer-
gencies.”
Electronic Throttle Control (ETC) Warning Light
Red Telltale Light What It Means
Electronic Throttle Control (ETC) Warning Light
This light informs you of a problem with the Electronic Throttle Control (ETC) system. If a
problem is detected while the engine is running, the light will either stay on or flash de-
pending on the nature of the problem. Cycle the ignition key when the vehicle is safely and
completely stopped and the transmission is placed in the PARK position. The light should
turn off. If the light remains on with the engine running, your vehicle will usually be driv-
able; however, see an authorized dealer for service as soon as possible.
4
UNDERSTANDING YOUR INSTRUMENT PANEL 309
Page 462 of 745

•Do not attempt to push or tow your vehicle to get it
started. Vehicles equipped with an automatic trans-
mission cannot be started this way. Unburned fuel
could enter the cataly")
WARNING!(Continued)
•Do not attempt to push or tow your vehicle to get it
started. Vehicles equipped with an automatic trans-
mission cannot be started this way. Unburned fuel
could enter the catalytic converter and once the
engine has started, ignite and damage the converter
and vehicle.
• If the vehicle has a discharged battery, booster
cables may be used to obtain a start from a booster
battery or the battery in another vehicle. This type
of start can be dangerous if done improperly. Refer
to “Jump-Starting” in “What To Do In Emergen-
cies” for further information.
Clearing A Flooded Engine (Using ENGINE
START/STOP Button)
If the engine fails to start after you have followed the
“Normal Starting” or “Extreme Cold Weather� proce-
dures, it may be flooded. To clear any excess fuel:
1. Press and hold the brake pedal.
2. Press the accelerator pedal all the way to the floor and hold it.
3. Push and release the ENGINE START/STOP button once.
The starter motor will engage automatically, run for
10 seconds, and then disengage. Once this occurs, release
the accelerator pedal and the brake pedal, wait 10 to 15
seconds, then repeat the “Normal Starting” procedure.
460 STARTING AND OPERATING
Page 601 of 745
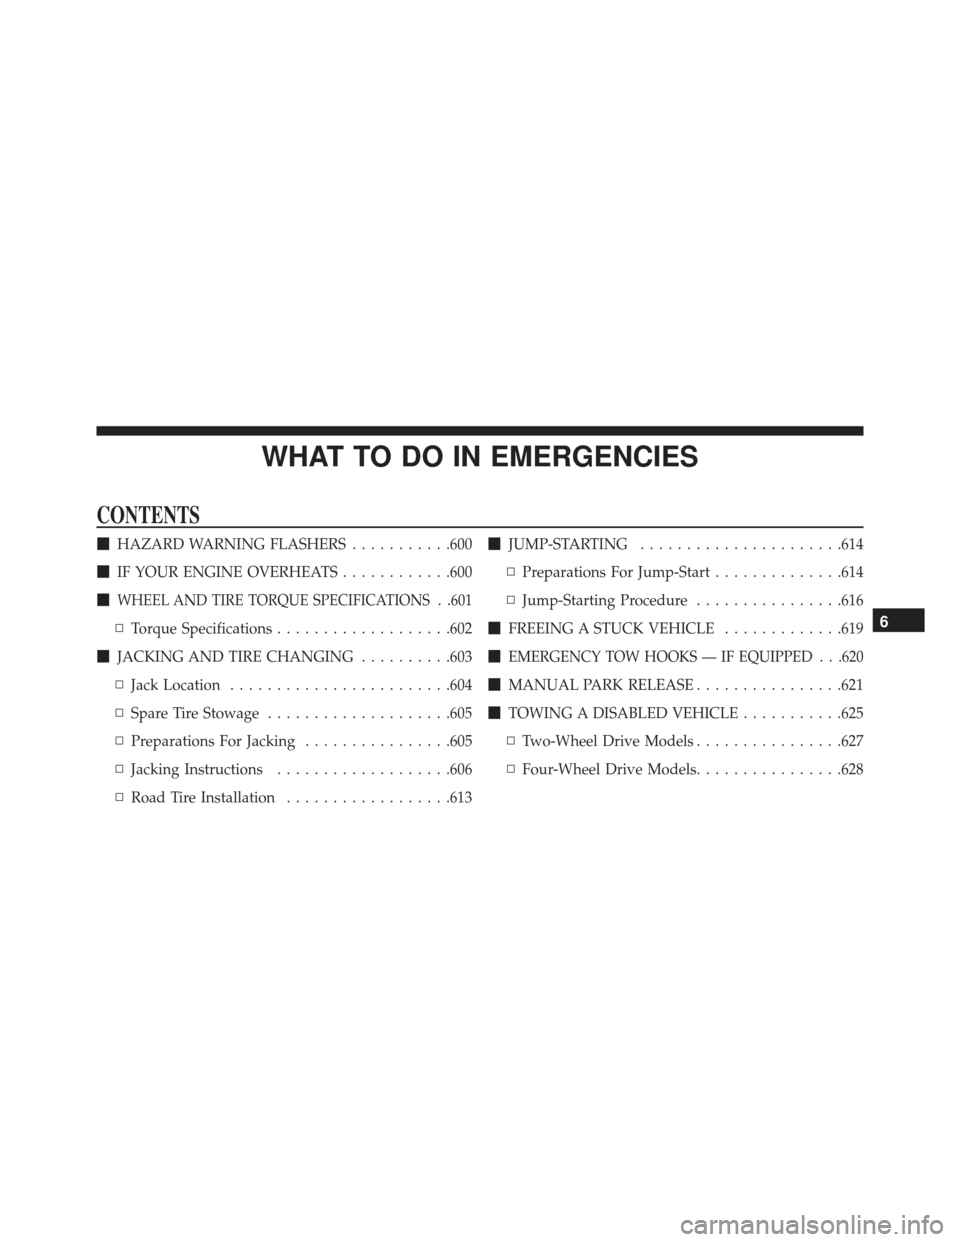
WHAT TO DO IN EMERGENCIES
CONTENTS
�HAZARD WARNING FLASHERS ...........600
� IF YOUR ENGINE OVERHEATS ............600
�
WHEEL AND TIRE TORQUE SPECIFICATIONS . .601
▫ Torque Specifications ...................602
� JACKING AND TIRE CHANGING ..........603
▫ Jack Location ....................... .604
▫ Spare Tire Stowage ....................605
▫ Preparations For Jacking ................605
▫ Jacking Instructions ...................606
▫ Road Tire Installation ..................613 �
JUMP-STARTING ..................... .614
▫ Preparations For Jump-Start ..............614
▫ Jump-Starting Procedure ................616
� FREEING A STUCK VEHICLE .............619
�
EMERGENCY TOW HOOKS — IF EQUIPPED . . .620
� MANUAL PARK RELEASE ................621
� TOWING A DISABLED VEHICLE ...........625
▫ Two-Wheel Drive Models ................627
▫ Four-Wheel Drive Models ................628
6
Page 616 of 745
JUMP-STARTING
If your vehicle has a discharged battery it can be jump-
started using a set of jumper cables and a battery in
another vehicle or by using a portable battery booster
pack. Jump-starting can be dangerous if done improperly
so please follow the procedures in this section carefully.
WARNING!
Do not attempt jump-starting if the battery is frozen.
It could rupture or explode and cause personal injury.
CAUTION!
Do not use a portable battery booster pack or any
other booster source with a system voltage greater
than 12 Volts or damage to the battery, starter motor,
alternator or electrical system may occur.NOTE:
When using a portable battery booster pack
follow the manufacturer’s operating instructions and
precautions.
Preparations For Jump-Start
The battery in your vehicle is located under the passen-
ger’s front seat. There are remote locations located under
the hood to assist in jump-starting.
614 WHAT TO DO IN EMERGENCIES
Page 618 of 745

1. Set the parking brake, shift the automatic transmissioninto PARK and turn the ignition to LOCK.
2. Turn off the heater, radio, and all unnecessary electri- cal accessories.
3. Remove the protective cover over the remote positive (+) battery post. Pull upward on the cover to remove
it.
4. If using another vehicle to jump-start the battery, park the vehicle within the jumper cables reach, set the
parking brake and make sure the ignition is OFF.
WARNING!
Do not allow vehicles to touch each other as this
could establish a ground connection and personal
injury could result.
Jump-Starting Procedure
WARNING!
Failure to follow this jump-starting procedure could
result in personal injury or property damage due to
battery explosion.
CAUTION!
Failure to follow these procedures could result in
damage to the charging system of the booster vehicle
or the discharged vehicle.
NOTE: Make sure at all times that unused ends of
jumper cables are not contacting each other or either
vehicle while making connections.
616 WHAT TO DO IN EMERGENCIES
Page 619 of 745
Connecting The Jumper Cables
1. Connect the positive(+)end of the jumper cable to the
remote positive (+)post of the discharged vehicle.
2. Connect the opposite end of the positive (+)jumper
cable to the positive (+)post of the booster battery.
3. Connect the negative end (-)of the jumper cable to the
negative (-)post of the booster battery.
4. Connect the opposite end of the negative (-)jumper
cable to the remote negative (-)post of the vehicle with
the discharged battery.WARNING!
Do not connect the jumper cable to the negative (-)
post of the discharged battery. The resulting electri-
cal spark could cause the battery to explode and
could result in personal injury. Only use the specific
ground point, do not use any other exposed metal
parts.
5. Start the engine in the vehicle that has the booster battery, let the engine idle a few minutes, and then
start the engine in the vehicle with the discharged
battery.
6
WHAT TO DO IN EMERGENCIES 617
Page 620 of 745

CAUTION!
Do not run the booster vehicle engine above 2000 rpm
since it provides no charging benefit, wastes fuel and
can damage booster vehicle engine.
6. Once the engine is started, remove the jumper cablesin the reverse sequence:
Disconnecting The Jumper Cables
1. Disconnect the negative (-)end of the jumper cable
from the remote negative (-)post of the discharged
vehicle.
2. Disconnect the opposite end of the negative (-)jumper
cable from the negative (-)post of the booster battery.
3. Disconnect the positive (+)end of the jumper cable
from the positive (+)post of the booster battery. 4. Disconnect the opposite end of the positive
(+)jumper
cable from the remote positive (+)post of the dis-
charged vehicle.
5. Reinstall the protective cover over the remote positive (+) post of the discharged vehicle.
If frequent jump-starting is required to start your vehicle
you should have the battery and charging system tested
at your authorized dealer.
CAUTION!
Accessories plugged into the vehicle power outlets
draw power from the vehicle’s battery, even when not
in use (i.e., cellular devices, etc.). Eventually, if
plugged in long enough without engine operation,
the vehicle’s battery will discharge sufficiently to
degrade battery life and/or prevent the engine from
starting.
618 WHAT TO DO IN EMERGENCIES
Page 633 of 745
ENGINE COMPARTMENT — 3.6L
1 — Remote Jump Start Positive Terminal6 — Engine Oil Fill
2 — Engine Oil Dipstick 7 — Brake Fluid Reservoir
3 — Power Distribution Center (Fuses) 8 — Air Cleaner Filter
4 — Coolant Pressure Cap (Reservoir) 9 — Washer Fluid Reservoir
5 — Remote Jump Start Negative Terminal
7
MAINTAINING YOUR VEHICLE 631
 Warning Light
Red Telltale")

end of the jumper cable to the
remote positive (+)post of the discharged vehicle.
2. Connect the opposite end of the positive (+)jumper
cable to")
 8 — Air Clean")