Page 171 of 745
LIGHTS
Headlight Switch
The headlight switch is located on the left side of the
instrument panel, next to the steering wheel. The head-
light switch controls the operation of the headlights,
parking lights, instrument panel lights, cargo lights and
fog lights (if equipped).To turn on the headlights, rotate the headlight
switch clockwise. When the headlight switch is
on, the parking lights, taillights, license plate
light and instrument panel lights are also
turned on. To turn off the headlights, rotate the headlight
switch back to the O (Off) position.
Headlight Switch
3
UNDERSTANDING THE FEATURES OF YOUR VEHICLE 169
Page 175 of 745
Automatic Headlight Leveling — HID Headlights
Only
This feature prevents the headlights from interfering
with the vision of oncoming drivers. Headlight leveling
automatically adjusts the height of the headlight beam in
reaction to changes in vehicle pitch.
Headlight Delay
To aid in your exit, your vehicle is equipped with a
headlight delay that will leave the headlights on for
approximately up to 90 seconds. This delay is initiated
when the ignition is turned OFF while the headlight
switch is on, and then the headlight switch is cycled off.
Headlight delay can be cancelled by either turning the
headlight switch on then off, or by turning the ignition
ON.NOTE:
If your vehicle is equipped with a touchscreen,
this feature can be programmed through the Uconnect
system. Refer to “Uconnect Settings” in “Understanding
Your Instrument Panel” for further information.
If your vehicle is not equipped with a touchscreen, this
feature can be programmed through the Driver Informa-
tion Display (DID). Refer to “Driver Information Display
(DID)” in “Understanding Your Instrument Panel” for
further information.
Parking Lights And Panel Lights
To turn on the parking lights and instrument
panel lights, rotate the headlight switch clockwise.
To turn off the parking lights, rotate the headlight switch
back to the O (Off) position.
3
UNDERSTANDING THE FEATURES OF YOUR VEHICLE 173
Page 176 of 745
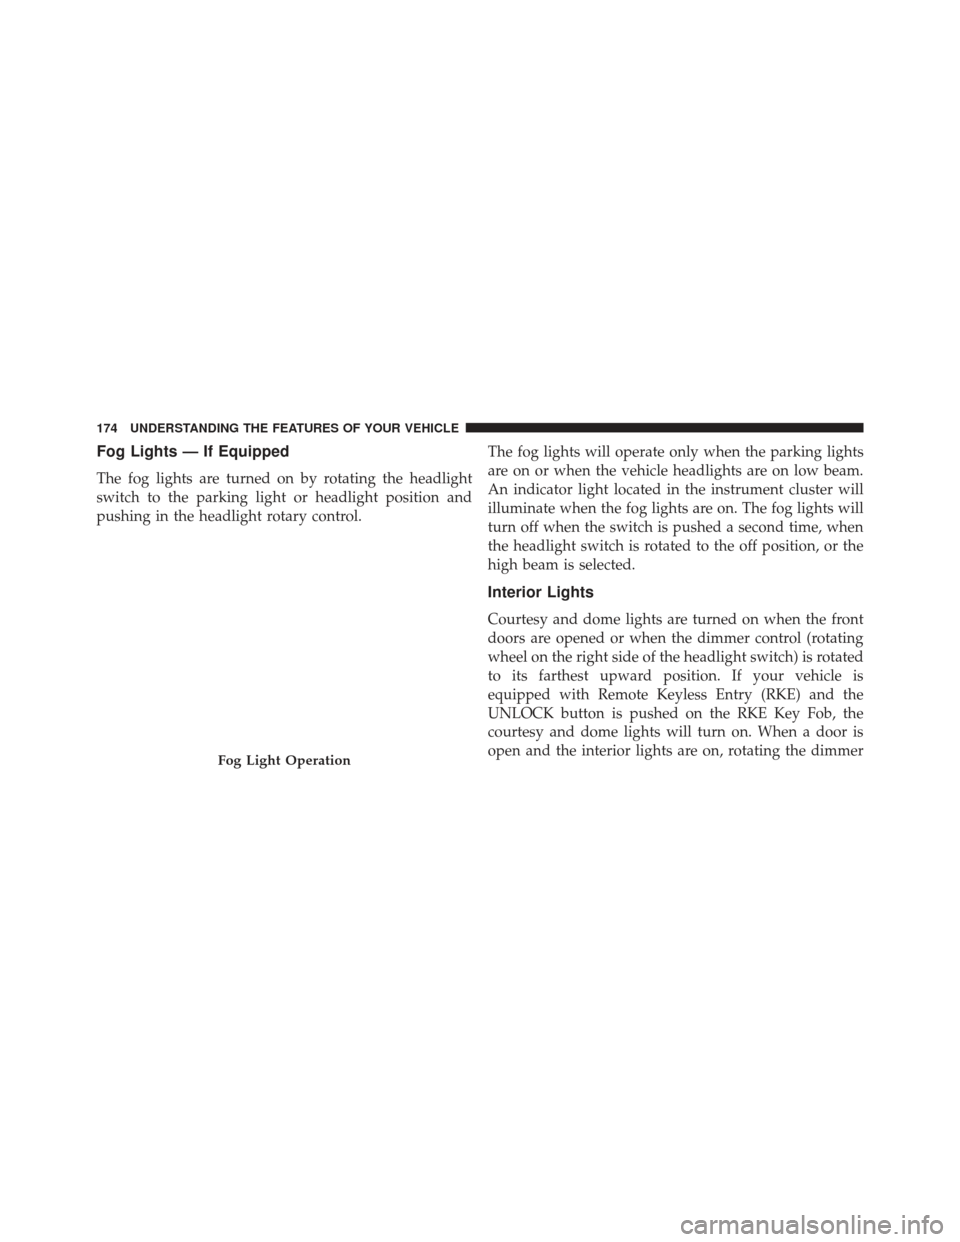
Fog Lights — If Equipped
The fog lights are turned on by rotating the headlight
switch to the parking light or headlight position and
pushing in the headlight rotary control.The fog lights will operate only when the parking lights
are on or when the vehicle headlights are on low beam.
An indicator light located in the instrument cluster will
illuminate when the fog lights are on. The fog lights will
turn off when the switch is pushed a second time, when
the headlight switch is rotated to the off position, or the
high beam is selected.
Interior Lights
Courtesy and dome lights are turned on when the front
doors are opened or when the dimmer control (rotating
wheel on the right side of the headlight switch) is rotated
to its farthest upward position. If your vehicle is
equipped with Remote Keyless Entry (RKE) and the
UNLOCK button is pushed on the RKE Key Fob, the
courtesy and dome lights will turn on. When a door is
open and the interior lights are on, rotating the dimmer
Fog Light Operation
174 UNDERSTANDING THE FEATURES OF YOUR VEHICLE
Page 179 of 745
time visibility. To turn the lights off, push the switch a
second time. The lights will also turn on when the
UNLOCK button on the Remote Keyless Entry (RKE) is
pushed.Courtesy Lights
The courtesy lights can be turned on by pushing the top
corner of the lens. To turn the lights off, push the lens a
second time.
Front Map/Reading Light SwitchesCourtesy Lights
3
UNDERSTANDING THE FEATURES OF YOUR VEHICLE 177
Page 188 of 745
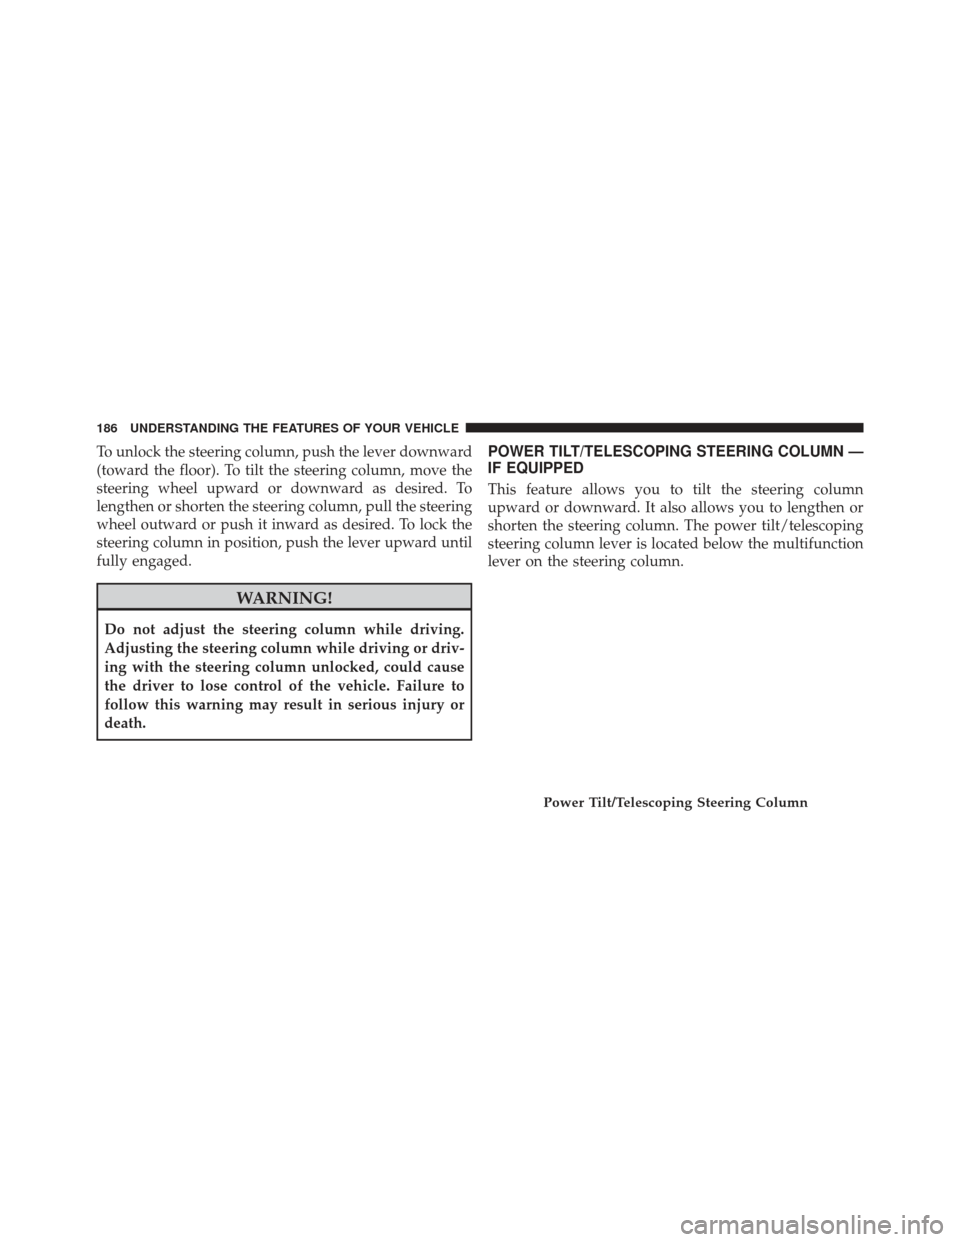
To unlock the steering column, push the lever downward
(toward the floor). To tilt the steering column, move the
steering wheel upward or downward as desired. To
lengthen or shorten the steering column, pull the steering
wheel outward or push it inward as desired. To lock the
steering column in position, push the lever upward until
fully engaged.
WARNING!
Do not adjust the steering column while driving.
Adjusting the steering column while driving or driv-
ing with the steering column unlocked, could cause
the driver to lose control of the vehicle. Failure to
follow this warning may result in serious injury or
death.
POWER TILT/TELESCOPING STEERING COLUMN —
IF EQUIPPED
This feature allows you to tilt the steering column
upward or downward. It also allows you to lengthen or
shorten the steering column. The power tilt/telescoping
steering column lever is located below the multifunction
lever on the steering column.
Power Tilt/Telescoping Steering Column
186 UNDERSTANDING THE FEATURES OF YOUR VEHICLE
Page 189 of 745
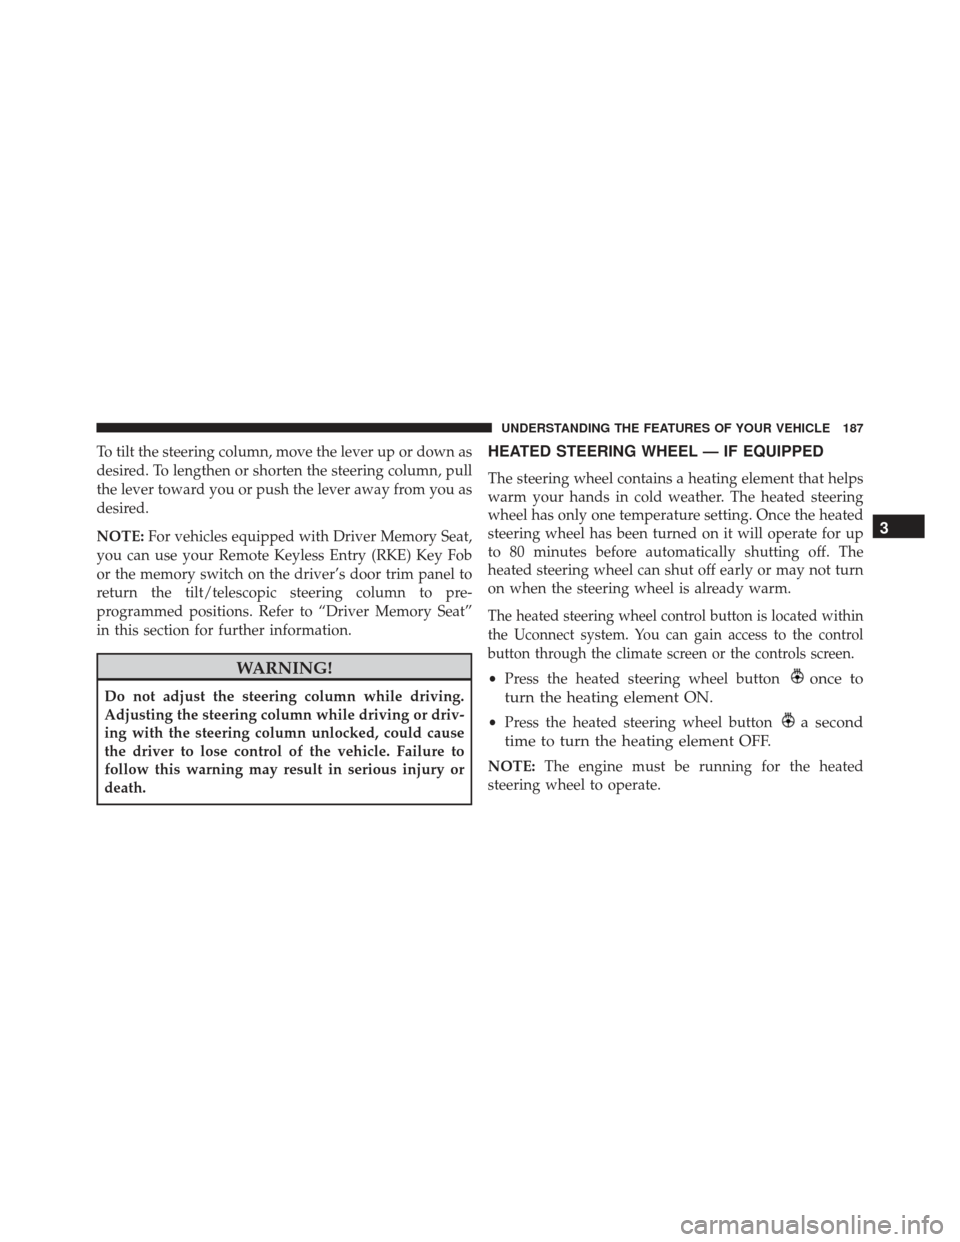
To tilt the steering column, move the lever up or down as
desired. To lengthen or shorten the steering column, pull
the lever toward you or push the lever away from you as
desired.
NOTE:For vehicles equipped with Driver Memory Seat,
you can use your Remote Keyless Entry (RKE) Key Fob
or the memory switch on the driver’s door trim panel to
return the tilt/telescopic steering column to pre-
programmed positions. Refer to “Driver Memory Seat”
in this section for further information.
WARNING!
Do not adjust the steering column while driving.
Adjusting the steering column while driving or driv-
ing with the steering column unlocked, could cause
the driver to lose control of the vehicle. Failure to
follow this warning may result in serious injury or
death.
HEATED STEERING WHEEL — IF EQUIPPED
The steering wheel contains a heating element that helps
warm your hands in cold weather. The heated steering
wheel has only one temperature setting. Once the heated
steering wheel has been turned on it will operate for up
to 80 minutes before automatically shutting off. The
heated steering wheel can shut off early or may not turn
on when the steering wheel is already warm.
The heated steering wheel control button is located within
the Uconnect system. You can gain access to the control
button through the climate screen or the controls screen.
• Press the heated steering wheel buttononce to
turn the heating element ON.
• Press the heated steering wheel buttona second
time to turn the heating element OFF.
NOTE: The engine must be running for the heated
steering wheel to operate.
3
UNDERSTANDING THE FEATURES OF YOUR VEHICLE 187
Page 200 of 745
WARNING!
Leaving the Adaptive Cruise Control (ACC) system
on when not in use is dangerous. You could acciden-
tally set the system or cause it to go faster than you
want. You could lose control and have a collision.
Always leave the system off when you are not using
it.
To Set A Desired ACC Speed
When the vehicle reaches the speed desired, push the
SET+button or the SET -button and release. The DID
will display the set speed.
If the system is Set when the vehicle speed is below
20 mph (32 km/h), the Set Speed shall be defaulted to
20 mph (32 km/h). If the system is Set when the vehicle
speed is above 20 mph (32 km/h), the Set Speed shall be
the current speed of the vehicle. NOTE:
ACC cannot be set if there is a stationary vehicle
in front of your vehicle in close proximity.
Remove your foot from the accelerator pedal. If you do
not, the vehicle may continue to accelerate beyond the set
speed. If this occurs:
• The message “DRIVER OVERRIDE” will display in
the DID.
• The system will not be controlling the distance be-
tween your vehicle and the vehicle ahead. The vehicle
speed will only be determined by the position of the
accelerator pedal.
To Cancel
The following conditions cancel the system:
• The brake pedal is applied.
• The CANCEL button is pushed.
• An Anti-Lock Brake System (ABS) event occurs.
198 UNDERSTANDING THE FEATURES OF YOUR VEHICLE
Page 211 of 745
•Do not remove any screws from the sensor. Doing so
could cause an ACC system malfunction or failure and
require a sensor realignment.
• If the sensor or front end of the vehicle is damaged due
to a collision, see your authorized dealer for service.
• Do not attach or install any accessories near the sensor,
including transparent material or aftermarket grilles.
Doing so could cause an ACC system failure or
malfunction.
When the condition that deactivated the system is no
longer present, the system will return to the “Adaptive
Cruise Control Off” state and will resume function by
simply reactivating it. NOTE:
•
If the “ACC/FCW Unavailable Wipe Front Radar
Sensor” message occurs frequently (e.g. more than
once on every trip) without any snow, rain, mud, or
other obstruction, have the radar sensor realigned at
your authorized dealer.
• Installing a snow plow, front-end protector, an after-
market grille or modifying the grille is not recom-
mended. Doing so may block the sensor and inhibit
ACC/FCW operation.
“Clean Front Windshield” Warning
The “ACC/FCW Limited Functionality Clean Front Wind-
shield” warning will display and also a chime will indicate
when conditions temporarily limit system performance.
3
UNDERSTANDING THE FEATURES OF YOUR VEHICLE 209