Page 252 of 745
When the vehicle is shifted out of REVERSE (with camera
delay turned ON), the rear view image with dynamic
grid lines will be displayed for up to 10 seconds after
shifting out of�REVERSE�unless the forward vehicle
speed exceeds 8 mph (13 km/h), the transmission is
shifted into �PARK�or the ignition is switched to the OFF
position.
NOTE: The ParkView Rear Back Up Camera has pro-
grammable modes of operation that may be selected
through the Uconnect System. Refer to “Uconnect Set-
tings” in “Understanding Your Instrument Panel” for
further information. When enabled, active guide lines are overlaid on the
image to illustrate the width of the vehicle and its
projected backup path based on the steering wheel
position. A dashed center line overlay indicates the center
of the vehicle to assist with parking or aligning to a
hitch/receiver.
�Different colored zones indicate the dis-
tance to the rear of the vehicle.� The following table
shows the approximate distances for each zone:
Zone Distance to the rear of the vehicle
Red 0 - 1 ft (0 - 30 cm)
Yellow 1 ft - 6.5 ft (30 cm - 2 m)
Green 6.5 ft or greater (2 m or greater)
250 UNDERSTANDING THE FEATURES OF YOUR VEHICLE
Page 268 of 745
Sunroof Maintenance
Use only a nonabrasive cleaner and a soft cloth to clean
the glass panel.
Ignition Off Operation
NOTE:
•The power sunroof switch can remain active in Acces-
sory Delay for up to approximately ten minutes after
the vehicles ignition is placed to the Off position.
Opening either front door will cancel this feature.
• This feature is programmable using the Uconnect
System. Refer to “Uconnect Settings” in “Understand-
ing Your Instrument Panel” for further information.
Relearn Procedure
For vehicles equipped with a single-pane sunroof, there
is a relearn procedure that allows you to calibrate the
sunroof when the “Auto Up” feature stops working. To
reset the sunroof, follow these steps:
1. Set the ignition to the ACC ON/RUN position.
2. Ensure that the sunroof is in the Fully Closed position.
3. Push and hold the Close switch. The sunroof will hit the hard stop and move to the Vent position after 10
seconds.
4. Release the Close switch, then push and hold the Close switch again within 5 seconds to begin the
teaching process. The sunroof will complete one full
cycle and return to the Fully Closed position.
266 UNDERSTANDING THE FEATURES OF YOUR VEHICLE
Page 273 of 745
Wind Buffeting
Wind buffeting can be described as the perception of
pressure on the ears or a helicopter-type sound in the
ears. Your vehicle may exhibit wind buffeting with the
windows down, or the sunroof (if equipped) in certain
open or partially open positions. This is a normal occur-
rence and can be minimized. If the buffeting occurs with
the rear windows open, open the front and rear windows
together to minimize the buffeting. If the buffeting occurs
with the sunroof open, adjust the sunroof opening to
minimize the buffeting or open any window.
Sunroof Maintenance
Use only a non-abrasive cleaner and a soft cloth to clean
the glass panel.
Ignition Off Operation
NOTE:
•The power sunroof switch can remain active in Acces-
sory Delay for up to approximately ten minutes after
the vehicles ignition is placed to the Off position.
Opening either front door will cancel this feature.
• This feature is programmable using the Uconnect
System. Refer to “Uconnect Settings” in “Understand-
ing Your Instrument Panel” for further information.
ELECTRICAL POWER OUTLETS
Your vehicle is equipped with 12 Volt (13 Amp) power
outlets that can be used to power cellular phones, small
electronics and other low powered electrical accessories.
The power outlets are labeled with either a “key” or a
“battery” symbol to indicate how the outlet is powered.
3
UNDERSTANDING THE FEATURES OF YOUR VEHICLE 271
Page 274 of 745
Power outlets labeled with a “key” are powered when
the ignition is in the ON or ACC position, while the
outlets labeled with a “battery” are connected directly to
the battery and powered at all times.
NOTE:
•
All accessories connected to the “battery” powered out-
lets should be removed or turned off when the vehicle is
not in use to protect the battery against discharge.
• To ensure proper cigar lighter operation, a MOPAR
knob and element must be used.
CAUTION!
Power outlets are designed for accessory plugs only.
Do not insert any other object in the power outlets as
this will damage the outlet and blow the fuse.
Improper use of the power outlet can cause damage
not covered by your New Vehicle Limited Warranty. The front power outlet is located inside the storage area
on the center stack of the instrument panel. Push inward
on the storage lid to open the compartment and gain
access to this power outlet.
Front Power Outlet
272 UNDERSTANDING THE FEATURES OF YOUR VEHICLE
Page 276 of 745
Power Outlet Right Rear Quarter Panel FusePower Outlet Fuse Locations
1 — F104 Fuse 20 Amp Yellow Power Outlet Console Bin
2 — F90–F91 Fuse 20 Amp Yellow Power Outlet Right Rear
Quarter Panel
3 — F93 Fuse 20 Amp Yellow Cigar Lighter Instrument Panel
274 UNDERSTANDING THE FEATURES OF YOUR VEHICLE
Page 280 of 745
There are two cupholders for the rear seat passengers
located in the fold-down center armrest.STORAGE
Glove Compartment
The glove compartment is located on the right side of the
instrument panel.
Rear Cupholders
Glove Compartment
278 UNDERSTANDING THE FEATURES OF YOUR VEHICLE
Page 291 of 745
If the rear wiper is operating when the ignition is turned
OFF, the wiper will automatically return to the “park”
position.
Rear Window Defroster
The rear window defroster button is located on
the climate control panel. Push this button to turn
on the rear window defroster and the heated outside
mirrors (if equipped). An indicator in the button will
illuminate when the rear window defroster is on. The
rear window defroster automatically turns off after ap-
proximately 10 minutes. For an additional five minutes of
operation, push the button a second time.
NOTE: To prevent excessive battery drain, use the rear
window defroster only when the engine is operating.
CAUTION!
Failure to follow these cautions can cause damage to
the heating elements:
• Use care when washing the inside of the rear
window. Do not use abrasive window cleaners on
the interior surface of the window. Use a soft cloth
and a mild washing solution, wiping parallel to the
heating elements. Labels can be peeled off after
soaking with warm water.
• Do not use scrapers, sharp instruments, or abrasive
window cleaners on the interior surface of the
window.
• Keep all objects a safe distance from the window.
3
UNDERSTANDING THE FEATURES OF YOUR VEHICLE 289
Page 295 of 745
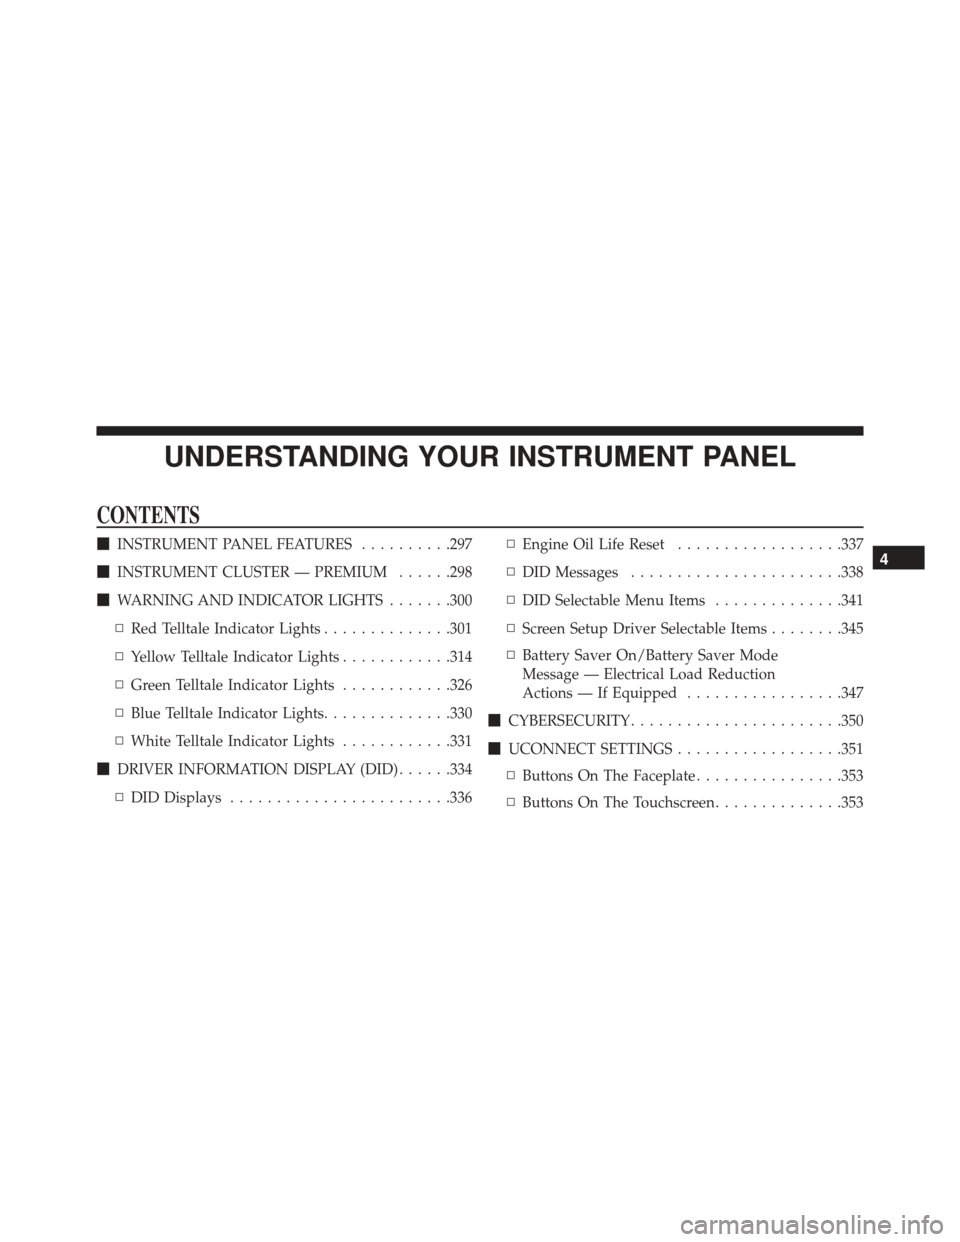
UNDERSTANDING YOUR INSTRUMENT PANEL
CONTENTS
�INSTRUMENT PANEL FEATURES ..........297
� INSTRUMENT CLUSTER — PREMIUM ......298
� WARNING AND INDICATOR LIGHTS .......300
▫ Red Telltale Indicator Lights ..............301
▫ Yellow Telltale Indicator Lights ............314
▫ Green Telltale Indicator Lights ............326
▫ Blue Telltale Indicator Lights ..............330
▫ White Telltale Indicator Lights ............331
� DRIVER INFORMATION DISPLAY (DID) ......334
▫ DID Displays ....................... .336▫
Engine Oil Life Reset ..................337
▫ DID Messages ...................... .338
▫ DID Selectable Menu Items ..............341
▫ Screen Setup Driver Selectable Items ........345
▫ Battery Saver On/Battery Saver Mode
Message — Electrical Load Reduction
Actions — If Equipped .................347
� CYBERSECURITY ...................... .350
� UCONNECT SETTINGS ..................351
▫ Buttons On The Faceplate ................353
▫ Buttons On The Touchscreen ..............3534