Page 116 of 745
Periodic Safety Checks You Should Make Outside
The Vehicle
Tires
Examine tires for excessive tread wear and uneven wear
patterns. Check for stones, nails, glass, or other objects
lodged in the tread or sidewall. Inspect the tread for cuts
and cracks. Inspect sidewalls for cuts, cracks, and bulges.
Check the wheel nuts for tightness. Check the tires
(including spare) for proper cold inflation pressure.
Lights
Have someone observe the operation of brake lights and
exterior lights while you work the controls. Check turn
signal and high beam indicator lights on the instrument
panel.
Door Latches
Check for proper closing, latching, and locking.
Fluid Leaks
Check area under vehicle after overnight parking for fuel,
engine coolant, oil, or other fluid leaks. Also, if gasoline
fumes are detected or if fuel, power steering fluid (if
equipped), or brake fluid leaks are suspected. The cause
should be located and corrected immediately.
114 THINGS TO KNOW BEFORE STARTING YOUR VEHICLE
Page 305 of 745

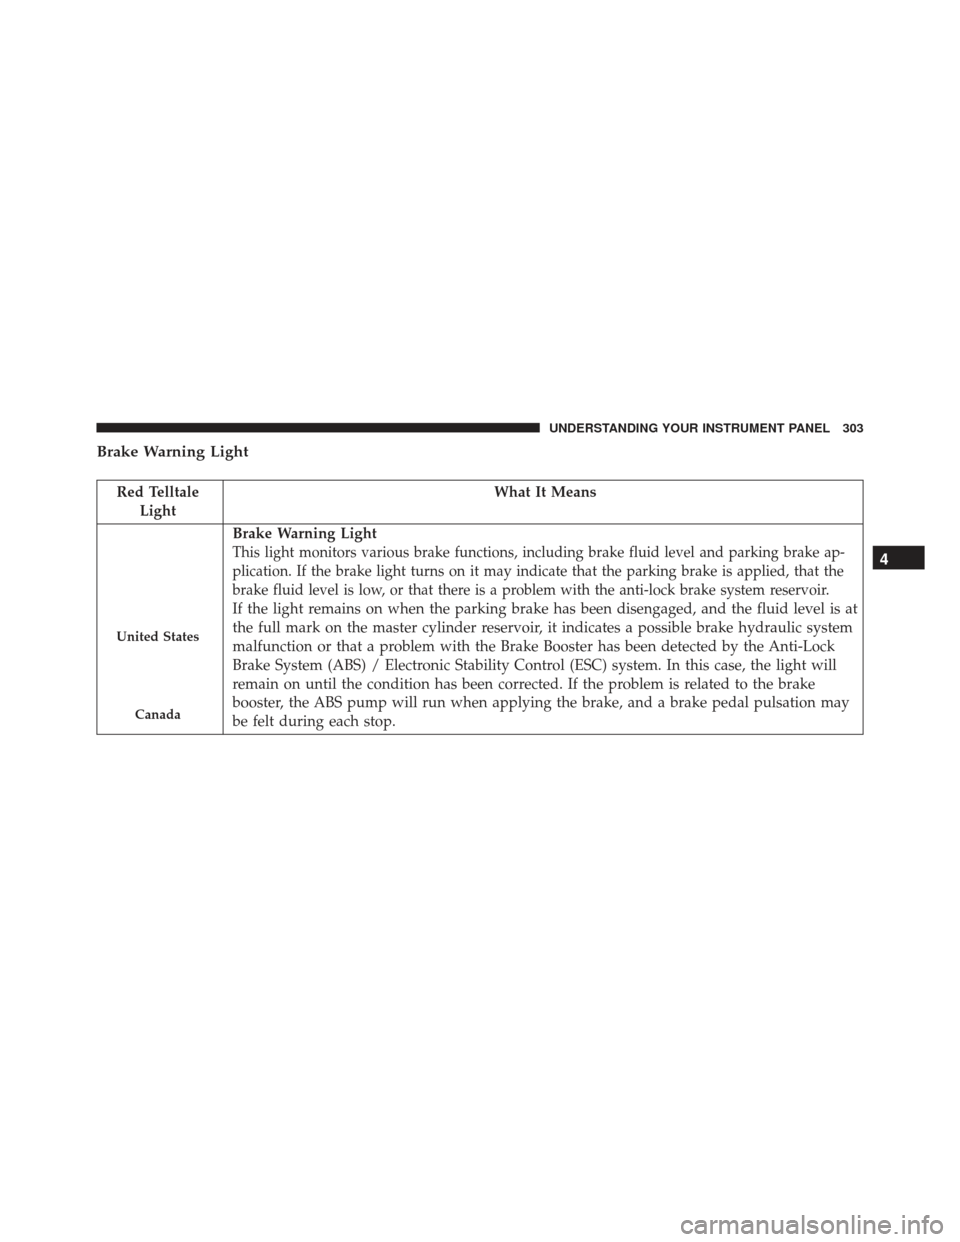
Brake Warning Light
Red TelltaleLight What It Means
United States
Canada
Brake Warning Light
This light monitors various brake functions, including brake fluid level and parking brake ap-
plication. If the brake light turns on it may indicate that the parking brake is applied, that the
brake fluid level is low, or that there is a problem with the anti-lock brake system reservoir.
If the light remains on when the parking brake has been disengaged, and the fluid level is at
the full mark on the master cylinder reservoir, it indicates a possible brake hydraulic system
malfunction or that a problem with the Brake Booster has been detected by the Anti-Lock
Brake System (ABS) / Electronic Stability Control (ESC) system. In this case, the light will
remain on until the condition has been corrected. If the problem is related to the brake
booster, the ABS pump will run when applying the brake, and a brake pedal pulsation may
be felt during each stop.
4
UNDERSTANDING YOUR INSTRUMENT PANEL 303
Page 306 of 745

The dual brake system provides a reserve braking capac-
ity in the event of a failure to a portion of the hydraulic
system. A leak in either half of the dual brake system is
indicated by the Brake Warning Light, which will turn on
when the brake fluid level in the master cylinder has
dropped below a specified level.
The light will remain on until the cause is corrected.
NOTE:The light may flash momentarily during sharp
cornering maneuvers, which change fluid level condi-
tions. The vehicle should have service performed, and
the brake fluid level checked.
If brake failure is indicated, immediate repair is necessary.
WARNING!
Driving a vehicle with the red brake light on is
dangerous. Part of the brake system may have failed.
(Continued)
WARNING! (Continued)
It will take longer to stop the vehicle. You could have
a collision. Have the vehicle checked immediately.
Vehicles equipped with the Anti-Lock Brake System
(ABS) are also equipped with Electronic Brake Force
Distribution (EBD). In the event of an EBD failure, the
Brake Warning Light will turn on along with the ABS
Light. Immediate repair to the ABS system is required.
Operation of the Brake Warning Light can be checked by
placing the ignition in the position ON/RUN position.
The light should illuminate for approximately two sec-
onds. The light should then turn off unless the parking
brake is applied or a brake fault is detected. If the light
does not illuminate, have the light inspected by an
authorized dealer.
304 UNDERSTANDING YOUR INSTRUMENT PANEL
Page 341 of 745
•Passenger Seat Belt Unbuckled
• Traction Control Off
• Washer Fluid Low
• Oil Pressure Low
• Oil Change Due
• Fuel Low
• Service Anti-lock Brake System
• Service Electronic Throttle Control
• Service Power Steering
• Cruise Off
• Cruise Ready
• ACC Override
• Cruise Set To XXX MPH •
Tire Pressure Screen With Low Tire(s) “Inflate Tire to
XX”
• Service Tire Pressure System
• Speed Warning Set to XXX MPH
• Speed Warning Exceeded
• Parking Brake Engaged
• Brake Fluid Low
• Service Electronic Braking System
• Engine Temperature Hot
• Lights On
• Right Front Turn Signal Light Out
• Right Rear Turn Signal Light Out
• Left Front Turn Signal Light Out
4
UNDERSTANDING YOUR INSTRUMENT PANEL 339
Page 632 of 745

▫Brake System ....................... .668
▫ Front/Rear Axle Fluid ..................670
▫ Transfer Case ....................... .671
▫ Automatic Transmission ................672
▫ Appearance Care And Protection From
Corrosion .......................... .674
� FUSES ............................. .680
▫ Power Distribution Center ...............681
� VEHICLE STORAGE ....................689
� REPLACEMENT BULBS .................690
� BULB REPLACEMENT ..................691
▫ High Intensity Discharge Headlamps (HID) —
If Equipped ........................ .692▫
Halogen Headlamps — If Equipped ........692
▫ Front Turn Signal .....................693
▫ Front Fog Lamps .....................693
▫ Rear Tail, Stop, and Turn Signal Lamps ......694
▫ Rear Liftgate Mounted Tail Lamp ..........695
▫ Center High-Mounted Stop Lamp (CHMSL) . .697
▫ Rear License Lamp ....................697
� FLUID CAPACITIES ....................698
� FLUIDS, LUBRICANTS, AND GENUINE
PARTS ............................. .699
▫ Engine ............................ .699
▫ Chassis ........................... .701
630 MAINTAINING YOUR VEHICLE
Page 633 of 745
ENGINE COMPARTMENT — 3.6L
1 — Remote Jump Start Positive Terminal6 — Engine Oil Fill
2 — Engine Oil Dipstick 7 — Brake Fluid Reservoir
3 — Power Distribution Center (Fuses) 8 — Air Cleaner Filter
4 — Coolant Pressure Cap (Reservoir) 9 — Washer Fluid Reservoir
5 — Remote Jump Start Negative Terminal
7
MAINTAINING YOUR VEHICLE 631
Page 634 of 745
ENGINE COMPARTMENT — 5.7L
1 — Remote Jump Start Positive Terminal6 — Engine Coolant Reservoir
2 — Engine Oil Dipstick 7 — Engine Oil Fill
3 — Power Distribution Center (Fuses) 8 — Brake Fluid Reservoir
4 — Coolant Pressure Cap (Radiator) 9 — Air Cleaner Filter
5 — Remote Jump Start Negative Terminal 10— Washer Fluid Reservoir
632 MAINTAINING YOUR VEHICLE
Page 671 of 745

Fluid Level Check — Brake Master Cylinder
The fluid level of the master cylinder should be checked
when performing under the hood service, or immedi-
ately if the brake system warning lamp indicates system
failure.
The brake master cylinder has a plastic reservoir. On the
outboard side of the reservoir, there is a “MAX” mark
and a “MIN” mark. The fluid level must be kept within
these two dots. Do not add fluid above the MAX mark,
because leakage may occur at the cap.
With disc brakes, the fluid level can be expected to fall as
the brake linings wear. However, an unexpected drop in
fluid level may be caused by a leak and a system check
should be conducted.
Refer to “Fluids, Lubricants, and Genuine Parts” in
“Maintaining Your Vehicle” for further information.
WARNING!
•Use only manufacturer’s recommended brake
fluid. Refer to “Fluids, Lubricants, And Genuine
Parts” in “Maintaining Your Vehicle” for further
information. Using the wrong type of brake fluid
can severely damage your brake system and/or
impair its performance. The proper type of brake
fluid for your vehicle is also identified on the
original factory installed hydraulic master cylinder
reservoir.
• To avoid contamination from foreign matter or
moisture, use only new brake fluid or fluid that has
been in a tightly closed container. Keep the master
cylinder reservoir cap secured at all times. Brake
fluid in a open container absorbs moisture from the
(Continued)
7
MAINTAINING YOUR VEHICLE 669