2016 JEEP COMPASS reset
[x] Cancel search: resetPage 56 of 148

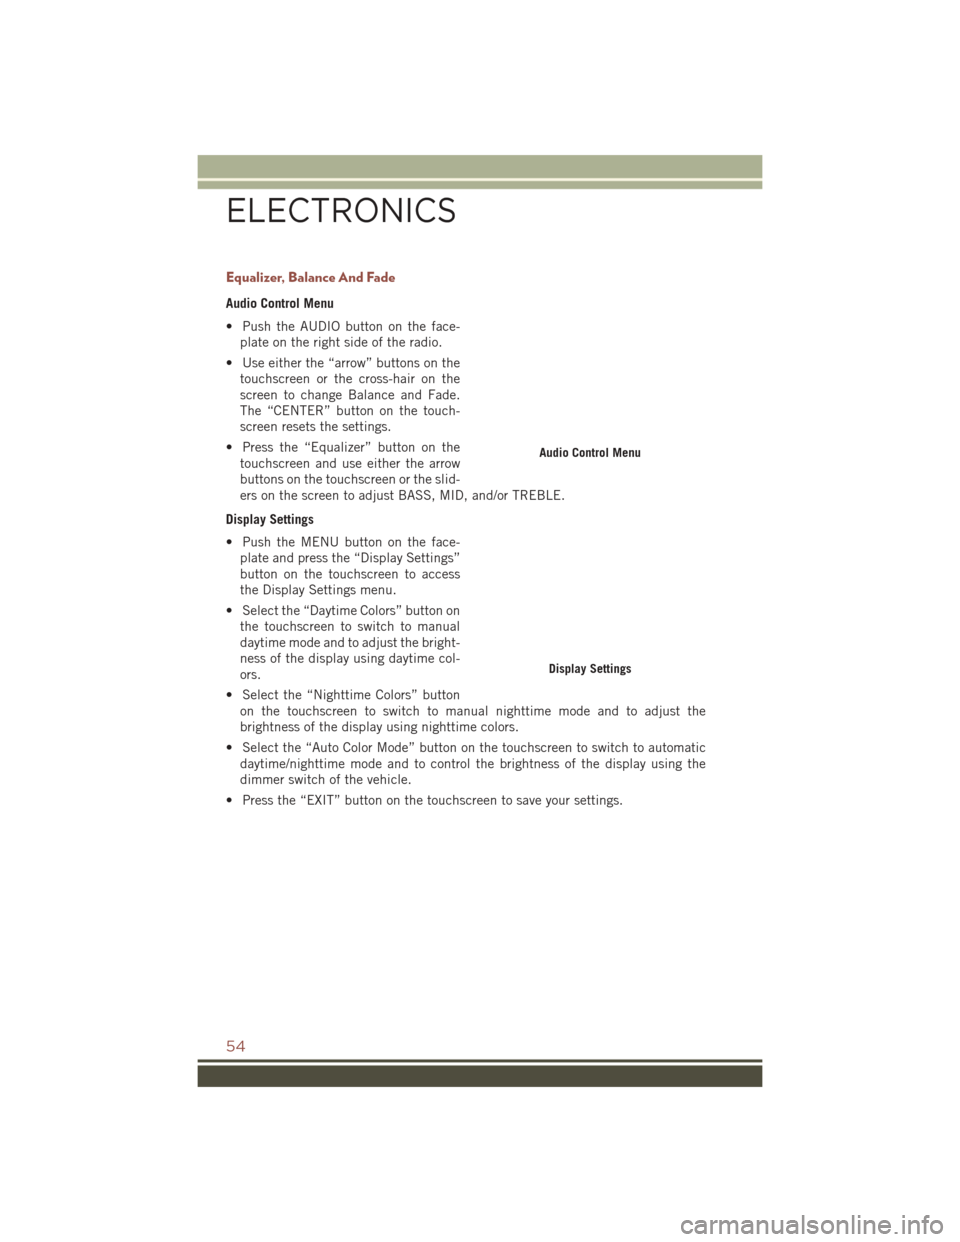
Equalizer, Balance And Fade
Audio Control Menu
• Push the AUDIO button on the face-plate on the right side of the radio.
• Use either the “arrow” buttons on the touchscreen or the cross-hair on the
screen to change Balance and Fade.
The “CENTER” button on the touch-
screen resets the settings.
• Press the “Equalizer” button on the touchscreen and use either the arrow
buttons on the touchscreen or the slid-
ers on the screen to adjust BASS, MID, and/or TREBLE.
Display Settings
• Push the MENU button on the face- plate and press the “Display Settings”
button on the touchscreen to access
the Display Settings menu.
• Select the “Daytime Colors” button on the touchscreen to switch to manual
daytime mode and to adjust the bright-
ness of the display using daytime col-
ors.
• Select the “Nighttime Colors” button on the touchscreen to switch to manual nighttime mode and to adjust the
brightness of the display using nighttime colors.
• Select the “Auto Color Mode” button on the touchscreen to switch to automatic daytime/nighttime mode and to control the brightness of the display using the
dimmer switch of the vehicle.
• Press the “EXIT” button on the touchscreen to save your settings.
Audio Control Menu
Display Settings
ELECTRONICS
54
Page 57 of 148

Radio Operation
•To access Radio Mode, push the RADIO button on the left side of the faceplate, then
press the “AM,” “FM” or “SAT” button at the top of the screen to select the band.
Seek Up/Seek Down
• Press the “Seek Up” or “Seek Down” buttons on the touchscreen to seek through radio stations in AM, FM, or SAT bands. Hold either Seek to bypass stations
without stopping.
Store Radio Presets Manually
• Select the radio band by pressing either the “AM,” “FM,” or “SAT” button on the touchscreen.
• Find the station to store by either pressing the “Seek Up” or “Seek Down” buttons on the touchscreen, pressing the “SCAN” button on the touchscreen, or by using
the “DIRECT TUNE” button on the touchscreen.
Radio Operation
1 — Radio Tuner Tabs
2 — Individual Presets
3 — Search/Browse
4 — Radio Station/Track Info
5 — Sort Presets6 — Station Scan
7 — Seek Down
8 — Direct Tune
9 — Seek Up
ELECTRONICS
55
Page 58 of 148

• Once the desired station is found, press and hold one of the “PRESET” buttons onthe touchscreen in the list to the right, until you hear a confirmation beep.
NOTE:
If the Presets are not visible on the right side of the screen, press the “PRESETS”
button on the touchscreen.
CD/DVD Disc Operation
Push the MEDIA button on the faceplate to display the media source tabs at the top
of the screen. Select the source by pressing the “HDD,” “DISC,” or “AUX” media
source button on the touchscreen tab.
NOTE:
Your Touchscreen Radio will automatically switch to the appropriate mode when
something is first connected or inserted into the system.
CD/DVD Disc Operation
1 — Media Source Tabs
2 — Folder/Track
3 — Open Folder
4 — Track Information
5 — Sort Tracks6 — Track Scan
7 — Seek Down
8 — Play/Pause
9 — Seek Up
ELECTRONICS
56
Page 70 of 148

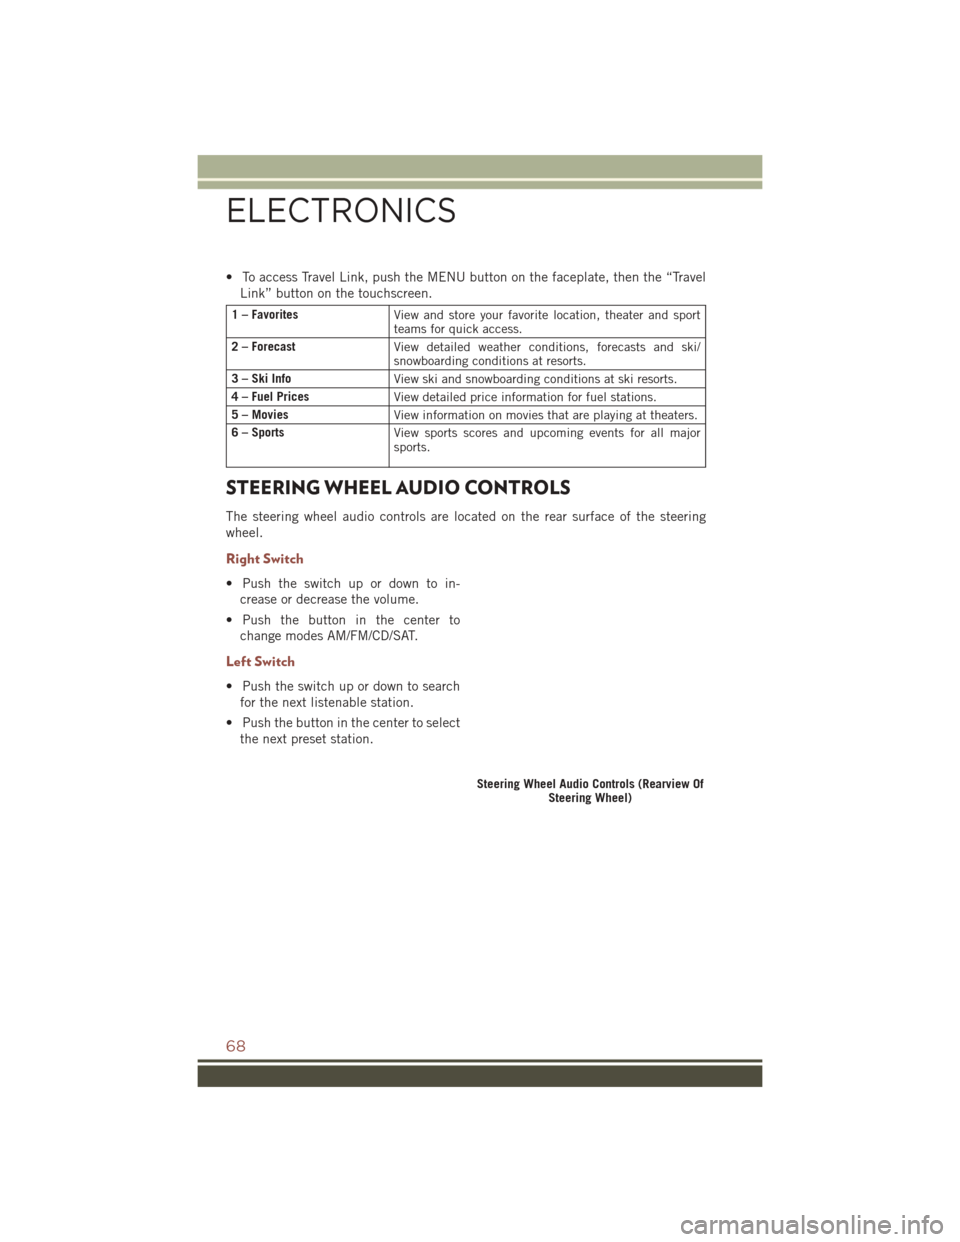
• To access Travel Link, push the MENU button on the faceplate, then the “TravelLink” button on the touchscreen.
1 – Favorites View and store your favorite location, theater and sport
teams for quick access.
2 – Forecast View detailed weather conditions, forecasts and ski/
snowboarding conditions at resorts.
3 – Ski Info View ski and snowboarding conditions at ski resorts.
4 – Fuel Prices View detailed price information for fuel stations.
5 – Movies View information on movies that are playing at theaters.
6 – Sports View sports scores and upcoming events for all major
sports.
STEERING WHEEL AUDIO CONTROLS
The steering wheel audio controls are located on the rear surface of the steering
wheel.
Right Switch
• Push the switch up or down to in-
crease or decrease the volume.
• Push the button in the center to change modes AM/FM/CD/SAT.
Left Switch
• Push the switch up or down to searchfor the next listenable station.
• Push the button in the center to select the next preset station.
Steering Wheel Audio Controls (Rearview Of Steering Wheel)
ELECTRONICS
68
Page 83 of 148

POWER INVERTER
A 115 Volt, 150 Watt AC power inverter is located on the front of the center console.
This outlet can power cellular phones, electronics and other low power devices
requiring power up to 150 Watts.
NOTE:
The power inverter is designed with built-in
overload protection. If the power rating of
150 Watts is exceeded, the power inverter
will automatically shut down. Once the
electrical device has been removed from the
outlet, the inverter should automatically re-
set. If the power rating exceeds approxi-
mately 170 Watts, the power inverter may
have to be reset manually. To reset the
inverter manually, unplug the device and
plug it in again. To avoid overloading the
circuit, check the power ratings on electri-
cal devices prior to using the inverter.
WARNING!
To Avoid Serious Injury or Death DO NOT:
• use a three-prong adaptor
• insert any objects into the receptacles
• touch with wet hands
Close the lid when not in use. If this outlet is mishandled, it may cause an electric
shock and failure.
Power Inverter
ELECTRONICS
81
Page 94 of 148

– Front Fog Light Indicator
This indicator will illuminate when the front fog lights are on.
– Vehicle Security Light
This light will flash rapidly for approximately 15 seconds when the vehicle security
alarm is arming. The light will flash at a slower speed continuously after the alarm is
set. The security light will also come on for about three seconds when the ignition is
first turned on.
– 4WD Indicator
This light indicates the vehicle is in 4-wheel drive (4WD) mode.
– Electronic Stability Control (ESC) OFF Indicator Light
This light indicates the Electronic Stability Control (ESC) is off.
– Cruise Indicator
This indicator shows that the Electronic Speed Control System is ON.
– Hill Descent Control Indicator — If Equipped
This indicator will illuminate when Hill Descent Control (HDC) has been selected
using the Hill Descent Control Switch.
Oil Change Indicator
Message
If an “oil change” message (shown as CHANgE OIL) appears and a single chime
sounds, it is time for your next required oil change.
Resetting The Light After Servicing
1. Turn the ignition switch to the ON/RUN position (do not start engine).
2. Fully depress the accelerator pedal three times within 10 seconds.
3. Turn the ignition switch to the OFF/LOCK position.
WHAT TO DO IN EMERGENCIES
92
Page 118 of 148

MAINTENANCE PROCEDURES
For information on the maintenance procedures for your vehicle, please refer to
“Maintenance Procedures” in “Maintaining Your Vehicle” in your Owner’s Manual or
applicable supplement on the DVD for further details.
MAINTENANCE SCHEDULE
Your vehicle is equipped with an automatic oil change indicator system. The oil
change indicator system will remind you that it is time to take your vehicle in for
scheduled maintenance.
Based on engine operation conditions, the oil change indicator message will
illuminate. This means that service is required for your vehicle. Operating conditions
such as frequent short-trips, trailer tow, extremely hot or cold ambient temperatures
will influence when the “Change Oil” or “Oil Change Required” message is dis-
played. Severe Operating Conditions can cause the change oil message to illuminate
as early as 3,500 miles (5,600 km) since last reset. Have your vehicle serviced as
soon as possible, within the next 500 miles (805 km).
On Electronic Vehicle Information Center (EVIC) equipped vehicles, “Oil Change
Required” will be displayed in the EVIC and a single chime will sound, indicating that
an oil change is necessary.
On Non-EVIC equipped vehicles, “Change Oil” will flash in the instrument cluster
odometer and a single chime will sound, indicating that an oil change is necessary.
Your authorized dealer will reset the oil change indicator message after completing
the scheduled oil change. If a scheduled oil change is performed by someone other
than your authorized dealer, the message can be reset by referring to the steps
described under “Instrument Cluster Warning Lights” in “What To Do In Emergen-
cies” in this guide or “Instrument Cluster Descriptions” or “Electronic Vehicle
Information Center (EVIC)” in “Understanding Your Instrument Panel” in the
Owner’s Manual on your DVD for further information.
NOTE:
Under no circumstances should oil change intervals exceed 10,000 miles
(16,000 km), twelve months or 350 hours of engine run time, whichever comes first.
The 350 hours of engine run or idle time is generally only a concern for fleet
customers.
Severe Duty All Models
Change Engine Oil at 4,000 miles (6,500 km) if the vehicle is operated in a dusty
and off road environment or is operated predominately at idle or only very low engine
RPM’s. This type of vehicle use is considered Severe Duty.
MAINTAINING YOUR VEHICLE
116
Page 137 of 148

Hill Descent Control Indicator . .92
InstrumentCluster ........30
LowFuel ..............87
SeatBeltReminder ........91
Security Alarm...........92
Tire Pressure Monitoring
(TPMS) ...............88
Transmission Warning .......90
TurnSignal ..........30,31
Locks Liftgate, Tailgate ..........10
Lubrication, Body ...........116
Lumbar Support ............26
Maintenance Free Battery ......116
Maintenance,General ........116
MaintenanceProcedures.......116
Maintenance Record .........120
MaintenanceSchedule........116
Malfunction Indicator Light (Check Engine)................91
Manual Transmission Lubricant Selection .......115
Master Cylinder (Brakes) .......116
MediaCenterRadio........49,52
MOPAR Accessories .........129
Multi-Function Control Lever .....30
Navigation ................61
Navigation System (Uconnect GPS) .................61
Navigation Voice Prompt Volume . . .61
New Vehicle Break-In Period .....29
OilChangeIndicator..........92
Oil,Engine ........... 114, 116
Capacity ..............114
Change Interval .........116
Checking .............116
Disposal ..............116
Filter ............ 114, 116
Filter Disposal ..........116
Materials Added To .......116
Recommendation .....114, 116
Viscosity .............116
Oil Filter, Selection ..........116
Oil Pressure Light ...........87 Outlet
Power ................82
Overheating, Engine ..........93
PaintCare...............116
Panic Alarm ...............10
Passing Light ..............31
Phone (Pairing) .............70
Phone (Uconnect) ...........70
Placard, Tire And Loading Information .............123
Power Inverter ...............81
Outlet (Auxiliary Electrical
Outlet) ...............82
Sunroof ...............40
Power Seats Down.................24
Forward ...............24
Rearward ..............24
Tilt ..................24
Up ..................24
Power Steering Fluid .........115
Power Transfer Unit ..........115
Preparation For Jacking ........95
Programmable Electronic Features . .76
Radio Presets ........45,47,50,55
RadioOperation.....45,47,50,55
R
earCamera ..............37
Rear ParkSense System ........37
Rear Seat, Folding ...........26
Rear Wiper/Washer ...........34
Refrigerant ...............116
Remote Keyless Entry (RKE) Arm The Alarm ...........12
Disarm The Alarm .........12
Lock The Doors ...........10
Panic Alarm ............10
Remote Keyless Entry (RKE) . . .10
Unlock The Doors .........10
Remote Starting How To Use Remote Start .....11
KeyFob ...............11
Remote Starting System .....11
Remote Starting System ........11
INDEX
135