2016 HYUNDAI VELOSTER TURBO air conditioning
[x] Cancel search: air conditioningPage 189 of 406
Features of your vehicle
112 4
WINDSHIELD DEFROSTING AND DEFOGGING
• For maximum defrosting, set the tem-
perature control to the extreme
right/hot position and the fan speed
control to the highest speed.
• If warm air to the floor is desired while
defrosting or defogging, set the mode
to the floor-defrost position.
• Before driving, clear all snow and ice
from the windshield, rear window, out-
side rear view mirrors, and all side win-
dows.
• Clear all snow and ice from the hood
and air inlet in the cowl grill to improve
heater and defroster efficiency and to
reduce the probability of fogging up
inside of the windshield.
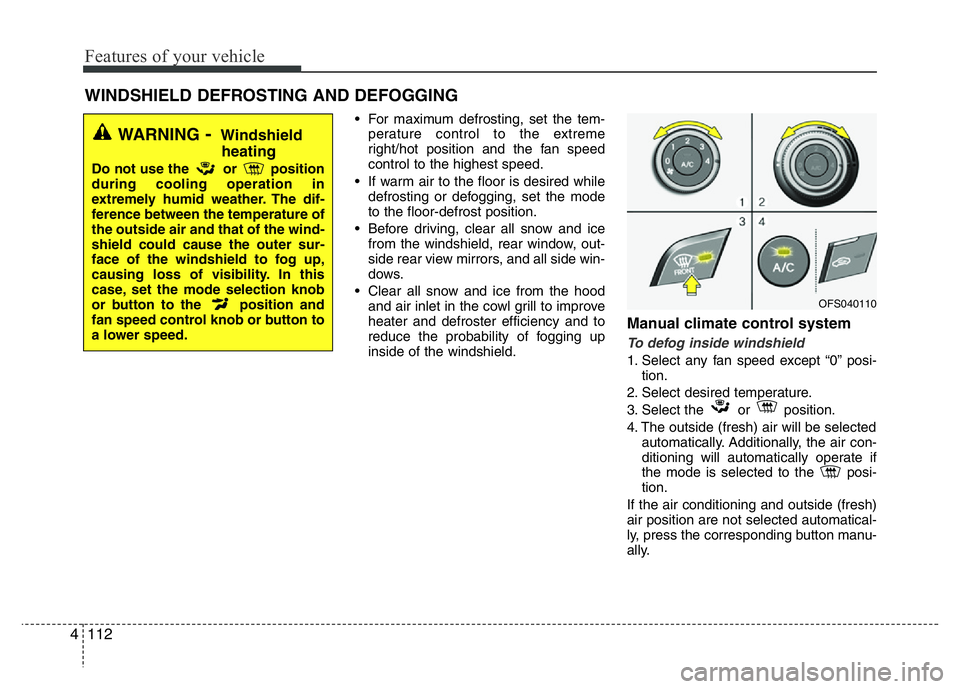
Manual climate control system
To defog inside windshield
1. Select any fan speed except “0” posi-
tion.
2. Select desired temperature.
3. Select the or position.
4. The outside (fresh) air will be selected
automatically. Additionally, the air con-
ditioning will automatically operate if
the mode is selected to the posi-
tion.
If the air conditioning and outside (fresh)
air position are not selected automatical-
ly, press the corresponding button manu-
ally.
WARNING- Windshield
heating
Do not use the or position
during cooling operation in
extremely humid weather. The dif-
ference between the temperature of
the outside air and that of the wind-
shield could cause the outer sur-
face of the windshield to fog up,
causing loss of visibility. In this
case, set the mode selection knob
or button to the position and
fan speed control knob or button to
a lower speed.
OFS040110
Page 190 of 406
4113
Features of your vehicle
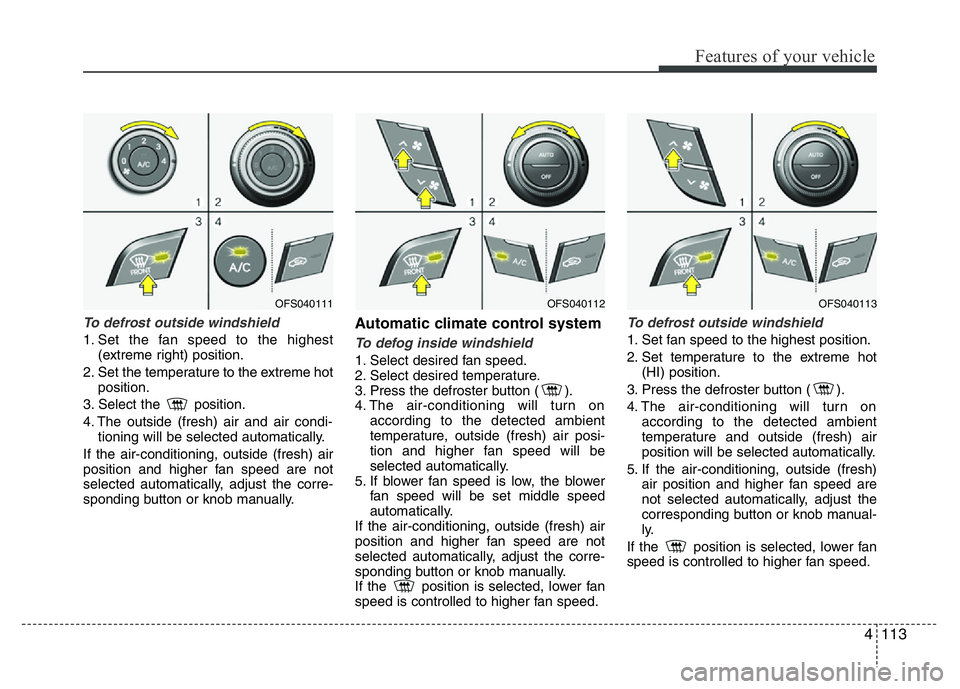
To defrost outside windshield
1. Set the fan speed to the highest
(extreme right) position.
2. Set the temperature to the extreme hot
position.
3. Select the position.
4. The outside (fresh) air and air condi-
tioning will be selected automatically.
If the air-conditioning, outside (fresh) air
position and higher fan speed are not
selected automatically, adjust the corre-
sponding button or knob manually.
Automatic climate control system
To defog inside windshield
1. Select desired fan speed.
2. Select desired temperature.
3. Press the defroster button ( ).
4. The air-conditioning will turn on
according to the detected ambient
temperature, outside (fresh) air posi-
tion and higher fan speed will be
selected automatically.
5. If blower fan speed is low, the blower
fan speed will be set middle speed
automatically.
If the air-conditioning, outside (fresh) air
position and higher fan speed are not
selected automatically, adjust the corre-
sponding button or knob manually.
If the position is selected, lower fan
speed is controlled to higher fan speed.
To defrost outside windshield
1. Set fan speed to the highest position.
2. Set temperature to the extreme hot
(HI) position.
3. Press the defroster button ( ).
4. The air-conditioning will turn on
according to the detected ambient
temperature and outside (fresh) air
position will be selected automatically.
5. If the air-conditioning, outside (fresh)
air position and higher fan speed are
not selected automatically, adjust the
corresponding button or knob manual-
ly.
If the position is selected, lower fan
speed is controlled to higher fan speed.
OFS040111OFS040112OFS040113
Page 191 of 406
Features of your vehicle
114 4
Defogging logic
To reduce the probability of fogging up
the inside of the windshield, the air intake
or air conditioning are controlled auto-
matically according to certain conditions
such as or position. To cancel or
return the defogging logic, do the follow-
ing.
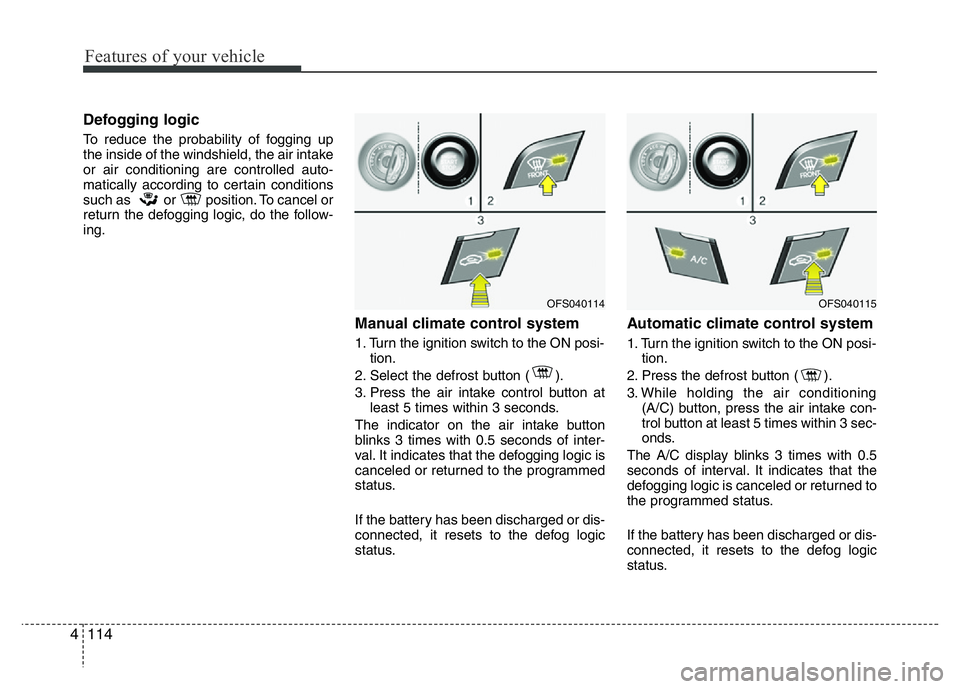
Manual climate control system
1. Turn the ignition switch to the ON posi-
tion.
2. Select the defrost button ( ).
3. Press the air intake control button at
least 5 times within 3 seconds.
The indicator on the air intake button
blinks 3 times with 0.5 seconds of inter-
val. It indicates that the defogging logic is
canceled or returned to the programmed
status.
If the battery has been discharged or dis-
connected, it resets to the defog logic
status.
Automatic climate control system
1. Turn the ignition switch to the ON posi-
tion.
2. Press the defrost button ( ).
3. While holding the air conditioning
(A/C) button, press the air intake con-
trol button at least 5 times within 3 sec-
onds.
The A/C display blinks 3 times with 0.5
seconds of interval. It indicates that the
defogging logic is canceled or returned to
the programmed status.
If the battery has been discharged or dis-
connected, it resets to the defog logic
status.
OFS040114OFS040115
Page 192 of 406
4115
Features of your vehicle
Auto defogging system
(Only for automatic climate control
system, if equipped)
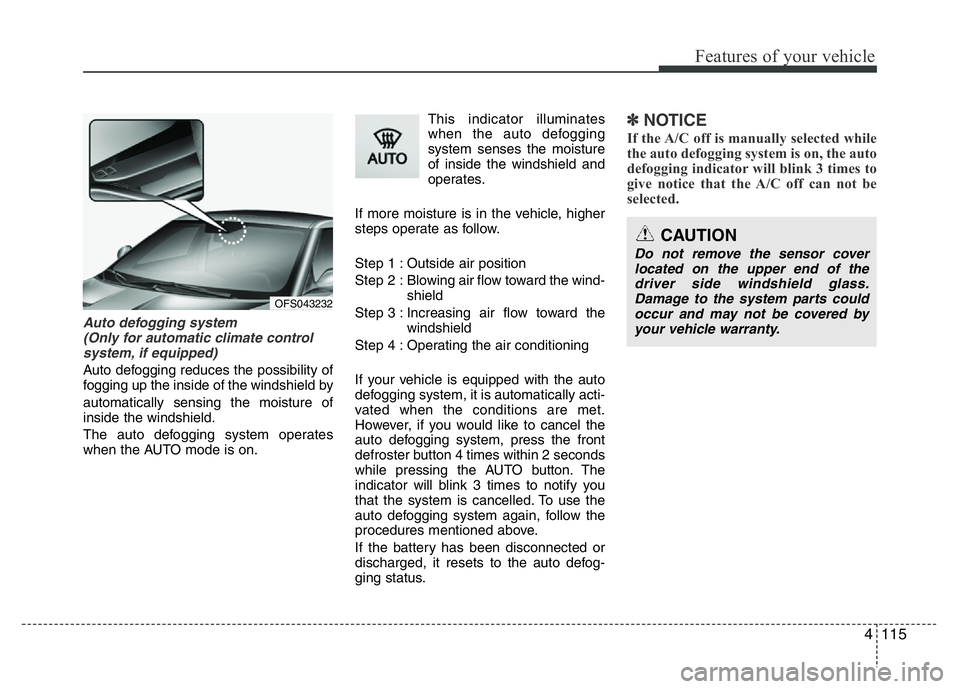
Auto defogging reduces the possibility of
fogging up the inside of the windshield by
automatically sensing the moisture of
inside the windshield.
The auto defogging system operates
when the AUTO mode is on.This indicator illuminates
when the auto defogging
system senses the moisture
of inside the windshield and
operates.
If more moisture is in the vehicle, higher
steps operate as follow.
Step 1 : Outside air position
Step 2 : Blowing air flow toward the wind-
shield
Step 3 : Increasing air flow toward the
windshield
Step 4 : Operating the air conditioning
If your vehicle is equipped with the auto
defogging system, it is automatically acti-
vated when the conditions are met.
However, if you would like to cancel the
auto defogging system, press the front
defroster button 4 times within 2 seconds
while pressing the AUTO button. The
indicator will blink 3 times to notify you
that the system is cancelled. To use the
auto defogging system again, follow the
procedures mentioned above.
If the battery has been disconnected or
discharged, it resets to the auto defog-
ging status.
✽NOTICE
If the A/C off is manually selected while
the auto defogging system is on, the auto
defogging indicator will blink 3 times to
give notice that the A/C off can not be
selected.
OFS043232
CAUTION
Do not remove the sensor cover
located on the upper end of the
driver side windshield glass.
Damage to the system parts could
occur and may not be covered by
your vehicle warranty.
Page 265 of 406
557
Driving your vehicle
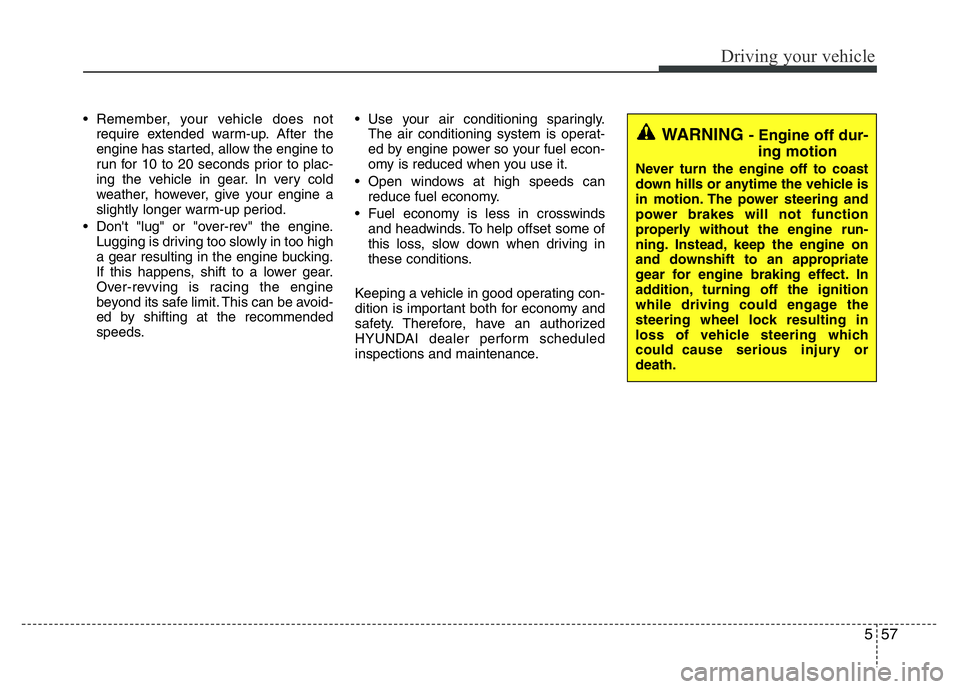
• Remember, your vehicle does not
require extended warm-up. After the
engine has started, allow the engine to
run for 10 to 20 seconds prior to plac-
ing the vehicle in gear. In very cold
weather, however, give your engine a
slightly longer warm-up period.
• Don't "lug" or "over-rev" the engine.
Lugging is driving too slowly in too high
a gear resulting in the engine bucking.
If this happens, shift to a lower gear.
Over-revving is racing the engine
beyond its safe limit. This can be avoid-
ed by shifting at the recommended
speeds.• Use your air conditioning sparingly.
The air conditioning system is operat-
ed by engine power so your fuel econ-
omy is reduced when you use it.
• Open windows at high speeds can
reduce fuel economy.
• Fuel economy is less in crosswinds
and headwinds. To help offset some of
this loss, slow down when driving in
these conditions.
Keeping a vehicle in good operating con-
dition is important both for economy and
safety. Therefore, have an authorized
HYUNDAI dealer perform scheduled
inspections and maintenance.
WARNING - Engine off dur-
ing motion
Never turn the engine off to coast
down hills or anytime the vehicle is
in motion. The power steering and
power brakes will not function
properly without the engine run-
ning. Instead, keep the engine on
and downshift to an appropriate
gear for engine braking effect. In
addition, turning off the ignition
while driving could engage the
steering wheel lock resulting in
loss of vehicle steering which
could cause serious injury or
death.
Page 285 of 406
67
What to do in an emergency
IF THE ENGINE OVERHEATS
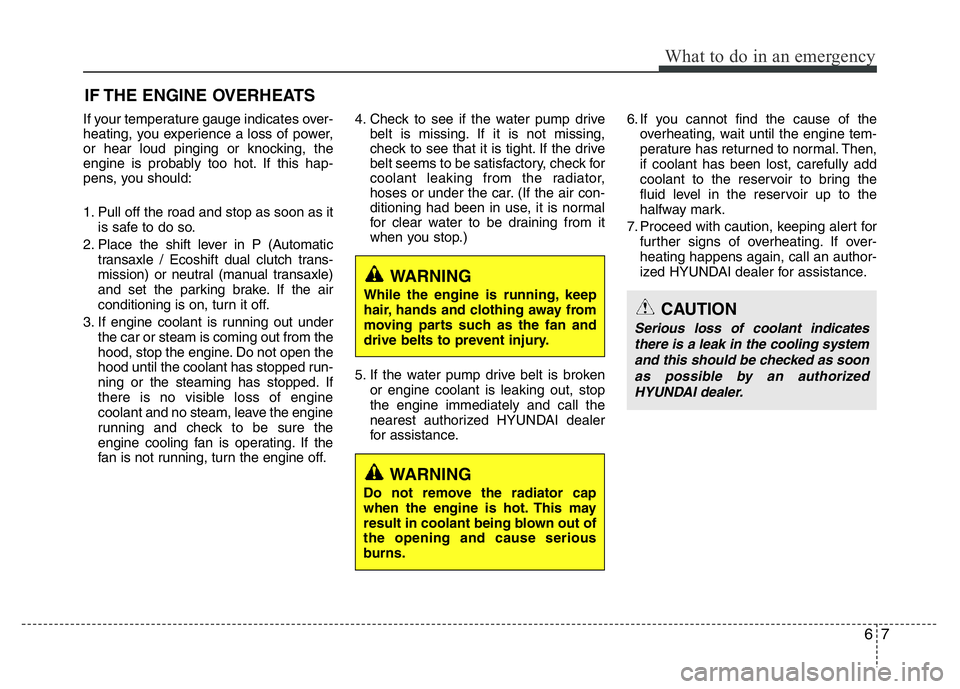
If your temperature gauge indicates over-
heating, you experience a loss of power,
or hear loud pinging or knocking, the
engine is probably too hot. If this hap-
pens, you should:
1. Pull off the road and stop as soon as it
is safe to do so.
2. Place the shift lever in P (Automatic
transaxle / Ecoshift dual clutch trans-
mission) or neutral (manual transaxle)
and set the parking brake. If the air
conditioning is on, turn it off.
3. If engine coolant is running out under
the car or steam is coming out from the
hood, stop the engine. Do not open the
hood until the coolant has stopped run-
ning or the steaming has stopped. If
there is no visible loss of engine
coolant and no steam, leave the engine
running and check to be sure the
engine cooling fan is operating. If the
fan is not running, turn the engine off.4. Check to see if the water pump drive
belt is missing. If it is not missing,
check to see that it is tight. If the drive
belt seems to be satisfactory, check for
coolant leaking from the radiator,
hoses or under the car. (If the air con-
ditioning had been in use, it is normal
for clear water to be draining from it
when you stop.)
5. If the water pump drive belt is broken
or engine coolant is leaking out, stop
the engine immediately and call the
nearest authorized HYUNDAI dealer
for assistance.6. If you cannot find the cause of the
overheating, wait until the engine tem-
perature has returned to normal. Then,
if coolant has been lost, carefully add
coolant to the reservoir to bring the
fluid level in the reservoir up to the
halfway mark.
7. Proceed with caution, keeping alert for
further signs of overheating. If over-
heating happens again, call an author-
ized HYUNDAI dealer for assistance.
WARNING
While the engine is running, keep
hair, hands and clothing away from
moving parts such as the fan and
drive belts to prevent injury.CAUTION
Serious loss of coolant indicates
there is a leak in the cooling system
and this should be checked as soon
as possible by an authorized
HYUNDAI dealer.
WARNING
Do not remove the radiator cap
when the engine is hot. This may
result in coolant being blown out of
the opening and cause serious
burns.
Page 315 of 406
75
Maintenance
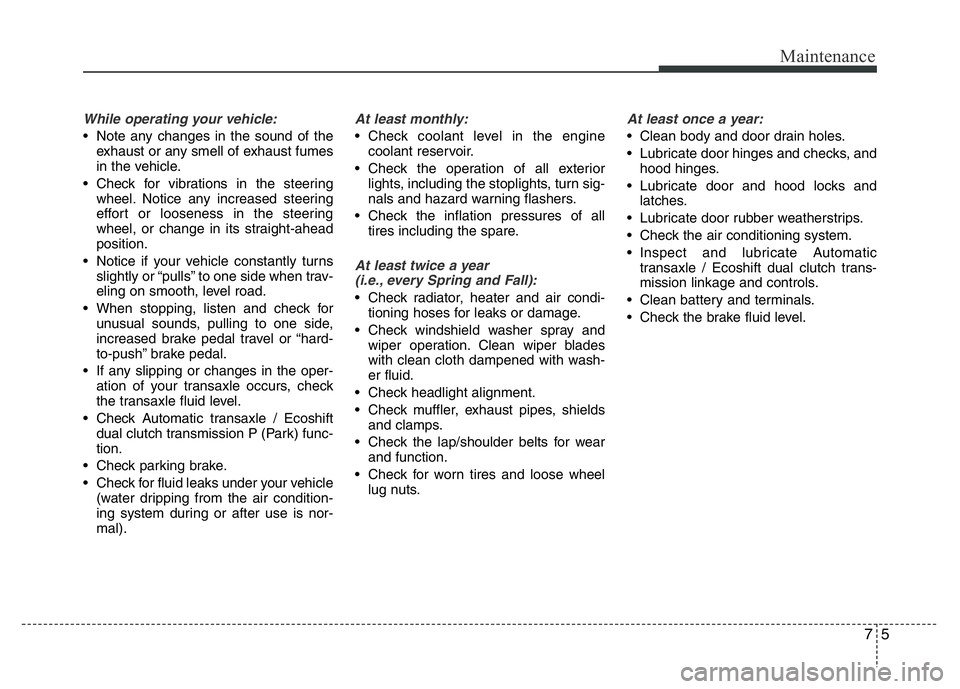
While operating your vehicle:
• Note any changes in the sound of the
exhaust or any smell of exhaust fumes
in the vehicle.
• Check for vibrations in the steering
wheel. Notice any increased steering
effort or looseness in the steering
wheel, or change in its straight-ahead
position.
• Notice if your vehicle constantly turns
slightly or “pulls” to one side when trav-
eling on smooth, level road.
• When stopping, listen and check for
unusual sounds, pulling to one side,
increased brake pedal travel or “hard-
to-push” brake pedal.
• If any slipping or changes in the oper-
ation of your transaxle occurs, check
the transaxle fluid level.
• Check Automatic transaxle / Ecoshift
dual clutch transmission P (Park) func-
tion.
• Check parking brake.
• Check for fluid leaks under your vehicle
(water dripping from the air condition-
ing system during or after use is nor-
mal).
At least monthly:
• Check coolant level in the engine
coolant reservoir.
• Check the operation of all exterior
lights, including the stoplights, turn sig-
nals and hazard warning flashers.
• Check the inflation pressures of all
tires including the spare.
At least twice a year
(i.e., every Spring and Fall):
• Check radiator, heater and air condi-
tioning hoses for leaks or damage.
• Check windshield washer spray and
wiper operation. Clean wiper blades
with clean cloth dampened with wash-
er fluid.
• Check headlight alignment.
• Check muffler, exhaust pipes, shields
and clamps.
• Check the lap/shoulder belts for wear
and function.
• Check for worn tires and loose wheel
lug nuts.
At least once a year:
• Clean body and door drain holes.
• Lubricate door hinges and checks, and
hood hinges.
• Lubricate door and hood locks and
latches.
• Lubricate door rubber weatherstrips.
• Check the air conditioning system.
• Inspect and lubricate Automatic
transaxle / Ecoshift dual clutch trans-
mission linkage and controls.
• Clean battery and terminals.
• Check the brake fluid level.
Page 318 of 406
Maintenance
8 7
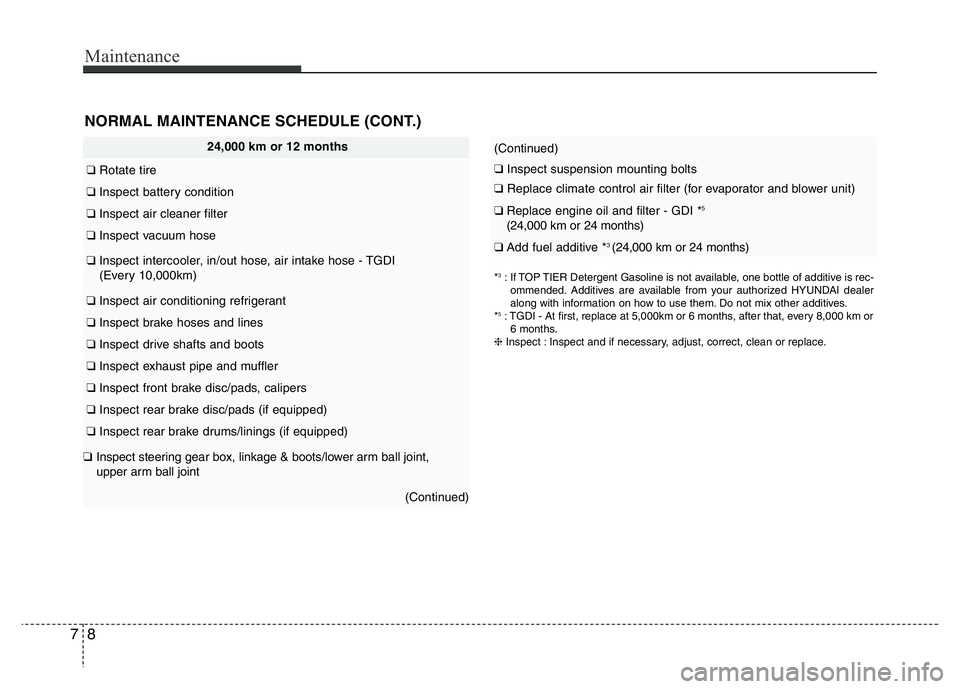
24,000 km or 12 months
❑ Rotate tire
❑ Inspect battery condition
❑Inspect air cleaner filter
❑Inspect vacuum hose
❑Inspect intercooler, in/out hose, air intake hose - TGDI
(Every 10,000km)
❑Inspect air conditioning refrigerant
❑Inspect brake hoses and lines
❑Inspect drive shafts and boots
❑Inspect exhaust pipe and muffler
❑Inspect front brake disc/pads, calipers
❑Inspect rear brake disc/pads (if equipped)
❑Inspect rear brake drums/linings (if equipped)
❑Inspect steering gear box, linkage & boots/lower arm ball joint,
upper arm ball joint
(Continued)
*3: If TOP TIER Detergent Gasoline is not available, one bottle of additive is rec-
ommended. Additives are available from your authorized HYUNDAI dealer
along with information on how to use them. Do not mix other additives.
*
5: TGDI - At first, replace at 5,000km or 6 months, after that, every 8,000 km or
6 months.
❈Inspect : Inspect and if necessary, adjust, correct, clean or replace.
(Continued)
❑Inspect suspension mounting bolts
❑Replace climate control air filter (for evaporator and blower unit)
❑Replace engine oil and filter - GDI *5
(24,000 km or 24 months)
❑Add fuel additive *3 (24,000 km or 24 months)
NORMAL MAINTENANCE SCHEDULE (CONT.)