Page 96 of 406
419
Features of your vehicle
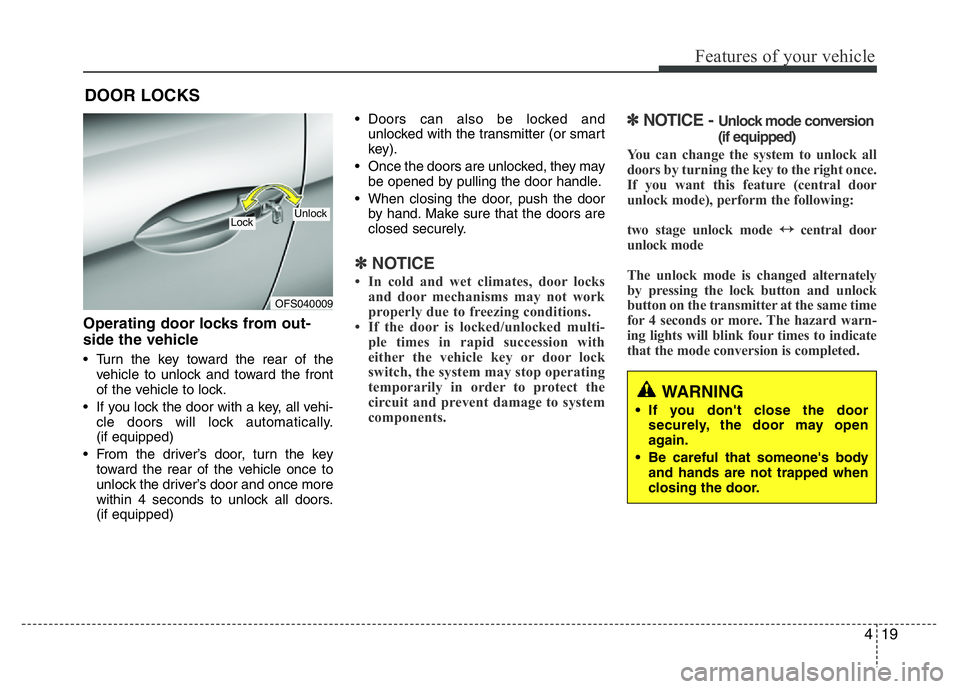
Operating door locks from out-
side the vehicle
• Turn the key toward the rear of the
vehicle to unlock and toward the front
of the vehicle to lock.
• If you lock the door with a key, all vehi-
cle doors will lock automatically.
(if equipped)
• From the driver’s door, turn the key
toward the rear of the vehicle once to
unlock the driver’s door and once more
within 4 seconds to unlock all doors.
(if equipped)• Doors can also be locked and
unlocked with the transmitter (or smart
key).
• Once the doors are unlocked, they may
be opened by pulling the door handle.
• When closing the door, push the door
by hand. Make sure that the doors are
closed securely.
✽NOTICE
• In cold and wet climates, door locks
and door mechanisms may not work
properly due to freezing conditions.
• If the door is locked/unlocked multi-
ple times in rapid succession with
either the vehicle key or door lock
switch, the system may stop operating
temporarily in order to protect the
circuit and prevent damage to system
components.
✽NOTICE - Unlock mode conversion
(if equipped)
You can change the system to unlock all
doors by turning the key to the right once.
If you want this feature (central door
unlock mode), perform the following:
two stage unlock mode
↔central door
unlock mode
The unlock mode is changed alternately
by pressing the lock button and unlock
button on the transmitter at the same time
for 4 seconds or more. The hazard warn-
ing lights will blink four times to indicate
that the mode conversion is completed.
DOOR LOCKS
WARNING
• If you don't close the door
securely, the door may open
again.
• Be careful that someone's body
and hands are not trapped when
closing the door.
OFS040009
UnlockLock
Page 118 of 406
441
Features of your vehicle
(Continued)
• When you operate the steering wheel in
low temperature, abnormal noise could
occur. If temperature rises, the noise will
disappear. This is a normal condition.
• When the charging system warning
light comes on or the voltage is low
(When the alternator (or battery) does
not operate normally or it malfunc-
tions), the steering effort may increase
and may become difficult to control
normal.Tilt steering / Tilt and telescope
steering
Tilt steering allows you to adjust the
steering wheel before you drive. You can
also raise it to give your legs more room
when you exit and enter the vehicle.
The steering wheel should be positioned
so that it is comfortable for you to drive,
while permitting you to see the instru-
ment panel warning lights and gauges.
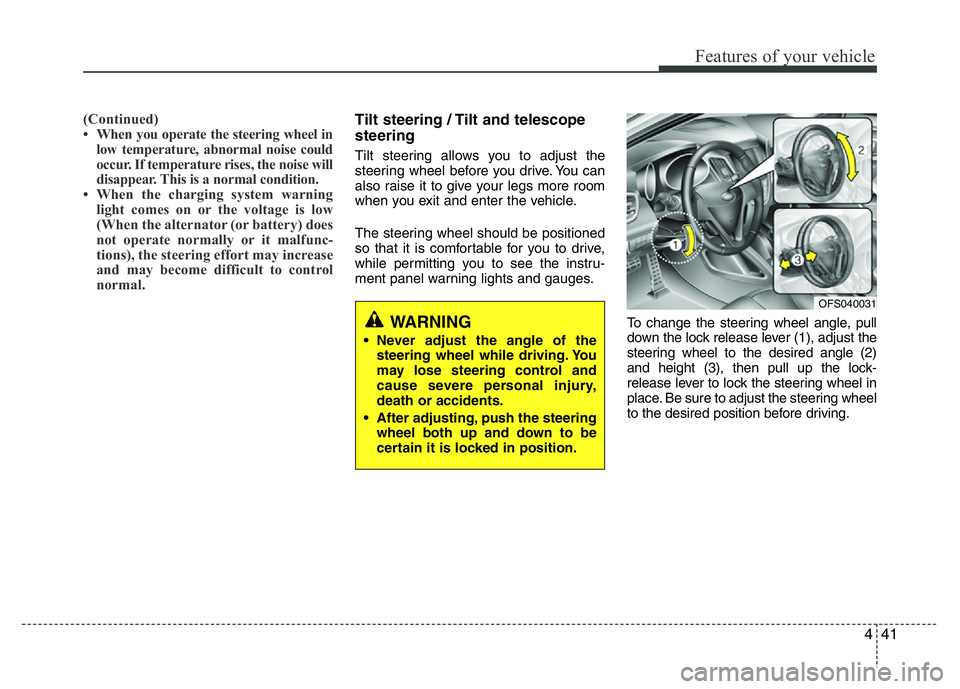
To change the steering wheel angle, pull
down the lock release lever (1), adjust the
steering wheel to the desired angle (2)
and height (3), then pull up the lock-
release lever to lock the steering wheel in
place. Be sure to adjust the steering wheel
to the desired position before driving.
WARNING
• Never adjust the angle of the
steering wheel while driving. You
may lose steering control and
cause severe personal injury,
death or accidents.
• After adjusting, push the steering
wheel both up and down to be
certain it is locked in position.
OFS040031
Page 122 of 406
445
Features of your vehicle
MIRRORS
Inside rearview mirror
Adjust the rearview mirror so that the
center view through the rear window is
seen. Make this adjustment before you
start driving.
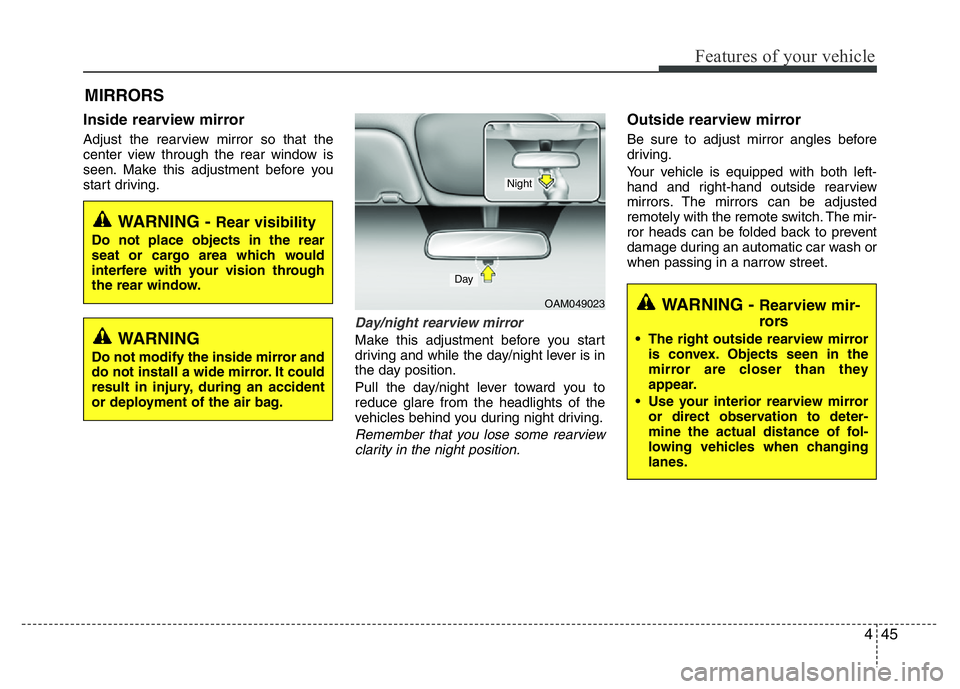
Day/night rearview mirror
Make this adjustment before you start
driving and while the day/night lever is in
the day position.
Pull the day/night lever toward you to
reduce glare from the headlights of the
vehicles behind you during night driving.
Remember that you lose some rearview
clarity in the night position.
Outside rearview mirror
Be sure to adjust mirror angles before
driving.
Your vehicle is equipped with both left-
hand and right-hand outside rearview
mirrors. The mirrors can be adjusted
remotely with the remote switch. The mir-
ror heads can be folded back to prevent
damage during an automatic car wash or
when passing in a narrow street.
WARNING - Rear visibility
Do not place objects in the rear
seat or cargo area which would
interfere with your vision through
the rear window.
WARNING
Do not modify the inside mirror and
do not install a wide mirror. It could
result in injury, during an accident
or deployment of the air bag.
OAM049023
Day
Night
WARNING - Rearview mir-
rors
• The right outside rearview mirror
is convex. Objects seen in the
mirror are closer than they
appear.
• Use your interior rearview mirror
or direct observation to deter-
mine the actual distance of fol-
lowing vehicles when changing
lanes.
Page 125 of 406
Features of your vehicle
48 4
INSTRUMENT CLUSTER
OFS045332C/OFS045333C
■Type A
■ Type B1. Tachometer
2. Turn signal indicators
3. Speedometer
4. Warning and indicator lights
5. Engine temperature gauge
6. Fuel gauge
7. Odometer/Tripmeter*/LCD Display*
* if equipped
❈The actual cluster in the vehicle may
differ from the illustration.
Page 126 of 406
449
Features of your vehicle
OFS045334C
■Type C
1. Tachometer
2. Turn signal indicators
3. Speedometer
4. Warning and indicator lights
5. Engine temperature gauge
6. Fuel gauge
7. Odometer/Tripmeter*/LCD Display*
* if equipped
❈The actual cluster in the vehicle may
differ from the illustration.
Page 138 of 406
461
Features of your vehicle
Warnings and indicators
All warning lights are checked by turning
the ignition switch ON (do not start the
engine). Any light that does not illuminate
should be checked by an authorized
HYUNDAI dealer.
After starting the engine, check to make
sure that all warning lights are off. If any
are still on, this indicates a situation that
needs attention. When releasing the
parking brake, the brake system warning
light should go off. The fuel warning light
will stay on if the fuel level is low.
ECO indicator
(if equipped)
Active ECO system (if equipped)
When the active ECO is operating the
ECO indicator is green.
For more detailed information, refer to
“Active ECO” in chapter 5.
Air bag warning light
This warning light will illuminate for
approximately 6 seconds each time you
turn the ignition switch to the ON posi-
tion.
This light also comes on when the
Supplemental Restraint System (SRS) is
not working properly. If the SRS air bag
warning light does not come on, or
continuously remains on after operating
for about 6 seconds when you turned the
ignition switch to the ON position or start-
ed the engine, or if it comes on while
driving, have the SRS inspected by an
authorized HYUNDAI dealer.
ECO
Page 139 of 406
Features of your vehicle
62 4
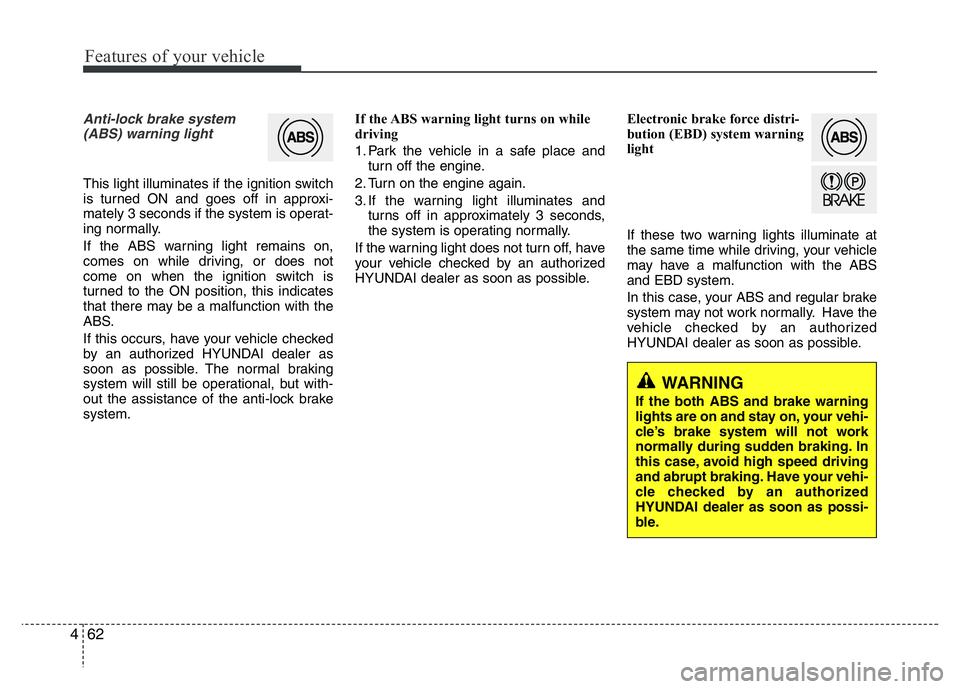
Anti-lock brake system
(ABS) warning light
This light illuminates if the ignition switch
is turned ON and goes off in approxi-
mately 3 seconds if the system is operat-
ing normally.
If the ABS warning light remains on,
comes on while driving, or does not
come on when the ignition switch is
turned to the ON position, this indicates
that there may be a malfunction with the
ABS.
If this occurs, have your vehicle checked
by an authorized HYUNDAI dealer as
soon as possible. The normal braking
system will still be operational, but with-
out the assistance of the anti-lock brake
system.If the ABS warning light turns on while
driving
1. Park the vehicle in a safe place and
turn off the engine.
2. Turn on the engine again.
3. If the warning light illuminates and
turns off in approximately 3 seconds,
the system is operating normally.
If the warning light does not turn off, have
your vehicle checked by an authorized
HYUNDAI dealer as soon as possible.Electronic brake force distri-
bution (EBD) system warning
light
If these two warning lights illuminate at
the same time while driving, your vehicle
may have a malfunction with the ABS
and EBD system.
In this case, your ABS and regular brake
system may not work normally. Have the
vehicle checked by an authorized
HYUNDAI dealer as soon as possible.
WARNING
If the both ABS and brake warning
lights are on and stay on, your vehi-
cle’s brake system will not work
normally during sudden braking. In
this case, avoid high speed driving
and abrupt braking. Have your vehi-
cle checked by an authorized
HYUNDAI dealer as soon as possi-
ble.
Page 141 of 406
Features of your vehicle
64 4
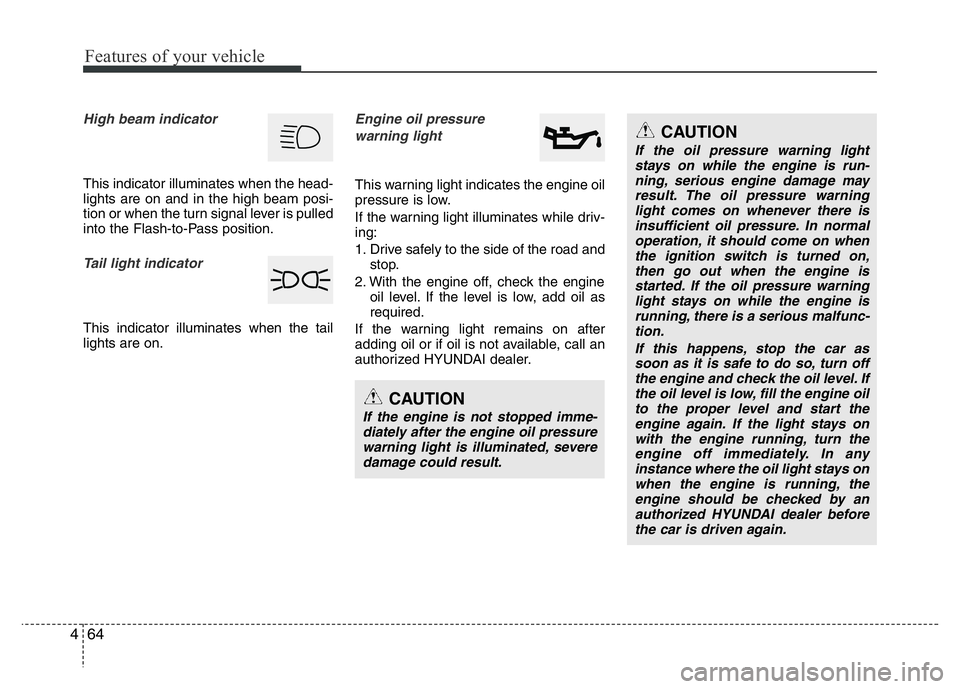
High beam indicator
This indicator illuminates when the head-
lights are on and in the high beam posi-
tion or when the turn signal lever is pulled
into the Flash-to-Pass position.
Tail light indicator
This indicator illuminates when the tail
lights are on.
Engine oil pressure
warning light
This warning light indicates the engine oil
pressure is low.
If the warning light illuminates while driv-
ing:
1. Drive safely to the side of the road and
stop.
2. With the engine off, check the engine
oil level. If the level is low, add oil as
required.
If the warning light remains on after
adding oil or if oil is not available, call an
authorized HYUNDAI dealer.
CAUTION
If the engine is not stopped imme-
diately after the engine oil pressure
warning light is illuminated, severe
damage could result.
CAUTION
If the oil pressure warning light
stays on while the engine is run-
ning, serious engine damage may
result. The oil pressure warning
light comes on whenever there is
insufficient oil pressure. In normal
operation, it should come on when
the ignition switch is turned on,
then go out when the engine is
started. If the oil pressure warning
light stays on while the engine is
running, there is a serious malfunc-
tion.
If this happens, stop the car as
soon as it is safe to do so, turn off
the engine and check the oil level. If
the oil level is low, fill the engine oil
to the proper level and start the
engine again. If the light stays on
with the engine running, turn the
engine off immediately. In any
instance where the oil light stays on
when the engine is running, the
engine should be checked by an
authorized HYUNDAI dealer before
the car is driven again.