Page 106 of 642

3-8
Convenient features of your vehicle
Smart Key (if equipped)
Your HYUNDAI uses a Smart Key,
which you can use to lock or unlock
the driver and passenger doors or
the liftgate.
1. Door Lock
2. Door Unlock
3. Liftgate Unlock
4. Panic
Locking Your Vehicle
To lock your vehicle:
1. Make sure all doors, the enginehood and the liftgate are closed.
2. Make sure you have the smart key in your possession.
3. Press either the button on the door handle of the Door Lock button (1)
or the button on the smart key. Thechime will sound once and the
hazard warning lights will blink.
4. Make sure the doors are locked by checking the position of the door
lock button inside the vehicle.
Information
The door handle button will only
operate when the smart key is within
28~40 inches (0.7~1 m) from the out-
side door handle.
Even though you press the outside
door handle button, the doors will not
lock and the chime will sound for three
seconds if any of the following occur:
The Smart Key is in the vehicle.
The Engine Start/Stop button is inACC or ON position.
Any door except the liftgate is open.
i
OTL045003OLF044003/Q
Do not leave the Smart Key in
your vehicle with unsupervised
children. Unattended children
could press the Engine Start/
Stop button and may operate
power windows or other con-
trols, or even make the vehicle
move, which could result in
serious injury or death.
WARNING
Page 117 of 642

3-19
Convenient features of your vehicle
This system helps to protect your
vehicle and valuables. The horn will
sound and the hazard warning lights
will blink continuously if any of the
following occurs:
- A door is opened without using theremote key or smart key.
- The liftgate is opened without using the remote key or smart key.
- The engine hood is opened.
The alarm continues for 30 seconds,
then the system resets. To turn off
the alarm, unlock the doors with the
remote key or smart key.
The Theft Alarm System automatical-
ly sets 30 seconds after you lock the
doors and the liftgate. For the system
to activate, you must lock the doors
and the liftgate from outside the vehi-
cle with the remote key or smart key
or by pressing the button on the out-
side of the door handle with the smart
key in your possession.
The hazard warning lights will blink and the chime will sound once to
indicate the system is armed. Once the security system is set,
opening any door, the liftgate, or the
hood without using the remote key or
smart key will cause the alarm to
activate.
The Theft Alarm System will not set if
the hood, the liftgate, or any door is
not fully closed. If the system will not
set, check the hood, the liftgate, orthe doors are fully closed. Do not attempt to alter this system or
add other devices to it.Information
Do not lock the doors until all pas-
sengers have left the vehicle. If the
remaining passenger leaves the
vehicle when the system is armed,
the alarm will be activated.
If the vehicle is not disarmed with the remote key or smart key, open the
doors by using the mechanical key
and place the ignition switch in the
ON position (for remote key) or start
the engine (for smart key) by direct-
ly pressing the ignition switch with
the smart key.
If the system is disarmed by unlock- ing the vehicle, but neither a door or
the liftgate is opened within 30 sec-
onds, the doors will relock and the
system will rearm automatically.
i
TTHH EEFFTT --AA LLAA RRMM SS YY SSTT EEMM
3
Page 144 of 642
3-46
Convenient features of your vehicle
Hood
Opening the hood
1. Park the vehicle and set the park-ing brake.
2. Pull the release lever to unlatch the hood. The hood should pop
open slightly. 3. Go to the front of the vehicle, raise
the hood slightly, push up the sec-
ondary latch (1) inside of the hoodcenter and lift the hood (2). 4. Pull out the support rod and hold
the hood open with the supportrod (1).
EEXX TTEERR IIOO RR FF EE AA TTUU RREESS
OTLA045032
OTL045033OTL045245
Page 145 of 642

3-47
Convenient features of your vehicle
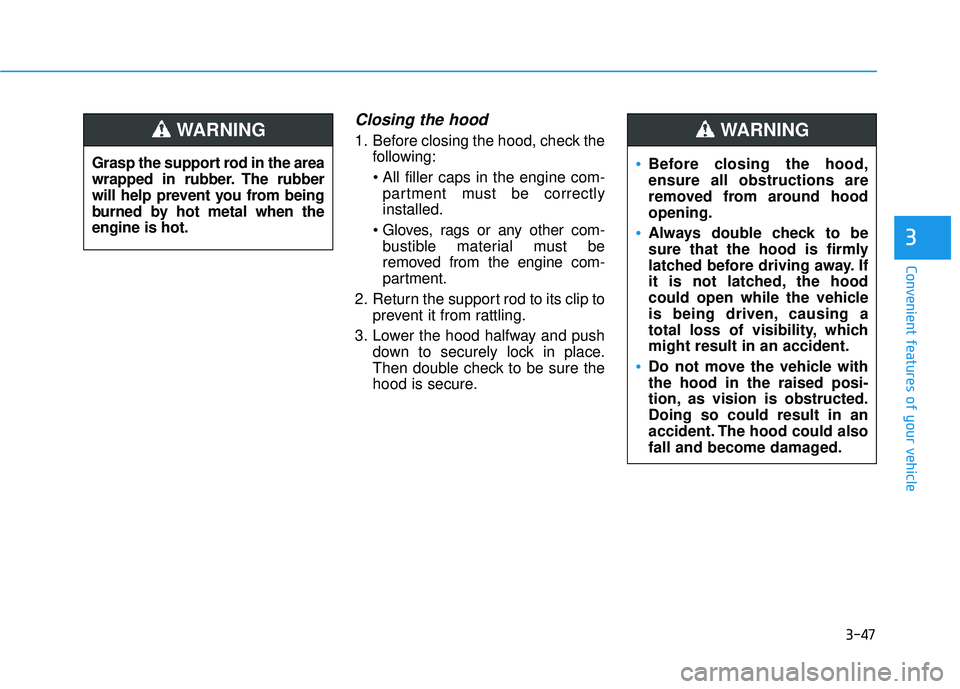
Closing the hood
1. Before closing the hood, check thefollowing:
partment must be correctly installed.
bustible material must be
removed from the engine com-
partment.
2. Return the support rod to its clip to prevent it from rattling.
3. Lower the hood halfway and push down to securely lock in place.
Then double check to be sure the
hood is secure.
3
Before closing the hood, ensure all obstructions are
removed from around hoodopening.
Always double check to be
sure that the hood is firmly
latched before driving away. If
it is not latched, the hood
could open while the vehicle
is being driven, causing a
total loss of visibility, whichmight result in an accident.
Do not move the vehicle with the hood in the raised posi-
tion, as vision is obstructed.Doing so could result in an
accident. The hood could also
fall and become damaged.
WARNING
Grasp the support rod in the area
wrapped in rubber. The rubber
will help prevent you from being
burned by hot metal when theengine is hot.
WARNING
Page 182 of 642
3-84
Convenient features of your vehicle
Steering wheel aligning is com-pleted
If the steering wheel aligning is com-
pleted after "Align steering wheel"
warning message is displayed, this
message is displayed for 2 seconds.
Door / Hood / liftgate Open
This warning message is displayed
indicating which door, or the hood, orthe liftgate is open.
Sunroof Open
This warning message is displayed
if you turn off the engine when thesunroof is open.OTL045158L
OTL045148OTL045149
Page 494 of 642

6-7
What to do in an emergency
6
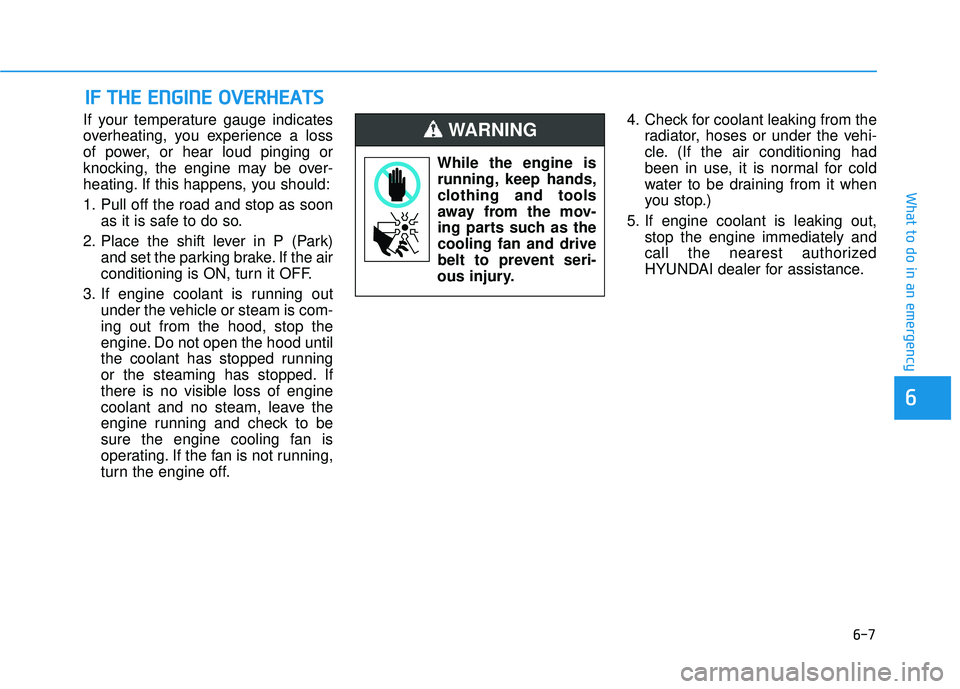
If your temperature gauge indicates
overheating, you experience a loss
of power, or hear loud pinging or
knocking, the engine may be over-
heating. If this happens, you should:
1. Pull off the road and stop as soonas it is safe to do so.
2. Place the shift lever in P (Park) and set the parking brake. If the air
conditioning is ON, turn it OFF.
3. If engine coolant is running out under the vehicle or steam is com-ing out from the hood, stop the
engine. Do not open the hood until
the coolant has stopped running
or the steaming has stopped. If
there is no visible loss of engine
coolant and no steam, leave the
engine running and check to be
sure the engine cooling fan is
operating. If the fan is not running,
turn the engine off. 4. Check for coolant leaking from the
radiator, hoses or under the vehi-
cle. (If the air conditioning had
been in use, it is normal for cold
water to be draining from it when
you stop.)
5. If engine coolant is leaking out, stop the engine immediately and
call the nearest authorized
HYUNDAI dealer for assistance.
IIFF TT HH EE EE NN GGIINN EE OO VVEERR HH EEAA TTSS
While the engine is
running, keep hands,
clothing and tools
away from the mov-
ing parts such as thecooling fan and drive
belt to prevent seri-
ous injury.
WARNING
Page 592 of 642

7-79
7
Maintenance
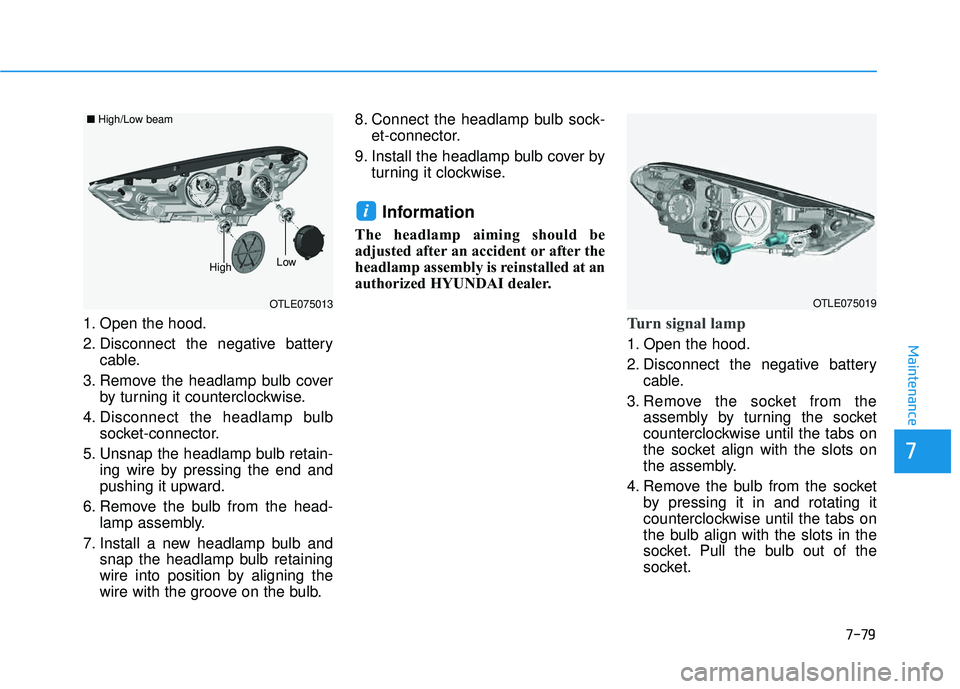
1. Open the hood.
2. Disconnect the negative batterycable.
3. Remove the headlamp bulb cover by turning it counterclockwise.
4. Disconnect the headlamp bulb socket-connector.
5. Unsnap the headlamp bulb retain- ing wire by pressing the end and
pushing it upward.
6. Remove the bulb from the head- lamp assembly.
7. Install a new headlamp bulb and snap the headlamp bulb retaining
wire into position by aligning the
wire with the groove on the bulb. 8. Connect the headlamp bulb sock-
et-connector.
9. Install the headlamp bulb cover by turning it clockwise.
Information
The headlamp aiming should be
adjusted after an accident or after the
headlamp assembly is reinstalled at an
authorized HYUNDAI dealer.
Turn signal lamp
1. Open the hood.
2. Disconnect the negative batterycable.
3. Remove the socket from the assembly by turning the socket
counterclockwise until the tabs on
the socket align with the slots on
the assembly.
4. Remove the bulb from the socket by pressing it in and rotating it
counterclockwise until the tabs on
the bulb align with the slots in the
socket. Pull the bulb out of the
socket.
i
OTLE075013
■High/Low beam
LowHigh
OTLE075019
Page 593 of 642
7-80
Maintenance
5. Install a new bulb by inserting itinto the socket and rotating it until
it locks into place.
6. Install the socket in the assembly by aligning the tabs on the socket
with the slots in the assembly.
7. Push the socket into the assembly and turn the socket clockwise.
Side marker lamp
1. Open the hood.
2. Disconnect the negative batterycable.
3. Remove the socket from the assembly by turning the socket
counterclockwise until the tabs on
the socket align with the slots on
the assembly.
4. Remove the bulb from the socket by pulling out the bulb.
5. Insert a new bulb.
Front fog lamp
1. Remove the front bumper under cover.
2. Reach your hand into the back of the front bumper.
3. Disconnect the power connector from the socket.
4. Remove the bulb-socket from the housing by turning the socket
counter clockwise until the tabs on
the socket align with the slots onthe housing.
OTLA075070OTL075068L