Page 199 of 642

3-101
Convenient features of your vehicle
3
All Wheel Drive (AWD)Warning Light (if equipped)
This warning light illuminates:
Once you turn the ignition switch or Engine Start/Stop Button to the ON position.
- It illuminates for approximately 3seconds and then goes off.
When there is a malfunction with the AWD system.
In this case, have your vehicle
inspected by an authorized
HYUNDAI dealer.
Headlight Warning
Light
This warning light illuminates:
This warning light illuminates if one
of the exterior bulbs (headlamp, tail-
lamp, foglamp, etc.) is not operating
properly. One of the bulbs may need
to be replaced. If the vehicle is
equipped with LED headlamps, have
the vehicle inspected by an author-
ized HYUNDAI dealer.
Information
When replacing the bulb, use the same
wattage bulb.
For more information, refer to
"BULB WATTAGE" in chapter 8.
Master Warning Light
This indicator light illuminates
When there is a malfunction in operation in any of the following systems:
- Low washer fluid
- Blind Spot Detection (BSD) mal-function (if equipped)
- Lane Departure Warning System (LDWS) malfunction (if equipped)
- Tire Pressure Monitoring System (TPMS)
- Service reminder and so on.
To identify the details of the warning,
look at the LCD display.
i
Page 204 of 642

3-106
Convenient features of your vehicle
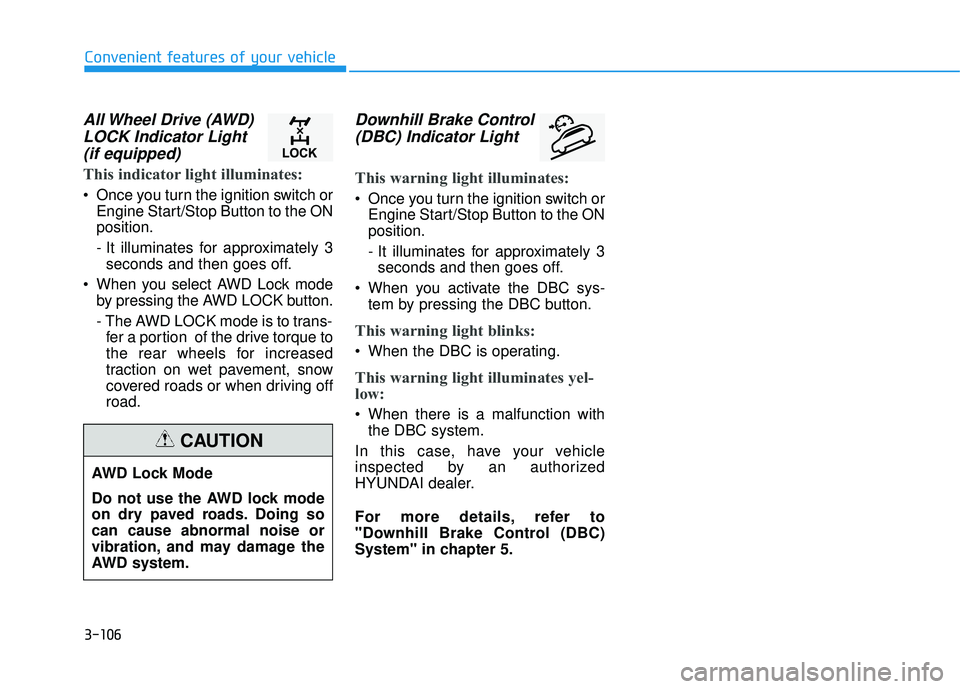
All Wheel Drive (AWD)LOCK Indicator Light(if equipped)
This indicator light illuminates:
Once you turn the ignition switch or Engine Start/Stop Button to the ON position.
- It illuminates for approximately 3seconds and then goes off.
When you select AWD Lock mode by pressing the AWD LOCK button.
- The AWD LOCK mode is to trans-fer a portion of the drive torque to
the rear wheels for increased
traction on wet pavement, snow
covered roads or when driving offroad.
Downhill Brake Control
(DBC) Indicator Light
This warning light illuminates:
Once you turn the ignition switch or Engine Start/Stop Button to the ON position.
- It illuminates for approximately 3seconds and then goes off.
When you activate the DBC sys- tem by pressing the DBC button.
This warning light blinks:
When the DBC is operating.
This warning light illuminates yel-
low:
When there is a malfunction withthe DBC system.
In this case, have your vehicle
inspected by an authorized
HYUNDAI dealer.
For more details, refer to
"Downhill Brake Control (DBC)
System" in chapter 5.
AWD Lock Mode
Do not use the AWD lock mode
on dry paved roads. Doing socan cause abnormal noise or
vibration, and may damage the
AWD system.
CAUTION
Page 228 of 642
3-130
Convenient features of your vehicle
MAX A/C-Level (B, D)
The MAX A/C mode is used to cool
the inside of the vehicle faster. Air
flow is directed toward the upper
body and face.
In this mode, the air conditioning and the recirculated air position will be
selected automatically.
Instrument panel vents
The outlet vents can be opened ( )
or closed ( ) separately using the thumbwheel.
Also, you can adjust the direction of
air delivered from these vents using
the vent control lever as shown.
Temperature control
The temperature will increase by
turning the knob to the right.
The temperature will decrease by
turning the knob to the left.
OTL045209OTL045086OTL045210
Page 240 of 642

3-142
Convenient features of your vehicle
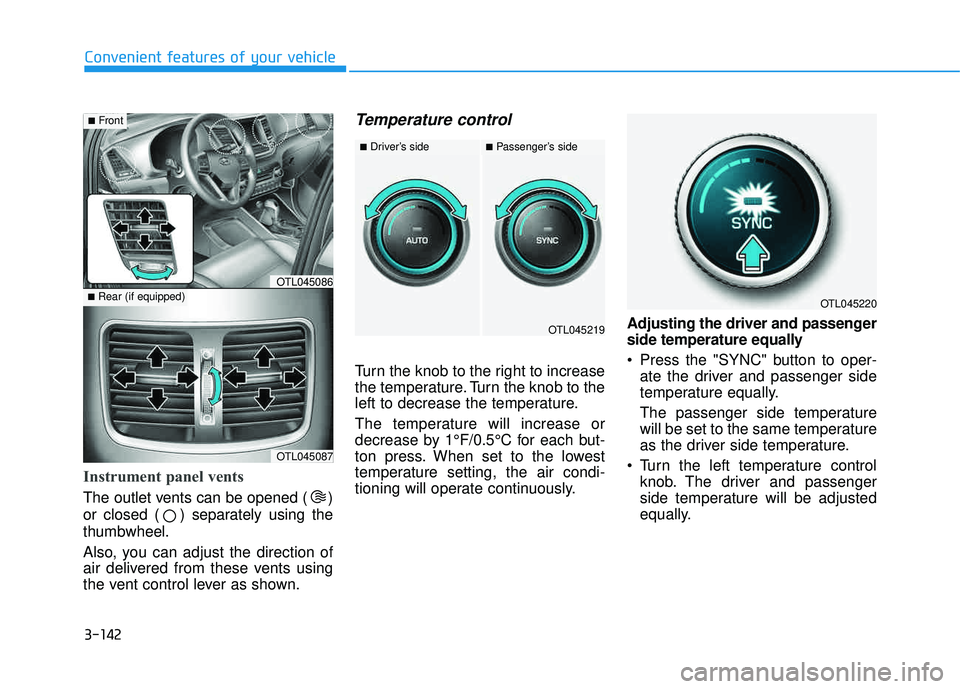
Instrument panel vents
The outlet vents can be opened ( )
or closed ( ) separately using thethumbwheel.
Also, you can adjust the direction of
air delivered from these vents using
the vent control lever as shown.
Temperature control
Turn the knob to the right to increase
the temperature. Turn the knob to the
left to decrease the temperature.
The temperature will increase or
decrease by 1°F/0.5°C for each but-
ton press. When set to the lowest
temperature setting, the air condi-
tioning will operate continuously.Adjusting the driver and passenger
side temperature equally
Press the "SYNC" button to oper-
ate the driver and passenger side
temperature equally.
The passenger side temperature
will be set to the same temperature
as the driver side temperature.
Turn the left temperature control knob. The driver and passenger
side temperature will be adjusted
equally.
OTL045087
■Rear (if equipped)OTL045086
■Front
OTL045219
■Driver’s side■Passenger’s side
OTL045220
Page 264 of 642

Multimedia System
Multimedia System.................................................4-2
AUX, USB and iPod®
Port ...............................................4-2
Antenna ...............................................................................4-2
Steering Wheel Audio Control........................................4-3
Audio / Video / Navigation System (AVN) ..................4-4
Bluetooth® Wireless Technology Hands-Free ...........4-4
How Vehicle Audio Works ...............................................4-5
Features of Your Vehicle.................................................4-7
Caring for Disc ...................................................................4-8
System Controllers and Functions ..........4-18, 4-71
Audio Head Unit ...................................................4-18, 4-71
Steering-Wheel Mounted Controls .................4-20, 4-73
Radio Mode ...........................................................4-22, 4-75 SiriusXM Radio Mode / XM TM
Radio
Mode .......................................................................4-26, 4-77
Media Mode ..........................................................4-28, 4-79
Audio CD Mode.....................................................4-29, 4-80
MP3 CD Mode .......................................................4-31, 4-82
USB Mode ..............................................................4-34, 4-85
iPod ®
Mode ...........................................................4-37, 4-88
AUX Mode..............................................................4-39, 4-90
MY Music Mode ...................................................4-40, 4-91
Bluetooth® Wireless Technology
Audio Mode ...........................................................4-43, 4-94 Voice Recognition ..............................................4-58, 4-109
Setup .....................................................................4-64, 4-116
Rear View Camera .............................................4-69, 4-121
4
Page 266 of 642
4-3
Multimedia System
Steering Wheel Audio Control
Do not operate audio remote con-
trol buttons simultaneously.
VOLUME (VOL + / - ) (1)
Move the VOLUME lever up toincrease volume.
Move the VOLUME lever down to decrease volume.
SEEK/PRESET ( / ) (2)
If the SEEK/PRESET lever is moved
up or down and held for 0.8 second
or more, it will function in the follow-ing modes;
RADIO mode
It will function as the AUTO SEEK
select button. It will SEEK until you
release the button.
MEDIA mode
It will function as the FF/REW button.
If the SEEK/PRESET lever is moved
up or down, it will function in the fol-
lowing modes;
RADIO mode
It will function as the PRESET STA-
TION UP/DOWN button.
MEDIA mode
It will function as the TRACK UP/
DOWN button.
MODE (3)
Press the MODE button to select
Radio, XM, Disc, or AUX.
Information
Detailed information for audio control
buttons are described in the following
pages in this chapter.
iNOTICE
4
OTLA045238
Page 283 of 642
4-20
Multimedia System
Steering-Wheel Mounted Controls
❈The actual feature in the vehicle may differ from the
illustration.
NameDescription
- Starts voice recognition
- When selecting during a voice prompt, stops the
prompt and converts to voice command waiting state
- Ends voice recognition
MODE in order of FM1 ➟FM2 ➟AM ➟XM1 ➟XM2 ➟
XM3 ➟CD ➟USB or iPod ➟AUX ➟My Music ➟
BT Audio
inserted, corresponding modes will be disabled.
,VOL-VOL+Used to control volume.
,
- Radio mode : searches broadcast frequencies andchannels saved to presets.
- Media(CD / USB / iPod ®
/ My Music / BT Audio)
modes : changes the track, file or chap ter.
- Radio mode, automatically searches broadcast fre- quencies and channels
- Media(CD / USB / iPod ®
/ My Music) modes,
rewinds or fast forwards the track or song(file)
- BT Audio mode may not be supported in some mobile phones.
Page 309 of 642
4-46
Multimedia System
4. After a few seconds, a screen dis-playing the vehicle 6 digit passkey
is displayed.
Hear, check the passkey on your
Bluetooth®Wireless Technology
device and confirm.
5. Once pairing is complete, the fol- lowing screen is displayed. If
Bluetooth®Wireless Technology
devices are paired but none are
currently connected, pressing the key or the key on the
steering wheel displays the fol-
lowing screen. Press the [Pair]
button to pair a new device orpress the [Connect] to connect a
previously paired device.
Pairing through [PHONE] Setup
Press the key Select
[Phone] Select [Pair Phone]
(For USA) (Except USA) ( ❈ the screen can be different by region.)
The following steps are the same as
those described in the section
"When No Devices have been
Paired" on the previous page.
SETUP
PHONE
NOTICE