Page 462 of 504
7-51
7
Maintenance
Inner panel fuse replacement
1. Turn the engine and all other
switches off.
2. Open the fuse panel cover.3. Pull the suspected fuse straight
out. Use the removal tool provided
in the engine compartment fuse
panel.
4. Check the removed fuse; replace it
if it is blown.
5. Push in a new fuse of the same
rating, and make sure it fits tightly
in the clips.
If it fits loosely, we recommend that
you consult an authorised HYUNDAI
dealer.
Information
If you do not have a spare, use a
fuse of the same rating from a cir-
cuit you may not need for operat-
ing the vehicle, such as the ciga-
rette lighter fuse.
If the headlamps or other electrical
components do not work and the
fuses are OK, check the fuse block in
the engine compartment. If a fuse is
blown, it must be replaced with the
same rating.
i
OLF074022
OLF074021R
Page 464 of 504
7-53
7
Maintenance
Engine compartment panel fuse
replacement
1. Turn the engine off and all other
switches off.
2. Remove the fuse box cover by
pressing the tab and pulling up.3. Check the removed fuse; replace it
if it is blown. To remove or insert
the fuse, use the fuse puller in the
engine compartment fuse panel.
4. Push in a new fuse of the same
rating, and make sure it fits tightly
in the clips. If it fits loosely, we rec-
ommend that you consult an
authorised HYUNDAI dealer.
Main fuse
If the main fuse is blown, it must be
removed as follows:
1. Turn off the engine.
2. Disconnect the negative battery
cable.
3. Remove the nuts shown in the pic-
ture above.
4. Replace the fuse with a new one
of the same rating.
5. Reinstall in the reverse order of
removal.
OLF074025After checking the fuse box in
the engine compartment, secure-
ly install the fuse box cover. If
not, electrical failures may occur
from water leaking in.
CAUTION
OLF074024
Page 465 of 504
7-54
Maintenance
Information
If the main fuse is blown, even
though the engine compartment
panel fuse and inner fuse are not
blown, if the electrical system is
not operating, the main fuse may
be blown. The main fuse is con-
nected with other parts and sys-
tems. We recommend that you con-
tact an authorised HYUNDAI deal-
er.
Multi fuse
If the multi fuse is blown, it must be
removed as follows:
1. Disconnect the negative battery
cable.
2. Remove the nuts shown in the pic-
ture above.
3. Replace the fuse with a new one
of the same rating.
4. Reinstall in the reverse order of
removal.
Information
If the multi fuse is blown, we rec-
ommend that you consult an
authorised HYUNDAI dealer.
ii
OLF074026
Page 471 of 504
7-60
Maintenance
Engine compartment fuse panel
Inside the fuse/relay box covers, you
can find the fuse/relay label describ-
ing the fuse/relay names and capac-
ities.
Information
Not all fuse panel descriptions in
this manual may be applicable to
your vehicle. It is accurate at the
time of printing. When you inspect
the fuse box on your vehicle, refer
to the fuse box label.
i
OLF074028
OLF074105R
Page 472 of 504
7-61
7
Maintenance
Fuse NameSymbolFuse ratingCircuit Protected
IG230A[W/O Smart Key] RLY. 8 (Start Relay), Ignition Switch, [With Smart Key] RLY. 8 (Start
Relay), PCB Block (IG2 Relay)
BLOWER40ARLY. 3 (Blower Relay)
ABS 140AABS Control Module, ESP Control Module
REAR
HEATED50ARLY. 1 (Rear Heated Relay)
B+ 350ASmart Junction Block (IPS2 (4CH), IPS3 (4CH), Fuse - F28/F29)
COOLING FAN 150A[W/O G4KE / Middle East] RLY.11 (Cooling Fan Relay), RLY.12 (Cooling Fan Relay)
COOLING FAN 260A[With G4KE / Middle East] RLY.11 (Cooling Fan Relay), RLY.12 (Cooling Fan Relay)
MDPS 180AMDPS Unit
ABS 230AABS Control Module, ESP Control Module, Multipurpose Check Connector
IG140A[W/O Smart Key] Ignition Switch, [With Smart Key] PCB Block (IG1/ACC Relay)
POWER
OUTLET 340ARLY. 5 (Power Outlet Relay)
B+ 250ASmart Junction Block (IPS1 (4CH), IPS4 (4CH), IPS5 (4CH), Fuse - F36/F42)
B+ 560APCB Block (Engine Control Relay, Fuse - F4/F5/F6/F13/F14/F22)
Engine compartment main fuse panel
Page 473 of 504
7-62
Maintenance
Fuse NameSymbolFuse ratingCircuit Protected
B+ 160ASmart Junction Block
(Power Window Relay, Fuse -F1/F2/F3/F4/F10/F13/F17/F18/F23/F24/F30)
E-CVVT 320A[G4KJ/G4KH] PCM
E-CVVT 220A[G4KJ/G4KH] PCM
DEICER20ARLY. 7 (Deicer Relay)
DRL Lamp10ARLY. 2 (DRL Lamp Relay)
H/LAMP HI20A[With HID] RLY. 4 (Head Lamp High Relay)
VACUUM
PUMP 120A[G4KH/G4FJ] Vacuum Pump
E-CVVT 140A[G4KJ/G4KH] RLY. 9 (E-CVVT Relay)
H/Lamp
Washer40ARLY. 6 (H/Lamp Washer)
B+ 440ASmart Junction Block
(Leak Current Autocut Device Fuse - F15/F16/F21/F22, Fuse - F5/F6/F7/F12)
A/CON10AA/C Control Module
HEATED
MIRROR10AA/C Control Module, Drover/Passenger Power Outside Mirror
Engine compartment main fuse panel
Page 474 of 504

7-63
7
Maintenance
LIGHT BULBS
Use only bulbs of the specified
wattage.
All bulbs are available from your
HYUNDAI dealers Parts Department.
After heavy driving, rain or wash-
ing, headlamp and tail lamp lens-
es could appear frosty. This condi-
tion is caused by the temperature
difference between the lamp
inside and outside. This is similar
to the condensation on your win-
dows inside your vehicle during
the rain and doesn’t indicate a
problem with your vehicle. If the
water leaks into the lamp bulb cir-
cuitry, we recommend that the
system be checked by an autho-
rised HYUNDAI dealer.
NOTICE
Be sure to replace the burned-
out bulb with one of the same
wattage rating. Otherwise, it
may cause damage to the fuse
or electric wiring system.
CAUTION
If you don’t have the necessary
tools, the correct bulbs and the
expertise, consult an autho-
rised HYUNDAI dealer. In many
cases, it is difficult to replace
vehicle light bulbs because
other parts of the vehicle must
be removed before you can get
to the bulb. This is especially
true if you have to remove the
headlamp assembly to get to
the bulb(s).
Removing/installing the head-
lamp assembly can result in
damage to the vehicle.
CAUTION
Working on the lights
Prior to working on the light, firm-
ly apply the parking brake,
ensure that the Engine Start/Stop
button is turned to the OFF posi-
tion and turn off the lights to
avoid sudden movement of the
vehicle and burning your fingers
or receiving an electric shock.
WARNING
The headlight aiming adjust-
ment may be necessary after
the headlight assembly is rein-
stalled. If you are unsure how to
replace or aim the headlight, we
recommend that you consult
with an authorised HYUNDAI
dealer.
CAUTION
Page 485 of 504

7-74
Maintenance
Waxing
Wax the vehicle when water will no
longer bead on the paint.
Always wash and dry the vehicle
before waxing. Use a good quality
liquid or paste wax, and follow the
manufacturer’s instructions. Wax all
metal trim to protect it and to main-
tain its lustre. Removing oil, tar, and
similar materials with a spot remover
will usually strip the wax from the fin-
ish. Be sure to re-wax these areas
even if the rest of the vehicle does
not yet need waxing. Wet brakes
After washing the vehicle, test
the brakes whilst driving slowly
to see if they have been affected
by water. If braking performance
is impaired, dry the brakes by
applying them lightly whilst
maintaining a slow forward
speed.WARNING
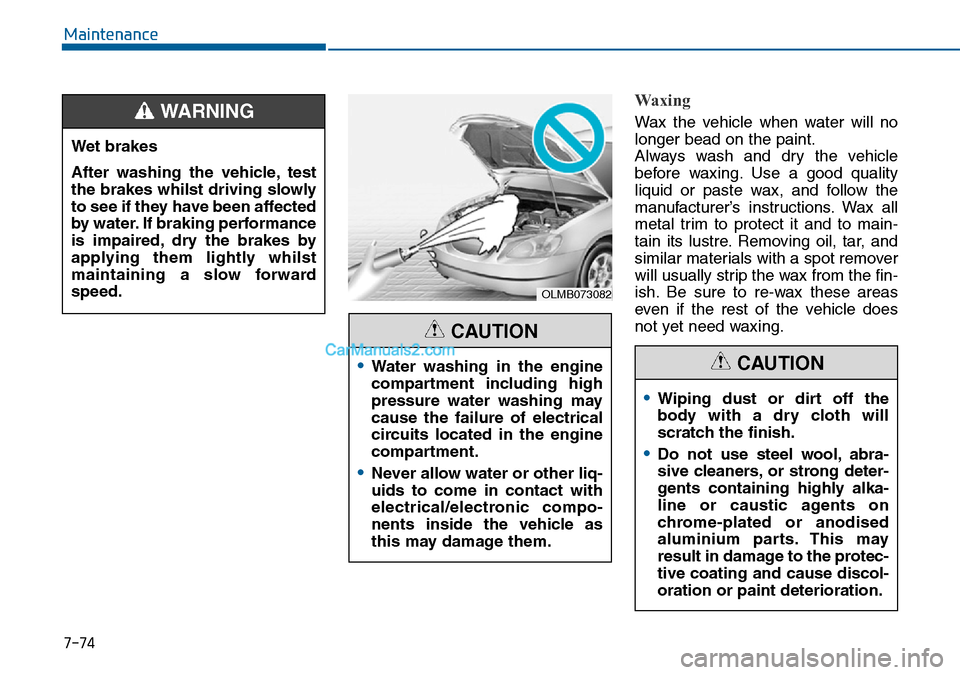
•Water washing in the engine
compartment including high
pressure water washing may
cause the failure of electrical
circuits located in the engine
compartment.
•Never allow water or other liq-
uids to come in contact with
electrical/electronic compo-
nents inside the vehicle as
this may damage them.
CAUTION
•Wiping dust or dirt off the
body with a dry cloth will
scratch the finish.
•Do not use steel wool, abra-
sive cleaners, or strong deter-
gents containing highly alka-
line or caustic agents on
chrome-plated or anodised
aluminium parts. This may
result in damage to the protec-
tive coating and cause discol-
oration or paint deterioration.
CAUTION
OLMB073082