Page 17 of 763

Your vehicle at a glance
42
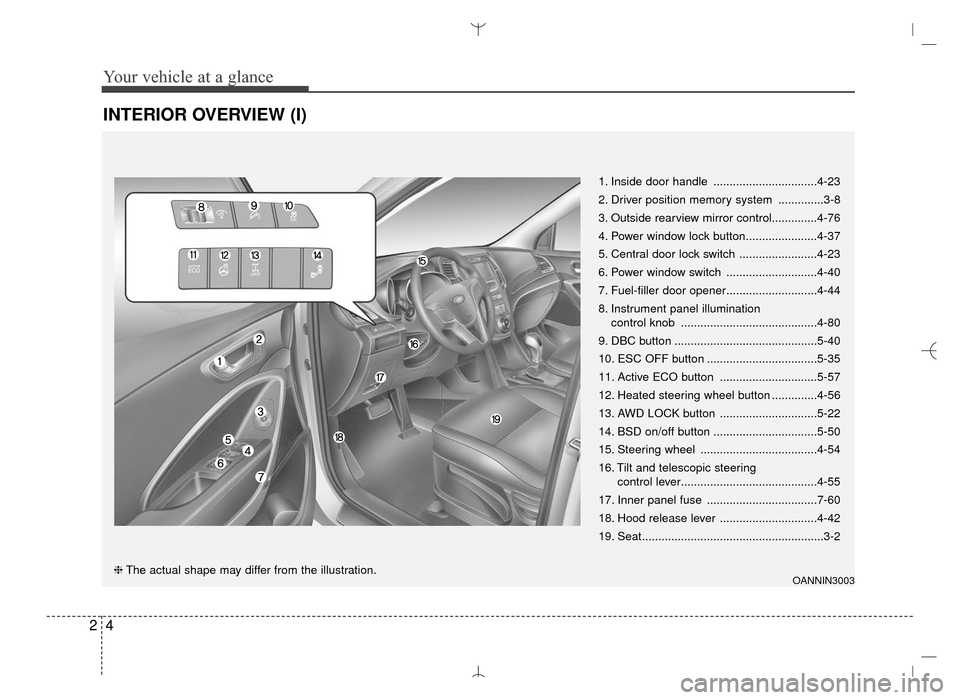
INTERIOR OVERVIEW (I)
1. Inside door handle ................................4-23
2. Driver position memory system ..............3-8
3. Outside rearview mirror control..............4-76
4. Power window lock button......................4-37
5. Central door lock switch ........................4-23
6. Power window switch ............................4-40
7. Fuel-filler door opener............................4-44
8. Instrument panel illumination control knob ..........................................4-80
9. DBC button ............................................5-40
10. ESC OFF button ..................................5-35
11. Active ECO button ..............................5-57
12. Heated steering wheel button ..............4-56
13. AWD LOCK button ..............................5-22
14. BSD on/off button ................................5-50
15. Steering wheel ....................................4-54
16. Tilt and telescopic steering control lever..........................................4-55
17. Inner panel fuse ..................................7-60
18. Hood release lever ..............................4-42
19. Seat........................................................3-2
OANNIN3003❈ The actual shape may differ from the illustration.
AN HMA 2.QXP 6/10/2015 11:21 AM Page 4
Page 233 of 763

4141
Features of your vehicle
Air conditioning
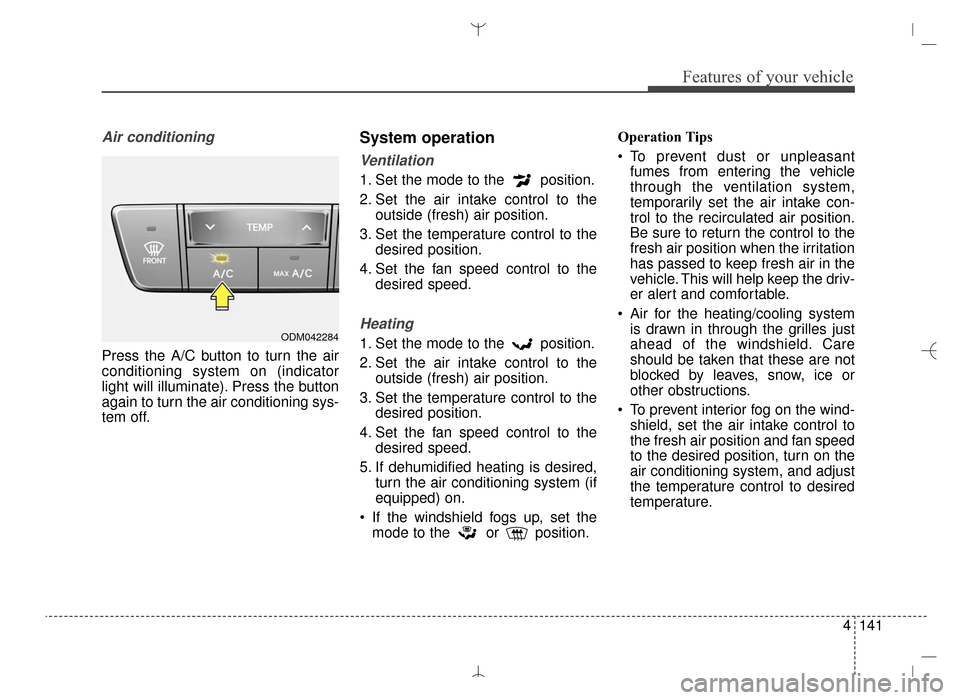
Press the A/C button to turn the air
conditioning system on (indicator
light will illuminate). Press the button
again to turn the air conditioning sys-
tem off.
System operation
Ventilation
1. Set the mode to the position.
2. Set the air intake control to theoutside (fresh) air position.
3. Set the temperature control to the desired position.
4. Set the fan speed control to the desired speed.
Heating
1. Set the mode to the position.
2. Set the air intake control to theoutside (fresh) air position.
3. Set the temperature control to the desired position.
4. Set the fan speed control to the desired speed.
5. If dehumidified heating is desired, turn the air conditioning system (if
equipped) on.
If the windshield fogs up, set the mode to the or position. Operation Tips
To prevent dust or unpleasant
fumes from entering the vehicle
through the ventilation system,
temporarily set the air intake con-
trol to the recirculated air position.
Be sure to return the control to the
fresh air position when the irritation
has passed to keep fresh air in the
vehicle. This will help keep the driv-
er alert and comfortable.
Air for the heating/cooling system is drawn in through the grilles just
ahead of the windshield. Care
should be taken that these are not
blocked by leaves, snow, ice or
other obstructions.
To prevent interior fog on the wind- shield, set the air intake control to
the fresh air position and fan speed
to the desired position, turn on the
air conditioning system, and adjust
the temperature control to desired
temperature.ODM042284
AN HMA 4B.QXP 3/5/2015 3:22 PM Page 141
Page 387 of 763
4295
Features of your vehicle
Touch Screen Beep
Press the key Select
[Sound] Select [Touch Screen
Beep]
This feature is used to turn the touch
screen beep on/off.
Blue Link Voice Volume
Press the key Select
[Sound] Select [Blue Link Voice
Vol.]
Turn the TUNE knob to adjust the
Blue Link Voice Volume.
❈Blue Link
®may differ depending on
the selected audio.
Clock/Calendar Setting
Clock Setting
Press the key Select
[Clock/Calendar] Select [Clock
Settings]
Use the , buttons to set the
Hour, Minutes and AM/PM setting.
✽ ✽ NOTICE
Press and hold the key (over
0.8 seconds) to set the Clock/
Calendar screen.CLOCK
SETUP
SETUP SETUP
AN HMA 4C (169~AUDIO 1).QXP 6/25/2015 2:05 PM Page 295
Page 521 of 763
4429
Features of your vehicle
Blue Link Voice Volume
Press the key Select
[Sound] Select [Blue Link Voice
Vol.]
Turn the TUNE knob to adjust the
Blue Link Voice Volume.
❈Blue Link
®may differ depending on
the selected audio.
Clock/Calendar Setting
Clock Setting
Press the key Select
[Clock/Calendar] Select [Clock
Settings]
Use the , buttons to set the
Hour, Minutes and AM/PM setting.
✽ ✽ NOTICE
Press and hold the key (over
0.8 seconds) to set the Clock/
Calendar screen.
Calendar Setting
Press the key Select
[Clock/Calendar] Select [Calendar
Settings]
Use the , buttons to set the
Month, Day and Year setting.SETUP
CLOCK
SETUP
SETUP
AN HMA 4D (303~AUDIO 1).QXP 6/9/2015 4:25 PM Page 429