Page 191 of 763
499
Features of your vehicle
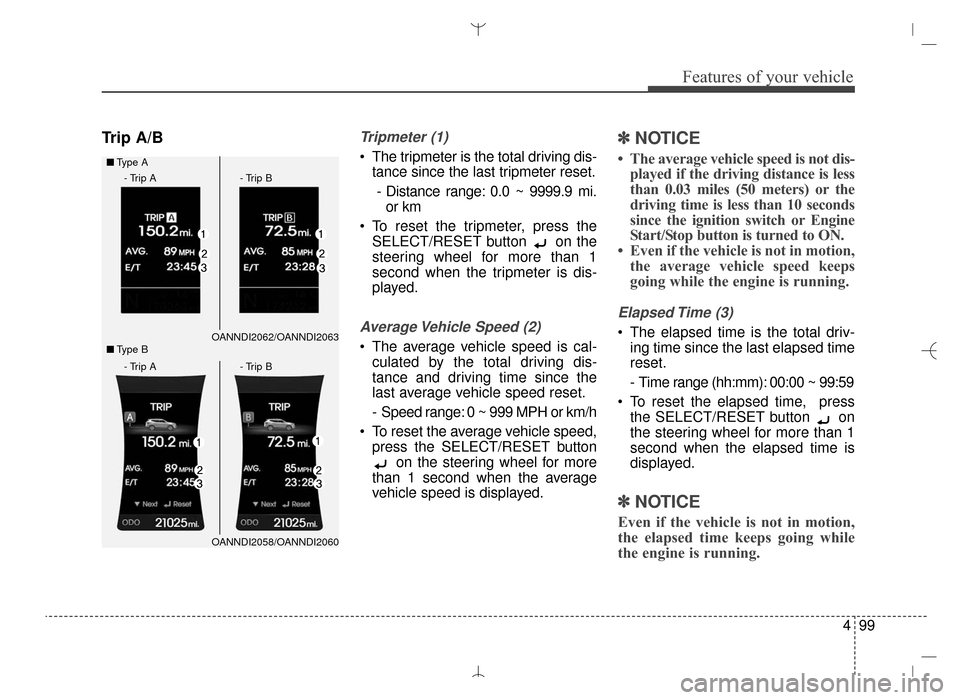
Trip A/BTripmeter (1)
The tripmeter is the total driving dis-tance since the last tripmeter reset.
- Distance range: 0.0 ~ 9999.9 mi. or km
To reset the tripmeter, press the SELECT/RESET button on the
steering wheel for more than 1
second when the tripmeter is dis-
played.
Average Vehicle Speed (2)
The average vehicle speed is cal-culated by the total driving dis-
tance and driving time since the
last average vehicle speed reset.
- Speed range: 0 ~ 999 MPH or km/h
To reset the average vehicle speed, press the SELECT/RESET button on the steering wheel for more
than 1 second when the average
vehicle speed is displayed.
✽ ✽ NOTICE
• The average vehicle speed is not dis-
played if the driving distance is less
than 0.03 miles (50 meters) or the
driving time is less than 10 seconds
since the ignition switch or Engine
Start/Stop button is turned to ON.
• Even if the vehicle is not in motion, the average vehicle speed keeps
going while the engine is running.
Elapsed Time (3)
The elapsed time is the total driv-
ing time since the last elapsed time
reset.
- Time range (hh:mm): 00:00 ~ 99:59
To reset the elapsed time, press the SELECT/RESET button on
the steering wheel for more than 1
second when the elapsed time is
displayed.
✽ ✽ NOTICE
Even if the vehicle is not in motion,
the elapsed time keeps going while
the engine is running.
OANNDI2062/OANNDI2063
■
Type A
OANNDI2058/OANNDI2060
■
Type B
- Trip A - Trip B
- Trip A - Trip B
AN HMA 4A.QXP 3/5/2015 3:18 PM Page 99
Page 192 of 763
Features of your vehicle
100
4
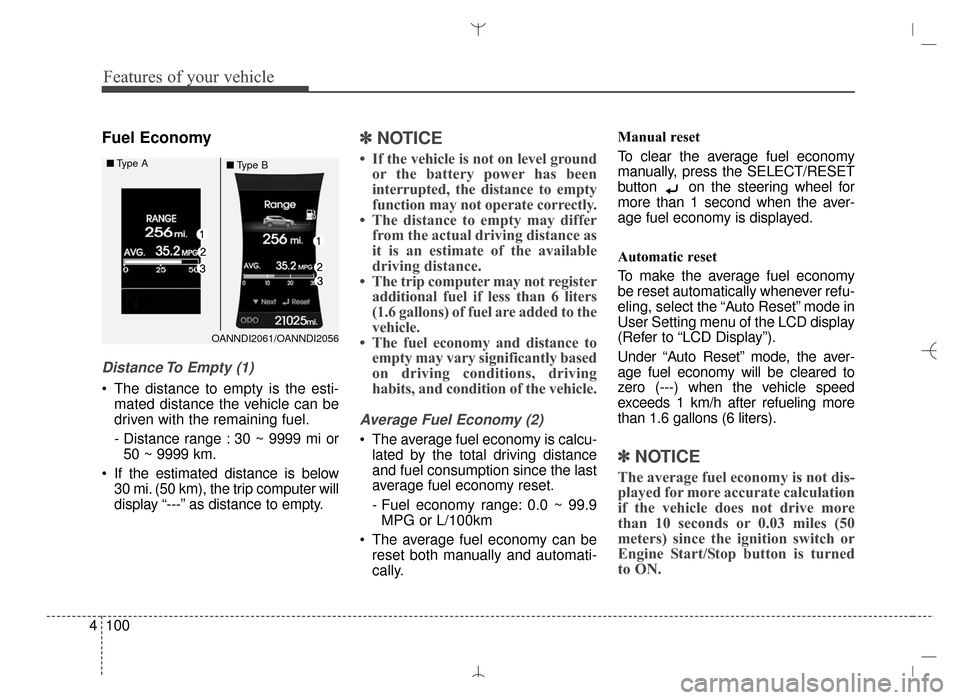
Fuel Economy
Distance To Empty (1)
The distance to empty is the esti-
mated distance the vehicle can be
driven with the remaining fuel.
- Distance range : 30 ~ 9999 mi or50 ~ 9999 km.
If the estimated distance is below 30 mi. (50 km), the trip computer will
display “---” as distance to empty.
✽ ✽ NOTICE
• If the vehicle is not on level ground
or the battery power has been
interrupted, the distance to empty
function may not operate correctly.
• The distance to empty may differ from the actual driving distance as
it is an estimate of the available
driving distance.
• The trip computer may not register additional fuel if less than 6 liters
(1.6 gallons) of fuel are added to the
vehicle.
• The fuel economy and distance to empty may vary significantly based
on driving conditions, driving
habits, and condition of the vehicle.
Average Fuel Economy (2)
The average fuel economy is calcu-
lated by the total driving distance
and fuel consumption since the last
average fuel economy reset.
- Fuel economy range: 0.0 ~ 99.9MPG or L/100km
The average fuel economy can be reset both manually and automati-
cally. Manual reset
To clear the average fuel economy
manually, press the SELECT/RESET
button on the steering wheel for
more than 1 second when the aver-
age fuel economy is displayed.
Automatic reset
To make the average fuel economy
be reset automatically whenever refu-
eling, select the “Auto Reset” mode in
User Setting menu of the LCD display
(Refer to “LCD Display”).
Under “Auto Reset” mode, the aver-
age fuel economy will be cleared to
zero (---) when the vehicle speed
exceeds 1 km/h after refueling more
than 1.6 gallons (6 liters).
✽ ✽
NOTICE
The average fuel economy is not dis-
played for more accurate calculation
if the vehicle does not drive more
than 10 seconds or 0.03 miles (50
meters) since the ignition switch or
Engine Start/Stop button is turned
to ON.
OANNDI2061/OANNDI2056
■
Type A
■Type B
AN HMA 4A.QXP 3/5/2015 3:18 PM Page 100
Page 193 of 763
4101
Features of your vehicle
Instant Fuel Economy (3)
This mode displays the instant fueleconomy during the last few sec-
onds when the vehicle speed is
more than 6.2 MPH (10 km/h).
- Fuel economy range: 0 ~ 50 MPGor 0 ~ 30 L/100km
One time driving information
mode (if equipped)
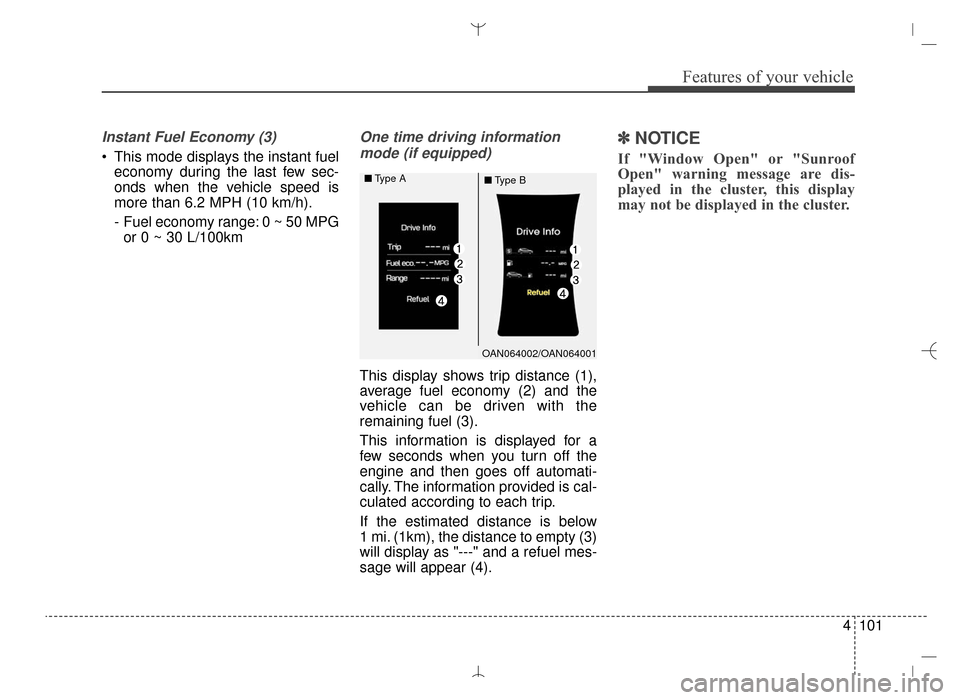
This display shows trip distance (1),
average fuel economy (2) and the
vehicle can be driven with the
remaining fuel (3).
This information is displayed for a
few seconds when you turn off the
engine and then goes off automati-
cally. The information provided is cal-
culated according to each trip.
If the estimated distance is below
1 mi. (1km), the distance to empty (3)
will display as "---" and a refuel mes-
sage will appear (4).
✽ ✽ NOTICE
If "Window Open" or "Sunroof
Open" warning message are dis-
played in the cluster, this display
may not be displayed in the cluster.
OAN064002/OAN064001
■
Type A
■Type B
AN HMA 4A.QXP 3/5/2015 3:18 PM Page 101
Page 200 of 763
Features of your vehicle
108
4
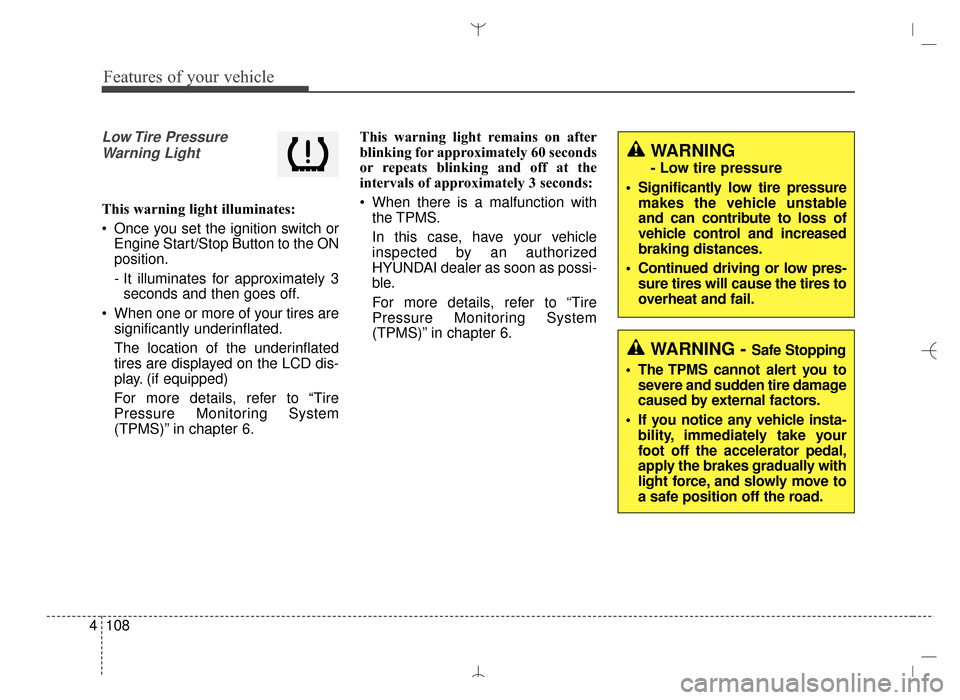
Low Tire Pressure
Warning Light
This warning light illuminates:
Once you set the ignition switch or Engine Start/Stop Button to the ON
position.
- It illuminates for approximately 3seconds and then goes off.
When one or more of your tires are significantly underinflated.
The location of the underinflated
tires are displayed on the LCD dis-
play. (if equipped)
For more details, refer to “Tire
Pressure Monitoring System
(TPMS)” in chapter 6. This warning light remains on after
blinking for approximately 60 seconds
or repeats blinking and off at the
intervals of approximately 3 seconds:
When there is a malfunction with
the TPMS.
In this case, have your vehicle
inspected by an authorized
HYUNDAI dealer as soon as possi-
ble.
For more details, refer to “Tire
Pressure Monitoring System
(TPMS)” in chapter 6.
WARNING - Safe Stopping
The TPMS cannot alert you to severe and sudden tire damage
caused by external factors.
If you notice any vehicle insta- bility, immediately take your
foot off the accelerator pedal,
apply the brakes gradually with
light force, and slowly move to
a safe position off the road.
WARNING
- Low tire pressure
Significantly low tire pressure makes the vehicle unstable
and can contribute to loss of
vehicle control and increased
braking distances.
Continued driving or low pres- sure tires will cause the tires to
overheat and fail.
AN HMA 4A.QXP 3/5/2015 3:18 PM Page 108
Page 217 of 763
4125
Features of your vehicle
One-touch triple turn signal (One Touch Turn Signal)
To activate the one-touch lane
change function, move the turn sig-
nal lever slightly and then release it.
The lane change signals will blink 3
(5 or 7, if equipped) times.
You can activate/deactivate the One
Touch Turn Signal function or choose
the number of blinking (3, 5, or 7)
from the User Settings Mode on the
LCD display (if equipped).
✽ ✽ NOTICE
If an indicator flash is abnormally
quick or slow, a bulb may be burned
out or have a poor electrical connec-
tion in the circuit.
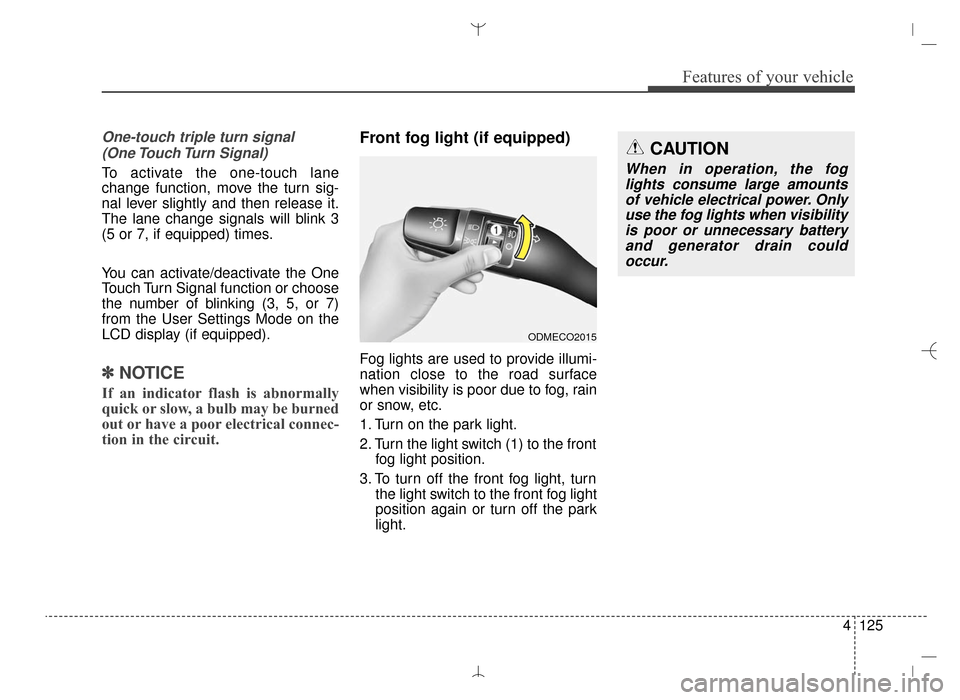
Front fog light (if equipped)
Fog lights are used to provide illumi-
nation close to the road surface
when visibility is poor due to fog, rain
or snow, etc.
1. Turn on the park light.
2. Turn the light switch (1) to the front
fog light position.
3. To turn off the front fog light, turn the light switch to the front fog light
position again or turn off the park
light.
ODMECO2015
CAUTION
When in operation, the foglights consume large amountsof vehicle electrical power. Onlyuse the fog lights when visibilityis poor or unnecessary batteryand generator drain couldoccur.
AN HMA 4B.QXP 3/5/2015 3:22 PM Page 125
Page 237 of 763
4145
Features of your vehicle
AUTOMATIC CLIMATE CONTROL SYSTEM (IF EQUIPPED)
ODMECL2010/OANNMM2002
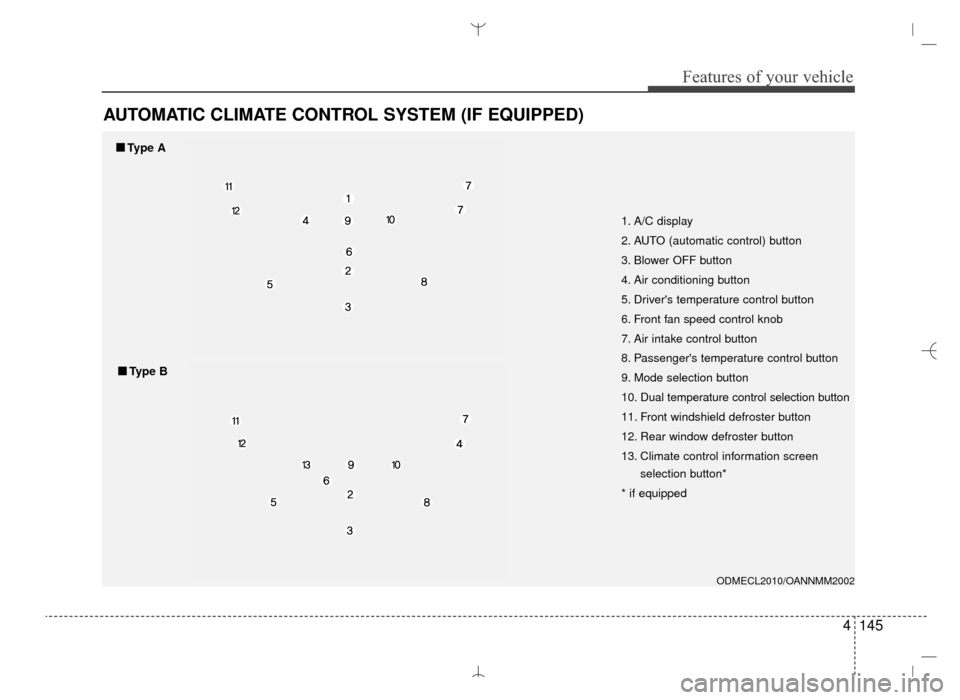
1. A/C display
2. AUTO (automatic control) button
3. Blower OFF button
4. Air conditioning button
5. Driver's temperature control button
6. Front fan speed control knob
7. Air intake control button
8. Passenger's temperature control button
9. Mode selection button
10. Dual temperature control selection button
11. Front windshield defroster button
12. Rear window defroster button
13. Climate control information screenselection button*
* if equipped
■
■ Type A
■
■Type B
AN HMA 4B.QXP 3/5/2015 3:22 PM Page 145
Page 238 of 763
Features of your vehicle
146
4
Automatic heating and air con-
ditioning
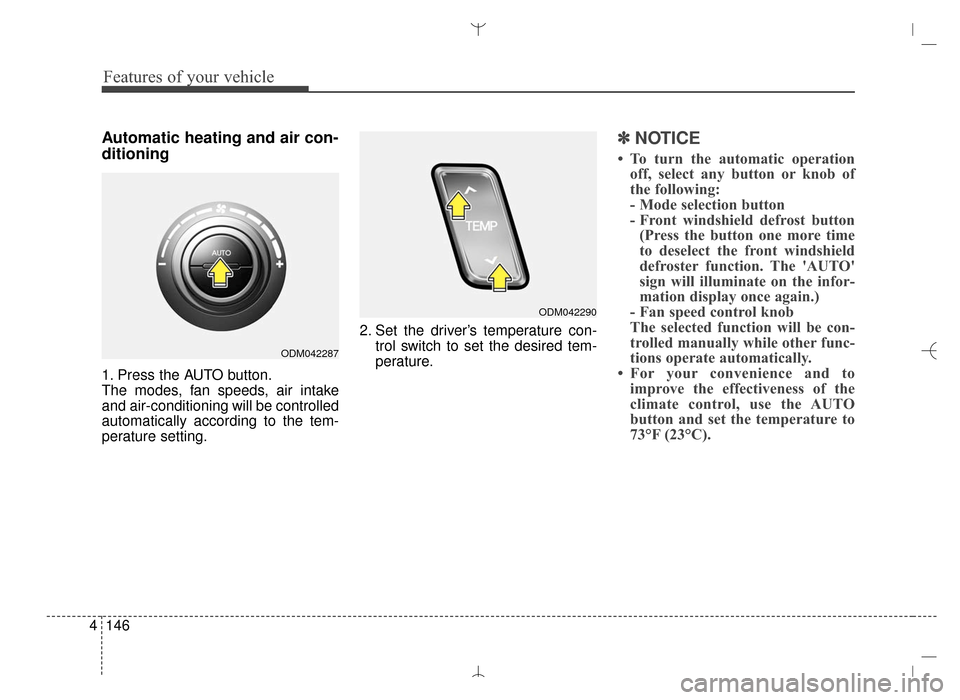
1. Press the AUTO button.
The modes, fan speeds, air intake
and air-conditioning will be controlled
automatically according to the tem-
perature setting. 2. Set the driver’s temperature con-
trol switch to set the desired tem-
perature.
✽ ✽NOTICE
• To turn the automatic operation
off, select any button or knob of
the following:
- Mode selection button
- Front windshield defrost button(Press the button one more time
to deselect the front windshield
defroster function. The 'AUTO'
sign will illuminate on the infor-
mation display once again.)
- Fan speed control knob
The selected function will be con-
trolled manually while other func-
tions operate automatically.
• For your convenience and to improve the effectiveness of the
climate control, use the AUTO
button and set the temperature to
73°F (23°C).
ODM042287
ODM042290
AN HMA 4B.QXP 3/5/2015 3:22 PM Page 146
Page 241 of 763
4149
Features of your vehicle
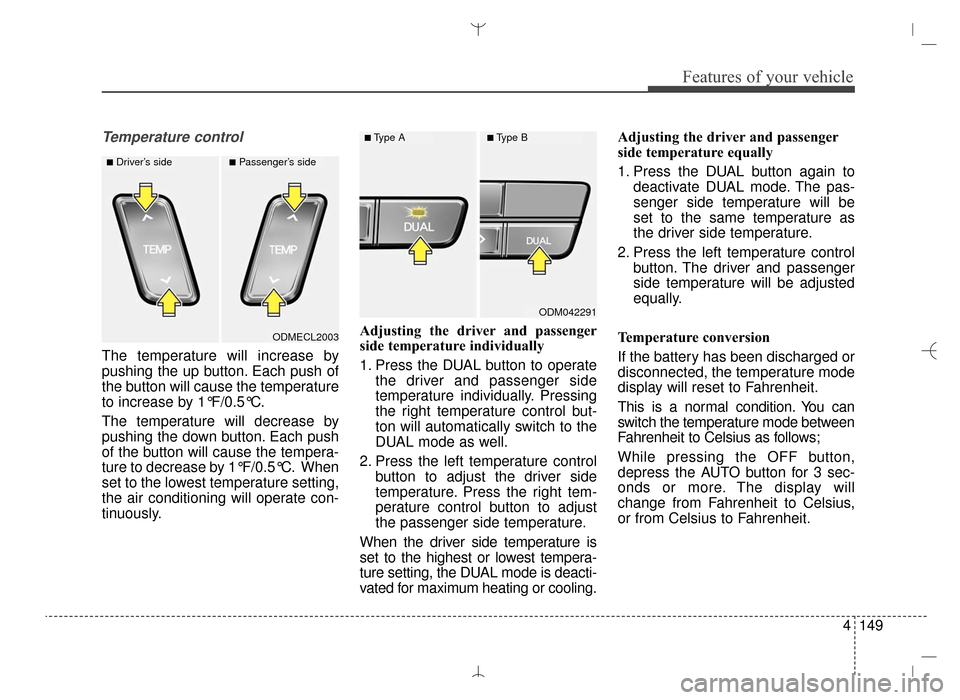
Temperature control
The temperature will increase by
pushing the up button. Each push of
the button will cause the temperature
to increase by 1°F/0.5°C.
The temperature will decrease by
pushing the down button. Each push
of the button will cause the tempera-
ture to decrease by 1°F/0.5°C. When
set to the lowest temperature setting,
the air conditioning will operate con-
tinuously.Adjusting the driver and passenger
side temperature individually
1. Press the DUAL button to operate
the driver and passenger side
temperature individually. Pressing
the right temperature control but-
ton will automatically switch to the
DUAL mode as well.
2. Press the left temperature control button to adjust the driver side
temperature. Press the right tem-
perature control button to adjust
the passenger side temperature.
When the driver side temperature is
set to the highest or lowest tempera-
ture setting, the DUAL mode is deacti-
vated for maximum heating or cooling. Adjusting the driver and passenger
side temperature equally
1. Press the DUAL button again to
deactivate DUAL mode. The pas-
senger side temperature will be
set to the same temperature as
the driver side temperature.
2. Press the left temperature control button. The driver and passenger
side temperature will be adjusted
equally.
Temperature conversion
If the battery has been discharged or
disconnected, the temperature mode
display will reset to Fahrenheit.
This is a normal condition. You can
switch the temperature mode between
Fahrenheit to Celsius as follows;
While pressing the OFF button,
depress the AUTO button for 3 sec-
onds or more. The display will
change from Fahrenheit to Celsius,
or from Celsius to Fahrenheit.
ODMECL2003
■Driver’s side■Passenger’s side
ODM042291
■Type A■Type B
AN HMA 4B.QXP 3/5/2015 3:22 PM Page 149