2016 HYUNDAI IX35 brakes
[x] Cancel search: brakesPage 10 of 550
15
Introduction
Biodiesel Commercially supplied Diesel blends of
no more than 7% biodiesel, commonly
known as "B7 Diesel" may be used in
your vehicle if Biodiesel meets EN 14214
or equivalent specifications. (EN stands
for "European Norm"). The use of biofu-
els exceeding 7%, made from rapeseed
methyl ester (RME), fatty acid methyl
ester (FAME), vegetable oil methyl ester
(VME) etc. or mixing diesel exceeding
7% with biodiesel will cause increased
wear or damage to the engine and fuel
system. Repair or replacement of worn or
damaged components due to the use of
non approved fuels will not be covered by
the manufactures warranty.As with other vehicles of this type, failure
to operate this vehicle correctly may
result in loss of control, an accident or
vehicle rollover.
Specific design characteristics (higher
ground clearance, track, etc.) give this
vehicle a higher centre of gravity than
other types of vehicles. In other words
they are not designed for cornering at the
same speeds as conventional 2-wheel
drive vehicles. Avoid sharp turns or
abrupt manoeuvres. Again, failure to
operate this vehicle correctly may result
in loss of control, an accident or vehicle
rollover.
Be sure to read the “Reducing
the risk of a rollover” driving guide-
lines, in section 5 of this manual. No special run-in period is needed. By
following a few simple precautions for the
first 600 miles (1,000 km) you may add to
the performance, economy and life of
your vehicle.
Do not race the engine.
Whilst driving, keep your engine speed
(rpm, or revolutions per minute)
between 2,000 rpm and 4,000 rpm.
Do not maintain a single speed for long periods of time, either fast or slow.
Varying engine speed is needed to
properly run-in the engine.
Avoid hard stops, except in emergen- cies, to allow the brakes to seat prop-
erly.
Don't tow a trailer/caravan during the first 1,200 miles (2,000 km) of opera-
tion.
CAUTION
Never use any fuel, whether diesel, B7 biodiesel or otherwise,that fails to meet the latest petro-leum industry specification.
Never use any fuel additives or treatments that are not recom-mended or approved by the vehi-cle manufacturer.
VEHICLE HANDLING
INSTRUCTIONS VEHICLE RUN-IN PROCESS
EL(FL) UK 1.QXP 12/16/2014 8:50 PM Page 5
Page 157 of 550

Features of your vehicle72
4✽
✽
NOTICE• If you travel approximately 50~100
km after the engine warms up, after
adding the engine oil, the warning
light will go off.
• Cycle the ignition from OFF to ON 3 times within 10 seconds, the warning
light will go off immediately. However,
when you turn off the warning light
without adding the engine oil, the light
will come on again after travelling
approximately 50~100 km after the
engine warms up.
Parking brake & brake
fluid warning Parking brake warning
This light is illuminated when the parking
brake is applied with the ignition switch in
the START or ON position. The warning
light should go off when the parking
brake is released.
Low brake fluid level warning
If the warning light remains on, it may
indicate that the brake fluid level in the
reservoir is low.
If the warning light remains on:
1. Drive carefully to the nearest safe location and stop your vehicle.
2. With the engine stopped, check the brake fluid level immediately and add
fluid as required. Then check all brake
components for fluid leaks.
3. Do not drive the vehicle if leaks are found, the warning light remains on or
the brakes do not operate properly. We
recommend that you contact a
HYUNDAI authorised repairer. Your vehicle is equipped with dual-diago-
nal braking systems. This means you still
have braking on two wheels even if one
of the dual systems should fail. With only
one of the dual systems working, more
than normal pedal travel and greater
pedal pressure are required to stop the
car. Also, the car will not stop in as short
a distance with only a portion of the
brake system working. If the brakes fail
whilst you are driving, shift to a lower
gear for additional engine braking and
stop the car as soon as it is safe to do so.
To check bulb operation, check whether
the parking brake and brake fluid warning
light illuminates when the ignition switch
is in the ON position.
WARNING
Driving the vehicle with a warning
light on is dangerous. If the brake
warning light remains on, we rec-
ommend that the system be serv-
iced by a HYUNDAI authorised
repairer.
CAUTION
If the light comes on continuously
after adding the engine oil and trav- elling approximately 50~100 kmafter the engine warms up, we rec-ommend that the system bechecked by a HYUNDAI authorised repairer.
Even if this light doesn't come onafter the engine has started, theengine oil should be checked and supplied periodically.
EL(FL) UK 4A.QXP 2/9/2015 9:05 PM Page 72
Page 158 of 550
473
Features of your vehicle
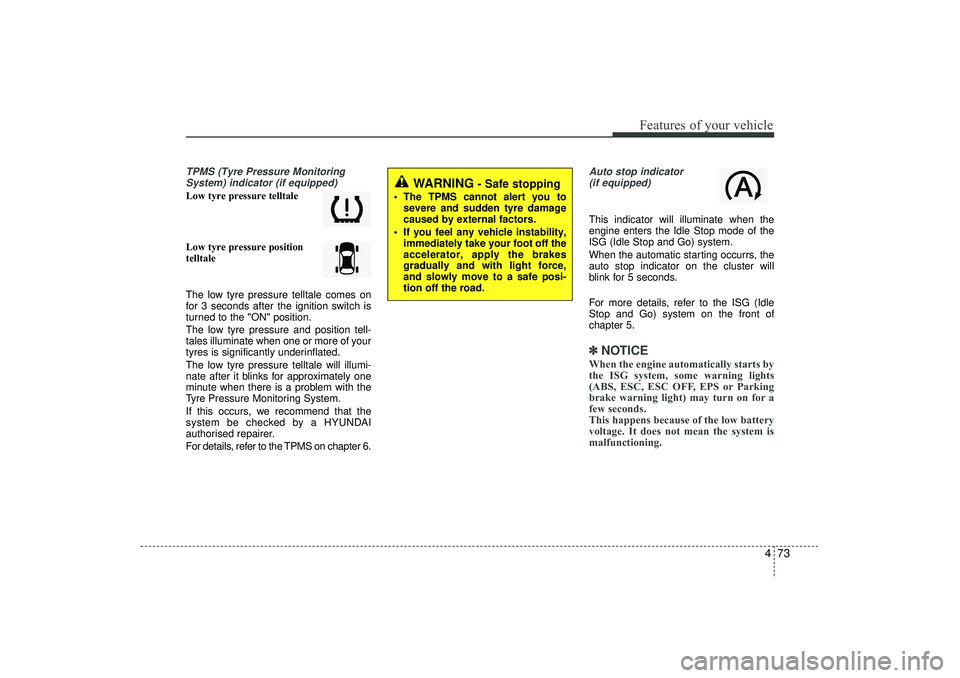
TPMS (Tyre Pressure MonitoringSystem) indicator (if equipped)Low tyre pressure telltale
Low tyre pressure position
telltale
The low tyre pressure telltale comes on
for 3 seconds after the ignition switch is
turned to the "ON" position.
The low tyre pressure and position tell-
tales illuminate when one or more of your
tyres is significantly underinflated.
The low tyre pressure telltale will illumi-
nate after it blinks for approximately one
minute when there is a problem with the
Tyre Pressure Monitoring System.
If this occurs, we recommend that the
system be checked by a HYUNDAI
authorised repairer.
For details, refer to the TPMS on chapter 6.
Auto stop indicator(if equipped)This indicator will illuminate when the
engine enters the Idle Stop mode of the
ISG (Idle Stop and Go) system.
When the automatic starting occurrs, the
auto stop indicator on the cluster will
blink for 5 seconds.
For more details, refer to the ISG (Idle
Stop and Go) system on the front of
chapter 5.✽ ✽ NOTICEWhen the engine automatically starts by
the ISG system, some warning lights
(ABS, ESC, ESC OFF, EPS or Parking
brake warning light) may turn on for a
few seconds.
This happens because of the low battery
voltage. It does not mean the system is
malfunctioning.
WARNING
- Safe stopping
The TPMS cannot alert you to
severe and sudden tyre damage
caused by external factors.
If you feel any vehicle instability, immediately take your foot off the
accelerator, apply the brakes
gradually and with light force,
and slowly move to a safe posi-
tion off the road.
EL(FL) UK 4A.QXP 2/9/2015 9:05 PM Page 73
Page 168 of 550

483
Features of your vehicle
Non-operational conditions The rear parking assist system may not
operate properly when:
1. Moisture is frozen to the sensor. (It willoperate normally when the moisture
has been cleared.)
2. The sensor is covered with foreign matter, such as snow or water, or the
sensor cover is blocked. (It will operate
normally when the material is removed
or the sensor is no longer blocked.)
3. Driving on uneven road surfaces. (unpaved roads, gravel, bumps, gradi-
ent)
4. Objects generating excessive noise (vehicle horns, loud motorcycle
engines, or truck air brakes) are within
range of the sensor.
5. Heavy rain or water spray exists.
6. Wireless transmitters or mobile phones are within range of the sensor.
7. The sensor is covered with snow.
8. Trailer towing.
9. The place light the fluorescent lamp. The detecting range may decrease
when:
1. The sensor is stained with foreign mat-
ter such as snow or water. (The sens-
ing range will return to normal when
removed.)
2. Outside air temperature is extremely hot or cold.
The following objects may not be recog-
nized by the sensor:
1. Sharp or slim objects such as ropes, chains or small poles.
2. Objects which tend to absorb the sen- sor frequency such as clothes, spongy
material or snow.
3. Undetectable objects smaller than 1 m (40 in.) in height and narrower than 14
cm (6 in.) in diameter.
Rear parking assist system precau-tions The rear parking assist system may not sound sequentially depending on
the speed and shapes of the objects
detected.
The rear parking assist system may malfunction if the vehicle bumper
height or sensor installation has been
modified or damaged. Any non-factory
installed equipment or accessories
may also interfere with the sensor per-
formance.
The sensor may not recognize objects less than 30 cm (11.8 in.) from the sen-
sor, or it may sense an incorrect dis-
tance. Use caution.
When the sensor is frozen or stained with snow, dirt, or water, the sensor
may be inoperative until the stains are
removed using a soft cloth.
Do not push, scratch or strike the sen- sor. Sensor damage could occur.
3. Undetectable objects smaller than 40 in. (1 m) in height and narrower than 6 in.
(14 cm) in diameter.
EL(FL) UK 4A.QXP 2/9/2015 9:05 PM Page 83
Page 349 of 550
Driving your vehicle
5
Before driving . . . . . . . . . . . . . . . . . . . . . . . . . . . . . . 5-4• Before entering vehicle . . . . . . . . . . . . . . . . . . . . . . . . . 5-4
• Necessary inspections . . . . . . . . . . . . . . . . . . . . . . . . . 5-4
• Before starting . . . . . . . . . . . . . . . . . . . . . . . . . . . . . . . 5-4Key positions . . . . . . . . . . . . . . . . . . . . . . . . . . . . . . . 5-5• Illuminated ignition switch . . . . . . . . . . . . . . . . . . . . . 5-5
• Ignition switch position . . . . . . . . . . . . . . . . . . . . . . . . . 5-6
• Starting the engine . . . . . . . . . . . . . . . . . . . . . . . . . . . . 5-7Engine start/stop button . . . . . . . . . . . . . . . . . . . . . 5-9• Illuminated engine start/stop button . . . . . . . . . . . . . . 5-9
• Engine start/stop button position. . . . . . . . . . . . . . . . . 5-9
• Starting the engine . . . . . . . . . . . . . . . . . . . . . . . . . . . 5-12ISG (Idle Stop and Go) system . . . . . . . . . . . . . . 5-15• Auto stop . . . . . . . . . . . . . . . . . . . . . . . . . . . . . . . . . . . 5-\
15
• Auto start . . . . . . . . . . . . . . . . . . . . . . . . . . . . . . . . . . . 5-\
16
• Condition of ISG system operation . . . . . . . . . . . . . . 5-17
• ISG system deactivation . . . . . . . . . . . . . . . . . . . . . . . 5-17
• ISG system malfunction . . . . . . . . . . . . . . . . . . . . . . . 5-18Manual transaxle . . . . . . . . . . . . . . . . . . . . . . . . . . 5-19• Manual transaxle operation . . . . . . . . . . . . . . . . . . . . 5-19
• Good driving practices . . . . . . . . . . . . . . . . . . . . . . . . 5-21Automatic transaxle . . . . . . . . . . . . . . . . . . . . . . . 5-22• Automatic transaxle operation. . . . . . . . . . . . . . . . . . 5-23
• Good driving practices . . . . . . . . . . . . . . . . . . . . . . . . 5-27
Four wheel drive (4WD) . . . . . . . . . . . . . . . . . . . . 5-28• Tight corner brake effect . . . . . . . . . . . . . . . . . . . . . . 5-28
• Four Wheel Drive (4WD) transfer mode selection . 5-29
• For safe four-wheel drive operation . . . . . . . . . . . . 5-30
• Reducing the risk of a rollover . . . . . . . . . . . . . . . . . 5-32Brake system . . . . . . . . . . . . . . . . . . . . . . . . . . . . . . 5-35• Power brakes . . . . . . . . . . . . . . . . . . . . . . . . . . . . . . . 5-35
• Parking brake . . . . . . . . . . . . . . . . . . . . . . . . . . . . . . 5-36
• Anti-lock brake system (ABS) . . . . . . . . . . . . . . . . . . 5-38
• Electronic stability control (ESC) . . . . . . . . . . . . . . . 5-41
• Vehicle stability management (VSM) . . . . . . . . . . . . 5-44
• Hill-start assist control (HAC) . . . . . . . . . . . . . . . . . . 5-45
• Downhill brake control (DBC) . . . . . . . . . . . . . . . . . 5-46
• Emergency stop signal (ESS) . . . . . . . . . . . . . . . . . . . 5-47
• Trailer stability assist (TSA) . . . . . . . . . . . . . . . . . . . 5-47
• Good braking practices. . . . . . . . . . . . . . . . . . . . . . . . 5-48Cruise control system . . . . . . . . . . . . . . . . . . . . . . 5-50• To set cruise control speed . . . . . . . . . . . . . . . . . . . . . 5-51
• To increase cruise control set speed. . . . . . . . . . . . . . 5-51
• To decrease the cruising speed . . . . . . . . . . . . . . . . . . 5-52
• To temporarily accelerate with the cruise control on . . . . . . . . . . . . . . . . . . . . . . . . 5-52
• To cancel cruise control, do one of the following . . . 5-52
• To resume cruising speed at more than approximately 25 mph (40 km/h) . . . . . . . . . . . . . . 5-53
EL(FL) UK 5.QXP 12/16/2014 8:08 PM Page 1
Page 350 of 550
• To turn cruise control off, do one of the following . 5-53Active ECO system . . . . . . . . . . . . . . . . . . . . . . . . 5-54• Active ECO operation . . . . . . . . . . . . . . . . . . . . . . . . . 5-54
• When Active ECO is activated . . . . . . . . . . . . . . . . . . 5-54
• Limitation of Active ECO operation . . . . . . . . . . . . . 5-54Economical operation . . . . . . . . . . . . . . . . . . . . . . 5-55
Special driving conditions . . . . . . . . . . . . . . . . . . . 5-57• Hazardous driving conditions . . . . . . . . . . . . . . . . . . 5-57
• Rocking the vehicle . . . . . . . . . . . . . . . . . . . . . . . . . . . 5-57
• Smooth cornering . . . . . . . . . . . . . . . . . . . . . . . . . . . . 5-58
• Driving at night . . . . . . . . . . . . . . . . . . . . . . . . . . . . . . 5-58
• Driving in the rain . . . . . . . . . . . . . . . . . . . . . . . . . . . . 5-59
• Driving in flooded areas . . . . . . . . . . . . . . . . . . . . . . . 5-59
• Driving off-road . . . . . . . . . . . . . . . . . . . . . . . . . . . . . . 5-59
• Highway driving . . . . . . . . . . . . . . . . . . . . . . . . . . . . . 5-60Winter driving . . . . . . . . . . . . . . . . . . . . . . . . . . . . 5-61• Snowy or Icy conditions . . . . . . . . . . . . . . . . . . . . . . . 5-61
• Use high quality ethylene glycol coolant . . . . . . . . . . 5-63
• Check battery and cables . . . . . . . . . . . . . . . . . . . . . . 5-63
• Change to "winter weight" oil if necessary . . . . . . . 5-63
• Check spark plugs and ignition system. . . . . . . . . . . 5-63
• To keep locks from freezing . . . . . . . . . . . . . . . . . . . . 5-64
• Use approved window washer anti-freeze in system . . . . . . . . . . . . . . . . . . . . . . . . . . . . . . . . . . 5-64\
• Don't let your parking brake freeze . . . . . . . . . . . . . 5-64 • Don't let ice and snow accumulate underneath . . . . 5-64
• Carry emergency equipment . . . . . . . . . . . . . . . . . . . 5-64
• Don’t place foreign objects or materials
in the engine compartment . . . . . . . . . . . . . . . . . . . 5-64
Trailer towing . . . . . . . . . . . . . . . . . . . . . . . . . . . . . 5-65• towbars . . . . . . . . . . . . . . . . . . . . . . . . . . . . . . . . . . . . \
. 5-66
• Safety chains . . . . . . . . . . . . . . . . . . . . . . . . . . . . . . . . 5-67
• Trailer brakes . . . . . . . . . . . . . . . . . . . . . . . . . . . . . . . 5-67
• Driving with a trailer . . . . . . . . . . . . . . . . . . . . . . . . 5-67Vehicle weight . . . . . . . . . . . . . . . . . . . . . . . . . . . . . 5-74• Vehicle kerb weight . . . . . . . . . . . . . . . . . . . . . . . . . . . 5-74
• Cargo weight . . . . . . . . . . . . . . . . . . . . . . . . . . . . . . . . 5-74
• GAW (Gross axle weight) . . . . . . . . . . . . . . . . . . . . . . 5-74
• GAWR (Gross axle weight rating) . . . . . . . . . . . . . . . 5-74
• GVW (Gross vehicle weight) . . . . . . . . . . . . . . . . . . . 5-74
• GVWR (Gross vehicle weight rating) . . . . . . . . . . . . 5-74
• Overloading . . . . . . . . . . . . . . . . . . . . . . . . . . . . . . . . . 5-74
5
EL(FL) UK 5.QXP 2/11/2015 4:19 PM Page 2
Page 369 of 550
521
Driving your vehicle
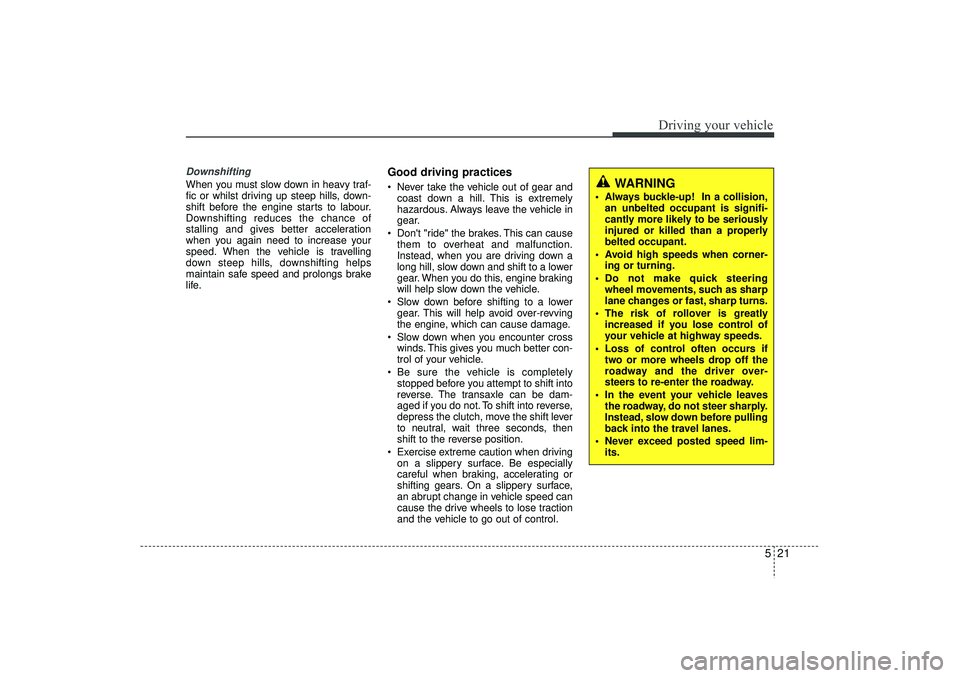
DownshiftingWhen you must slow down in heavy traf-
fic or whilst driving up steep hills, down-
shift before the engine starts to labour.
Downshifting reduces the chance of
stalling and gives better acceleration
when you again need to increase your
speed. When the vehicle is travelling
down steep hills, downshifting helps
maintain safe speed and prolongs brake
life.
Good driving practices Never take the vehicle out of gear andcoast down a hill. This is extremely
hazardous. Always leave the vehicle in
gear.
Don't "ride" the brakes. This can cause them to overheat and malfunction.
Instead, when you are driving down a
long hill, slow down and shift to a lower
gear. When you do this, engine braking
will help slow down the vehicle.
Slow down before shifting to a lower gear. This will help avoid over-revving
the engine, which can cause damage.
Slow down when you encounter cross winds. This gives you much better con-
trol of your vehicle.
Be sure the vehicle is completely stopped before you attempt to shift into
reverse. The transaxle can be dam-
aged if you do not. To shift into reverse,
depress the clutch, move the shift lever
to neutral, wait three seconds, then
shift to the reverse position.
Exercise extreme caution when driving on a slippery surface. Be especially
careful when braking, accelerating or
shifting gears. On a slippery surface,
an abrupt change in vehicle speed can
cause the drive wheels to lose traction
and the vehicle to go out of control.
WARNING
Always buckle-up! In a collision,an unbelted occupant is signifi-
cantly more likely to be seriously
injured or killed than a properly
belted occupant.
Avoid high speeds when corner- ing or turning.
Do not make quick steering wheel movements, such as sharp
lane changes or fast, sharp turns.
The risk of rollover is greatly increased if you lose control of
your vehicle at highway speeds.
Loss of control often occurs if two or more wheels drop off the
roadway and the driver over-
steers to re-enter the roadway.
In the event your vehicle leaves the roadway, do not steer sharply.
Instead, slow down before pulling
back into the travel lanes.
Never exceed posted speed lim- its.
EL(FL) UK 5.QXP 12/16/2014 8:08 PM Page 21
Page 371 of 550
523
Driving your vehicle
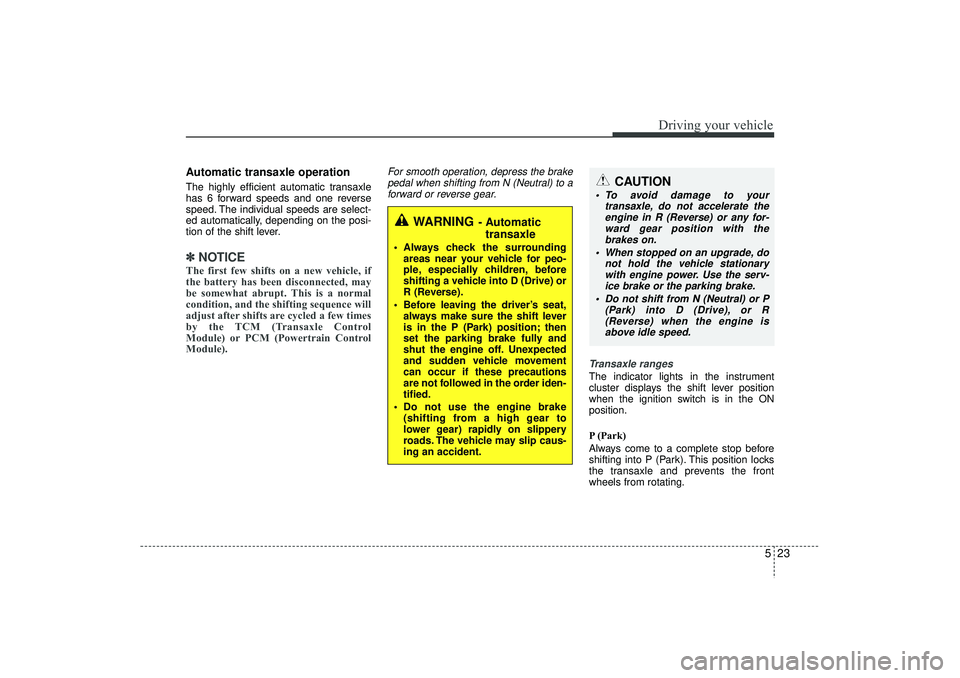
Automatic transaxle operationThe highly efficient automatic transaxle
has 6 forward speeds and one reverse
speed. The individual speeds are select-
ed automatically, depending on the posi-
tion of the shift lever.✽ ✽NOTICEThe first few shifts on a new vehicle, if
the battery has been disconnected, may
be somewhat abrupt. This is a normal
condition, and the shifting sequence will
adjust after shifts are cycled a few times
by the TCM (Transaxle Control
Module) or PCM (Powertrain Control
Module).
For smooth operation, depress the brake
pedal when shifting from N (Neutral) to a forward or reverse gear.
Transaxle ranges
The indicator lights in the instrument
cluster displays the shift lever position
when the ignition switch is in the ON
position.
P (Park)
Always come to a complete stop before
shifting into P (Park). This position locks
the transaxle and prevents the front
wheels from rotating.
WARNING
- Automatictransaxle
Always check the surrounding
areas near your vehicle for peo-
ple, especially children, before
shifting a vehicle into D (Drive) or
R (Reverse).
Before leaving the driver’s seat, always make sure the shift lever
is in the P (Park) position; then
set the parking brake fully and
shut the engine off. Unexpected
and sudden vehicle movement
can occur if these precautions
are not followed in the order iden-
tified.
Do not use the engine brake (shifting from a high gear to
lower gear) rapidly on slippery
roads. The vehicle may slip caus-
ing an accident.
CAUTION
To avoid damage to your transaxle, do not accelerate theengine in R (Reverse) or any for- ward gear position with thebrakes on.
When stopped on an upgrade, do not hold the vehicle stationarywith engine power. Use the serv-ice brake or the parking brake.
Do not shift from N (Neutral) or P (Park) into D (Drive), or R(Reverse) when the engine is above idle speed.
EL(FL) UK 5.QXP 12/16/2014 8:09 PM Page 23