Page 517 of 550

757
Maintenance
Headlight, position light, turn sig-
nal light, front fog light bulb
replacement(1) Front turn signal light
(2) Headlight (High/Low)
(3) Position light (LED) (if equipped)
(4) Position light (LED)/Daytime runninglight (if equipped)
(5) Front fog light (if equipped)
Headlight (High/Low)1. Open the bonnet.
2. Remove the headlight bulb cover by turning it counterclockwise.
3. Disconnect the headlight bulb socket- connector. 4. Unsnap the headlight bulb retaining
wire by depressing the end and push-
ing it upward.
5. Remove the bulb from the headlight assembly.
6. Install a new headlight bulb and snap the headlight bulb retaining wire into
position by aligning the wire with the
groove on the bulb.
7. Connect the headlight bulb socket- connector.
8. Install the headlight bulb cover by turn- ing it clockwise.
✽ ✽NOTICEWe recommend that the headlight aim-
ing be adjusted after an accident or
after the headlight assembly is rein-
stalled at a authorized HYUNDAI deal-
er.
OEL073029
OEL074101
EL(FL) UK 7.QXP 3/4/2015 9:07 PM Page 57
Page 520 of 550

Maintenance60
7Front fog light bulbs (if equipped)1. Remove the front bumper under cover.
2. Reach your hand into the back of the
front bumper.
3. Disconnect the power connector from the socket.
4. Remove the bulb-socket from the housing by turning the socket counter
clockwise until the tabs on the socket
align with the slots on the housing.
5. Install the new bulb-socket into the housing by aligning the tabs on the
socket with the slots in the housing.
Push the socket into the housing and
turn the socket clockwise.
6. Connect the power connector to the socket.
7. Reinstall the front bumper under cover.
Headlight and front fog light aim-
ing (for Europe)Headlight aiming1. Inflate the tyres to the specified pres- sure and remove any loads from the
vehicle except the driver, spare tyre,
and tools.
2. The vehicle should be placed on a flat floor.
3. Draw vertical lines (Vertical lines pass- ing through respective head lamp cen-
tres) and a horizontal line (Horizontal
line passing through centre of head
lamps) on the screen. 4. With the head lamp and battery in nor-
mal condition, aim the head lamps so
the brightest portion falls on the hori-
zontal and vertical lines.
5. To aim the low/high beam left or right, turn the driver (2) clockwise or coun-
terclockwise. To aim the low/high beam
up or down, turn the driver (1) clock-
wise or counterclockwise.
OEL073257
EL(FL) UK 7.QXP 3/4/2015 9:07 PM Page 60
Page 521 of 550
761
Maintenance
Front fog light aimingThe front fog lamp can be aimed as the
same manner of the head lamps aiming.
With the front fog lamps and battery nor-
mal condition, aim the front fog lamps. To
aim the front fog lamp up or down, turn
the driver clockwise or counterclockwise.
OEL074256
EL(FL) UK 7.QXP 3/4/2015 9:07 PM Page 61
Page 524 of 550
Maintenance64
7Front fog light 1. Turn the front fog lamp on with the driver (75 kg) aboard.
2. The cut-off line should be projected in the allowable range (shaded region).
OGDE071056
■ Based on 10m screen
EL(FL) UK 7.QXP 3/4/2015 9:07 PM Page 64
Page 527 of 550

767
Maintenance
4. Remove the bulb from the socket bypressing it in and rotating it counter-
clockwise until the tabs on the bulb
align with the slots in the socket. Pull
the bulb out of the socket.
5. Insert a new bulb by inserting it into the socket and rotating it until it locks
into place.
6. Install the socket in the assembly by aligning the tabs on the socket with the
slots in the assembly. Push the socket
into the assembly and turn the socket
clockwise.
7. Install the service cover by putting it into the service hole.
Stop and tail light (LED type)
If the light does not operate, we recom-
mend that the system be checked by a
HYUNDAI authorised repairer.
Rear Fog Light (if equipped)1. Remove the socket from the assembly by turning the socket counterclockwise
until the tabs on the socket align with
the slots on the assembly.
2. Remove the bulb from the socket by pressing it in and rotating it counter-
clockwise until the tabs on the bulb
align with the slots in the socket. Pull
the bulb out of the socket.
3. Insert a new bulb in the socket.
4. Reinstall the light assembly to the body of the vehicle.
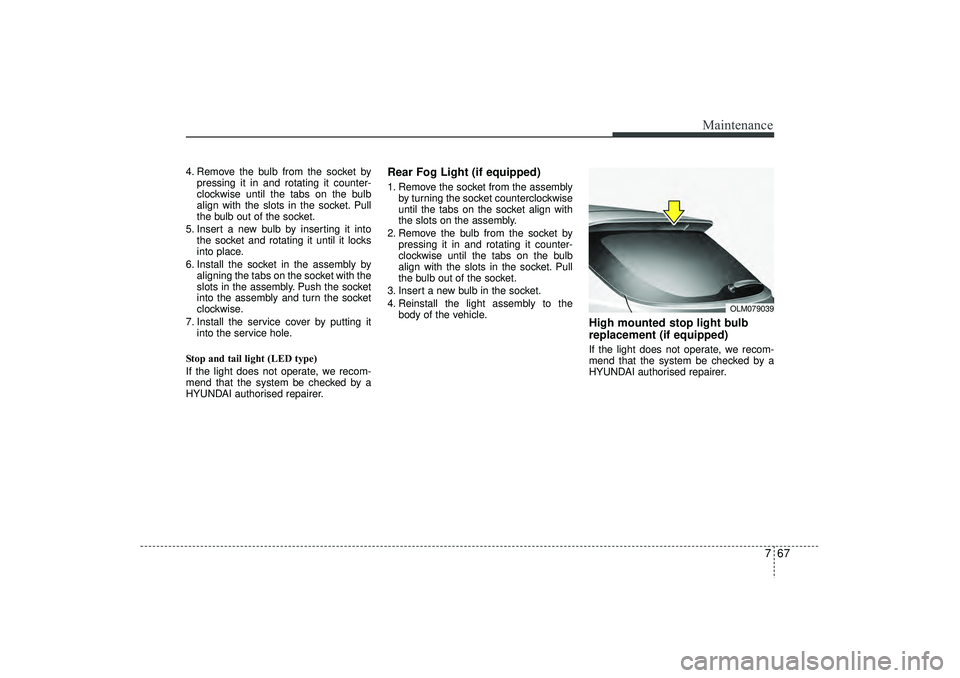
High mounted stop light bulb
replacement (if equipped)If the light does not operate, we recom-
mend that the system be checked by a
HYUNDAI authorised repairer.
OLM079039
EL(FL) UK 7.QXP 3/4/2015 9:08 PM Page 67
Page 542 of 550
83
Specifications & Consumer information
BULB WATTAGE* If equipped
Light Bulb
Wattage
Headlights (Low/High)
55 or 35 (HID)
Front turn signal lights
21
Position lights
LED
Side repeater lights (Outside mirror)*
LED
Side repeater lights*
5
Front fog lights*
27
Rear fog light*
21
Stop and tail lights (Outside)
21/5/LED
Stop and tail lights (Inside)
LED
Rear turn signal lights (Outside)
21
Tail light* (Inside)
5
Back-up lights (Inside)
16
High mounted stop light
LED
License plate lights
5
Map lamps
10
Room lamps
10
Luggage lamp*
5
Glove box lamp*
5
Vanity mirror lamps*
5
EL(FL) UK 8.QXP 3/13/2015 5:44 PM Page 3