Page 117 of 498

437
Features of your vehicle
Tilt steering / Telescope steering
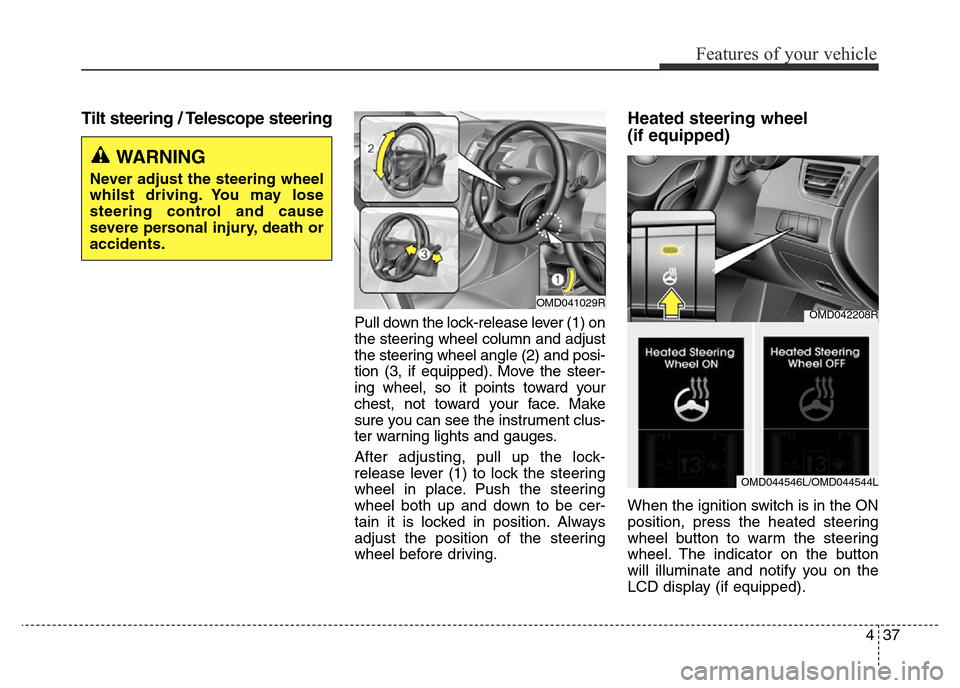
Pull down the lock-release lever (1) on
the steering wheel column and adjust
the steering wheel angle (2) and posi-
tion (3, if equipped). Move the steer-
ing wheel, so it points toward your
chest, not toward your face. Make
sure you can see the instrument clus-
ter warning lights and gauges.
After adjusting, pull up the lock-
release lever (1) to lock the steering
wheel in place. Push the steering
wheel both up and down to be cer-
tain it is locked in position. Always
adjust the position of the steering
wheel before driving.
Heated steering wheel
(if equipped)
When the ignition switch is in the ON
position, press the heated steering
wheel button to warm the steering
wheel. The indicator on the button
will illuminate and notify you on the
LCD display (if equipped).
WARNING
Never adjust the steering wheel
whilst driving. You may lose
steering control and cause
severe personal injury, death or
accidents.
OMD041029ROMD042208R
OMD044546L/OMD044544L
Page 121 of 498
441
Features of your vehicle
Inside rearview mirror
Before you start driving, adjust the
rearview mirror to the centre on the
view through the rear window.
Day/night rearview mirror
Make this adjustment before you
start driving and whilst the day/night
lever is in the day position.
Pull the day/night lever toward you to
reduce glare from the headlights of
the vehicles behind you during night
driving.
Remember that you lose some
rearview clarity in the night position.
MIRRORS
WARNING
Make sure your line of sight is not
obstructed. Do not place objects
in the rear seat, luggage compart-
ment, or behind the rear head-
rests which could interfere with
your vision through the rear win-
dow.
WARNING
To prevent serious injury during
an accident or deployment of
the air bag, do not modify the
rearview mirror and do not
install a wide mirror.
WARNING
NEVER adjust the mirror whilst
driving. This may cause loss of
vehicle control resulting in an
accident.
OMD040031
Day
Night
Page 126 of 498
Features of your vehicle
46 4
INSTRUMENT CLUSTER
1. Tachometer
2. Speedometer
3. Engine coolant temperature gauge
4. Fuel gauge
5. Warning and indicator lights
6. Odometer/Trip computer
7. Odometer/Trip computer/LCD display
OMD044040L/OMD044041L
■Type A
❈The actual cluster in the vehicle may differ
from the illustration.
For more details, refer to the "Gauges" in
this chapter.
■Type B
Page 127 of 498
447
Features of your vehicle
Instrument Cluster ControlAdjusting Instrument Cluster
Illumination (if equipped)
The brightness of the instrument
panel illumination changes by press-
ing the upper or lower part of the
switch when the ignition switch is in
the ON position and when the park-
ing lights are turned on.If the brightness reaches to the max-
imum or minimum level, an alarm will
sound (if equipped).
OMD044605/OMD044503L ■Type A
■Type B
WARNING
Never adjust the instrument
cluster whilst driving. This
could result in loss of control
and lead to an accident that
may cause death, serious
injury, or property damage.
OMD041043R
Page 146 of 498
Features of your vehicle
66 4
Warning and indicator lights
✽NOTICE - Warning lights
Make sure that all warning lights
are OFF after starting the engine. If
any light is still ON, this indicates a
situation that needs attention.
Air bag Warning Light
This warning light illuminates:
• Once you set the ignition switch or
Engine Start/Stop button to the ON
position.
- It illuminates for approximately 6
seconds and then goes off.
• When there is a malfunction with
the SRS.
In this case, we recommend that
you have the vehicle inspected by
an authorised HYUNDAI dealer.
Seat Belt Warning Light
This warning light informs the driver
that the seat belt is not fastened.
For more details, refer to the “Seat
Belts” in chapter 3.
Page 148 of 498

Features of your vehicle
68 4
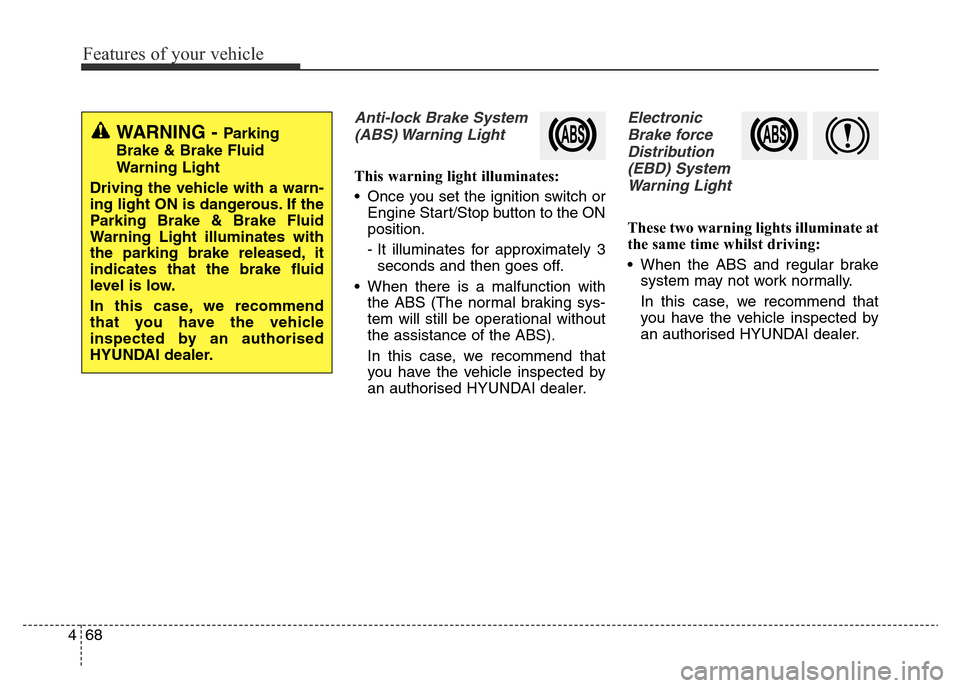
Anti-lock Brake System
(ABS) Warning Light
This warning light illuminates:
• Once you set the ignition switch or
Engine Start/Stop button to the ON
position.
- It illuminates for approximately 3
seconds and then goes off.
• When there is a malfunction with
the ABS (The normal braking sys-
tem will still be operational without
the assistance of the ABS).
In this case, we recommend that
you have the vehicle inspected by
an authorised HYUNDAI dealer.
Electronic
Brake force
Distribution
(EBD) System
Warning Light
These two warning lights illuminate at
the same time whilst driving:
• When the ABS and regular brake
system may not work normally.
In this case, we recommend that
you have the vehicle inspected by
an authorised HYUNDAI dealer.
WARNING - Parking
Brake & Brake Fluid
Warning Light
Driving the vehicle with a warn-
ing light ON is dangerous. If the
Parking Brake & Brake Fluid
Warning Light illuminates with
the parking brake released, it
indicates that the brake fluid
level is low.
In this case, we recommend
that you have the vehicle
inspected by an authorised
HYUNDAI dealer.
Page 149 of 498

469
Features of your vehicle
✽NOTICE- Electronic Brake
force Distribution
(EBD) System
Warning Light
When the ABS Warning Light is on
or both ABS and Parking Brake &
Brake Fluid Warning Lights are on,
the speedometer, odometer, or trip-
meter may not work. Also, the EPS
Warning Light may illuminate and
the steering effort may increase or
decrease.
In this case, we recommend you
have the vehicle inspected by an
authorised HYUNDAI dealer as
soon as possible.
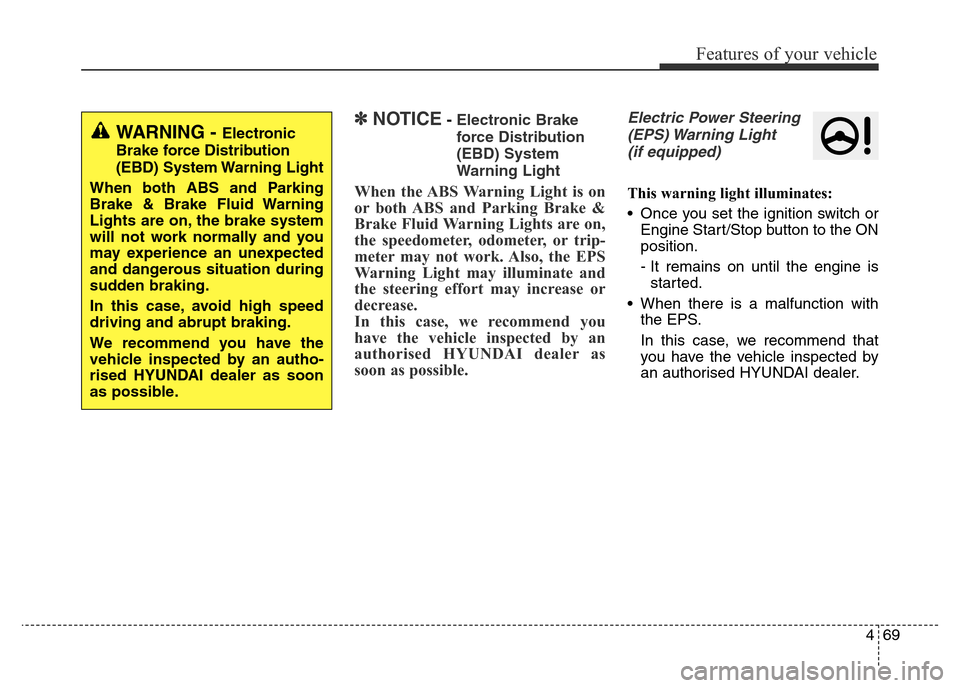
Electric Power Steering
(EPS) Warning Light
(if equipped)
This warning light illuminates:
• Once you set the ignition switch or
Engine Start/Stop button to the ON
position.
- It remains on until the engine is
started.
• When there is a malfunction with
the EPS.
In this case, we recommend that
you have the vehicle inspected by
an authorised HYUNDAI dealer.
WARNING - Electronic
Brake force Distribution
(EBD) System Warning Light
When both ABS and Parking
Brake & Brake Fluid Warning
Lights are on, the brake system
will not work normally and you
may experience an unexpected
and dangerous situation during
sudden braking.
In this case, avoid high speed
driving and abrupt braking.
We recommend you have the
vehicle inspected by an autho-
rised HYUNDAI dealer as soon
as possible.
Page 160 of 498
Features of your vehicle
80 4
To flash the high beam headlights,
pull the lever towards you, then
release the lever. The high beams
will remain ON as long as you hold
the lever towards you.
Turn signals and lane change
signals
To signal a turn, move the lever down
for a right turn or up for a left turn to
position (A). The lever will return to
the OFF position when the turn is
completed.
To signal a lane change, move the
turn signal lever slightly and hold it in
position (B). The lever will return to
the OFF position when released.
WARNING
Do not use high beam when there
are other vehicles approaching
you. Using high beam could
obstruct the other driver's vision.
OMD041214R
OMD041215R