2016 HONDA PILOT SYSTEM UPDATE
[x] Cancel search: SYSTEM UPDATEPage 121 of 661

120
Controls
Clock
Adjusting the Clock
You can adjust the time manually in the audio/information screen, with the power
mode in ON.
1.Press and hold the MENU/CLOCK button
for two seconds.
2. Select Adjust Clock , then press .
3. Rotate to adjust the hours.
4. Press to switch to minute adjustment.
5. Rotate to adjust the minutes.
6. Press to switch to Set.
7. Press to complete clock adjustment.
1. Select , then select Settings.
2. Select Clock/Info , then Clock
Adjustment .
3. Adjust the dates, hours and minutes by
selecting / .
4. Select OK to set the time.
■Adjusting the Time
1Clock
These indications are used to show how to operate
the selector knob.
Rotate to select.
Press to enter.
To change the setting between 12h and 24h:
1. Press the MENU/CLOCK button.
2. Rotate to select Settings, then press .
3. Rotate to select Clock Format, then press .
4. Rotate to select 12h or 24h , then press .
You can also access to the clock adjustment mode by
pressing and holding the MENU/CLOCK button.
The clock is automatica lly updated through the
navigation system, so the ti me does not need to be
adjusted.
You can customize the clock display to show the 12
hour clock or 24 hour clock. 2 Customized Features P. 342
Models with color audio system
Models with color audio system
Models with color audio system
Models with Navigation System
Models with color audio system
Models with Display Audio
34
16 PILOT-31TG76000.book 120 ページ 2015年6月15日 月曜日 午前11時30分
Page 233 of 661
uuAudio System Basic Operation uPlaying AM/FM Radio
232
Features
Provides text data information related to your selected RDS capable FM station.
■To find an RDS station from Station List
1. Press while listening to an FM station.
2. Rotate to select the station, then press .
■Update List
Updates your available station list at any time.
1. Press while listening to an FM station.
2. Rotate to select Update List, then press .
■Radio text
Displays the radio text informat ion of the selected RDS station.
1. Press the MENU/CLOCK button.
2. Rotate to select Settings, then press .
3. Rotate to select RDS Settings, then press .
4. Rotate to select Radio Text, then press .
■Scan
Samples each of the strongest stations on the selected band for 10 seconds.
1. Press the MENU/CLOCK button.
2. Rotate to select Scan, then press .
To turn off scan, press .
■Radio Data System (RDS)1 Playing AM/FM Radio
The ST indicator appears on the display indicating
stereo FM broadcasts.
Stereo reproduction in AM is not available.
You can store 6 AM stations and 12 FM stations into
reset button memory. FM1 and FM2 let you store 6
stations each.
Switching the Audio Mode
Press the SOURCE button on the steering wheel.
2 Audio Remote Controls P. 222
1Radio Data System (RDS)
When you select an RDS-capable FM station, the RDS
automatically turns on, and the frequency display
changes to the station name. However, when the
signals of that station become weak, the display
changes from the statio n name to the frequency.
16 PILOT-31TG76000.book 232 ページ 2015年6月15日 月曜日 午前11時30分
Page 252 of 661
Continued251
uuAudio System Basic Operation uAudio/Information Screen
Features
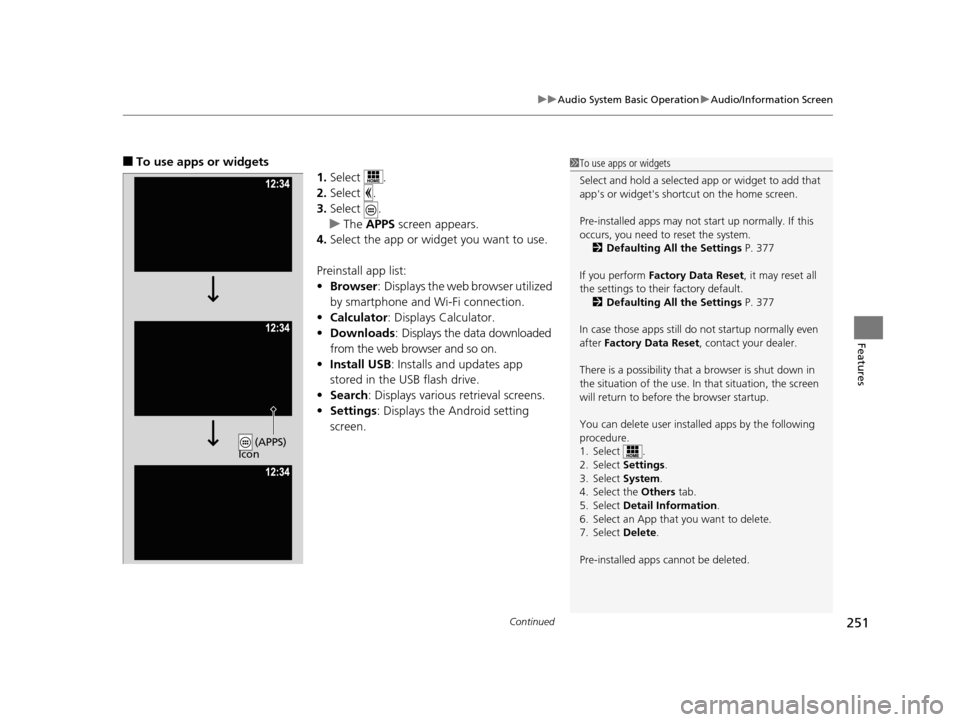
■To use apps or widgets
1.Select .
2. Select .
3. Select .
u The APPS screen appears.
4. Select the app or widget you want to use.
Preinstall app list:
• Browser : Displays the web browser utilized
by smartphone and Wi-Fi connection.
• Calculator : Displays Calculator.
• Downloads : Displays the data downloaded
from the web browser and so on.
• Install USB : Installs and updates app
stored in the USB flash drive.
• Search : Displays various retrieval screens.
• Settings : Displays the Android setting
screen.1 To use apps or widgets
Select and hold a selected app or widget to add that
app's or widget's shortcut on the home screen.
Pre-installed apps may not start up normally. If this
occurs, you need to reset the system.
2 Defaulting All the Settings P. 377
If you perform Factory Data Reset , it may reset all
the settings to their factory default. 2 Defaulting All the Settings P. 377
In case those apps still do not startup normally even
after Factory Data Reset , contact your dealer.
There is a possibility that a browser is shut down in
the situation of the use. In that situation, the screen
will return to before the browser startup.
You can delete user installed apps by the following
procedure.
1. Select .
2. Select Settings .
3. Select System .
4. Select the Others tab.
5. Select Detail Information .
6. Select an App that you want to delete.
7. Select Delete .
Pre-installed apps cannot be deleted.
(APPS)
Icon
16 PILOT-31TG76000.book 251 ページ 2015年6月15日 月曜日 午前11時30分
Page 267 of 661
uuAudio System Basic Operation uPlaying AM/FM Radio
266
Features
To store a station:
1. Tune to the selected station.
2. Select and hold the preset number for the station you want to store.
You can also store a preset station by the following procedure.
1. Tune to the selected station.
2. Select the open/close ic on to display a list.
3. Select the Preset tab.
4. Select and hold the preset number for the station you want to store.
Lists the strongest stations on the selected band.
1. Select the open/close ic on to display a list.
2. Select the Station List tab.
3. Select the station.
■Manual update
Updates your available station list at any time.
1. Select the open/close ic on to display a list.
2. Select the Station List tab.
3. Select Refresh .
■Preset Memory
■Station List
1Playing AM/FM Radio
If the audio system has the memory capacity, the
tagged song information ca n be stored in it.
Models with HD RadioTM
1Preset Memory
The ST indicator appears on the display indicating
stereo FM broadcasts.
Stereo reproduction in AM is not available.
Switching the Audio Mode
Press the SOURCE button on the steering wheel or
select SOURCE on the screen.
2 Audio Remote Controls P. 222
You can store 6 AM stations and 12 FM stations into
preset memory.
HD Radio Technology manufactured under license
from iBiquity Digital Cor poration. U.S. and Foreign
Patents. HD Radio
TM and the HD, HD Radio, and
“Arc” logos are proprietary trademarks of iBiquity
Digital Corp.
16 PILOT-31TG76000.book 266 ページ 2015年6月15日 月曜日 午前11時30分
Page 269 of 661
uuAudio System Basic Operation uPlaying AM/FM Radio
268
Features
Displays the subchannel list when an HD RadioTM station is selected while listening to
an FM station.
1. Select .
2. Select HD Subchannel .
3. Select the channel number.
Provides text data information related to your selected RDS-capable FM station.
■To find an RDS station from Station List
1. Select the open/close icon to display a list while listening to an FM station.
2. Select the Station List tab.
3. Select the station.
■Manual update
Updates your available station list at any time.
1. Select the open/close icon to display a list while listening to an FM station.
2. Select the Station List tab.
3. Select Refresh .
■HD Subchannel
■Radio Data System (RDS)
Models with HD RadioTM
1Radio Data System (RDS)
When you select an RDS-capable FM station, the RDS
automatically turns on, and the frequency display
changes to the station name. However, when the
signals of that station become weak, the display
changes from the statio n name to the frequency.
16 PILOT-31TG76000.book 268 ページ 2015年6月15日 月曜日 午前11時30分
Page 291 of 661
290
uuAudio System Basic Operation uPlaying AhaTM
Features
Playing AhaTM
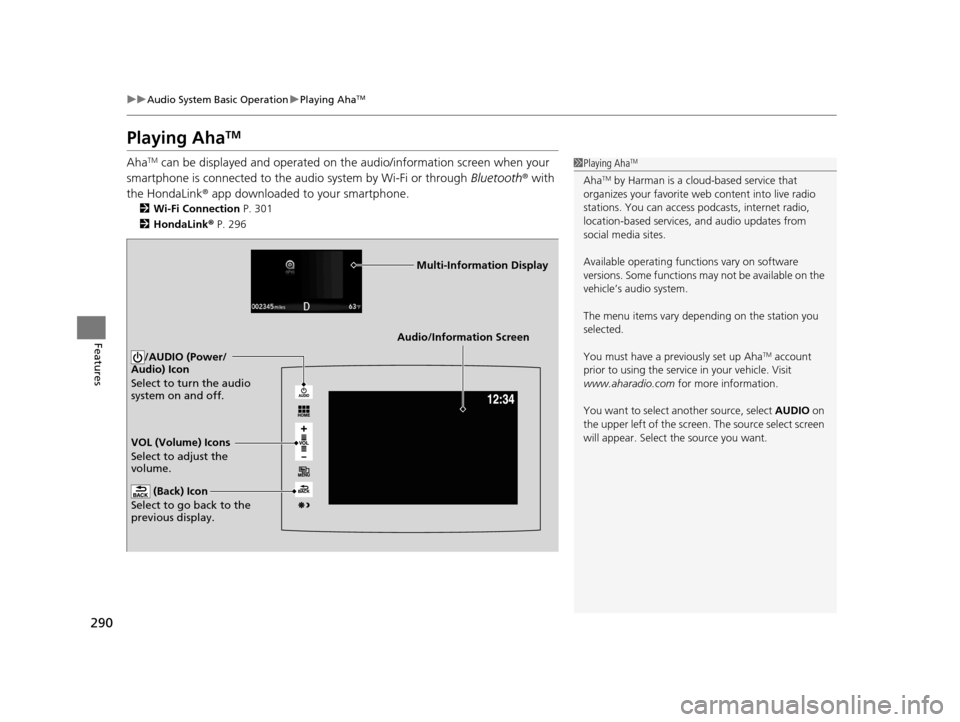
AhaTM can be displayed and operated on th e audio/information screen when your
smartphone is connected to the audio system by Wi-Fi or through Bluetooth® with
the HondaLink ® app downloaded to your smartphone.
2Wi-Fi Connection P. 301
2 HondaLink® P. 296
1Playing AhaTM
AhaTM by Harman is a clou d-based service that
organizes your favorite we b content into live radio
stations. You can access podcasts, internet radio,
location-based services , and audio updates from
social media sites.
Available operating functi ons vary on software
versions. Some functions ma y not be available on the
vehicle’s audio system.
The menu items vary depending on the station you
selected.
You must have a previously set up Aha
TM account
prior to using the service in your vehicle. Visit
www.aharadio.com for more information.
You want to select a nother source, select AUDIO on
the upper left of the screen. The source select screen
will appear. Select the source you want.
Audio/Information Screen
VOL (Volume) Icons
Select to adjust the
volume. (Back) Icon
Select to go back to the
previous display.
/AUDIO (Power/
Audio) Icon
Select to turn the audio
system on and off.
Multi-Information Display
16 PILOT-31TG76000.book 290 ページ 2015年6月15日 月曜日 午前11時30分
Page 306 of 661
305
uuAudio Error Messages uiPod/USB Flash Drive
Features
iPod/USB Flash Drive
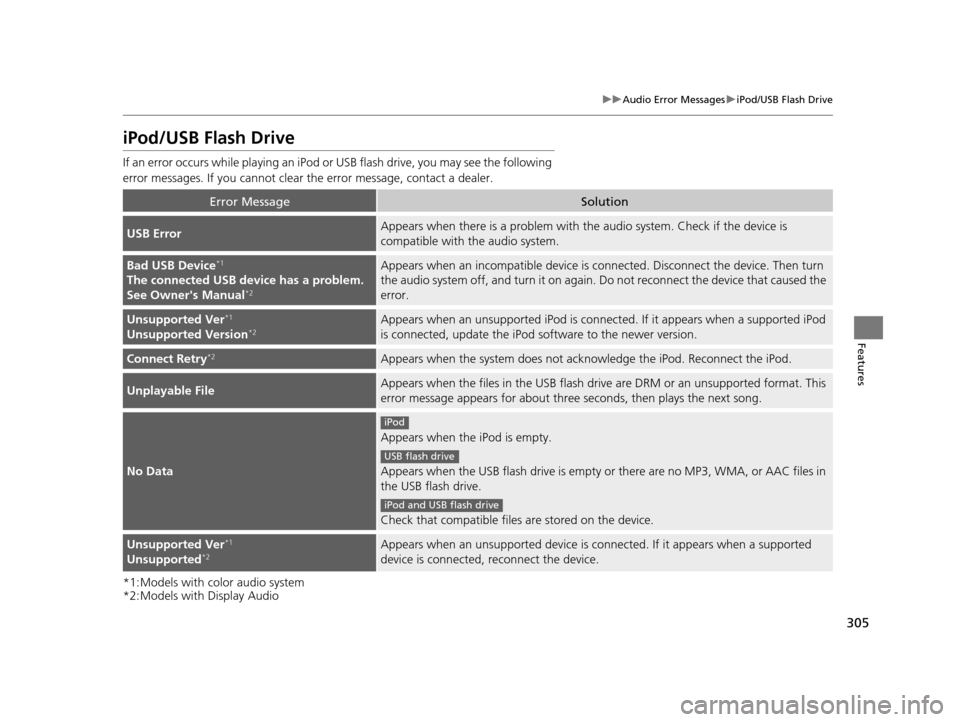
If an error occurs while playing an iPod or USB flash drive, you may see the following
error messages. If you cannot clear the error message, contact a dealer.
*1:Models with color audio system
*2:Models with Display Audio
Error MessageSolution
USB ErrorAppears when there is a pr oblem with the audio system. Check if the device is
compatible with the audio system.
Bad USB Device*1
The connected USB device has a problem.
See Owner's Manual*2
Appears when an incompatible device is co nnected. Disconnect the device. Then turn
the audio system off, and turn it on again. Do not reconnect the device that caused the
error.
Unsupported Ver*1
Unsupported Version*2Appears when an unsupported iPod is connect ed. If it appears when a supported iPod
is connected, update the iPod software to the newer version.
Connect Retry*2Appears when the system does not acknowledge the iPod. Reconnect the iPod.
Unplayable FileAppears when the files in the USB flash driv e are DRM or an unsupported format. This
error message appears for about three seconds, then plays the next song.
No Data
Appears when the iPod is empty.
Appears when the USB flash drive is empty or there are no MP3, WMA, or AAC files in
the USB flash drive.
Check that compatible files are stored on the device.
Unsupported Ver*1
Unsupported*2Appears when an unsupported device is connected. If it appears when a supported
device is connected, reconnect the device.
iPod
USB flash drive
iPod and USB flash drive
16 PILOT-31TG76000.book 305 ページ 2015年6月15日 月曜日 午前11時30分
Page 309 of 661
308
Features
General Information on the Audio System
SiriusXM® Radio Service
1. You need your radio ID ready before regist ering for subscription. To see the ID in
the screen, select Channel to 0.
2. Have your radio ID ready, and either call or visit the SiriusXM® website to
subscribe.
Switch to the SiriusXM ® mode by using the SOURCE button on the steering wheel,
or through the audio/information screen, and stay in this mode for about 30
minutes until the service is activated. Make sure your vehicle is in an open area with
good reception.
Channel Not Subscribed:
You are not subscribed to the channel selected.
Subscription Update:
SiriusXM ® radio is receiving information update from the network.
Channel Not Available:
No such channel exits, or the artist or title information is unavailable.
No Signal:
The signal is too weak in the current location.
Antenna Disconnected:
The SiriusXM ® antenna is disconnected. Contact a dealer.
■Subscribing to SiriusXM ® Radio
■Receiving SiriusXM® Radio
■SiriusXM® Radio Display Messages
1 Subscribing to SiriusXM ® Radio
Contact Information for SiriusXM ® Radio:
•US: SiriusXM ® Radio at www.siriusxm.com or 1-
800-852-9696
•Canada: SiriusXM ® Canada at www.xmradio.ca , or
1-877-209-0079
1 Receiving SiriusXM ® Radio
The SiriusXM ® satellites are in orbit over the equator;
therefore, objects south of the vehicle may cause
satellite reception interruptions. Sa tellite signals are
more likely to be blocked by tall buildings and
mountains the farther north you travel from the
equator.
You may experience rece ption problems under the
following circumstances:
•In a location with an obstruction to the south of
your vehicle.
•In tunnels
•On the lower level of a multi-tiered road•Large items carried on the roof rack
16 PILOT-31TG76000.book 308 ページ 2015年6月15日 月曜日 午前11時30分