2016 GMC YUKON XL ad blue
[x] Cancel search: ad bluePage 165 of 416

GMC Yukon/Yukon XL Owner Manual (GMNA-Localizing-U.S/Canada-
9159297) - 2016 - CRC - 10/12/15
164 Instruments and Controls
Vehicle
Personalization
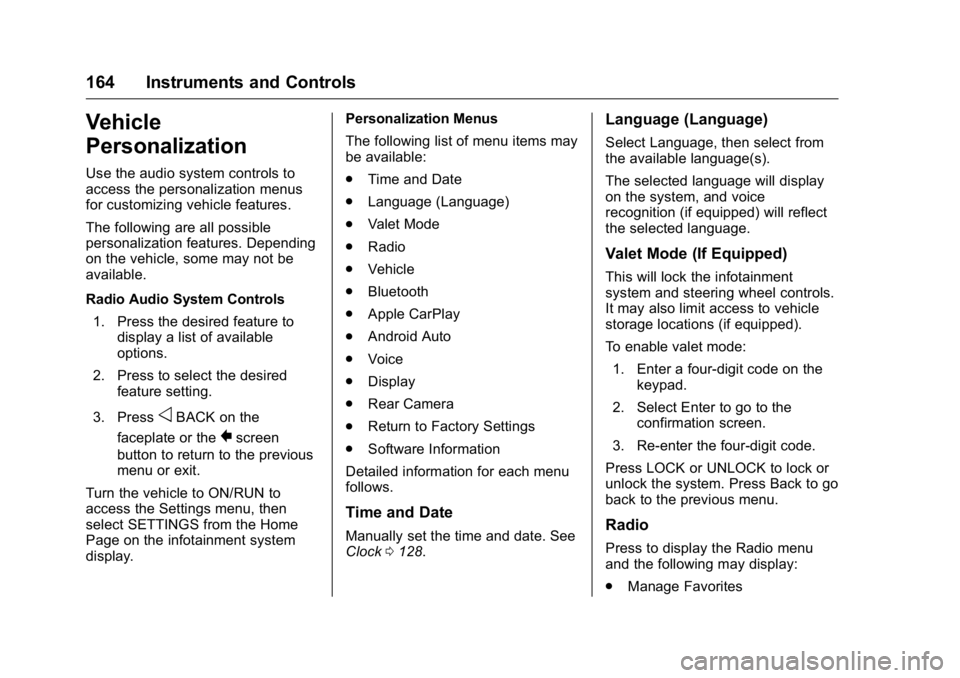
Use the audio system controls to
access the personalization menus
for customizing vehicle features.
The following are all possible
personalization features. Depending
on the vehicle, some may not be
available.
Radio Audio System Controls1. Press the desired feature to display a list of available
options.
2. Press to select the desired feature setting.
3. Press
oBACK on the
faceplate or the
0screen
button to return to the previous
menu or exit.
Turn the vehicle to ON/RUN to
access the Settings menu, then
select SETTINGS from the Home
Page on the infotainment system
display. Personalization Menus
The following list of menu items may
be available:
.
Time and Date
. Language (Language)
. Valet Mode
. Radio
. Vehicle
. Bluetooth
. Apple CarPlay
. Android Auto
. Voice
. Display
. Rear Camera
. Return to Factory Settings
. Software Information
Detailed information for each menu
follows.
Time and Date
Manually set the time and date. See
Clock 0128.
Language (Language)
Select Language, then select from
the available language(s).
The selected language will display
on the system, and voice
recognition (if equipped) will reflect
the selected language.
Valet Mode (If Equipped)
This will lock the infotainment
system and steering wheel controls.
It may also limit access to vehicle
storage locations (if equipped).
To enable valet mode:
1. Enter a four-digit code on the keypad.
2. Select Enter to go to the confirmation screen.
3. Re-enter the four-digit code.
Press LOCK or UNLOCK to lock or
unlock the system. Press Back to go
back to the previous menu.
Radio
Press to display the Radio menu
and the following may display:
. Manage Favorites
Page 170 of 416

GMC Yukon/Yukon XL Owner Manual (GMNA-Localizing-U.S/Canada-
9159297) - 2016 - CRC - 10/12/15
Instruments and Controls 169
Select Off, On with Horn
Chirp, or On.
Remote Left in Vehicle Alert
This feature sounds an alert when
the RKE transmitter is left in the
vehicle.
Select Off or On.
Bluetooth
Select and the following may
display:
.Pair New Device
. Device Management
. Ringtones
. Voice Mail Numbers
Pair New Device
Select to pair a new device. See
“Pairing” in“Infotainment Controls”
under “Bluetooth” in the infotainment
manual.
Device Management
Select to connect to a different
phone source, disconnect a phone,
or delete a phone. Ringtones
Press to change the ring tone for
the specific phone. The phone does
not need to be connected to change
the ring tone.
Voice Mail Numbers
This feature displays the voice mail
number for all connected phones.
To change the voice mail number,
select EDIT or press the EDIT
button. Type a new number, then
select SAVE or press the SAVE
button.
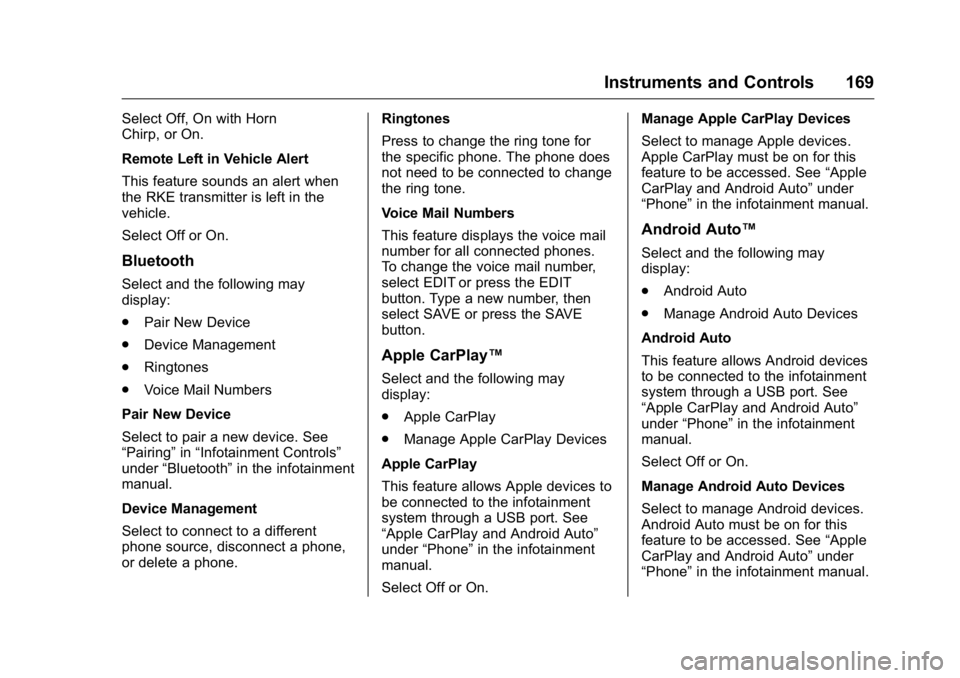
Apple CarPlay™
Select and the following may
display:
.
Apple CarPlay
. Manage Apple CarPlay Devices
Apple CarPlay
This feature allows Apple devices to
be connected to the infotainment
system through a USB port. See
“Apple CarPlay and Android Auto”
under “Phone” in the infotainment
manual.
Select Off or On. Manage Apple CarPlay Devices
Select to manage Apple devices.
Apple CarPlay must be on for this
feature to be accessed. See
“Apple
CarPlay and Android Auto” under
“Phone” in the infotainment manual.
Android Auto™
Select and the following may
display:
.
Android Auto
. Manage Android Auto Devices
Android Auto
This feature allows Android devices
to be connected to the infotainment
system through a USB port. See
“Apple CarPlay and Android Auto”
under “Phone” in the infotainment
manual.
Select Off or On.
Manage Android Auto Devices
Select to manage Android devices.
Android Auto must be on for this
feature to be accessed. See “Apple
CarPlay and Android Auto” under
“Phone” in the infotainment manual.
Page 176 of 416

GMC Yukon/Yukon XL Owner Manual (GMNA-Localizing-U.S/Canada-
9159297) - 2016 - CRC - 10/12/15
Lighting 175
the headlamps will stay on for
10 minutes before turning off to
prevent the battery from being
drained. Turn the headlamp control
off and then back to the headlamp
on position to make the headlamps
stay on for an additional 10 minutes.
To keep the lamps on for more than
10 minutes, the ignition must be in
the ACC/ACCESSORY or ON/RUN
position.
IntelliBeam®System
If equipped, this system turns the
vehicle's high-beam headlamps on
and off according to surrounding
traffic conditions.
The system turns the high-beam
headlamps on when it is dark
enough and there is no other traffic
present.
This light comes on in the
instrument cluster when the
IntelliBeam system is enabled.
Turning On and Enabling
IntelliBeam
To enable the IntelliBeam system,
with the turn signal lever in the
neutral position, turn the exterior
lamp control to AUTO. The blue
high-beam on light appears on the
instrument cluster when the high
beams are on.
Driving with IntelliBeam
The system only activates the high
beams when driving over 40 km/h
(25 mph).
There is a sensor near the top
center of the windshield that
automatically controls the system.
Keep this area of the windshield
clear of debris to allow for best
system performance.
The high-beam headlamps remain
on, under the automatic control,
until one of the following situations
occurs:.
The system detects an
approaching vehicle's
headlamps.
. The system detects a preceding
vehicle's taillamps.
. The outside light is bright
enough that high-beam
headlamps are not required.
. The vehicle's speed drops below
20 km/h (12 mph).
. The IntelliBeam system can be
disabled by the High/Low-Beam
Changer or the Flash-to-Pass
feature. If this happens, the
High/Low-Beam Changer must
be activated two times within
five seconds to reactivate the
IntelliBeam system. The
instrument cluster light will come
on to indicate the IntelliBeam is
reactivated. See Headlamp
High/Low-Beam Changer 0176
and Flash-to-Pass 0176.
The high beams may not turn off
automatically if the system cannot
detect another vehicle's lamps
because of any of the following:
Page 268 of 416

GMC Yukon/Yukon XL Owner Manual (GMNA-Localizing-U.S/Canada-
9159297) - 2016 - CRC - 10/12/15
Driving and Operating 267
Trailer Brakes
A loaded trailer that weighs more
than 900 kg (2,000 lb) needs to have
its own brake system that is
adequate for the weight of the
trailer. Be sure to read and follow
the instructions for the trailer brakes
so they are installed, adjusted, and
maintained properly.
Since the vehicle is equipped with
StabiliTrak, the trailer brakes cannot
tap into the vehicle's hydraulic
system.
Trailer Wiring Harness
The seven-pin trailer connector is
mounted in the bumper. This
connector can be plugged into a
seven-pin universal heavy-duty
trailer connector available through
your dealer.
The seven-wire harness contains
the following trailer circuits:
.Yellow: Left Stop/Turn Signal
. Green/Violet: Right Stop/Turn
Signal
. Brown: Taillamps .
White: Ground
. Light Green: Back-up Lamps
. Red/Green: Battery Feed
. Dark Blue: Trailer Brake
To help charge a remote
(non-vehicle) battery, press the Tow/
Haul Mode button at the end of the
shift lever. If the trailer is too light for
Tow/Haul Mode, turn on the
headlamps to help charge the
battery.
Electric Brake Control Wiring
Provisions
These wiring provisions are
included with the vehicle as part of
the trailer wiring package. These
provisions are for an electric brake
controller.
The harness should be installed by
your dealer or a qualified service
center.
Tow/Haul Mode
Pressing this button at the end of
the shift lever turns on and off the
Tow/Haul Mode.
This indicator light on the instrument
cluster comes on when the Tow/
Haul Mode is on.
Page 395 of 416

GMC Yukon/Yukon XL Owner Manual (GMNA-Localizing-U.S/Canada-
9159297) - 2016 - CRC - 10/12/15
394 OnStar
OnStar
OnStar Overview
OnStar Overview . . . . . . . . . . . . . 394
OnStar Services
Emergency . . . . . . . . . . . . . . . . . . . 395
Security . . . . . . . . . . . . . . . . . . . . . . 395
Navigation . . . . . . . . . . . . . . . . . . . . 395
Connections . . . . . . . . . . . . . . . . . . 396
Diagnostics . . . . . . . . . . . . . . . . . . . 398
OnStar Additional Information
OnStar AdditionalInformation . . . . . . . . . . . . . . . . . . 398
OnStar Overview
=Voice Command Button
QBlue OnStar Button
>Red Emergency Button
This vehicle may be equipped with a
comprehensive, in-vehicle system
that can connect to an OnStar
Advisor for Emergency, Security,
Navigation, Connections, and
Diagnostics Services. OnStar
services may require a paid
subscription and data plan. OnStar
requires the vehicle battery and
electrical system, cellular service,
and GPS satellite signals to be
available and operating. OnStar acts
as a link to existing emergency
service providers. OnStar may
collect information about you and
your vehicle, including location
information. See OnStar ’s Terms &Conditions and Privacy Statement
for more details including system
limitations at www.onstar.com (U.S.)
or www.onstar.ca (Canada).
The OnStar system status light is
next to the OnStar buttons. If the
status light is:
.
Solid Green: System is ready.
. Flashing Green: On a call.
. Red: Indicates a problem.
. Off: System is off. PressQ
twice to speak with an OnStar
Advisor.
Press
Qor call 1-888-4ONSTAR
(1-888-466-7827) to speak to an
Advisor.
Press
=to:
. Make a call, end a call,
or answer an incoming call.
. Give OnStar Hands-Free Calling
voice commands.
. Give OnStar Turn-by-Turn
Navigation voice commands.