2016 FORD TAURUS manual transmission
[x] Cancel search: manual transmissionPage 82 of 424
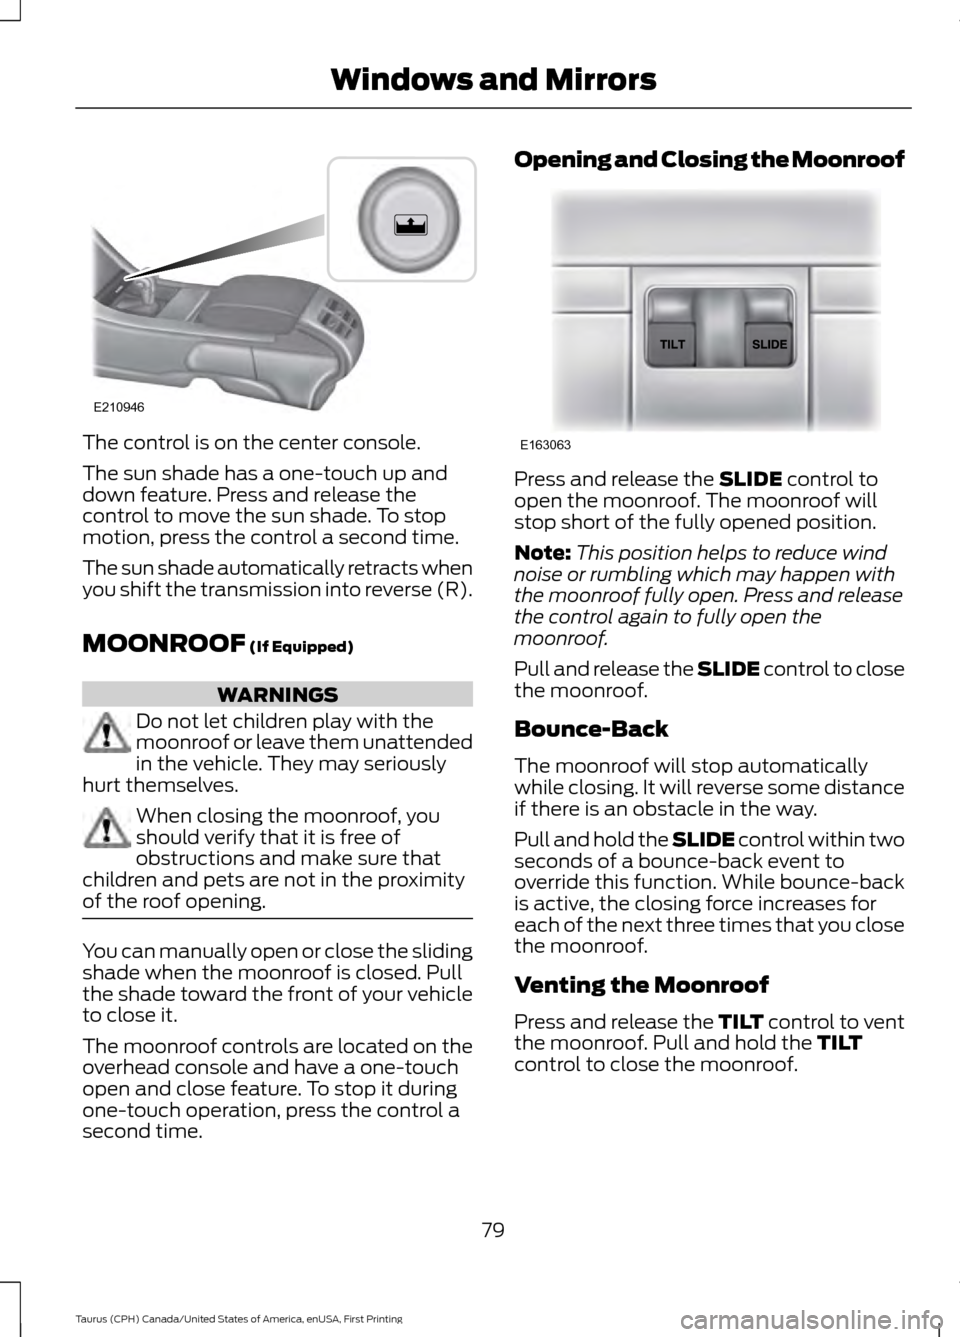
The control is on the center console.
The sun shade has a one-touch up and
down feature. Press and release the
control to move the sun shade. To stop
motion, press the control a second time.
The sun shade automatically retracts when
you shift the transmission into reverse (R).
MOONROOF (If Equipped)
WARNINGS
Do not let children play with the
moonroof or leave them unattended
in the vehicle. They may seriously
hurt themselves. When closing the moonroof, you
should verify that it is free of
obstructions and make sure that
children and pets are not in the proximity
of the roof opening. You can manually open or close the sliding
shade when the moonroof is closed. Pull
the shade toward the front of your vehicle
to close it.
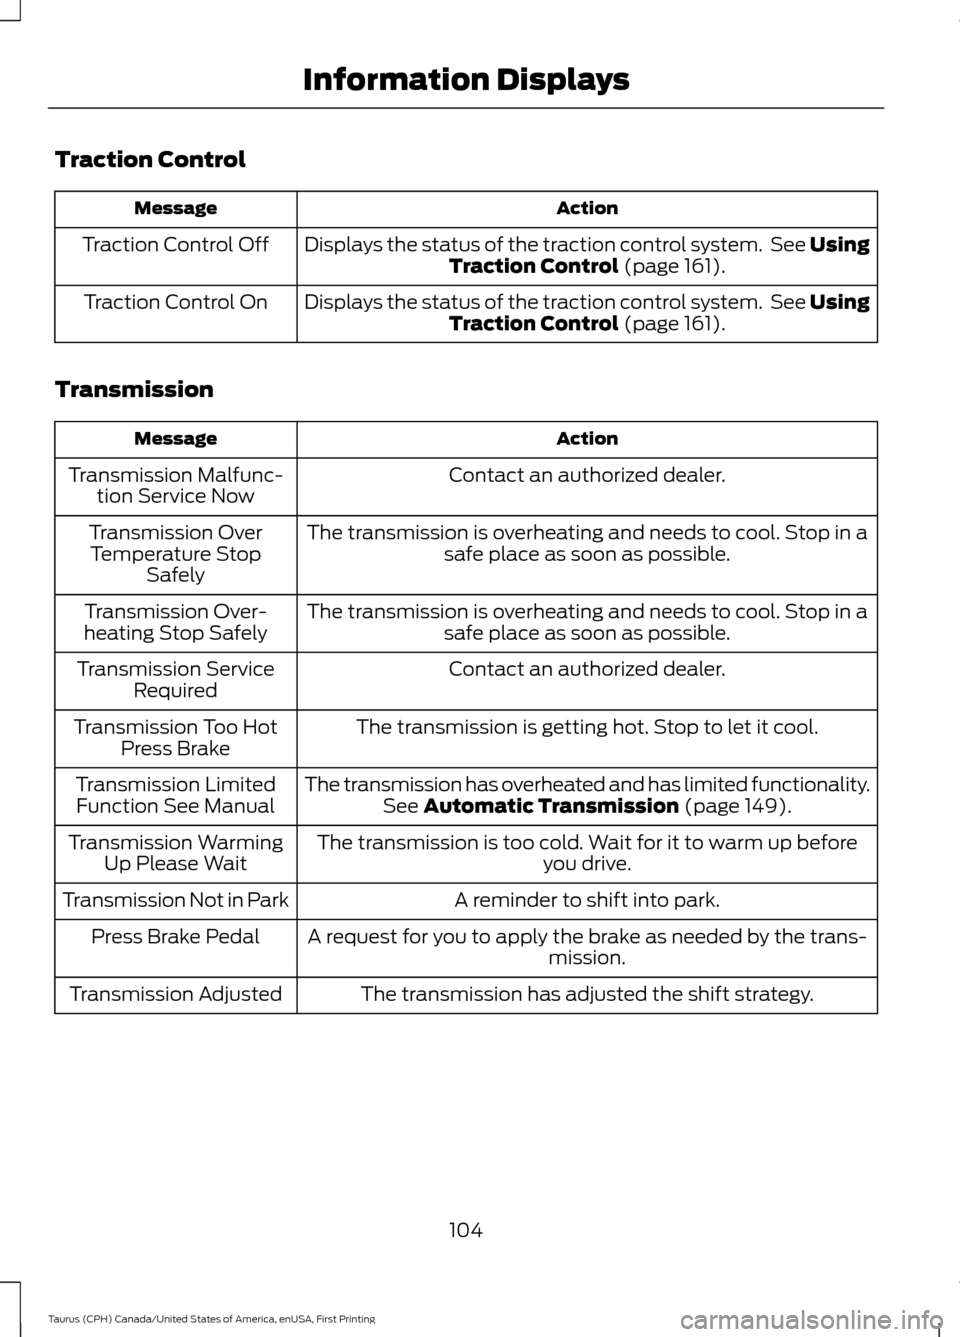
The moonroof controls are located on the
overhead console and have a one-touch
open and close feature. To stop it during
one-touch operation, press the control a
second time. Opening and Closing the Moonroof
Press and release the
SLIDE control to
open the moonroof. The moonroof will
stop short of the fully opened position.
Note: This position helps to reduce wind
noise or rumbling which may happen with
the moonroof fully open. Press and release
the control again to fully open the
moonroof.
Pull and release the SLIDE control to close
the moonroof.
Bounce-Back
The moonroof will stop automatically
while closing. It will reverse some distance
if there is an obstacle in the way.
Pull and hold the SLIDE control within two
seconds of a bounce-back event to
override this function. While bounce-back
is active, the closing force increases for
each of the next three times that you close
the moonroof.
Venting the Moonroof
Press and release the TILT control to vent
the moonroof. Pull and hold the
TILT
control to close the moonroof.
79
Taurus (CPH) Canada/United States of America, enUSA, First Printing Windows and MirrorsE210946 E163063
Page 107 of 424
Traction Control
Action
Message
Displays the status of the traction control system. See UsingTraction Control (page 161).
Traction Control Off
Displays the status of the traction control system. See UsingTraction Control
(page 161).
Traction Control On
Transmission Action
Message
Contact an authorized dealer.
Transmission Malfunc-
tion Service Now
The transmission is overheating and needs to cool. Stop in asafe place as soon as possible.
Transmission Over
Temperature Stop Safely
The transmission is overheating and needs to cool. Stop in asafe place as soon as possible.
Transmission Over-
heating Stop Safely
Contact an authorized dealer.
Transmission Service
Required
The transmission is getting hot. Stop to let it cool.
Transmission Too Hot
Press Brake
The transmission has overheated and has limited functionality.See
Automatic Transmission (page 149).
Transmission Limited
Function See Manual
The transmission is too cold. Wait for it to warm up beforeyou drive.
Transmission Warming
Up Please Wait
A reminder to shift into park.
Transmission Not in Park
A request for you to apply the brake as needed by the trans-mission.
Press Brake Pedal
The transmission has adjusted the shift strategy.
Transmission Adjusted
104
Taurus (CPH) Canada/United States of America, enUSA, First Printing Information Displays
Page 152 of 424
AUTOMATIC TRANSMISSION
WARNINGS
Always set the parking brake fully
and make sure the gearshift is
latched in park (P). Turn the ignition
to the off position and remove the key
whenever you leave your vehicle. Do not apply the brake pedal and
accelerator pedal simultaneously.
Applying both pedals simultaneously
for more than three seconds will limit
engine rpm, which may result in difficulty
maintaining speed in traffic and could lead
to serious injury. Understanding the Positions of
Your Automatic Transmission
Putting your vehicle in gear:
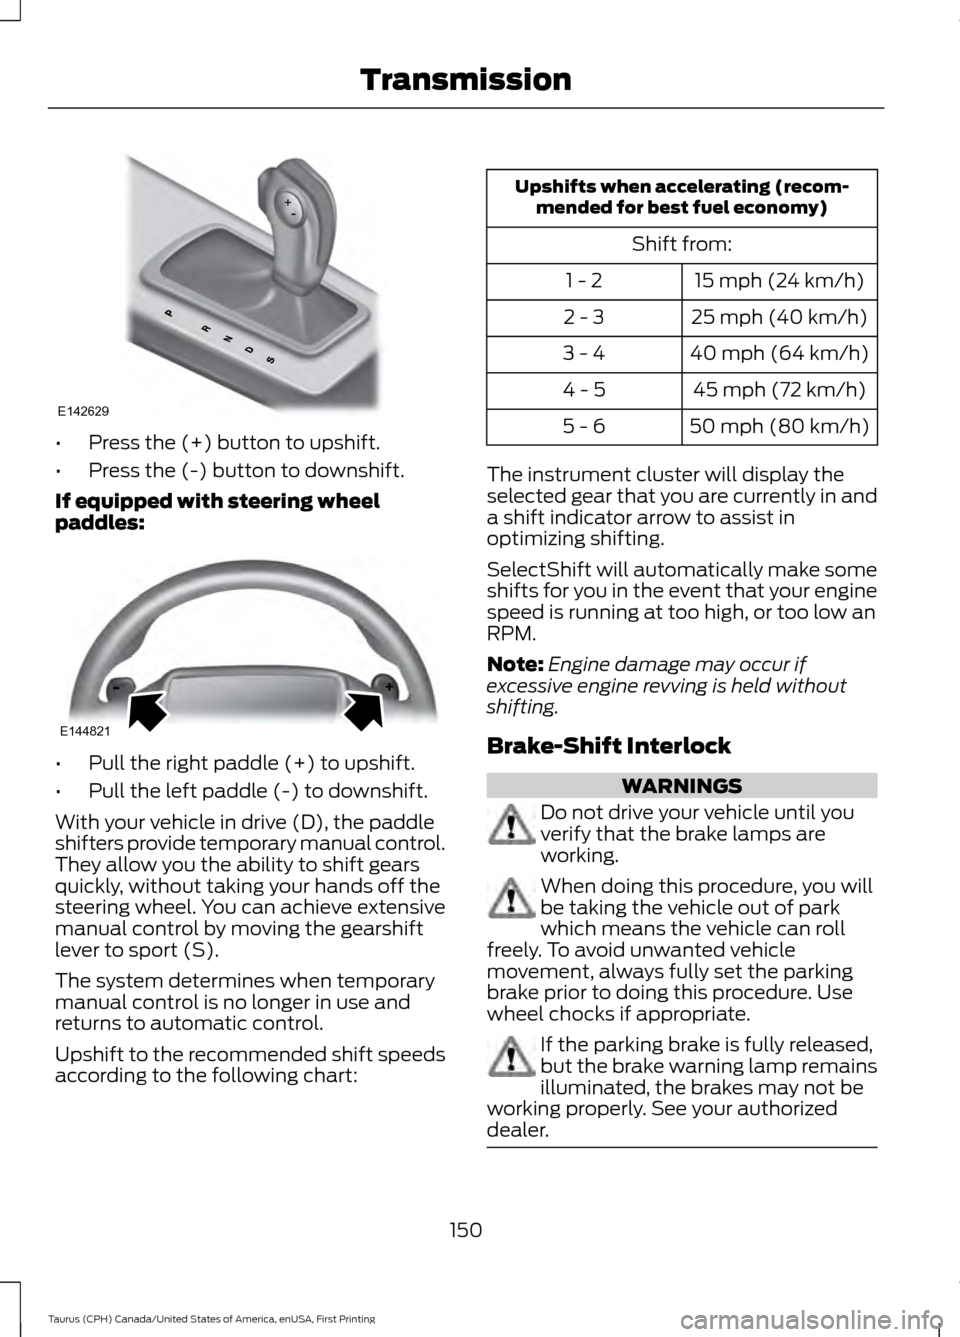
1. Fully press down the brake pedal.
2.
Press and hold the button on the front
of the gearshift lever.
3. Move the gearshift lever into the desired gear.
4. Release the button and your transmission will remain in the selected
gear. Park (P)
This position locks the transmission and
prevents the wheels from turning.
Reverse (R)
With the gearshift lever in reverse (R), your
vehicle will move backward. Always come
to a complete stop before shifting into and
out of reverse (R).
Neutral (N)
With the gearshift lever in neutral (N), your
vehicle can be started and is free to roll.
Hold the brake pedal down while in this
position.
Drive (D)
Drive (D) is the normal driving position for
the best fuel economy. The overdrive
function allows automatic upshifts and
downshifts through gears one through six.
Sport (S)
Moving the gearshift lever to sport (S):
•
Provides additional grade (engine)
braking and extends lower gear
operation to enhance performance for
uphill climbs, hilly terrain or
mountainous areas. This will increase
engine RPM during engine braking.
• Provides additional lower gear
operation through the automatic
transmission shift strategy.
• Gears are selected more quickly and
at higher engine speeds.
SelectShift Automatic ™
Transmission
Your SelectShift automatic transmission
gives you the ability to manually change
gears.
If equipped with a toggle on the
gearshift lever:
149
Taurus (CPH) Canada/United States of America, enUSA, First Printing TransmissionE142629
Page 153 of 424
•
Press the (+) button to upshift.
• Press the (-) button to downshift.
If equipped with steering wheel
paddles: •
Pull the right paddle (+) to upshift.
• Pull the left paddle (-) to downshift.
With your vehicle in drive (D), the paddle
shifters provide temporary manual control.
They allow you the ability to shift gears
quickly, without taking your hands off the
steering wheel. You can achieve extensive
manual control by moving the gearshift
lever to sport (S).
The system determines when temporary
manual control is no longer in use and
returns to automatic control.
Upshift to the recommended shift speeds
according to the following chart: Upshifts when accelerating (recom-
mended for best fuel economy)
Shift from:15 mph (24 km/h)
1 - 2
25 mph (40 km/h)
2 - 3
40 mph (64 km/h)
3 - 4
45 mph (72 km/h)
4 - 5
50 mph (80 km/h)
5 - 6
The instrument cluster will display the
selected gear that you are currently in and
a shift indicator arrow to assist in
optimizing shifting.
SelectShift will automatically make some
shifts for you in the event that your engine
speed is running at too high, or too low an
RPM.
Note: Engine damage may occur if
excessive engine revving is held without
shifting.
Brake-Shift Interlock WARNINGS
Do not drive your vehicle until you
verify that the brake lamps are
working.
When doing this procedure, you will
be taking the vehicle out of park
which means the vehicle can roll
freely. To avoid unwanted vehicle
movement, always fully set the parking
brake prior to doing this procedure. Use
wheel chocks if appropriate. If the parking brake is fully released,
but the brake warning lamp remains
illuminated, the brakes may not be
working properly. See your authorized
dealer. 150
Taurus (CPH) Canada/United States of America, enUSA, First Printing TransmissionE142629 E144821
Page 171 of 424
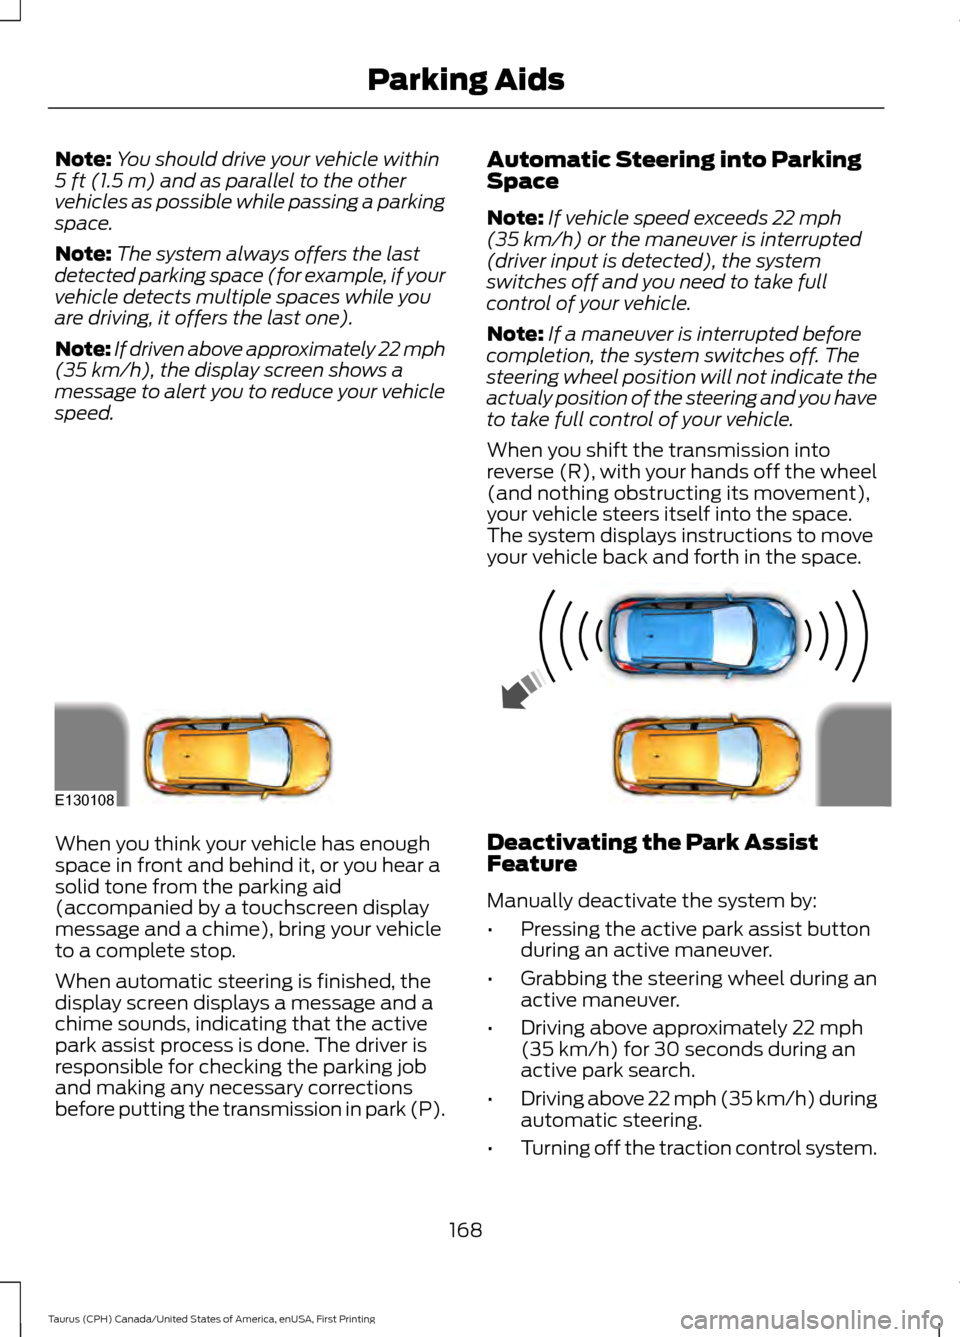
Note:
You should drive your vehicle within
5 ft (1.5 m) and as parallel to the other
vehicles as possible while passing a parking
space.
Note: The system always offers the last
detected parking space (for example, if your
vehicle detects multiple spaces while you
are driving, it offers the last one).
Note: If driven above approximately 22 mph
(35 km/h)
, the display screen shows a
message to alert you to reduce your vehicle
speed. Automatic Steering into Parking
Space
Note:
If vehicle speed exceeds
22 mph
(35 km/h) or the maneuver is interrupted
(driver input is detected), the system
switches off and you need to take full
control of your vehicle.
Note: If a maneuver is interrupted before
completion, the system switches off. The
steering wheel position will not indicate the
actualy position of the steering and you have
to take full control of your vehicle.
When you shift the transmission into
reverse (R), with your hands off the wheel
(and nothing obstructing its movement),
your vehicle steers itself into the space.
The system displays instructions to move
your vehicle back and forth in the space. When you think your vehicle has enough
space in front and behind it, or you hear a
solid tone from the parking aid
(accompanied by a touchscreen display
message and a chime), bring your vehicle
to a complete stop.
When automatic steering is finished, the
display screen displays a message and a
chime sounds, indicating that the active
park assist process is done. The driver is
responsible for checking the parking job
and making any necessary corrections
before putting the transmission in park (P).
Deactivating the Park Assist
Feature
Manually deactivate the system by:
•
Pressing the active park assist button
during an active maneuver.
• Grabbing the steering wheel during an
active maneuver.
• Driving above approximately
22 mph
(35 km/h) for 30 seconds during an
active park search.
• Driving above 22 mph (35 km/h) during
automatic steering.
• Turning off the traction control system.
168
Taurus (CPH) Canada/United States of America, enUSA, First Printing Parking AidsE130108
Page 175 of 424
The fixed and active guidelines fade in and
out depending on the steering wheel
position. The active guidelines do not
display when the steering wheel position
is straight.
Always use caution while reversing.
Objects in the red zone are closest to your
vehicle and objects in the green zone are
farther away. Objects are getting closer to
your vehicle as they move from the green
zone to the yellow or red zones. Use the
side view mirrors and rear view mirror to
get better coverage on both sides and rear
of the vehicle.
Manual Zoom
WARNING
When manual zoom is on, the full
area behind your vehicle may not
show. Be aware of your surroundings
when using the manual zoom feature. Note:
Manual zoom is only available when
the transmission is in reverse (R).
Note: When you enable manual zoom, only
the centerline is shown.
Selectable settings for this feature are
Zoom in (+) and Zoom out (-). Press the
symbol in the camera screen to change the
view. The default setting is Zoom OFF.
This allows you to get a closer view of an
object behind your vehicle. The zoomed
image keeps the bumper in the image to
provide a reference. The zoom is only
active while the transmission is in reverse
(R).
Camera System Settings
The rear view camera system settings can
be accessed through the display screen.
See General Information (page 86). Enhanced Park Aids or Park Pilot
Selectable settings for this feature are ON
and OFF.
The system uses red, yellow and green
highlights that appear on top of the video
image when any of the sensing systems
detect an object.
Rear Camera Delay
Selectable settings for this feature are ON
and OFF.
The default setting for the rear camera
delay is OFF.
When shifting the transmission out of
reverse (R) and into any gear other than
park (P), the camera image remains in the
display until:
•
Your vehicle speed reaches
approximately
5 mph (8 km/h).
• You shift your vehicle into park (P).
172
Taurus (CPH) Canada/United States of America, enUSA, First Printing Parking Aids
Page 190 of 424

For automatic transmissions, the Blind
Spot Information System remains on while
the transmission is in drive (D). If shifted
into reverse (R) or park (P) the Blind Spot
Information System turns off. Once shifted
back into drive (D), the Blind Spot
Information System turns back on when
you drive your vehicle above 5 mph
(8 km/h).
For manual transmissions, the Blind Spot
Information System is on for all gears
except the reverse (R).
Note: The Blind Spot Information System
does not function in reverse (R) or park (P).
System Lights and Messages The Blind Spot Information System
illuminates an amber alert indicator in the
outside mirror on the side of your vehicle
the approaching vehicle is coming from.
The alert indicator dims when the system
detects nighttime darkness.
System Sensor Blockage
WARNING
To help avoid injuries, NEVER use the
Blind Spot Information System as a
replacement for using the interior
and exterior mirrors or looking over your
shoulder before changing lanes. The Blind
Spot Information System is not a
replacement for careful driving. The system uses radar sensors that are
located behind the bumper fascia on each
side of your vehicle. Any dirt, mud and
snow in front of the sensors and/or driving
in heavy rain can cause system
degradation. Also, other types of
obstructions in front of the sensor can
cause system degradation. This is referred
to as a
‘blocked ’ condition.
Note: Do not apply bumper stickers and/or
repair compound to these areas, this can
cause degraded system performance.
187
Taurus (CPH) Canada/United States of America, enUSA, First Printing Driving AidsE142442 E205199
Page 206 of 424
TOWING A TRAILER
WARNINGS
Do not exceed the GVWR or
the GAWR specified on the
certification label. Towing trailers beyond the
maximum recommended
gross trailer weight exceeds the
limit of the vehicle and could
result in engine damage,
transmission damage, structural
damage, loss of vehicle control,
vehicle rollover and personal
injury. Your vehicle may have electrical
items, such as fuses or relays,
related to towing. See Fuses
(page 224).
Your vehicle's load capacity
designation is by weight, not by
volume, so you cannot necessarily
use all available space when
loading a vehicle or trailer.
Towing a trailer places an extra
load on your vehicle's engine,
transmission, axle, brakes, tires
and suspension. Inspect these
components periodically during,
and after, any towing operation. Load Placement
To help minimize how trailer
movement affects your vehicle
when driving:
•
Load the heaviest items closest
to the trailer floor.
• Load the heaviest items
centered between the left and
right side trailer tires.
• Load the heaviest items above
the trailer axles or just slightly
forward toward the trailer
tongue. Do not allow the final
trailer tongue weight to go
above or below 10-15% of the
loaded trailer weight.
• Select a ball mount with the
correct rise or drop. When both
the loaded vehicle and trailer
are connected, the trailer frame
should be level, or slightly
angled down toward your
vehicle, when viewed from the
side.
When driving with a trailer or
payload, a slight takeoff vibration
or shudder may be present due to
the increased payload weight.
Additional information regarding
proper trailer loading and setting
your vehicle up for towing is
located in another chapter of this
manual. See
Load Limit (page
195).
You can also find information in
the
RV & Trailer Towing Guide
available at your authorized
dealer, or online.
203
Taurus (CPH) Canada/United States of America, enUSA, First Printing Towing