2016 FORD SUPER DUTY steering
[x] Cancel search: steeringPage 70 of 510
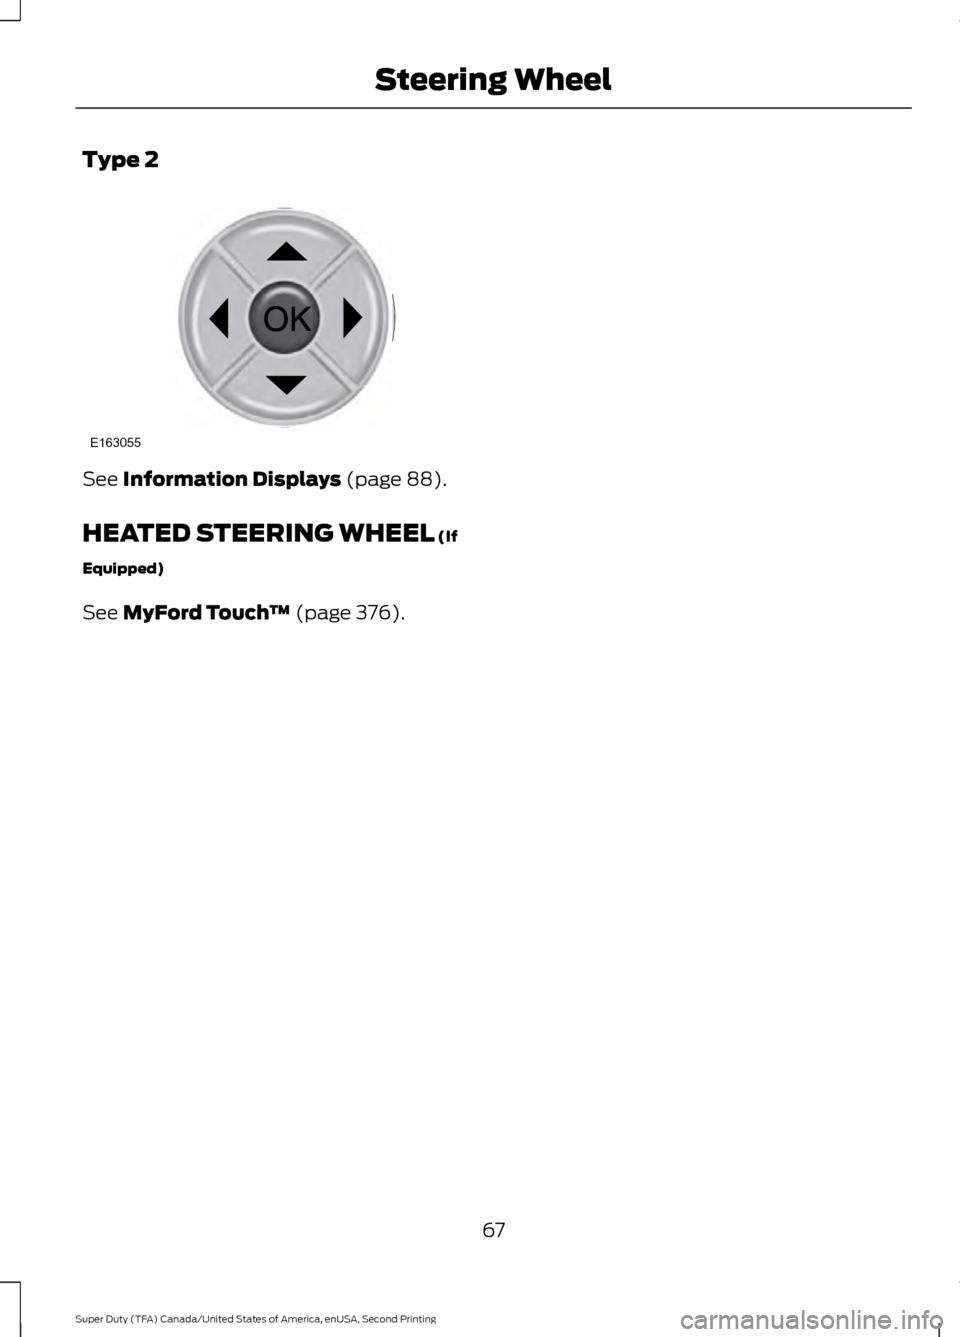
Type 2
See Information Displays (page 88).
HEATED STEERING WHEEL
(If
Equipped)
See
MyFord Touch ™ (page 376).
67
Super Duty (TFA) Canada/United States of America, enUSA, Second Printing Steering WheelE163055
Page 71 of 510
ADJUSTING THE PEDALS (If
Equipped) WARNING
Never use the controls while your
feet are on the accelerator and brake
pedals and the vehicle is moving.
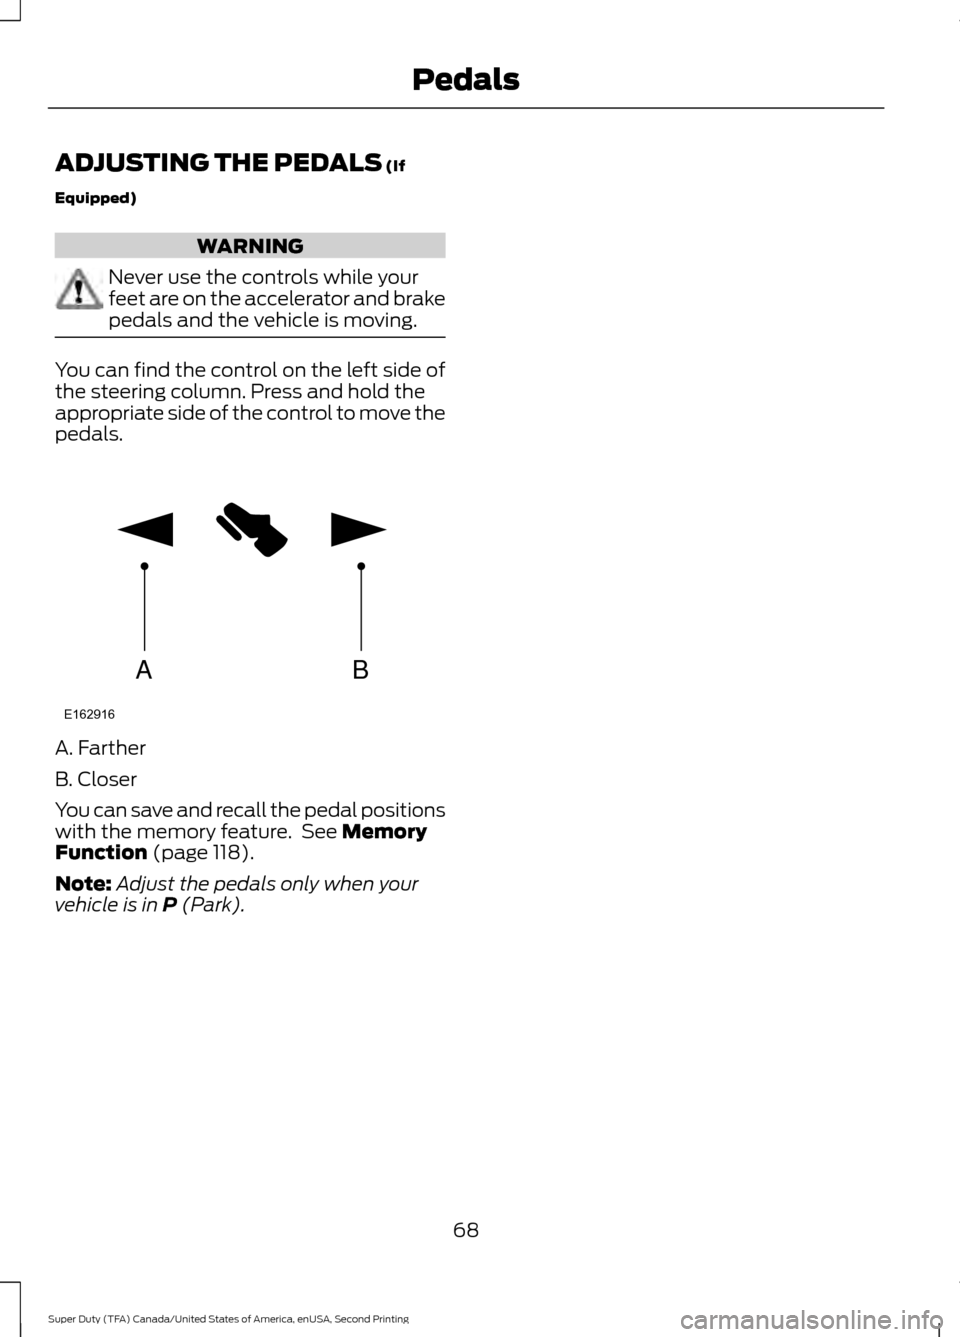
You can find the control on the left side of
the steering column. Press and hold the
appropriate side of the control to move the
pedals.
A. Farther
B. Closer
You can save and recall the pedal positions
with the memory feature. See
Memory
Function (page 118).
Note: Adjust the pedals only when your
vehicle is in
P (Park).
68
Super Duty (TFA) Canada/United States of America, enUSA, Second Printing PedalsAB
E162916
Page 91 of 510
GENERAL INFORMATION
WARNING
Driving while distracted can result in
loss of vehicle control, crash and
injury. We strongly recommend that
you use extreme caution when using any
device that may take your focus off the
road. Your primary responsibility is the safe
operation of your vehicle. We recommend
against the use of any hand-held device
while driving and encourage the use of
voice-operated systems when possible.
Make sure you are aware of all applicable
local laws that may affect the use of
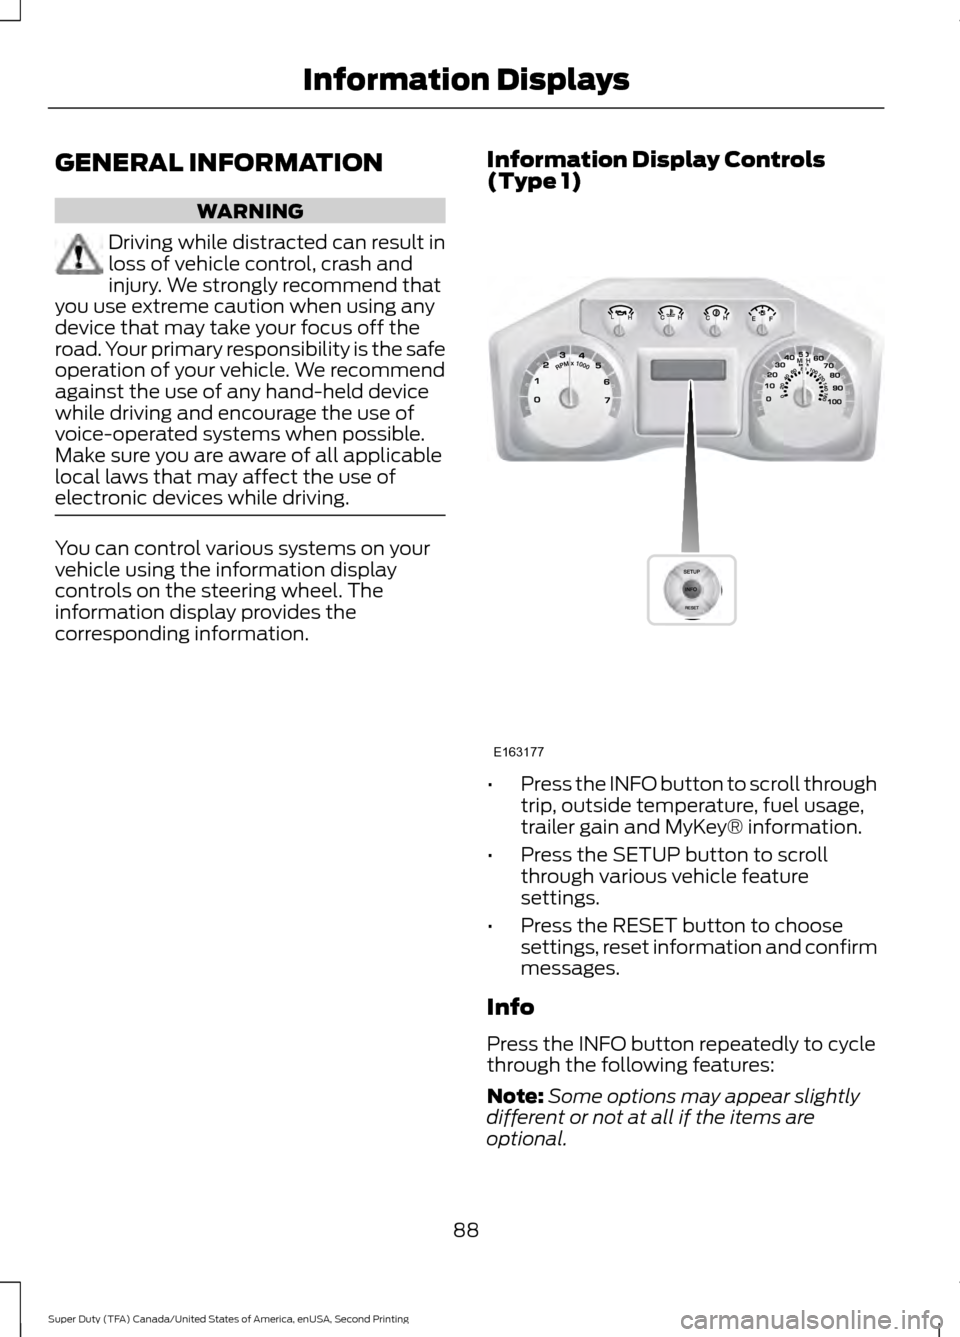
electronic devices while driving. You can control various systems on your
vehicle using the information display
controls on the steering wheel. The
information display provides the
corresponding information.
Information Display Controls
(Type 1) •
Press the INFO button to scroll through
trip, outside temperature, fuel usage,
trailer gain and MyKey® information.
• Press the SETUP button to scroll
through various vehicle feature
settings.
• Press the RESET button to choose
settings, reset information and confirm
messages.
Info
Press the INFO button repeatedly to cycle
through the following features:
Note: Some options may appear slightly
different or not at all if the items are
optional.
88
Super Duty (TFA) Canada/United States of America, enUSA, Second Printing Information DisplaysE163177
Page 98 of 510
Fuel Hist.
Shows fuel usage as a bar graph based on
time. The graph is updated each minute
with the fuel economy that was achieved
during the prior 5, 10, 30 minutes of driving.
Truck Apps In this mode, off-road
information depicted with
graphics and trailer towing
application options are available.
Note: Some items are optional and may
not appear. Truck Apps
Pitch and bank angle (in degrees)
Off Road
Steering angle (in degrees)
Differential lock/unlock
Energy flow ELD (Electronic Locking Differential)
Press OK for Info
Hill Descent Control
4X4 System
Traction Control
AdvanceTrac + RSC
Active trailer name or default trailer
Trailer
Accumulated trailer distance
Trailer gain and output
Trailer Disconnected Options
Press OK for options
Change Active Trailer
Adding a new trailerConventional, Fifth
Wheel or Gooseneck
Connection Checklist (if
equipped)
Delete Trailer
Tow / Haul or Trailer
Brake Controller
Information Screen
95
Super Duty (TFA) Canada/United States of America, enUSA, Second Printing Information DisplaysE163181
Page 117 of 510
HEATED WINDOWS AND
MIRRORS
Heated Rear Window (If Equipped)
Note: Make sure the engine is running
before operating the heated windows.
Note: If your vehicle is equipped with a
sliding rear window, the feature still
operates when you open the window. Press the button to clear the
heated rear window of thin ice
and fog. The heated rear window
will automatically turn off after a short
period of time. Start the engine before you
switch the heated rear window on.
Do not use razor blades or other sharp
objects to clean or remove decals from
the inside of the heated rear window.
The vehicle warranty does not cover
damage caused to the heated rear
window grid lines.
Heated Exterior Mirror
When you switch the heated rear window
on, the heated exterior mirrors will
automatically turn on.
Note: Do not remove ice from the mirrors
with a scraper or adjust the mirror glass
when it is frozen in place.
Note: Do not clean the mirror housing or
glass with harsh abrasives, fuel or other
petroleum-based cleaning products.
REMOTE START
(If Equipped)
The remote start feature allows you to
pre-condition the interior of your vehicle.
The climate control system works to
achieve comfort according to your previous
settings.
Note: You cannot adjust the system during
remote start operation. Turn the ignition on to return the system
to its previous settings. You can now make
adjustments normally, but you need to turn
certain vehicle-dependent features back
on, such as:
•
Heated seats.
• Cooled seats.
• Heated steering wheel.
• Heated mirrors.
• Heated rear window.
You can adjust the default remote start
settings using the information display
controls. See
Information Displays
(page 88).
Automatic Settings
In hot weather, the system is set to
72°F
(22°C). The cooled seats are set to high
(if available, and selected to AUTO in the
information display).
In moderate weather, the system either
heats or cools (based on previous
settings). The rear defroster, heated
mirrors and heated seats do not
automatically turn on.
In cold weather, the system is set to
72°F
(22°C). The heated seats are set to high
(if available, and selected to AUTO in the
information display). The rear defroster
and heated mirrors automatically turn on.
114
Super Duty (TFA) Canada/United States of America, enUSA, Second Printing Climate ControlE184884
Page 118 of 510
SITTING IN THE CORRECT
POSITION
WARNINGS
Sitting improperly, out of position or
with the seatback reclined too far
can take weight off the seat cushion
and affect the decision of the passenger
sensing system, resulting in serious injury
or death in the event of a crash. Always sit
upright against your seat back, with your
feet on the floor. Do not recline the seatback as this
can cause the occupant to slide
under the safety belt, resulting in
serious injury in the event of a crash. Do not place objects higher than the
seatback to reduce the risk of serious
injury in the event of a crash or during
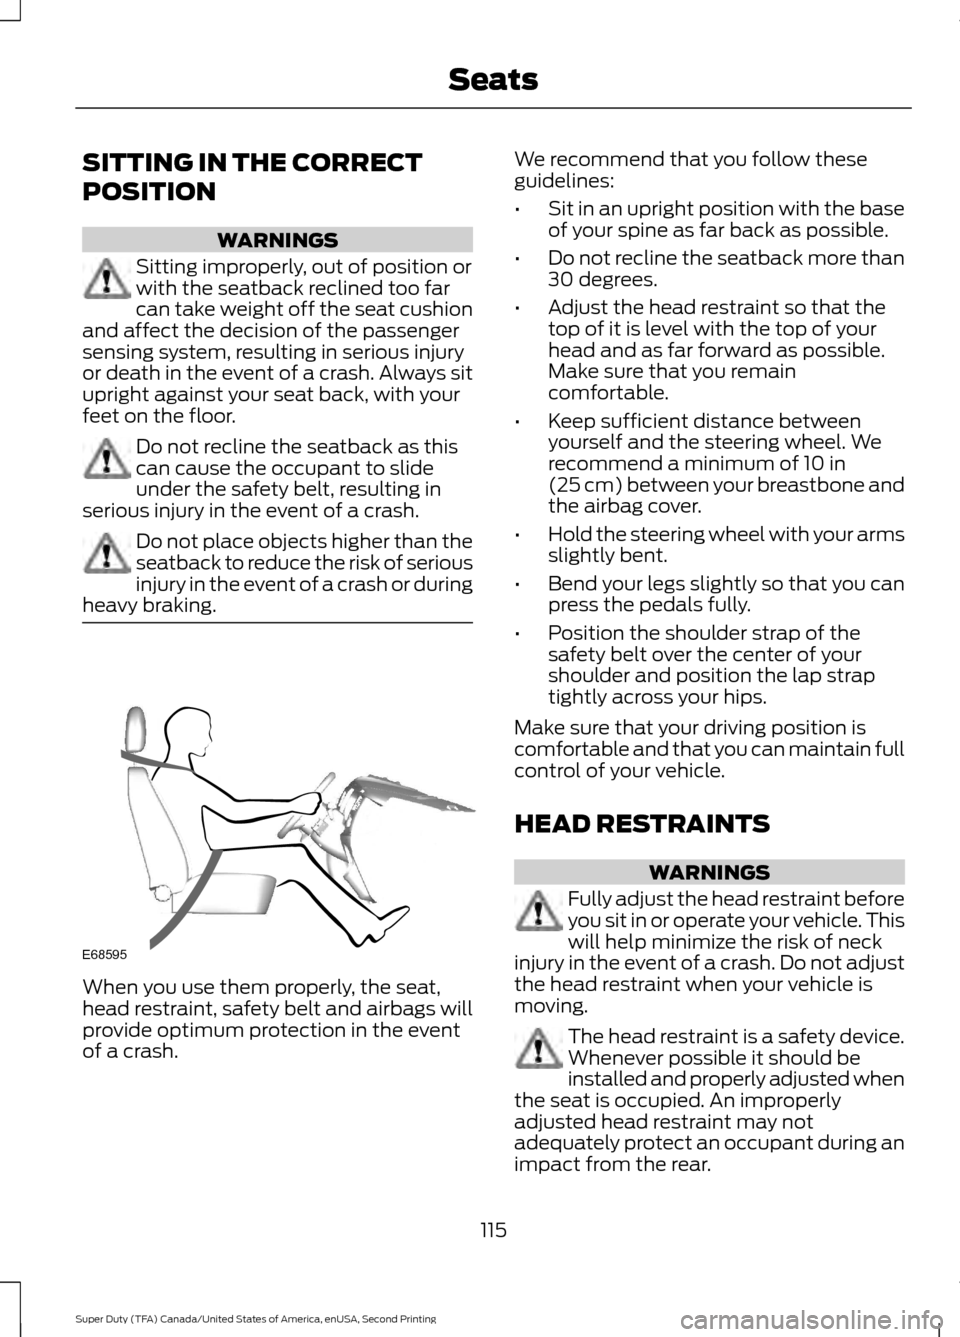
heavy braking. When you use them properly, the seat,
head restraint, safety belt and airbags will
provide optimum protection in the event
of a crash. We recommend that you follow these
guidelines:
•
Sit in an upright position with the base
of your spine as far back as possible.
• Do not recline the seatback more than
30 degrees.
• Adjust the head restraint so that the
top of it is level with the top of your
head and as far forward as possible.
Make sure that you remain
comfortable.
• Keep sufficient distance between
yourself and the steering wheel. We
recommend a minimum of 10 in
(25 cm) between your breastbone and
the airbag cover.
• Hold the steering wheel with your arms
slightly bent.
• Bend your legs slightly so that you can
press the pedals fully.
• Position the shoulder strap of the
safety belt over the center of your
shoulder and position the lap strap
tightly across your hips.
Make sure that your driving position is
comfortable and that you can maintain full
control of your vehicle.
HEAD RESTRAINTS WARNINGS
Fully adjust the head restraint before
you sit in or operate your vehicle. This
will help minimize the risk of neck
injury in the event of a crash. Do not adjust
the head restraint when your vehicle is
moving. The head restraint is a safety device.
Whenever possible it should be
installed and properly adjusted when
the seat is occupied. An improperly
adjusted head restraint may not
adequately protect an occupant during an
impact from the rear.
115
Super Duty (TFA) Canada/United States of America, enUSA, Second Printing SeatsE68595
Page 142 of 510
STARTING A GASOLINE
ENGINE
When you start the engine, the idle speed
increases, this helps to warm up the
engine. If the engine idle speed does not
slow down automatically, have your
vehicle checked by an authorized dealer.
Before starting the engine check the
following:
•
Make sure all occupants have fastened
their safety belts.
• Make sure the headlamps and
electrical accessories are off.
• Make sure the parking brake is on.
• Move the transmission selector lever
to position P.
• Turn the ignition key to the on position.
Note: Do not touch the accelerator pedal.
1. Fully press the brake pedal.
2. Turn the key to the start position to start the engine. Release the key when
the engine starts.
Note: The engine may continue cranking
for up to 15 seconds or until it starts.
Note: If you cannot start the engine on the
first try, wait for a short period and try again.
Failure to Start
If you cannot start the engine after three
attempts, wait 10 seconds and follow this
procedure:
1. Fully press the brake pedal.
2. Fully press the accelerator pedal and hold it there.
3. Start the engine.
Stopping the Engine When Your
Vehicle is Stationary
1. Move the transmission selector lever to position
P. 2. Turn the key to the off position.
3. Apply the parking brake.
Stopping the Engine When Your
Vehicle is Moving
WARNING
Switching off the engine when the
vehicle is still moving will result in a
loss of brake and steering assistance.
The steering will not lock, but higher effort
will be required. When the ignition is
switched off, some electrical circuits,
including air bags, warning lamps and
indicators may also be off. If the ignition
was turned off accidentally, you can shift
into neutral (N) and re-start the engine. 1. Move the transmission selector lever
to position
N and use the brakes to
bring your vehicle to a safe stop.
2. When your vehicle has stopped, move the transmission selector lever to
position
P and turn the key to the off
position.
3. Apply the parking brake.
Cold Weather Starting (Flexible
Fuel Vehicles Only)
The starting characteristics of all grades
of E85 ethanol make it unsuitable for use
when ambient temperatures fall below
0°F (-18°C). Consult your fuel distributor
for the availability of winter grade ethanol.
As the outside temperature approaches
freezing, ethanol fuel distributors should
supply winter grade ethanol (same as with
unleaded gasoline). If summer grade
ethanol is used in cold weather conditions,
0°F to 32°F (-18°C to 0°C), you may
experience increased cranking times, rough
idle or hesitation until the engine has
warmed up.
139
Super Duty (TFA) Canada/United States of America, enUSA, Second Printing Starting and Stopping the Engine
Page 156 of 510

Upshifts when accelerating (recommended for best fuel economy)
Diesel engines
Gasoline engines
Shift from:
12 mph (19 km/h)
15 mph (24 km/h)
1 – 2
19 mph (31 km/h)
25 mph (40 km/h)
2 – 3
26 mph (42 km/h)
40 mph (64 km/h)
3 – 4
34 mph (55 km/h)
45 mph (72 km/h)
4 – 5
46 mph (74 km/h)
50 mph (80 km/h)
5 – 6
Automatic Transmission Adaptive
Learning
This feature's design is to increase
durability and provide consistent shift feel
over the life of your vehicle. A new vehicle
or transmission may have firm shifts, soft
shifts or both. This operation is normal and
does not affect function or durability of the
transmission. Over time, the adaptive
learning process fully updates transmission
operation. Additionally, whenever you
disconnect the battery or install a new
battery, the system must relearn the
strategy.
Brake-Shift Interlock WARNINGS
Do not drive your vehicle until you
verify that the brake lamps are
working.
When doing this procedure, you will
be taking your vehicle out of park
which means your vehicle can roll
freely. To avoid unwanted vehicle
movement, always fully set the parking
brake prior to doing this procedure. Use
wheel chocks if appropriate. WARNINGS
If the parking brake is fully released,
but the brake warning lamp remains
illuminated, the brakes may not be
working properly. See your authorized
dealer. Your vehicle is equipped with a brake-shift
interlock feature that prevents the
gearshift lever from moving from park (P)
when the ignition is in the 3 (on) position
and the brake pedal is not pressed.
If you cannot move the gearshift lever out
of park (P) position with the ignition in the
4 (on) position and the brake pedal
pressed, a malfunction may have occurred.
It is possible that a fuse has blown or your
vehicle
’s brake lamps are not operating
properly. See Fuse Specification Chart
(page 223).
If the fuse is not blown and the brake
lamps are working properly, the following
procedure allows you to move the gearshift
lever from park (P):
1. Apply the parking brake. Switch the ignition key to 1 (off), then remove the
key.
2. Move the steering column to the full down and full rearward position
(toward the driver ’s seat).
3. Remove the gearshift lever boot.
153
Super Duty (TFA) Canada/United States of America, enUSA, Second Printing Transmission