2016 FORD POLICE INTERCEPTOR SEDAN parking brake
[x] Cancel search: parking brakePage 144 of 358

Before Towing a Trailer
Practice turning, stopping and backing up
to get the feel of your vehicle-trailer
combination before starting on a trip.
When turning, make wider turns so the
trailer wheels clear curbs and other
obstacles.
When Towing a Trailer
•
Do not drive faster than 70 mph
(113 km/h) during the first 500 mi
(800 km).
• Do not make full-throttle starts.
• Check your hitch, electrical connections
and trailer wheel lug nuts thoroughly
after you have traveled 50 mi (80 km).
• When stopped in congested or heavy
traffic during hot weather, place the
gearshift in position P to aid engine and
transmission cooling and to help A/C
performance.
• Turn off the speed control with heavy
loads or in hilly terrain. The speed
control may turn off automatically
when you are towing on long, steep
grades.
• Shift to a lower gear when driving down
a long or steep hill. Do not apply the
brakes continuously, as they may
overheat and become less effective.
• If your transmission is equipped with a
Grade Assist or Tow/Haul feature, use
this feature when towing. This provides
engine braking and helps eliminate
excessive transmission shifting for
optimum fuel economy and
transmission cooling.
• Allow more distance for stopping with
a trailer attached. Anticipate stops and
brake gradually.
• Avoid parking on a grade. However, if
you must park on a grade:
1. Turn the steering wheel to point your vehicle tires away from traffic flow. 2. Set your vehicle parking brake.
3. Place the automatic transmission in
position
P.
4. Place wheel chocks in front and back of the trailer wheels. (Chocks not
included with vehicle.)
Launching or Retrieving a Boat or
Personal Watercraft (PWC)
Note: Disconnect the wiring to the trailer
before
backing the trailer into the water.
Note: Reconnect the wiring to the trailer
after
removing the trailer from the water.
When backing down a ramp during boat
launching or retrieval:
• Do not allow the static water level to
rise above the bottom edge of the rear
bumper.
• Do not allow waves to break higher
than
6 in (15 cm) above the bottom
edge of the rear bumper.
Exceeding these limits may allow water to
enter vehicle components:
• Causing internal damage to the
components.
• Affecting driveability, emissions, and
reliability.
Replace the rear axle lubricant anytime
the rear axle has been submerged in water.
Water may have contaminated the rear
axle lubricant, which is not normally
checked or changed unless a leak is
suspected or other axle repair is required.
141
Police Interceptor (CPH), enUSA, Edition date: 10/2015, First Printing Towing
Page 146 of 358
Recreational Towing
Note:
Put your climate control system in
recirculated air mode to prevent exhaust
fumes from entering your vehicle. See
Climate Control (page 79).
Vehicles Equipped with a 2.0L Engine
Follow these guidelines if you have a need
for recreational towing, such as towing
your vehicle behind a motorhome. We
designed these guidelines to prevent
damage to your transmission.
Front-wheel drive vehicles
CANNOT be
flat-towed (all wheels on the ground) as
vehicle or transmission damage may occur.
You must place the front wheels on a
two-wheel tow dolly. If you are using a tow
dolly, follow the instructions specified by
the equipment provider.
Vehicles Equipped with a 3.5L Engine
Follow these guidelines if you have a need
for recreational towing, such as towing
your vehicle behind a motorhome or truck.
We designed these guidelines to prevent
damage to your vehicle after it is
hooked-up to the recreational vehicle or
tow dolly.
You can tow your front-wheel drive vehicle
with all four wheels on the ground or with
the front wheels off the ground by using a
tow dolly. If you are using a tow dolly,
follow the instructions specified by the
equipment provider. If you are towing with
all four wheels on the ground, see the
following instructions.
You can tow your all-wheel drive vehicle
with all four wheels on the ground or with
all four wheels off the ground using a
vehicle transport trailer. Do not tow your
all-wheel drive vehicle with the front
wheels off the ground (by using a tow
dolly) and the rear wheels on the ground. This causes damage to your all-wheel drive
system. If you are using a vehicle transport
trailer, follow the instructions specified by
the equipment provider. If you are towing
with all four wheels on the ground, see the
following instructions.
If you tow your vehicle with all four wheels
on the ground:
•
Tow only in the forward direction.
• Release the parking brake.
• Shift into neutral (N).
• Do not exceed 65 mph (105 km/h).
• Start the engine and allow it to run for
five minutes at the beginning of each
day and every six hours thereafter. With
the engine running and your foot on the
brake, shift into drive (D) and then into
reverse (R) before shifting back into
neutral (N).
143
Police Interceptor (CPH), enUSA, Edition date: 10/2015, First Printing Towing
Page 173 of 358
GENERAL INFORMATION
Have your vehicle serviced regularly to help
maintain its roadworthiness and resale
value. There is a large network of
authorized dealers that are there to help
you with their professional servicing
expertise. We believe that their specially
trained technicians are best qualified to
service your vehicle properly and expertly.
They are supported by a wide range of
highly specialized tools developed
specifically for servicing your vehicle.
If your vehicle requires professional service,
an authorized dealer can provide the
necessary parts and service. Check your
warranty information to find out which
parts and services are covered.
Use only recommended fuels, lubricants,
fluids and service parts conforming to
specifications. Motorcraft® parts are
designed and built to provide the best
performance in your vehicle.
Precautions
•
Do not work on a hot engine.
• Make sure that nothing gets caught in
moving parts.
• Do not work on a vehicle with the
engine running in an enclosed space,
unless you are sure you have enough
ventilation.
• Keep all open flames and other burning
material (such as cigarettes) away
from the battery and all fuel related
parts.
Working with the Engine Off
1. Set the parking brake and shift to park
(P).
2. Switch off the engine.
3. Block the wheels. Working with the Engine On WARNING
To reduce the risk of vehicle damage
and/or personal burn injuries, do not
start your engine with the air cleaner
removed and do not remove it while the
engine is running. 1.
Set the parking brake and shift to park
(P).
2. Block the wheels.
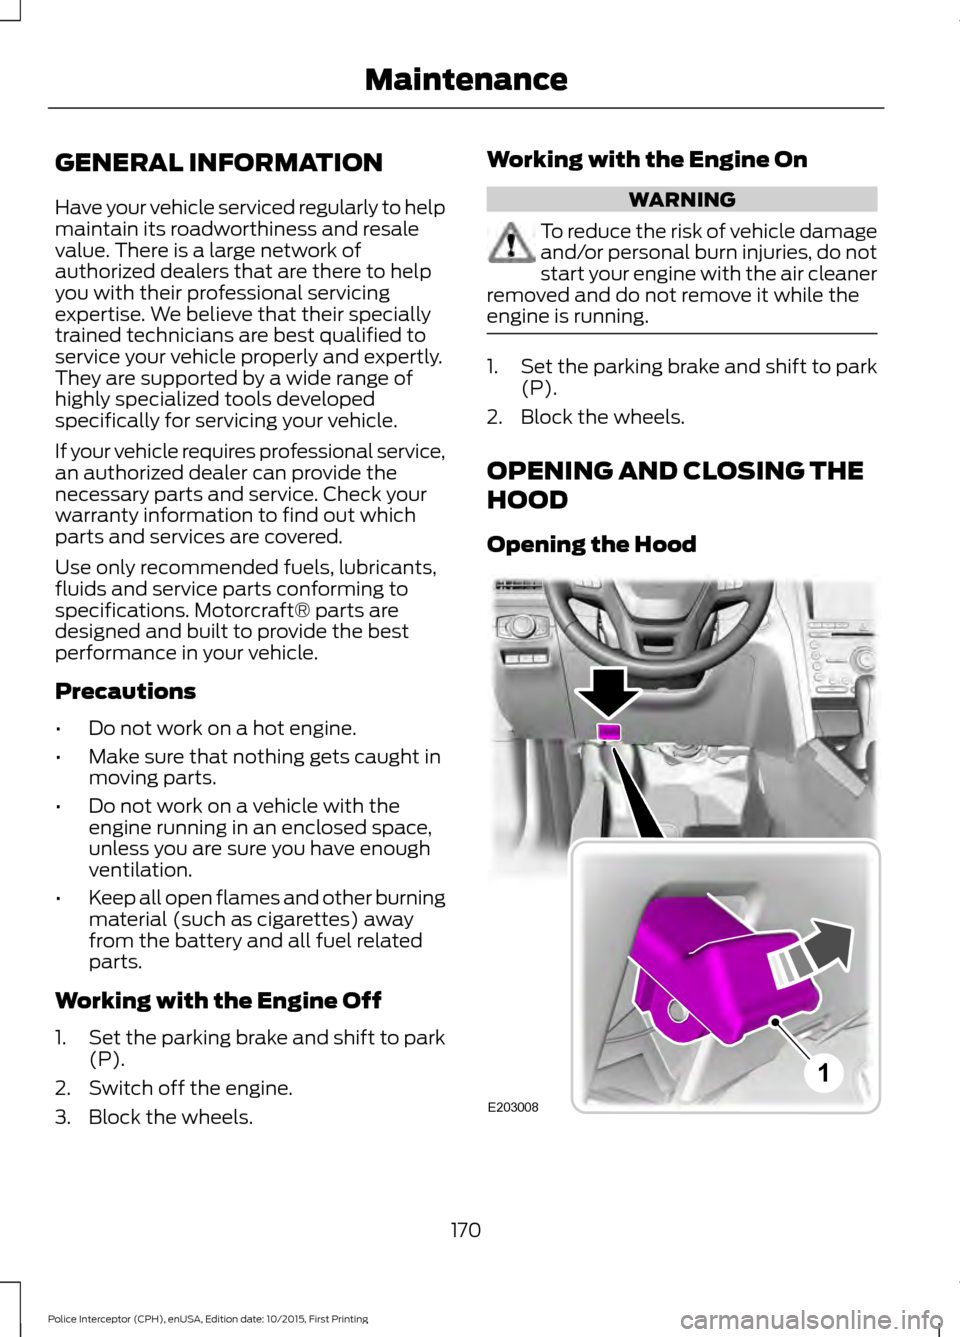
OPENING AND CLOSING THE
HOOD
Opening the Hood 170
Police Interceptor (CPH), enUSA, Edition date: 10/2015, First Printing MaintenanceE203008
1
Page 184 of 358
Note:
Automatic transmission fluid
expands when warmed. To obtain an
accurate fluid check, drive your vehicle until
you warm it up, approximately 20 mi
(30 km). If you operate your vehicle for an
extended period at high speeds, in city traffic
during hot weather or pulling a trailer, switch
your vehicle off until it reaches normal
operating temperatures to allow the fluid
to cool before checking. Depending on
vehicle use, cooling times could take up to
30 minutes or longer.
Refer to your scheduled maintenance
information for scheduled intervals for fluid
checks and changes. Your transmission
does not consume fluid. However, you
should check the fluid level if the
transmission is not working properly. For
example, if the transmission slips or shifts
slowly or if you notice some sign of a fluid
leak.
1. Drive your vehicle 20 mi (30 km) or until it reaches normal operating
temperature.
2. Park your vehicle on a level surface and
engage the parking brake.
3. With the parking brake engaged and your foot on the brake pedal, start the
engine and move the gearshift lever
through all of the gear ranges. Allow a
minimum of 10 seconds for each gear
to engage.
4. Put the gearshift lever in park (P) and leave the engine running.
Note: For vehicles with the EcoBoost
engine, move the air filter assembly aside
to access the transmission dipstick. See
Moving the Air Filter Assembly for more
information.
5. Remove the dipstick and wipe it clean with a dry, lint free clean rag. If
necessary, refer to the Under hood
overview in this chapter for the location
of the dipstick. 6. Install the dipstick making sure you
fully seat it in the filler tube by turning
it to the locked position.
7. Remove the dipstick and inspect the fluid level. The fluid should be in the
designated areas for normal operating
temperature.
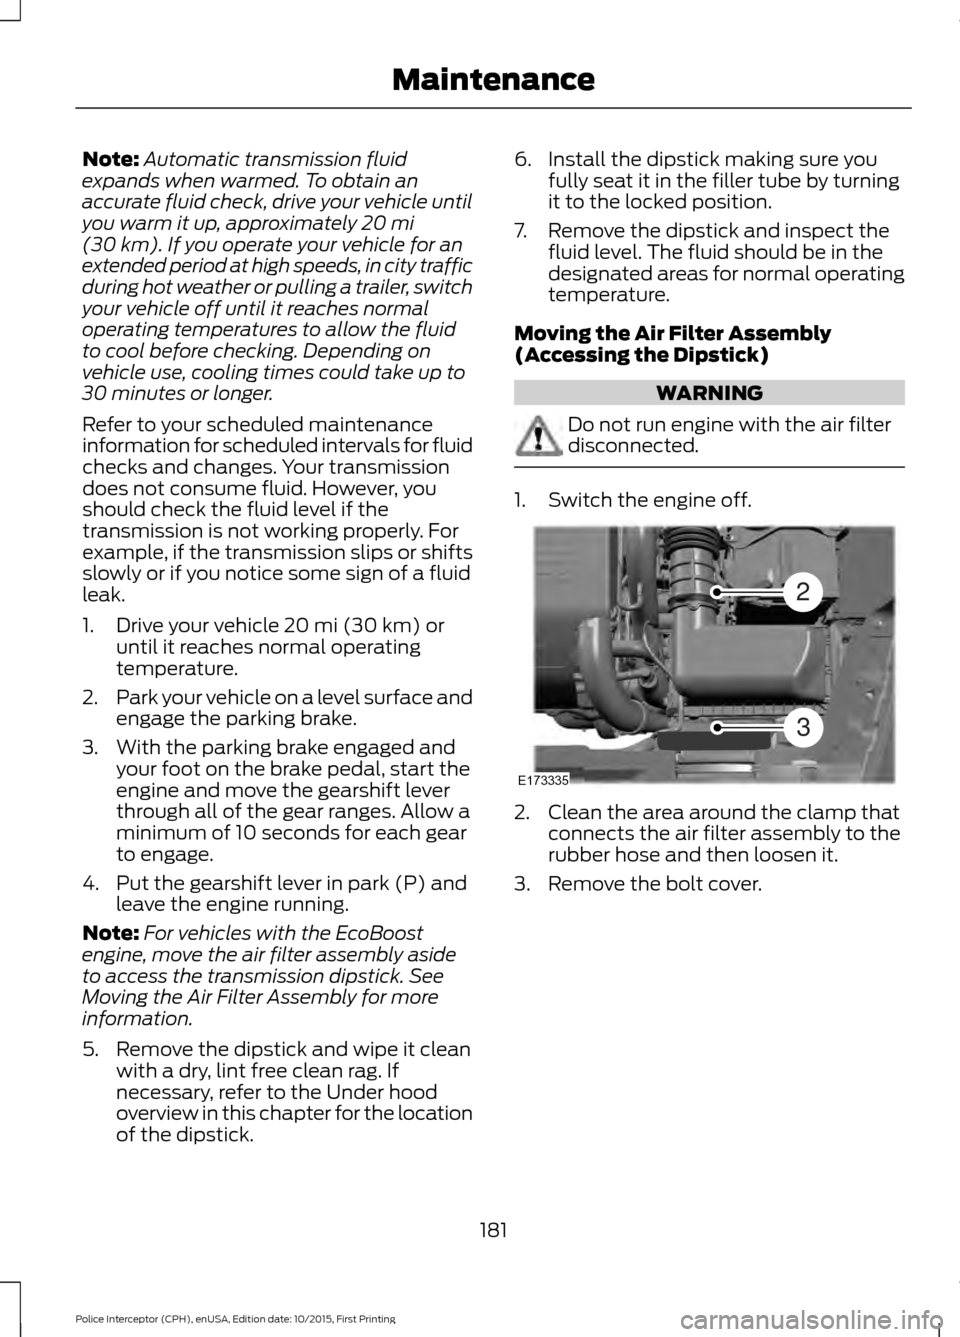
Moving the Air Filter Assembly
(Accessing the Dipstick) WARNING
Do not run engine with the air filter
disconnected.
1. Switch the engine off.
2. Clean the area around the clamp that
connects the air filter assembly to the
rubber hose and then loosen it.
3. Remove the bolt cover.
181
Police Interceptor (CPH), enUSA, Edition date: 10/2015, First Printing MaintenanceE173335
2
3
Page 189 of 358
If you see any corrosion on the battery or
terminals, remove the cables from the
terminals and clean with a wire brush. You
can neutralize the acid with a solution of
baking soda and water.
Because your vehicle
’s engine is
electronically controlled by a computer,
some control conditions are maintained
by power from the battery. When the
battery is disconnected or a new battery
is installed, the engine must relearn its idle
and fuel trim strategy for optimum
driveability and performance. Flexible fuel
vehicles (FFV) must also relearn the
ethanol content of the fuel for optimum
driveability and performance.
To restore the settings, do the following:
1. Apply the parking brake.
2. Shift into park (P) or neutral (N).
3. Switch off all accessories.
4. Press the brake pedal and start your vehicle.
5. Run the engine until it reaches normal operating temperature. While the
engine is warming up, complete the
following: Reset the clock. See Audio
System (page 254). Reset the power
windows bounce-back feature. See
Windows and Mirrors
(page 61).
Reset the radio station presets. See
Audio System
(page 254).
6. Allow the engine to idle for at least one
minute.
7. Drive the vehicle at least 10 mi (16 km)
to completely relearn the idle trim and
fuel trim strategy.
Note: If you do not allow the engine to
relearn the idle and fuel trim strategy, the
idle quality of your vehicle may be adversely
affected until the engine computer
eventually relearns the idle trim and fuel
trim strategy. Note:
For flexible fuel vehicles, if you are
operating on E85, you may experience poor
starts or an inability to start the engine and
driveability problems until the fuel trim and
ethanol content have been relearned.
Make sure that you dispose of old batteries
in an environmentally friendly way. Seek
advice from your local authority about
recycling old batteries.
If storing your vehicle for more than 30
days without recharging the battery, we
recommend that you disconnect the
battery cables to maintain battery charge
for quick starting.
Battery Management System
(If
Equipped)
The battery management system monitors
battery conditions and takes actions to
extend battery life. If excessive battery
drain is detected, the system temporarily
disables some electrical systems to
protect the battery.
Systems included are:
• Heated rear window.
• Heated seats.
• Climate control.
• Heated steering wheel.
• Audio unit.
• Navigation system.
A message may appear in the information
displays to alert you that battery
protection actions are active. These
messages are only for notification that an
action is taking place, and not intended to
indicate an electrical problem or that the
battery requires replacement.
186
Police Interceptor (CPH), enUSA, Edition date: 10/2015, First Printing Maintenance
Page 192 of 358
CHANGING A BULB
WARNINGS
Bulbs can become hot. Let the bulb
cool down before removing it. Failure
to do so could result in personal
injury. Switch the lamps and the ignition off.
Failure to follow this warning could
result in serious personal injury.
Use the correct specification bulb. See
Bulb Specification Chart (page 190).
Install in the reverse order unless otherwise
stated.
High-Intensity Discharge
Headlamps
These lamps operate at a high voltage. See
an authorized dealer if they fail.
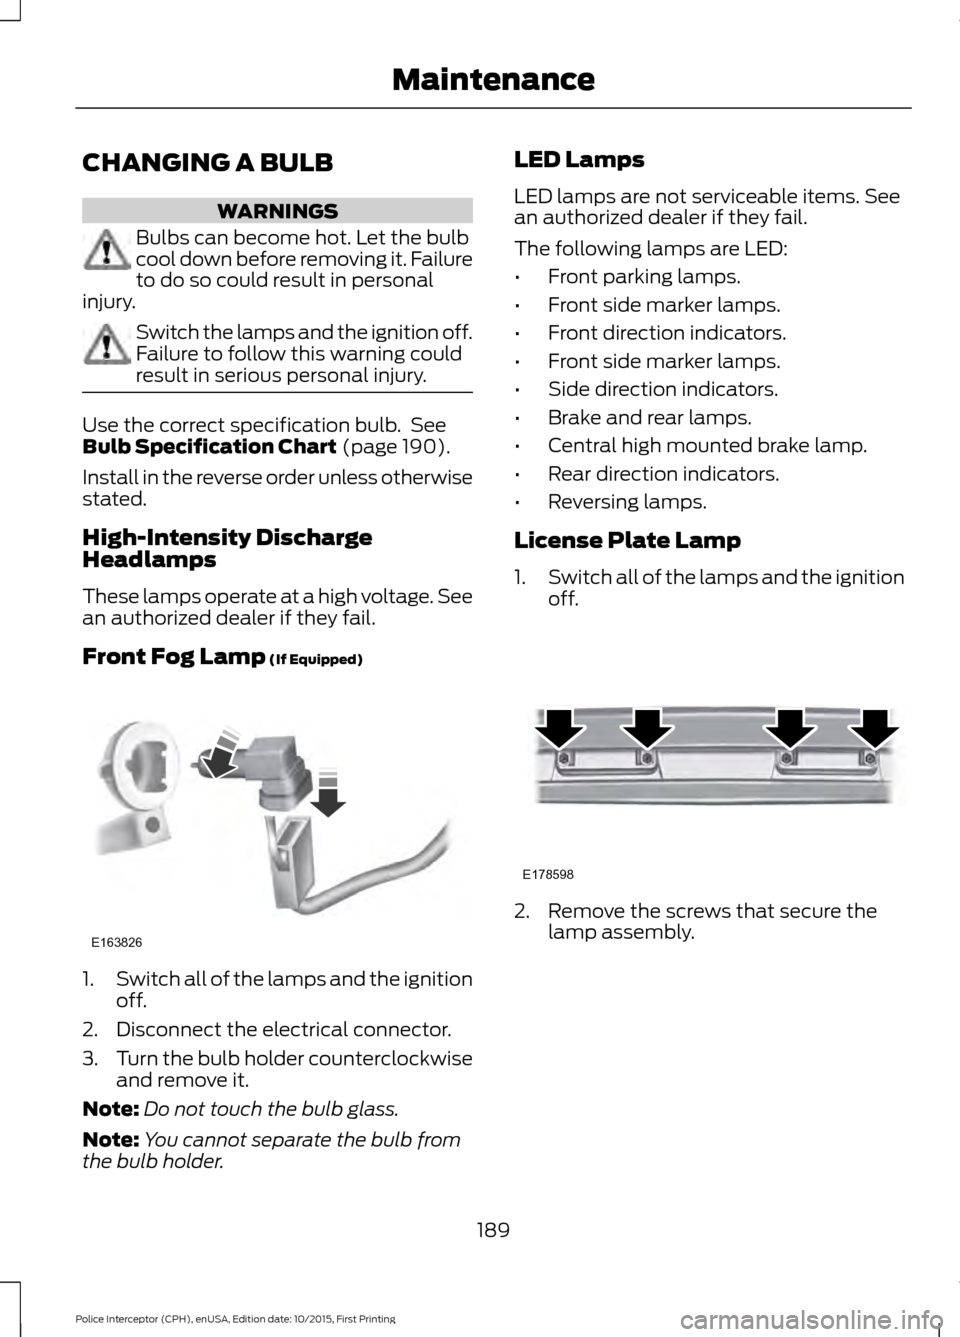
Front Fog Lamp
(If Equipped) 1.
Switch all of the lamps and the ignition
off.
2. Disconnect the electrical connector.
3. Turn the bulb holder counterclockwise
and remove it.
Note: Do not touch the bulb glass.
Note: You cannot separate the bulb from
the bulb holder. LED Lamps
LED lamps are not serviceable items. See
an authorized dealer if they fail.
The following lamps are LED:
•
Front parking lamps.
• Front side marker lamps.
• Front direction indicators.
• Front side marker lamps.
• Side direction indicators.
• Brake and rear lamps.
• Central high mounted brake lamp.
• Rear direction indicators.
• Reversing lamps.
License Plate Lamp
1. Switch all of the lamps and the ignition
off. 2. Remove the screws that secure the
lamp assembly.
189
Police Interceptor (CPH), enUSA, Edition date: 10/2015, First Printing MaintenanceE163826 E178598
Page 193 of 358
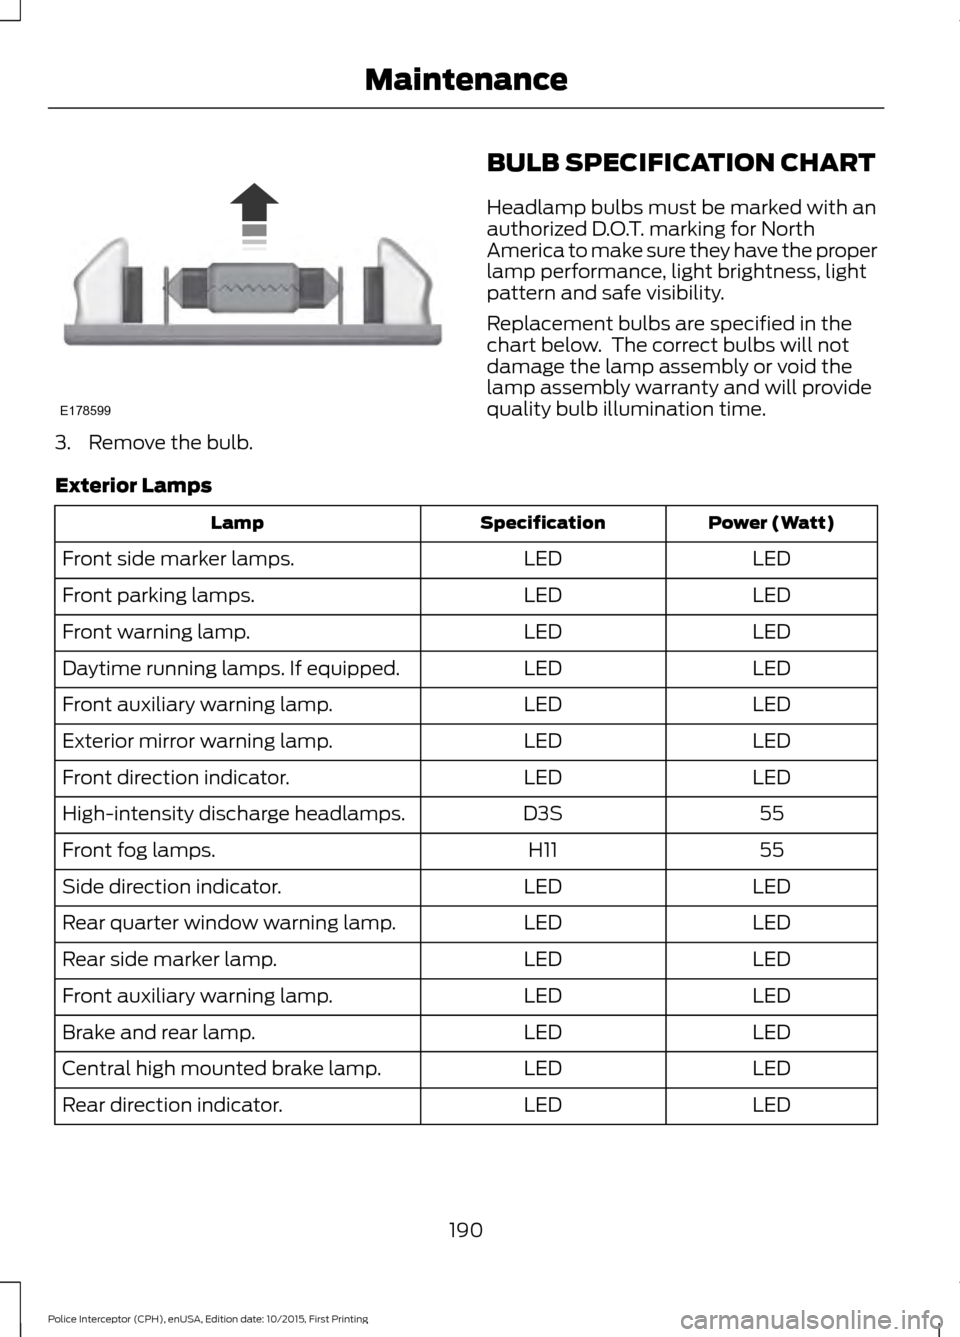
3. Remove the bulb.
BULB SPECIFICATION CHART
Headlamp bulbs must be marked with an
authorized D.O.T. marking for North
America to make sure they have the proper
lamp performance, light brightness, light
pattern and safe visibility.
Replacement bulbs are specified in the
chart below. The correct bulbs will not
damage the lamp assembly or void the
lamp assembly warranty and will provide
quality bulb illumination time.
Exterior Lamps Power (Watt)
Specification
Lamp
LED
LED
Front side marker lamps.
LED
LED
Front parking lamps.
LED
LED
Front warning lamp.
LED
LED
Daytime running lamps. If equipped.
LED
LED
Front auxiliary warning lamp.
LED
LED
Exterior mirror warning lamp.
LED
LED
Front direction indicator.
55
D3S
High-intensity discharge headlamps.
55
H11
Front fog lamps.
LED
LED
Side direction indicator.
LED
LED
Rear quarter window warning lamp.
LED
LED
Rear side marker lamp.
LED
LED
Front auxiliary warning lamp.
LED
LED
Brake and rear lamp.
LED
LED
Central high mounted brake lamp.
LED
LED
Rear direction indicator.
190
Police Interceptor (CPH), enUSA, Edition date: 10/2015, First Printing MaintenanceE178599
Page 201 of 358
Note:
Industrial-strength or heavy-duty
cleaners in combination with brush agitation
to remove brake dust and dirt, could wear
away the clear coat finish over a period time.
Note: Do not use hydrofluoric acid-based
or high caustic-based wheel cleaners, steel
wool, fuels or strong household detergents.
Note: If you intend parking your vehicle for
an extended period after cleaning the
wheels with a wheel cleaner, drive your
vehicle for a few minutes before doing so.
This will reduce the risk of increased
corrosion of the brake discs.
Alloy wheels and wheel covers are coated
with a clear coat paint finish. To maintain
their condition we recommend that you:
• Clean the wheels weekly using
Motorcraft Wheel and Tire Cleaner.
Apply using manufacturer's
instructions.
• Use a sponge to remove heavy
deposits of dirt and brake dust
accumulation.
• Rinse thoroughly with a strong stream
of water when you have completed the
cleaning process.
• To remove tar and grease, use
Motorcraft Bug and Tar Remover.
VEHICLE STORAGE
If you plan on storing your vehicle for 30
days or more, read the following
maintenance recommendations to make
sure your vehicle stays in good operating
condition.
We engineer and test all motor vehicles
and their components for reliable, regular
driving. Under various conditions,
long-term storage may lead to degraded
engine performance or failure unless you
use specific precautions to preserve engine
components. General
•
Store all vehicles in a dry, ventilated
place.
• Protect from sunlight, if possible.
• If vehicles are stored outside, they
require regular maintenance to protect
against rust and damage.
Body
• Wash your vehicle thoroughly to
remove dirt, grease, oil, tar or mud from
exterior surfaces, rear-wheel housing
and the underside of front fenders.
• Periodically wash your vehicle if it is
stored in exposed locations.
• Touch-up exposed or primed metal to
prevent rust.
• Cover chrome and stainless steel parts
with a thick coat of auto wax to prevent
discoloration. Re-wax as necessary
when you wash your vehicle.
• Lubricate all hood, door and luggage
compartment hinges and latches with
a light grade oil.
• Cover interior trim to prevent fading.
• Keep all rubber parts free from oil and
solvents.
Engine
• Change the engine oil and filter prior to
storage because used engine oil
contains contaminates which may
cause engine damage.
• Start the engine every 15 days for a
minimum of 15 minutes. Run at fast idle
with the climate controls set to defrost
until the engine reaches normal
operating temperature.
198
Police Interceptor (CPH), enUSA, Edition date: 10/2015, First Printing Vehicle Care