2016 FORD FUSION (AMERICAS) lights
[x] Cancel search: lightsPage 141 of 518
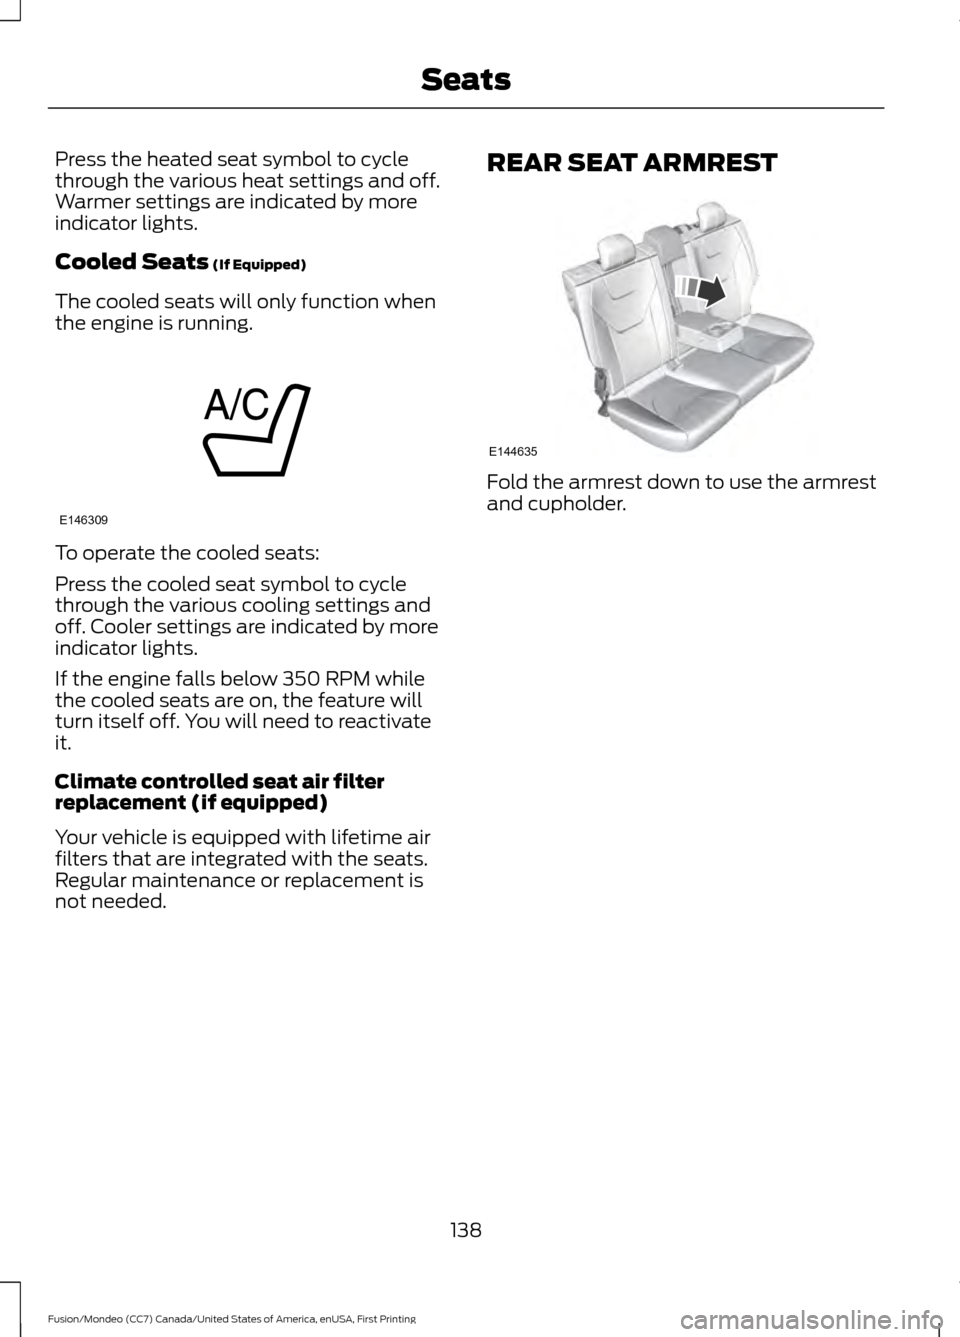
Press the heated seat symbol to cycle
through the various heat settings and off.
Warmer settings are indicated by more
indicator lights.
Cooled Seats (If Equipped)
The cooled seats will only function when
the engine is running. To operate the cooled seats:
Press the cooled seat symbol to cycle
through the various cooling settings and
off. Cooler settings are indicated by more
indicator lights.
If the engine falls below 350 RPM while
the cooled seats are on, the feature will
turn itself off. You will need to reactivate
it.
Climate controlled seat air filter
replacement (if equipped)
Your vehicle is equipped with lifetime air
filters that are integrated with the seats.
Regular maintenance or replacement is
not needed. REAR SEAT ARMREST Fold the armrest down to use the armrest
and cupholder.
138
Fusion/Mondeo (CC7) Canada/United States of America, enUSA, First Printing SeatsE146309 E144635
Page 144 of 518
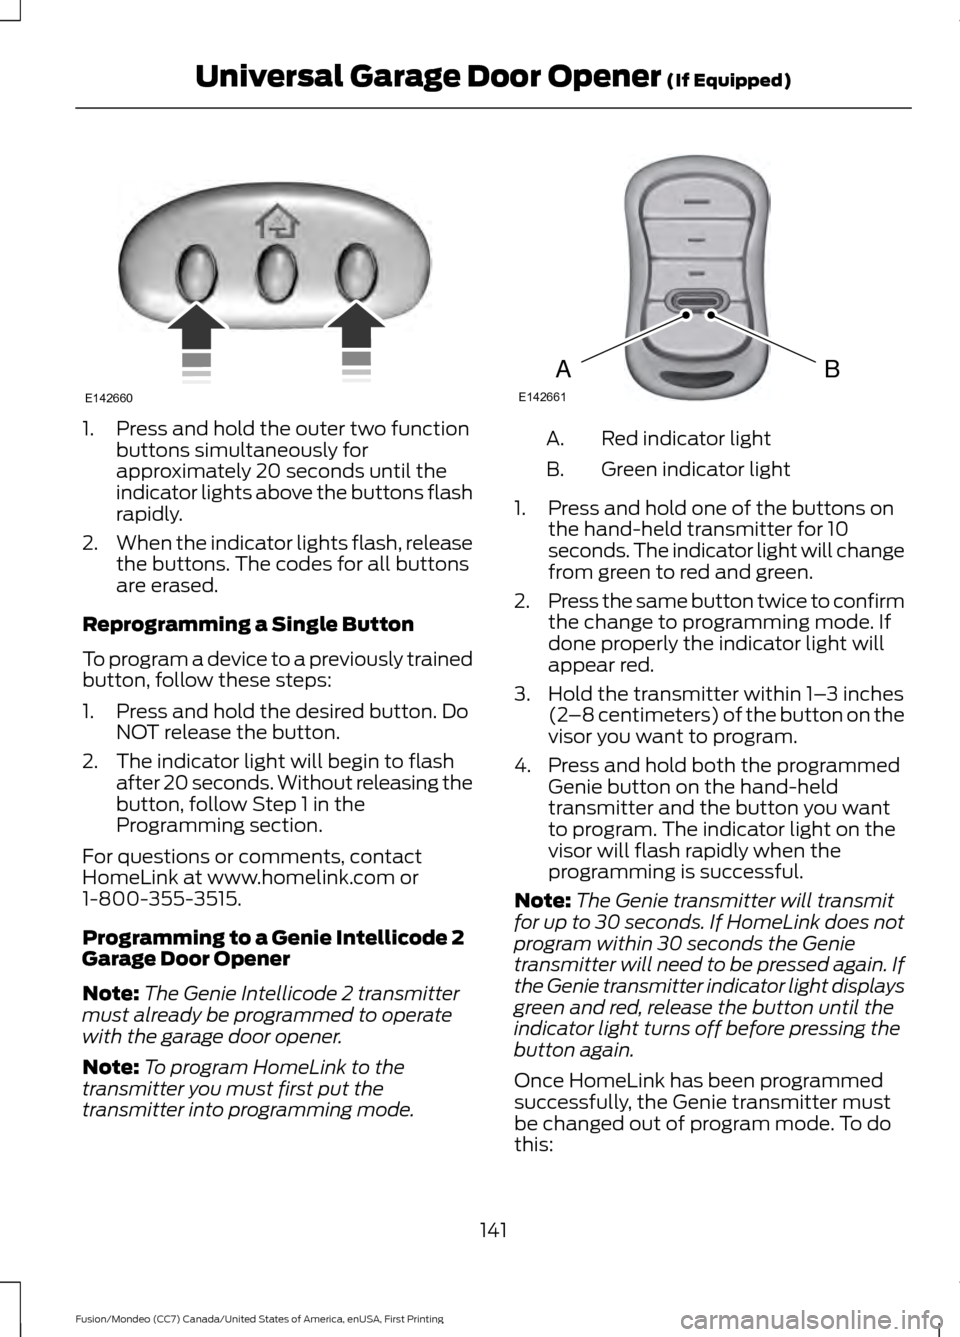
1. Press and hold the outer two function
buttons simultaneously for
approximately 20 seconds until the
indicator lights above the buttons flash
rapidly.
2. When the indicator lights flash, release
the buttons. The codes for all buttons
are erased.
Reprogramming a Single Button
To program a device to a previously trained
button, follow these steps:
1. Press and hold the desired button. Do NOT release the button.
2. The indicator light will begin to flash after 20 seconds. Without releasing the
button, follow Step 1 in the
Programming section.
For questions or comments, contact
HomeLink at www.homelink.com or
1-800-355-3515.
Programming to a Genie Intellicode 2
Garage Door Opener
Note: The Genie Intellicode 2 transmitter
must already be programmed to operate
with the garage door opener.
Note: To program HomeLink to the
transmitter you must first put the
transmitter into programming mode. Red indicator light
A.
Green indicator light
B.
1. Press and hold one of the buttons on the hand-held transmitter for 10
seconds. The indicator light will change
from green to red and green.
2. Press the same button twice to confirm
the change to programming mode. If
done properly the indicator light will
appear red.
3. Hold the transmitter within 1– 3 inches
(2 –8 centimeters) of the button on the
visor you want to program.
4. Press and hold both the programmed Genie button on the hand-held
transmitter and the button you want
to program. The indicator light on the
visor will flash rapidly when the
programming is successful.
Note: The Genie transmitter will transmit
for up to 30 seconds. If HomeLink does not
program within 30 seconds the Genie
transmitter will need to be pressed again. If
the Genie transmitter indicator light displays
green and red, release the button until the
indicator light turns off before pressing the
button again.
Once HomeLink has been programmed
successfully, the Genie transmitter must
be changed out of program mode. To do
this:
141
Fusion/Mondeo (CC7) Canada/United States of America, enUSA, First Printing Universal Garage Door Opener (If Equipped)E142660 BAE142661
Page 145 of 518
1. Press and hold the previously
programmed Genie button on the
hand-held transmitter for 10 seconds.
The indicator light will change from red
to red and green.
2. Press the same button twice to confirm
the change. If done correctly the
indicator light will turn green.
Programming HomeLink to the Genie
Intellicode Garage Door Opener Motor
Note: You may need a ladder to access the
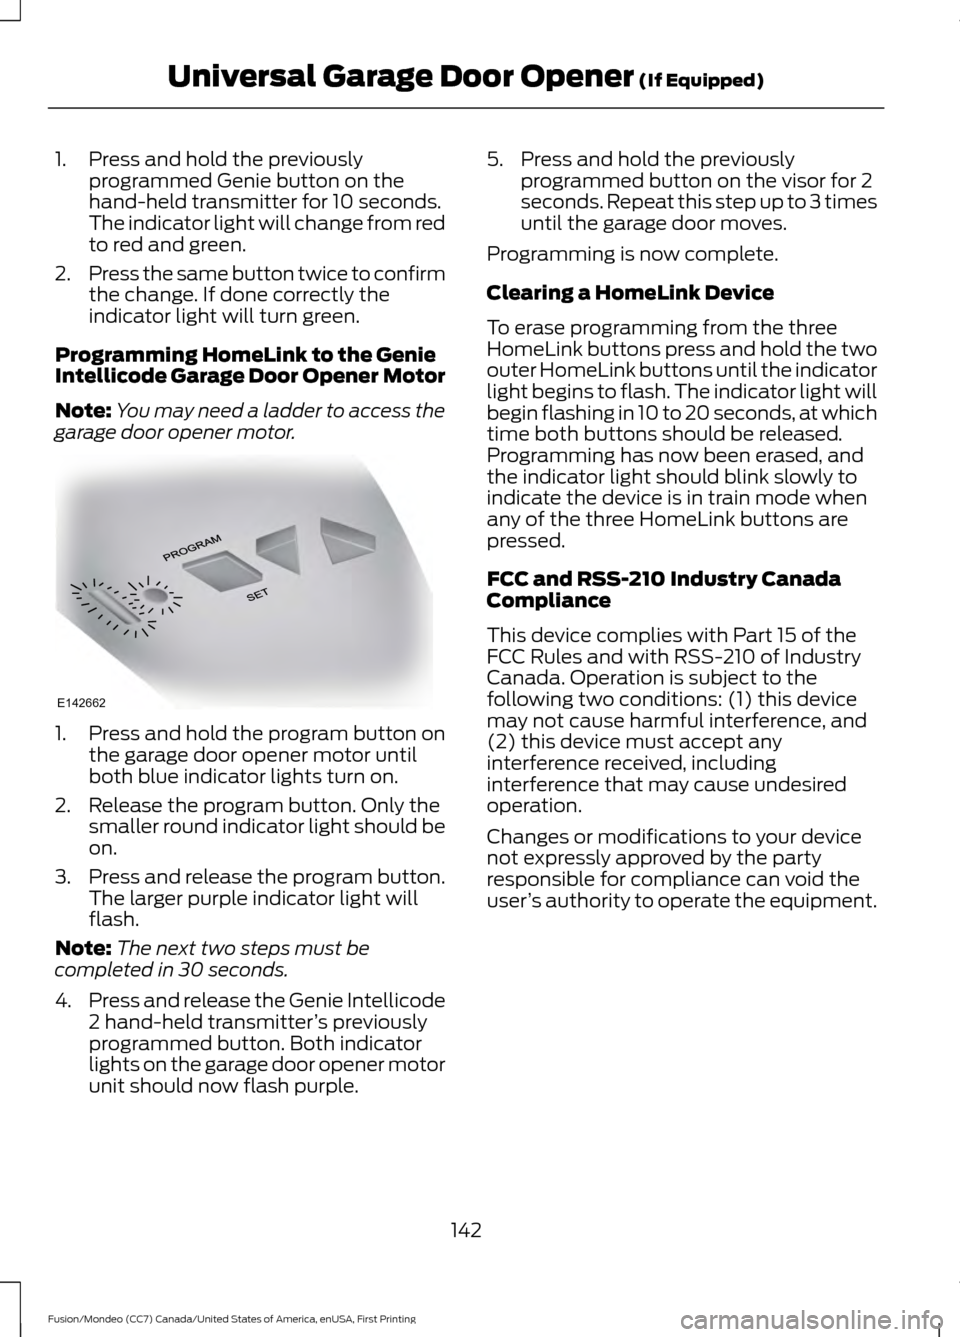
garage door opener motor. 1. Press and hold the program button on
the garage door opener motor until
both blue indicator lights turn on.
2. Release the program button. Only the smaller round indicator light should be
on.
3. Press and release the program button.
The larger purple indicator light will
flash.
Note: The next two steps must be
completed in 30 seconds.
4. Press and release the Genie Intellicode
2 hand-held transmitter ’s previously
programmed button. Both indicator
lights on the garage door opener motor
unit should now flash purple. 5. Press and hold the previously
programmed button on the visor for 2
seconds. Repeat this step up to 3 times
until the garage door moves.
Programming is now complete.
Clearing a HomeLink Device
To erase programming from the three
HomeLink buttons press and hold the two
outer HomeLink buttons until the indicator
light begins to flash. The indicator light will
begin flashing in 10 to 20 seconds, at which
time both buttons should be released.
Programming has now been erased, and
the indicator light should blink slowly to
indicate the device is in train mode when
any of the three HomeLink buttons are
pressed.
FCC and RSS-210 Industry Canada
Compliance
This device complies with Part 15 of the
FCC Rules and with RSS-210 of Industry
Canada. Operation is subject to the
following two conditions: (1) this device
may not cause harmful interference, and
(2) this device must accept any
interference received, including
interference that may cause undesired
operation.
Changes or modifications to your device
not expressly approved by the party
responsible for compliance can void the
user ’s authority to operate the equipment.
142
Fusion/Mondeo (CC7) Canada/United States of America, enUSA, First Printing Universal Garage Door Opener (If Equipped)E142662
Page 175 of 518
GENERAL INFORMATION
Note:
Occasional brake noise is normal. If
a metal-to-metal, continuous grinding or
continuous squeal sound is present, the
brake linings may be worn-out. Have the
system checked by an authorized dealer. If
your vehicle has continuous vibration or
shudder in the steering wheel while braking,
have it checked by an authorized dealer.
Note: Brake dust may accumulate on the
wheels, even under normal driving
conditions. Some dust is inevitable as the
brakes wear and does not contribute to
brake noise. See Cleaning the Alloy
Wheels (page 270).
Note: Depending on applicable laws and
regulations in the country for which your
vehicle was originally built, your brake lamps
may flash during heavy braking. Following
this, your hazard lights may also flash when
your vehicle comes to a stop. See
Warning Lamps and
Indicators (page 91).
Wet brakes result in reduced braking
efficiency. Gently press the brake pedal a
few times when driving from a car wash or
standing water to dry the brakes.
Brake Over Accelerator
In the event the accelerator pedal
becomes stuck or entrapped, apply steady
and firm pressure to the brake pedal to
slow the vehicle and reduce engine power.
If you experience this condition, apply the
brakes and bring your vehicle to a safe
stop. Move the transmission to park (P),
switch the engine off and apply the parking
brake. Inspect the accelerator pedal for
any interference. If none are found and the
condition persists, have your vehicle towed
to the nearest authorized dealer. Brake Assist
Brake assist detects when you brake
rapidly by measuring the rate at which you
press the brake pedal. It provides
maximum braking efficiency as long as you
press the pedal, and can reduce stopping
distances in critical situations.
Anti-lock Brake System
This system helps you maintain steering
control during emergency stops by keeping
the brakes from locking.
This lamp momentarily
illuminates when you turn the
ignition on. If the light does not
illuminate during start up, remains on or
flashes, the system may be disabled. Have
the system checked by an authorized
dealer. If the anti-lock brake system is
disabled, normal braking is still effective. If the brake warning lamp
illuminates when you release the
parking brake, have the system
checked by an authorized dealer.
HINTS ON DRIVING WITH
ANTI-LOCK BRAKES
Note: When the system is operating, the
brake pedal will pulse and may travel
further. Maintain pressure on the brake
pedal. You may also hear a noise from the
system. This is normal.
The anti-lock braking system will not
eliminate the risks when:
• You drive too closely to the vehicle in
front of you.
• Your vehicle is hydroplaning.
• You take corners too fast.
• The road surface is poor.
172
Fusion/Mondeo (CC7) Canada/United States of America, enUSA, First Printing BrakesE144522 E144522
Page 178 of 518
Note:
On manual transmission vehicles,
you must fully press the clutch pedal before
the drive away release feature will operate.
Drive as normal using the accelerator and
clutch pedals and the electric parking brake
will be automatically released.
The brake system warning lamp will go off
to confirm that the electric parking brake
has been released.
Note: The electric parking brake drive away
release makes starting on a hill easier. This
feature will release the parking brake
automatically when the vehicle has
sufficient drive force to move up the hill. To
assure drive away release when starting
uphill, press the accelerator pedal quickly.
Driving with a Trailer
Depending on the slope and the weight of
the trailer, your vehicle and trailer may roll
backwards slightly when you start on a
slope.
To prevent this from happening, do the
following:
1. Pull the switch up and hold it in this position.
2. Drive your vehicle, then release the switch when you notice that the engine
has developed sufficient driving force.
Battery With No Charge WARNING
You will not be able to apply or
release the electric parking brake if
the battery is low or has no charge.
If the battery is low or has no charge, use
jumper cables and a booster battery. HILL START ASSIST WARNINGS
The system does not replace the
parking brake. When you leave your
vehicle, always apply the parking
brake. Failure to leave your vehicle securely
parked may lead to a crash or injury. See
Electric Parking Brake (page 173). You must remain in your vehicle
when the system turns on. At all
times, you are responsible for
controlling your vehicle, supervising the
system and intervening, if required. Failure
to take care may result in the loss of
control of your vehicle, serious personal
injury or death. The system will turn off if a
malfunction is apparent or if you rev
the engine excessively. Failure to
take care may result in the loss of control
of your vehicle, serious personal injury or
death. The system makes it easier to pull away
when your vehicle is on a slope without the
need to use the parking brake.
When the system is active, your vehicle
remains stationary on the slope for two to
three seconds after you release the brake
pedal. This allows time to move your foot
from the brake to the accelerator pedal.
The system releases the brakes
automatically once the engine has
developed sufficient drive to prevent your
vehicle from rolling down the slope. This
is an advantage when pulling away on a
slope, for example from a car park ramp,
traffic lights or when reversing uphill into
a parking space.
Note:
The system only functions when you
bring your vehicle to a complete standstill
with the vehicle in an uphill gear (for
example, second (2) when facing uphill or
reverse (R) when facing downhill).
175
Fusion/Mondeo (CC7) Canada/United States of America, enUSA, First Printing Brakes
Page 180 of 518
PRINCIPLE OF OPERATION
The traction control system helps avoid
drive wheel spin and loss of traction.
If your vehicle begins to slide, the system
applies the brakes to individual wheels
and, when needed, reduces engine power
at the same time. If the wheels spin when
accelerating on slippery or loose surfaces,
the system reduces engine power in order
to increase traction.
USING TRACTION CONTROL
In certain situations for example, stuck in
snow or mud, turning the traction control
off may be beneficial as this allows the
wheels to spin with full engine power.
Depending on the type of system you have
on your vehicle, you can either turn the
system off using the information display
or by pressing the button.
Switching the System Off Using
the Information Display Controls
(If Equipped)
Your vehicle comes with this feature
already enabled. If required, you can switch
this feature off using the information
display controls. See (page 96).
Switching the System Off Using a
Switch
(If Equipped)
The button is located in the instrument
panel.
Press the button. You will see a message
in conjunction with an illuminated icon in
the display. Press the button again to
return the system to normal mode.
When you switch the traction control
system off, stability control remains fully
active. System Indicator Lights and
Messages WARNING
If a failure has been detected within
the AdvanceTrac system, the
stability control light will illuminate
steadily. Verify that the AdvanceTrac
system was not manually disabled through
the information display. If the stability
control light still illuminates steadily, have
the system serviced by an authorized
dealer immediately. Operating your vehicle
with AdvanceTrac disabled could lead to
an increased risk of loss of vehicle control,
vehicle rollover, personal injury and death. The stability control light
temporarily illuminates on
engine start-up and flashes
when a driving condition activates the
stability system. The stability control off light
temporarily illuminates on
engine start-up and stays on
when you turn the traction control system
off.
When you turn the traction control system
off or on, a message appears in the
information display showing system status.
177
Fusion/Mondeo (CC7) Canada/United States of America, enUSA, First Printing Traction ControlE138639
Page 190 of 518
Enhanced Park Aids or Park Pilot
Selectable settings for this feature are ON
and OFF.
The system uses red, yellow and green
highlights that appear on top of the video
image when any of the sensing systems
detect an object.
Rear Camera Delay
Selectable settings for this feature are ON
and OFF.
The default setting for the rear camera
delay is OFF.
When shifting the transmission out of
reverse (R) and into any gear other than
park (P), the camera image remains in the
display until:
•
Your vehicle speed sufficiently
increases.
• You shift your vehicle into park (P).
• 10 seconds of time elapse.
187
Fusion/Mondeo (CC7) Canada/United States of America, enUSA, First Printing Parking Aids
Page 206 of 518

Zone coverage also decreases when
parking at shallow angles. Here, the left
sensor is mostly obstructed; zone coverage
on that side is severely limited.
System Lights and Messages
The Blind Spot Information and Cross
Traffic Alert systems illuminate a yellow
alert indicator in the outside mirror on the
side of your vehicle the approaching
vehicle is coming from.
Note:
The alert indicator dims when the
system detects nighttime darkness. Cross Traffic Alert also sounds a series of
tones and a message appears in the
information display indicating a vehicle is
coming from the right or left. Cross Traffic
Alert works with the reverse sensing
system that sounds its own series of tones.
See Principle of Operation (page 179).
System Sensors WARNING
Just prior to the system recognizing
a blocked condition and alerting the
driver, the number of missed objects
will increase. To help avoid injuries, NEVER
use the Blind Spot Information System as
a replacement for using the side and rear
view mirrors and looking over your shoulder
before changing lanes. The Blind Spot
Information System is not a replacement
for careful driving. Note:
It is possible to get a blockage
warning with no blockage present; this is
rare and known as a false blockage warning.
A false blocked condition either
self-corrects or clears after a key cycle.
203
Fusion/Mondeo (CC7) Canada/United States of America, enUSA, First Printing Driving AidsE142441 E142442