2016 FORD F250 SUPER DUTY spare tire
[x] Cancel search: spare tirePage 303 of 507

Stowing the Flat or Spare Tire
Note:Failure to follow spare tire stowageinstructions may result in failure of cable orloss of spare tire.
Note:If you are stowing a tire that requiresreattaching it to the vehicle with a tether,perform these steps first, then proceed withthe following steps.
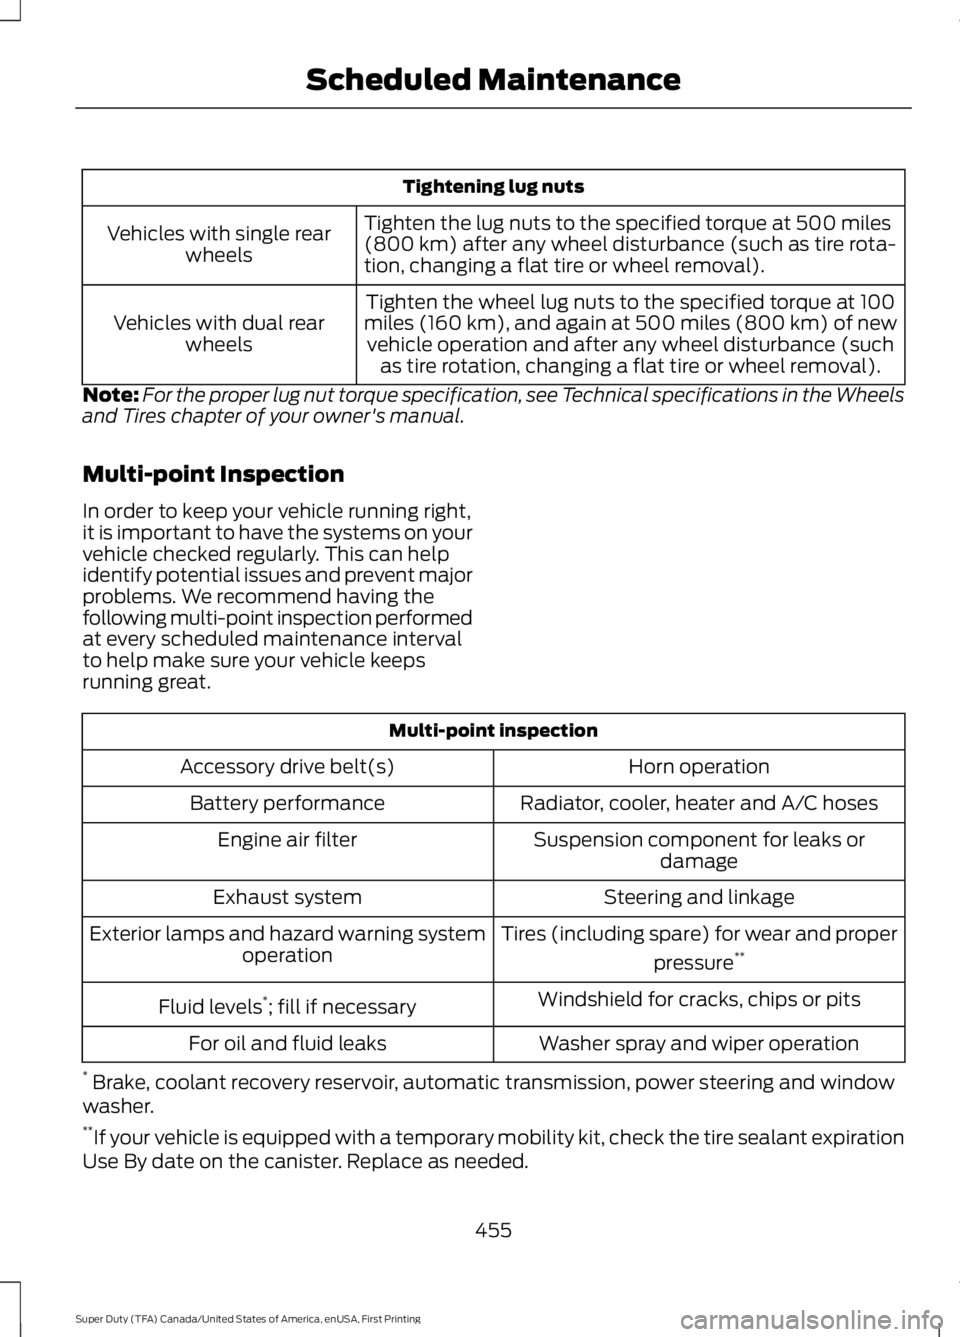
1. Place the tire on end with the valvestem facing toward the front of thevehicle.
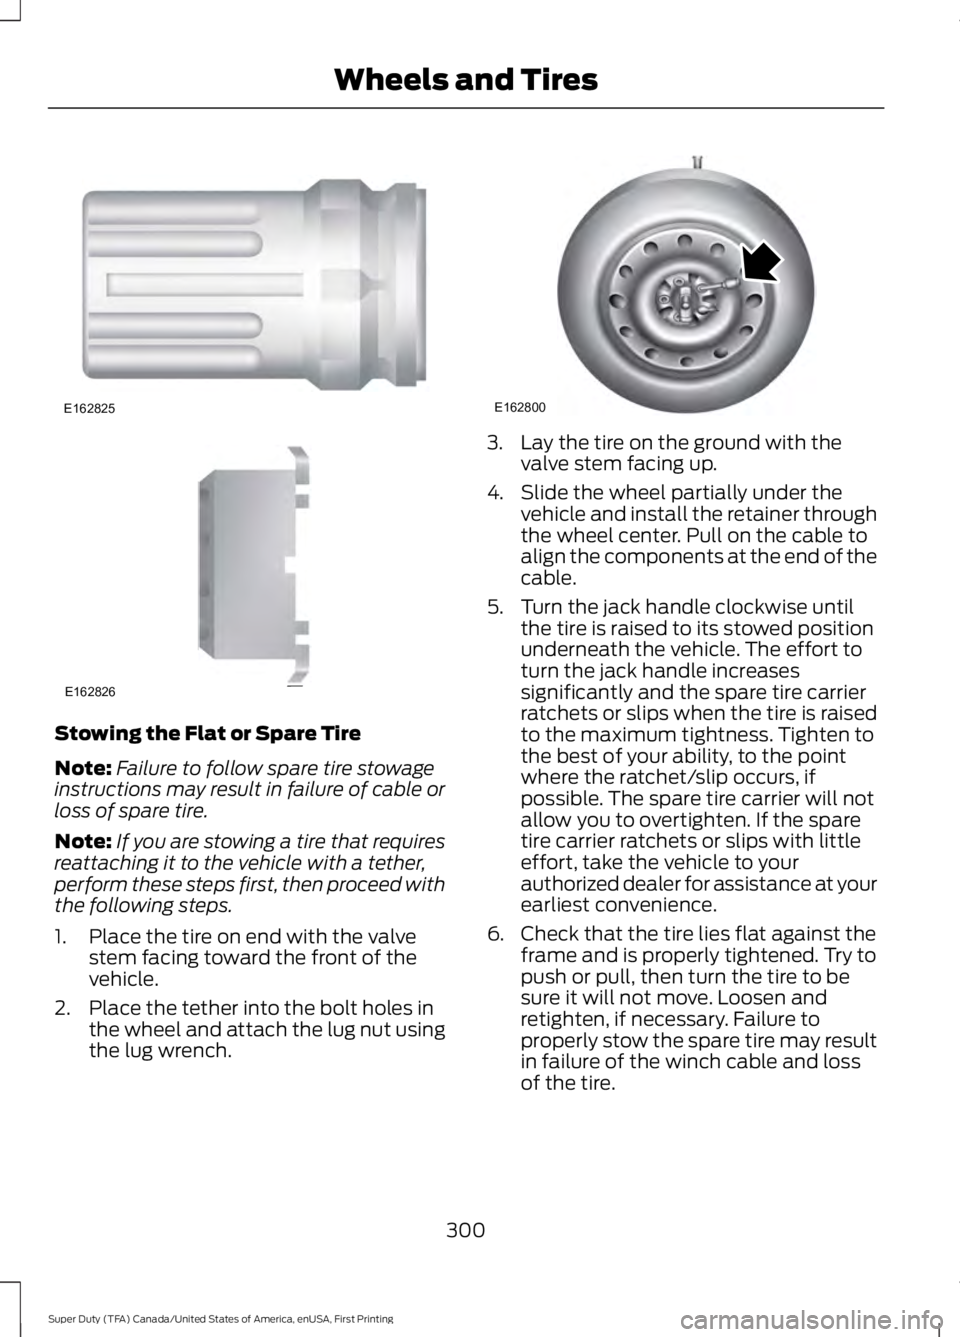
2. Place the tether into the bolt holes inthe wheel and attach the lug nut usingthe lug wrench.
3. Lay the tire on the ground with thevalve stem facing up.
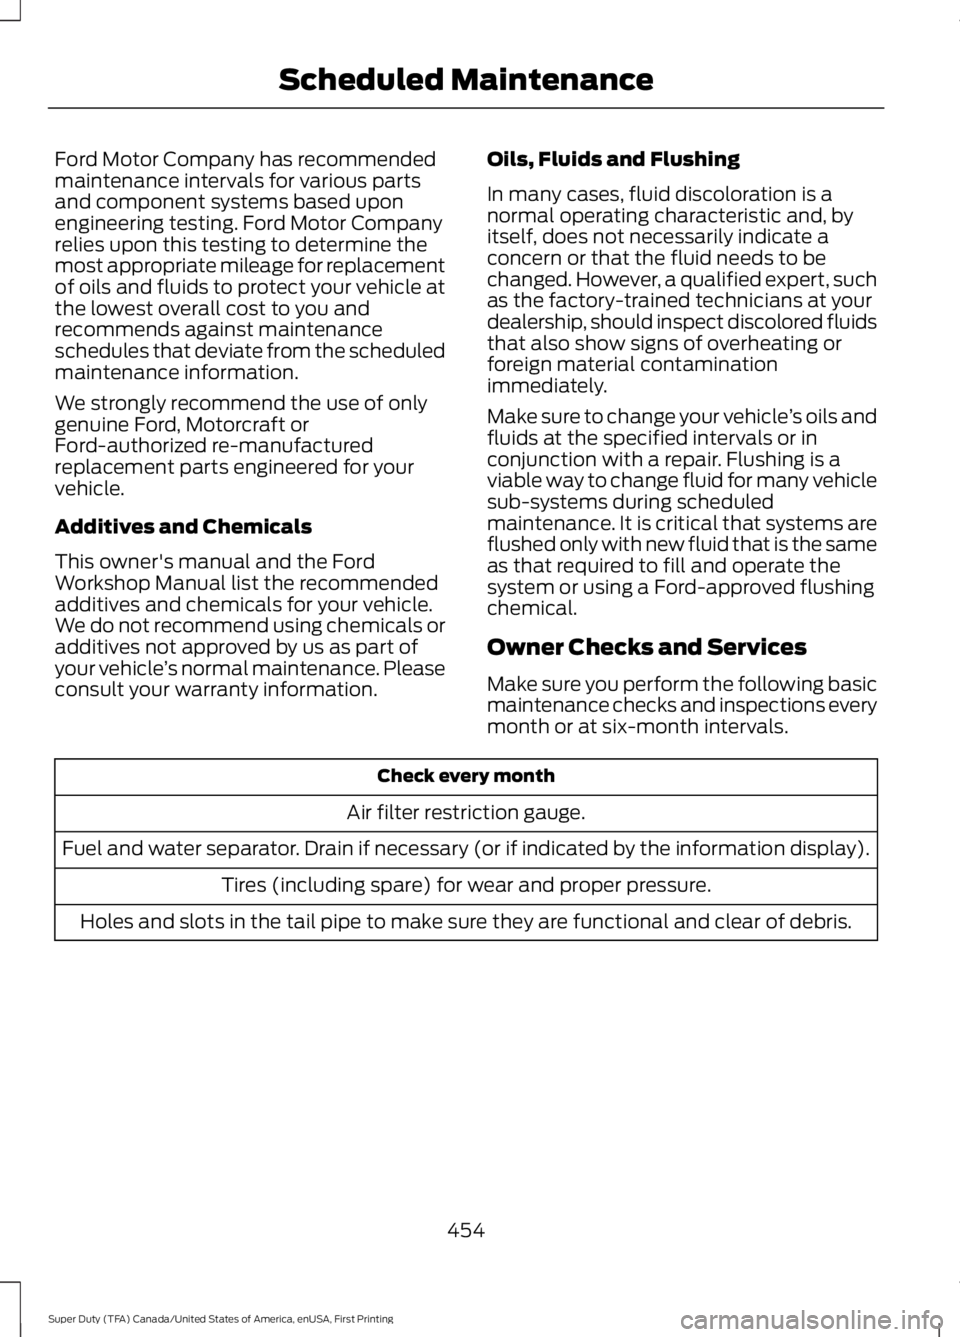
4. Slide the wheel partially under thevehicle and install the retainer throughthe wheel center. Pull on the cable toalign the components at the end of thecable.
5. Turn the jack handle clockwise untilthe tire is raised to its stowed positionunderneath the vehicle. The effort toturn the jack handle increasessignificantly and the spare tire carrierratchets or slips when the tire is raisedto the maximum tightness. Tighten tothe best of your ability, to the pointwhere the ratchet/slip occurs, ifpossible. The spare tire carrier will notallow you to overtighten. If the sparetire carrier ratchets or slips with littleeffort, take the vehicle to yourauthorized dealer for assistance at yourearliest convenience.
6. Check that the tire lies flat against theframe and is properly tightened. Try topush or pull, then turn the tire to besure it will not move. Loosen andretighten, if necessary. Failure toproperly stow the spare tire may resultin failure of the winch cable and lossof the tire.
300
Super Duty (TFA) Canada/United States of America, enUSA, First Printing
Wheels and TiresE162825 E162826 E162800
Page 304 of 507

7.Repeat this tightness check procedurewhen servicing the spare tire pressure(every six months, per scheduledmaintenance information), or at anytime that the spare tire is disturbed
through service of other components.
8. If removed, install the spare tire lockinto the bumper drive tube with thespare tire lock key and jack handle.
TECHNICAL SPECIFICATIONS
Wheel Lug Nut Torque Specifications
WARNING
When a wheel is installed, always remove any corrosion, dirt or foreign materialspresent on the mounting surfaces of the wheel or the surface of the wheel hub,brake drum or brake disc that contacts the wheel. Make sure that any fastenersthat attach the rotor to the hub are secured so they do not interfere with the mountingsurfaces of the wheel. Installing wheels without correct metal-to-metal contact at thewheel mounting surfaces can cause the wheel nuts to loosen and the wheel to come offwhile the vehicle is in motion, resulting in loss of control.
lb.ft (Nm)Bolt size
165 lb.ft (224 Nm)M14 x 1.5
*Torque specifications are for nut and bolt threads free of dirt and rust. Use only Fordrecommended replacement fasteners.
On vehicles equipped with single rear wheels, retighten the lug nuts to the specified torqueat 100 miles (160 kilometers) after any wheel disturbance (such as tire rotation, changinga flat tire, wheel removal).
On vehicles equipped with dual rear wheels, retighten the wheel lug nuts to the specifiedtorque at 100 miles (160 kilometers), and again at 500 miles (800 kilometers) of newvehicle operation and after any wheel disturbance (such as tire rotation, changing a flattire, wheel removal).
It is important to follow the proper wheel mounting and lug nut torque procedures.
On all two-piece flat wheel nuts, apply one drop of motor oil between the flat washerand the nut. Do not apply motor oil to the wheel nut threads or the wheel stud threads.
301
Super Duty (TFA) Canada/United States of America, enUSA, First Printing
Wheels and TiresE161443
Page 457 of 507

Ford Motor Company has recommendedmaintenance intervals for various partsand component systems based uponengineering testing. Ford Motor Companyrelies upon this testing to determine themost appropriate mileage for replacementof oils and fluids to protect your vehicle atthe lowest overall cost to you andrecommends against maintenanceschedules that deviate from the scheduledmaintenance information.
We strongly recommend the use of onlygenuine Ford, Motorcraft orFord-authorized re-manufacturedreplacement parts engineered for yourvehicle.
Additives and Chemicals
This owner's manual and the FordWorkshop Manual list the recommendedadditives and chemicals for your vehicle.We do not recommend using chemicals oradditives not approved by us as part ofyour vehicle’s normal maintenance. Pleaseconsult your warranty information.
Oils, Fluids and Flushing
In many cases, fluid discoloration is anormal operating characteristic and, byitself, does not necessarily indicate aconcern or that the fluid needs to bechanged. However, a qualified expert, suchas the factory-trained technicians at yourdealership, should inspect discolored fluidsthat also show signs of overheating orforeign material contaminationimmediately.
Make sure to change your vehicle’s oils andfluids at the specified intervals or inconjunction with a repair. Flushing is aviable way to change fluid for many vehiclesub-systems during scheduledmaintenance. It is critical that systems areflushed only with new fluid that is the sameas that required to fill and operate thesystem or using a Ford-approved flushingchemical.
Owner Checks and Services
Make sure you perform the following basicmaintenance checks and inspections everymonth or at six-month intervals.
Check every month
Air filter restriction gauge.
Fuel and water separator. Drain if necessary (or if indicated by the information display).
Tires (including spare) for wear and proper pressure.
Holes and slots in the tail pipe to make sure they are functional and clear of debris.
454
Super Duty (TFA) Canada/United States of America, enUSA, First Printing
Scheduled Maintenance
Page 458 of 507

Tightening lug nuts
Tighten the lug nuts to the specified torque at 500 miles(800 km) after any wheel disturbance (such as tire rota-tion, changing a flat tire or wheel removal).
Vehicles with single rearwheels
Tighten the wheel lug nuts to the specified torque at 100miles (160 km), and again at 500 miles (800 km) of newvehicle operation and after any wheel disturbance (suchas tire rotation, changing a flat tire or wheel removal).
Vehicles with dual rearwheels
Note:For the proper lug nut torque specification, see Technical specifications in the Wheelsand Tires chapter of your owner's manual.
Multi-point Inspection
In order to keep your vehicle running right,it is important to have the systems on yourvehicle checked regularly. This can helpidentify potential issues and prevent majorproblems. We recommend having thefollowing multi-point inspection performedat every scheduled maintenance intervalto help make sure your vehicle keepsrunning great.
Multi-point inspection
Horn operationAccessory drive belt(s)
Radiator, cooler, heater and A/C hosesBattery performance
Suspension component for leaks ordamageEngine air filter
Steering and linkageExhaust system
Tires (including spare) for wear and proper
pressure**Exterior lamps and hazard warning systemoperation
Windshield for cracks, chips or pitsFluid levels*; fill if necessary
Washer spray and wiper operationFor oil and fluid leaks
* Brake, coolant recovery reservoir, automatic transmission, power steering and windowwasher.**If your vehicle is equipped with a temporary mobility kit, check the tire sealant expirationUse By date on the canister. Replace as needed.
455
Super Duty (TFA) Canada/United States of America, enUSA, First Printing
Scheduled Maintenance
Page 499 of 507

Capacities and Specifications - 6.8LTriton-30V - V10..........................................311Specifications.......................................................312Capacities and Specifications................303Car WashSee: Cleaning the Exterior..............................256Center Console..............................................139Removable Front Cupholders........................139Changing a Bulb...........................................249Replacing Brake/Tail/Turn/Reverse LampBulbs...................................................................251Replacing Cargo Lamp and Central HighMounted Brake Lamp Bulbs......................251Replacing Fog Lamp Bulbs............................250Replacing Front Clearance andIdentification Lamp Bulbs.........................250Replacing Front Park and DirectionIndicator Lamp Bulbs..................................250Replacing Headlamp Bulbs...........................250Replacing the License Plate LampBulb....................................................................252Changing a Fuse............................................231Fuses........................................................................231Changing a Road Wheel...........................290Dissimilar Spare Wheel and Tire AssemblyInformation.....................................................290Location of the Spare Tire and Tools..........291Removing the Spare Tire (With Spare TireCarrier Only)....................................................292Tire Change Procedure....................................293Changing the 12V Battery.........................245Battery Management System (IfEquipped)........................................................246Changing the Engine Air Filter................254Changing the Wiper Blades.....................247Checking MyKey System Status...............53Checking the Wiper Blades......................247Child Restraint and Safety BeltMaintenance.................................................36Child Safety.......................................................15General Information.............................................15Child Safety Locks..........................................27Child Seat Positioning..................................26Cleaning Leather Seats.............................259With King Ranch Edition.................................260Without King Ranch Edition..........................259Cleaning Products.......................................256Cleaning the Alloy Wheels........................261
Cleaning the Engine....................................257Cleaning the Exterior..................................256Exterior Chrome Parts.....................................256Exterior Plastic Parts.........................................257Stripes or Graphics............................................257Underbody............................................................257Cleaning the Instrument Panel andInstrument Cluster Lens........................259Cleaning the Interior...................................258Cleaning the Windows and WiperBlades...........................................................258Clearing All MyKeys.......................................53Climate............................................................428Climate Control Voice Commands..............431Climate Control..............................................110Climate Controlled Seats..........................125Cooled Seats........................................................126Heated Seats........................................................125Coolant CheckSee: Engine Coolant Check............................236Crash Sensors and Airbag Indicator........45Creating a MyKey............................................52Programming/Changing ConfigurableSettings...............................................................52Cruise Control..................................................67Principle of Operation.......................................183Cruise controlSee: Using Cruise Control................................183Customer Assistance...................................217
D
Data Recording..................................................9Event Data Recording...........................................9Service Data Recording........................................9Daytime Running Lamps.............................73Digital Radio..................................................323HD Radio Reception and StationTroubleshooting............................................324Direction Indicators........................................74Lane Change..........................................................74Driver and Passenger Airbags...................38Children and Airbags...........................................43Passenger Airbag On and Off Switch ..........38Proper Driver and Front Passenger SeatingAdjustment........................................................42Driving Aids.....................................................184Driving Hints...................................................207
496
Super Duty (TFA) Canada/United States of America, enUSA, First Printing
Index