2016 FORD F250 manual radio set
[x] Cancel search: manual radio setPage 185 of 507

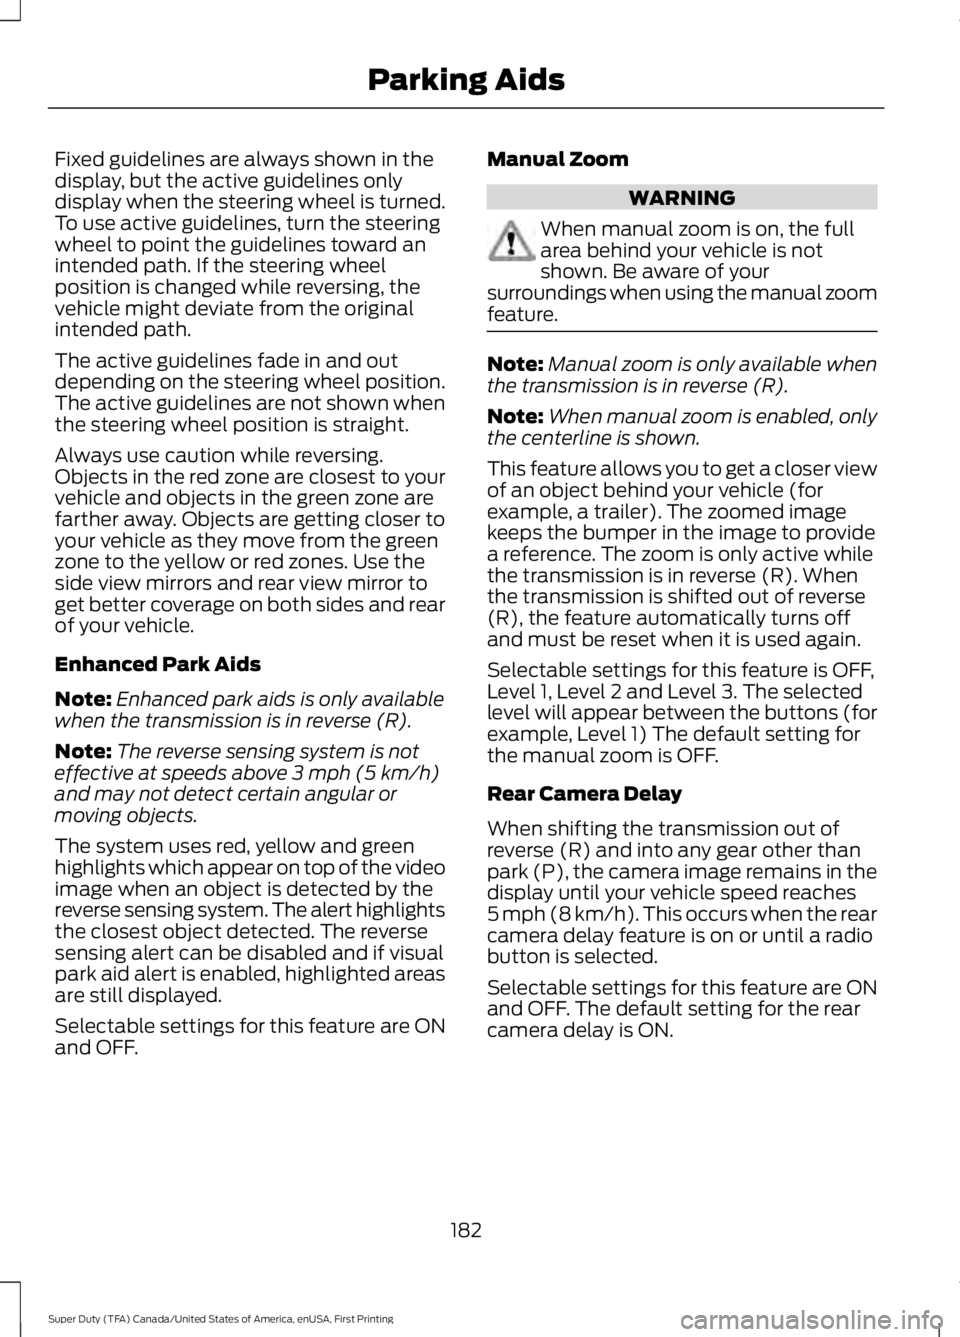
Fixed guidelines are always shown in the
display, but the active guidelines only
display when the steering wheel is turned.
To use active guidelines, turn the steering
wheel to point the guidelines toward an
intended path. If the steering wheel
position is changed while reversing, the
vehicle might deviate from the original
intended path.
The active guidelines fade in and out
depending on the steering wheel position.
The active guidelines are not shown when
the steering wheel position is straight.
Always use caution while reversing.
Objects in the red zone are closest to your
vehicle and objects in the green zone are
farther away. Objects are getting closer to
your vehicle as they move from the green
zone to the yellow or red zones. Use the
side view mirrors and rear view mirror to
get better coverage on both sides and rear
of your vehicle.
Enhanced Park Aids
Note:
Enhanced park aids is only available
when the transmission is in reverse (R).
Note: The reverse sensing system is not
effective at speeds above 3 mph (5 km/h)
and may not detect certain angular or
moving objects.
The system uses red, yellow and green
highlights which appear on top of the video
image when an object is detected by the
reverse sensing system. The alert highlights
the closest object detected. The reverse
sensing alert can be disabled and if visual
park aid alert is enabled, highlighted areas
are still displayed.
Selectable settings for this feature are ON
and OFF. Manual Zoom WARNING
When manual zoom is on, the full
area behind your vehicle is not
shown. Be aware of your
surroundings when using the manual zoom
feature. Note:
Manual zoom is only available when
the transmission is in reverse (R).
Note: When manual zoom is enabled, only
the centerline is shown.
This feature allows you to get a closer view
of an object behind your vehicle (for
example, a trailer). The zoomed image
keeps the bumper in the image to provide
a reference. The zoom is only active while
the transmission is in reverse (R). When
the transmission is shifted out of reverse
(R), the feature automatically turns off
and must be reset when it is used again.
Selectable settings for this feature is OFF,
Level 1, Level 2 and Level 3. The selected
level will appear between the buttons (for
example, Level 1) The default setting for
the manual zoom is OFF.
Rear Camera Delay
When shifting the transmission out of
reverse (R) and into any gear other than
park (P), the camera image remains in the
display until your vehicle speed reaches
5 mph (8 km/h). This occurs when the rear
camera delay feature is on or until a radio
button is selected.
Selectable settings for this feature are ON
and OFF. The default setting for the rear
camera delay is ON.
182
Super Duty (TFA) Canada/United States of America, enUSA, First Printing Parking Aids
Page 322 of 507

CLK: Press this button to switch the display between the clock and radio
frequency. To set the time, press and hold the button until the hours start to
flash. Press the arrow buttons (B) to adjust the hours, then repeat to set the
minutes. Press
CLK again to exit clock mode.
A
Tune: Press these arrow buttons to manually search through the radio frequency
band. Press and hold for a fast search. In AUDIO mode, press the buttons to
adjust different sound settings.
B
AUDIO:
Press this button to access settings for Treble, Middle, Bass, Fade and
Balance.
C
SEEK:
Press this button to go to the previous or next strong station on the
frequency band.
D
Memory presets:
Store your favorite radio stations. To store a radio station,
tune to the station, then press and hold a preset button until sound returns.
E
AM/FM:
Press this button to select a frequency band.
F
VOL-PUSH:
Press the button to switch the system on and off. Turn the control
to adjust the volume.
G
AUDIO UNIT - VEHICLES WITH:
AM/FM/CD/SYNC WARNING
Driving while distracted can result in
loss of vehicle control, crash and
injury. We strongly recommend that
you use extreme caution when using any
device that may take your focus off the
road. Your primary responsibility is the safe
operation of your vehicle. We recommend
against the use of any hand-held device
while driving and encourage the use of
voice-operated systems when possible.
Make sure you are aware of all applicable
local laws that may affect the use of
electronic devices while driving. 319
Super Duty (TFA) Canada/United States of America, enUSA, First Printing Audio System
Page 323 of 507

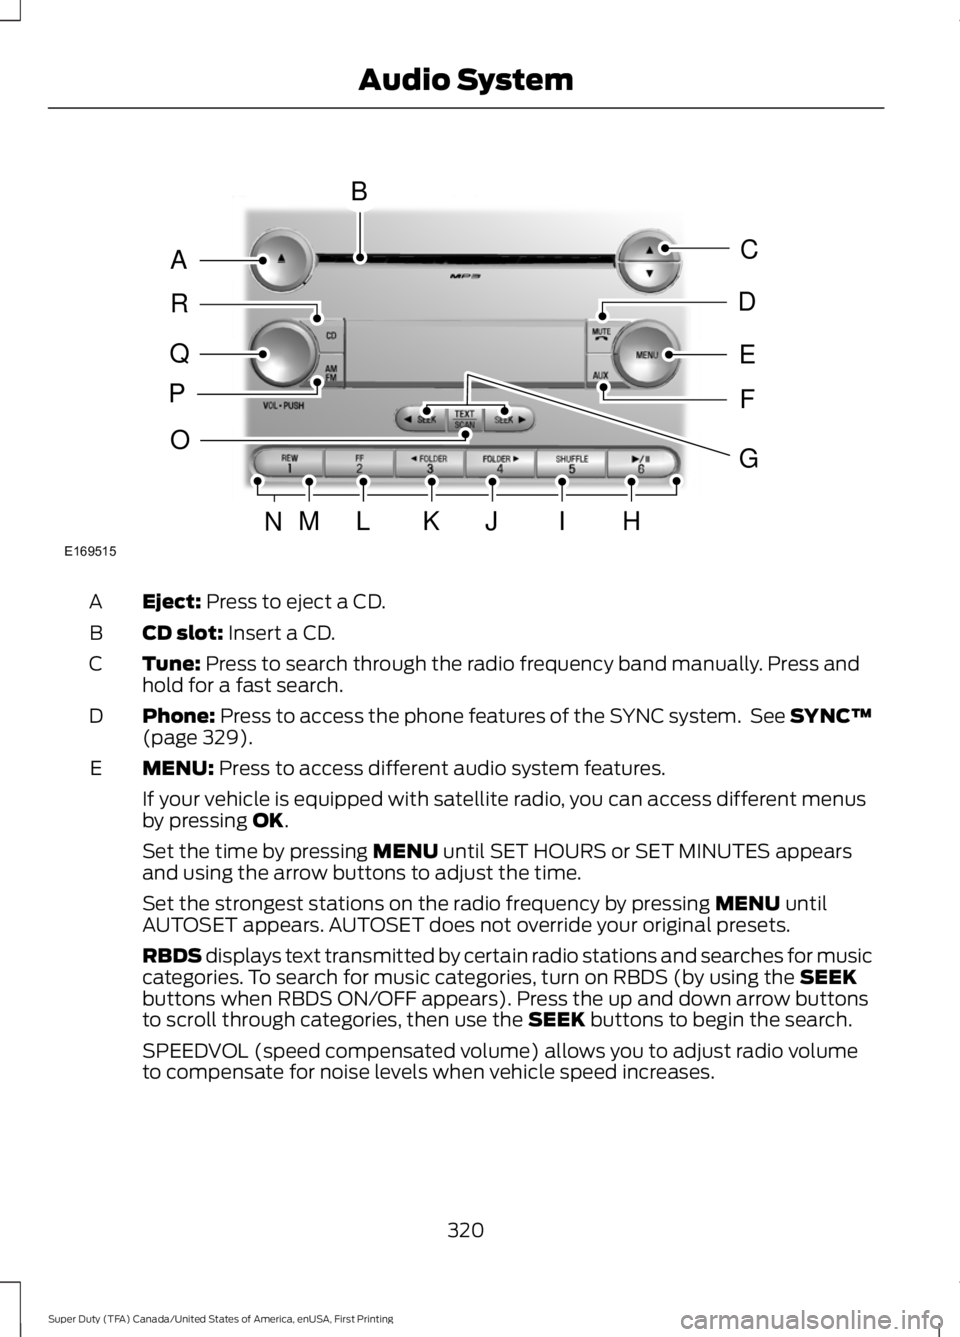
Eject: Press to eject a CD.
A
CD slot:
Insert a CD.
B
Tune:
Press to search through the radio frequency band manually. Press and
hold for a fast search.
C
Phone:
Press to access the phone features of the SYNC system. See SYNC™
(page 329).
D
MENU:
Press to access different audio system features.
E
If your vehicle is equipped with satellite radio, you can access different menus
by pressing
OK.
Set the time by pressing
MENU until SET HOURS or SET MINUTES appears
and using the arrow buttons to adjust the time.
Set the strongest stations on the radio frequency by pressing
MENU until
AUTOSET appears. AUTOSET does not override your original presets.
RBDS displays text transmitted by certain radio stations and searches for music
categories. To search for music categories, turn on RBDS (by using the
SEEK
buttons when RBDS ON/OFF appears). Press the up and down arrow buttons
to scroll through categories, then use the
SEEK buttons to begin the search.
SPEEDVOL (speed compensated volume) allows you to adjust radio volume
to compensate for noise levels when vehicle speed increases.
320
Super Duty (TFA) Canada/United States of America, enUSA, First Printing Audio SystemE169515
B
A
Q
R
P
C
E
D
F
O
MLKJIHN
G
Page 324 of 507

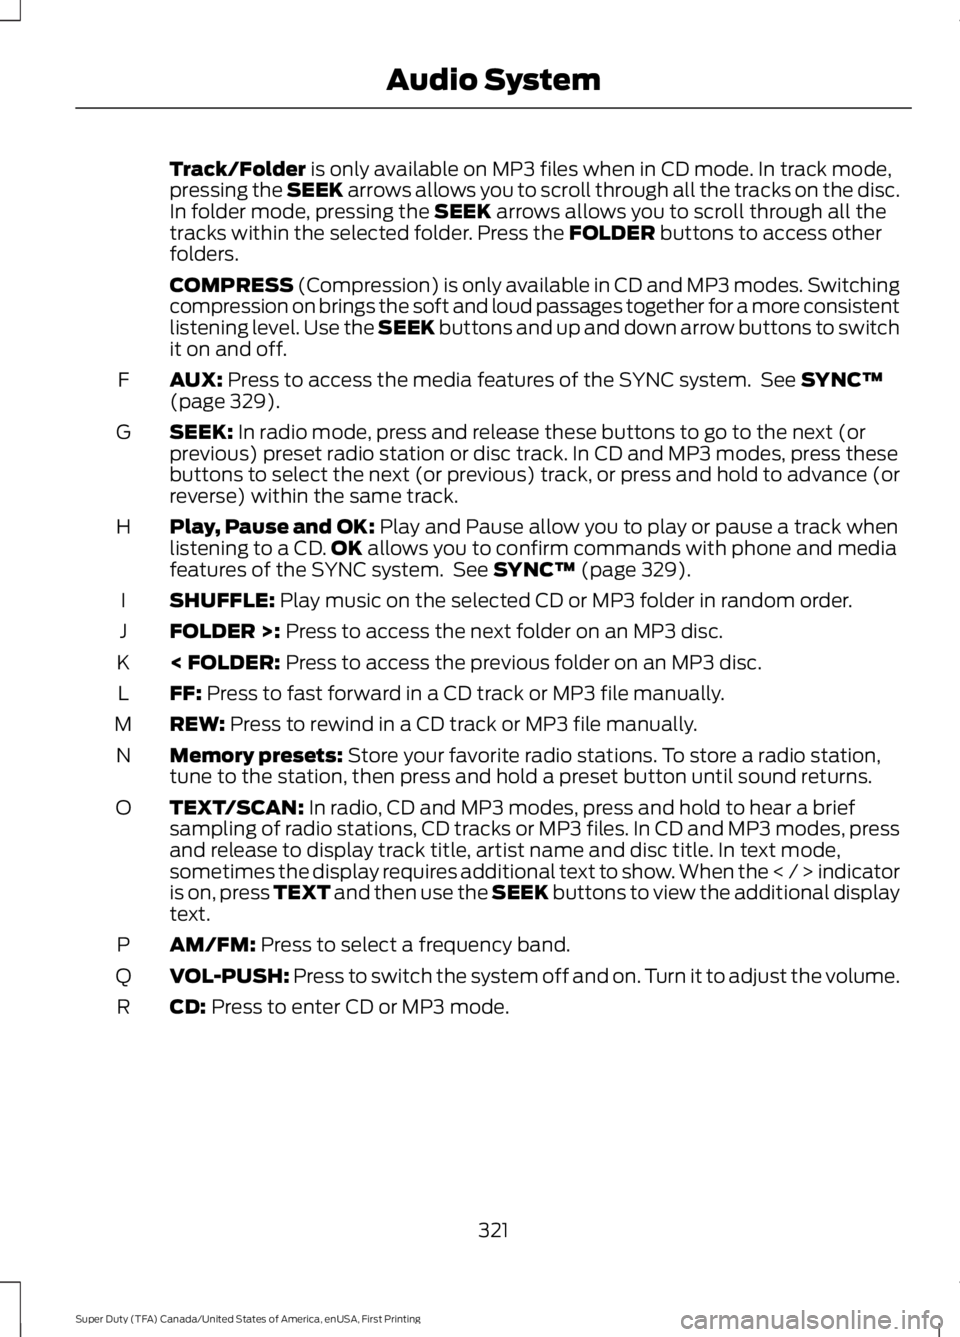
Track/Folder is only available on MP3 files when in CD mode. In track mode,
pressing the SEEK arrows allows you to scroll through all the tracks on the disc.
In folder mode, pressing the
SEEK arrows allows you to scroll through all the
tracks within the selected folder. Press the FOLDER buttons to access other
folders.
COMPRESS
(Compression) is only available in CD and MP3 modes. Switching
compression on brings the soft and loud passages together for a more consistent
listening level. Use the SEEK buttons and up and down arrow buttons to switch
it on and off.
AUX:
Press to access the media features of the SYNC system. See SYNC™
(page 329).
F
SEEK:
In radio mode, press and release these buttons to go to the next (or
previous) preset radio station or disc track. In CD and MP3 modes, press these
buttons to select the next (or previous) track, or press and hold to advance (or
reverse) within the same track.
G
Play, Pause and OK:
Play and Pause allow you to play or pause a track when
listening to a CD. OK allows you to confirm commands with phone and media
features of the SYNC system. See SYNC™ (page 329).
H
SHUFFLE:
Play music on the selected CD or MP3 folder in random order.
I
FOLDER >:
Press to access the next folder on an MP3 disc.
J
< FOLDER:
Press to access the previous folder on an MP3 disc.
K
FF:
Press to fast forward in a CD track or MP3 file manually.
L
REW:
Press to rewind in a CD track or MP3 file manually.
M
Memory presets:
Store your favorite radio stations. To store a radio station,
tune to the station, then press and hold a preset button until sound returns.
N
TEXT/SCAN:
In radio, CD and MP3 modes, press and hold to hear a brief
sampling of radio stations, CD tracks or MP3 files. In CD and MP3 modes, press
and release to display track title, artist name and disc title. In text mode,
sometimes the display requires additional text to show. When the < / > indicator
is on, press TEXT and then use the SEEK buttons to view the additional display
text.
O
AM/FM:
Press to select a frequency band.
P
VOL-PUSH:
Press to switch the system off and on. Turn it to adjust the volume.
Q
CD:
Press to enter CD or MP3 mode.
R
321
Super Duty (TFA) Canada/United States of America, enUSA, First Printing Audio System
Page 338 of 507

Depending on your cell phone's capability
and your market, the system may prompt
you with questions, such as setting the
current cell phone as the primary cell
phone (the cell phone SYNC automatically
tries to connect with first upon vehicle
start-up) and downloading your
phonebook.
Pairing Subsequent Cell Phones
Note:
To scroll through the menus, press
the up and down arrows on your audio
system.
Note: Make sure to switch on the ignition
and the radio. Put the transmission in
position park (P) (automatic transmission)
or neutral with the parking brake applied
(manual transmission).
Press the phone button, then scroll to: Action
Message
Press the
OK button.
Phone settings
Press the
OK button.
Bluetooth device
Press the
OK button. When the following message appears
in the display.
Add
Find SYNC
1. Press the
OK button.
2. Put your cell phone into Bluetooth discovery mode. See your device's manual if necessary.
3. When prompted on your cell phone's display, enter the six-digit PIN provided by SYNC in the radio display. The
display indicates when the pairing is successful.
The system then prompts with questions, such as if you would like to set the current cell
phone as the primary cell phone (the cell phone SYNC automatically tries to connect
with first upon vehicle start-up) or download your phonebook.
Phone Voice Commands
Press the voice icon and say: Voice Commands
Phone
You can then say any of the following
commands.
Call History Incoming
Call History Missed
Call History Outgoing Voice Commands
Phonebook ___
Phonebook ___ at Home
Phonebook ___ at Work
Phonebook ___ in Office
Phonebook ___ on Cell
___ is a dynamic listing that should be the
name of a contact in your phonebook. For
example you could say "Call Mom".
335
Super Duty (TFA) Canada/United States of America, enUSA, First Printing SYNC™
(If Equipped)
Page 399 of 507

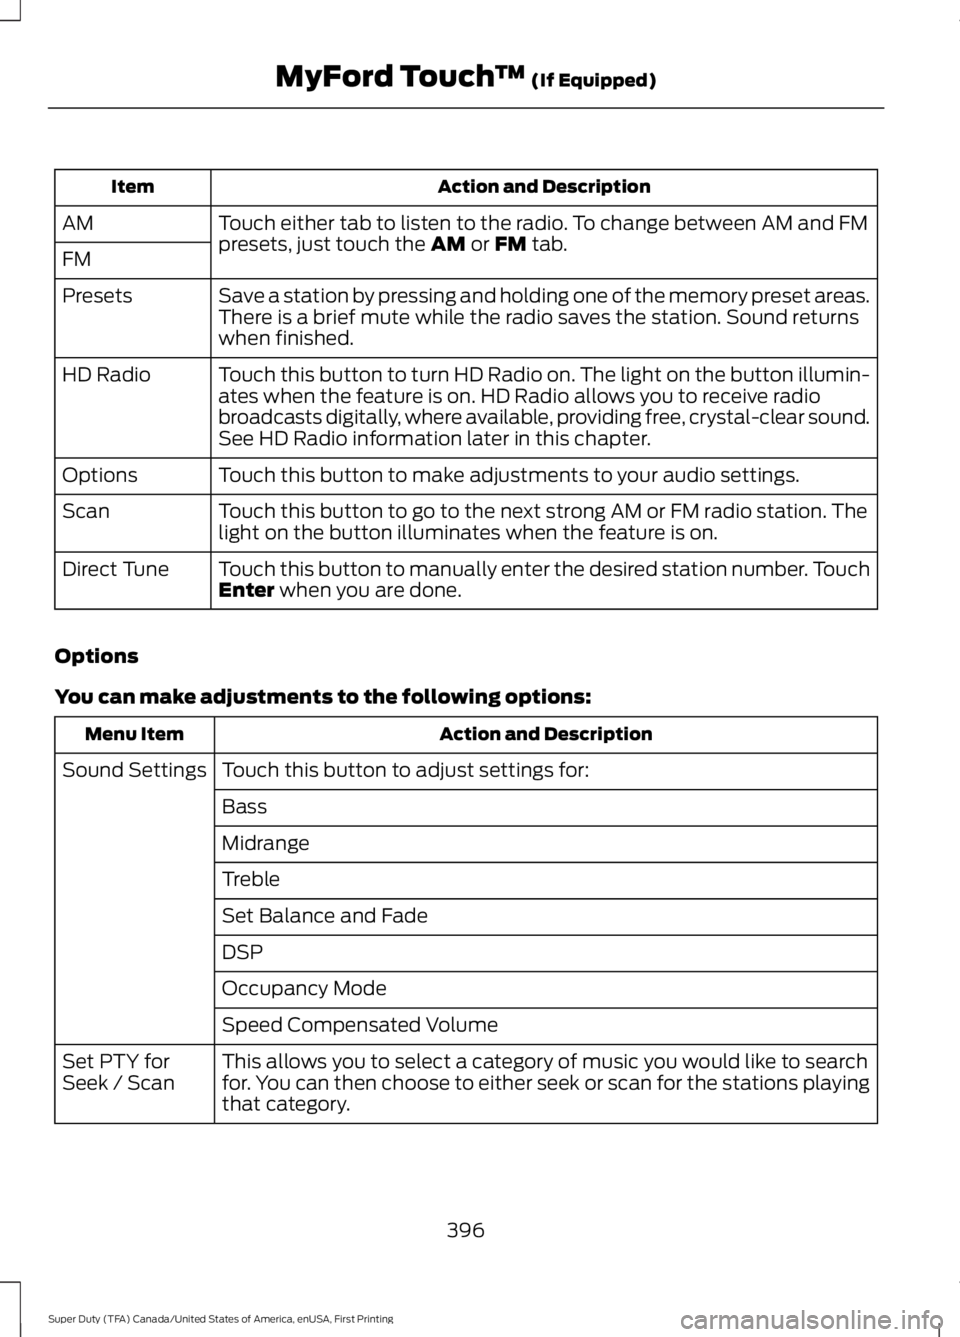
Action and Description
Item
Touch either tab to listen to the radio. To change between AM and FM
presets, just touch the AM or FM tab.
AM
FM
Save a station by pressing and holding one of the memory preset areas.
There is a brief mute while the radio saves the station. Sound returns
when finished.
Presets
Touch this button to turn HD Radio on. The light on the button illumin-
ates when the feature is on. HD Radio allows you to receive radio
broadcasts digitally, where available, providing free, crystal-clear sound.
See HD Radio information later in this chapter.
HD Radio
Touch this button to make adjustments to your audio settings.
Options
Touch this button to go to the next strong AM or FM radio station. The
light on the button illuminates when the feature is on.
Scan
Touch this button to manually enter the desired station number. Touch
Enter
when you are done.
Direct Tune
Options
You can make adjustments to the following options: Action and Description
Menu Item
Touch this button to adjust settings for:
Sound Settings
Bass
Midrange
Treble
Set Balance and Fade
DSP
Occupancy Mode
Speed Compensated Volume
This allows you to select a category of music you would like to search
for. You can then choose to either seek or scan for the stations playing
that category.
Set PTY for
Seek / Scan
396
Super Duty (TFA) Canada/United States of America, enUSA, First Printing MyFord Touch
™
(If Equipped)
Page 406 of 507

Message
Message
SIRIUS requires this number when communicating with you about
your account.
Electronic Serial
Number (ESN)
Touch this button to manually enter the desired satellite channel
number. Touch Enter when you are done
Direct Tune
Note: Your vehicle may not have all these sound settings.
SIRIUS Satellite Radio Information
Note: SIRIUS reserves the unrestricted right
to change, rearrange, add or delete
programming including canceling, moving
or adding particular channels, and its prices,
at any time, with or without notice to you.
Ford Motor Company shall not be
responsible for any such programming
changes. SIRIUS satellite radio is a
subscription-based satellite radio service
that broadcasts a variety of music, sports,
news, weather, traffic and entertainment
programming. Your factory-installed
SIRIUS satellite radio system includes
hardware and a limited subscription term
that begins on the date of sale or lease of
your vehicle. See an authorized dealer for
availability. For more information on extended
subscription terms (a service fee is
required), the online media player and a
list of SIRIUS satellite radio channels, and
other features, please visit
www.siriusxm.com in the United States,
www.sirius.ca in Canada, or call SIRIUS at
1-888-539-7474.
Note:
This receiver includes the eCos
real-time operating system. eCos is
published under the eCos License.
Satellite Radio Electronic Serial Number
(ESN)
You need your ESN to activate, modify or
track your satellite radio account. The ESN
is on the System Information Screen (SR
ESN:XXXXXXXXXXXX).
To access your ESN, touch the bottom
left corner of the touchscreen, then
select: Message
SIRIUS
Options
403
Super Duty (TFA) Canada/United States of America, enUSA, First Printing MyFord Touch
™
(If Equipped)E142593