2016 FORD F150 instrument panel
[x] Cancel search: instrument panelPage 145 of 505
Recirculated air: Press to switch between outside air and recirculated air. The
air currently in the passenger compartment recirculates. This can reduce the
time needed to cool the interior and reduce unwanted odors from entering your
vehicle.
E
Note:
Recirculated air may also turn on and off automatically in instrument
panel or instrument panel and floor airflow modes during hot weather to improve
cooling efficiency.
MAX A/C:
Press for maximum cooling. Recirculated air flows through the
instrument panel vents, air conditioning automatically turns on, and the fan
automatically adjusts to the highest speed.
F
DUAL:
Press to switch separate passenger side temperature control off and
on. When dual zone is off, passenger temperature settings remain the same as
the driver settings.
G
Passenger temperature control:
Adjust the temperature setting on the
passenger side.
H
A/C:
Press to switch the air conditioning on or off. Air conditioning cools your
vehicle using outside air. To improve the time to reach a comfortable
temperature in hot weather, drive with the windows open until you feel cold air
through the air vents.
I
Note: In certain conditions (for example, maximum defrost), the air conditioning
may continue to operate even though the air conditioning is switched off.
Heated seats:
Press to switch the heated seats on and off. See Heated Seats
(page 154).
J
Climate controlled seats:
Press to switch the climate controlled seats on
and off. See Climate Controlled Seats (page 155).
K
Fan speed control:
Adjust the volume of air circulated in the vehicle.
L
Heated rear window: Press to switch the heated rear window on and off. See
Heated Windows and Mirrors
(page 145).
M
Driver temperature control: Adjust the temperature setting on the driver side.
N
HINTS ON CONTROLLING THE
INTERIOR CLIMATE
General Hints WARNING
Prolonged use of recirculated air may
cause the windows to fog up. If the
windows fog up, follow the settings
for demisting the windshield. Note:
You may feel a small amount of air
from the footwell air vents regardless of the
air distribution setting.
Note: To reduce humidity build-up inside
your vehicle, do not drive with the system
switched off or with recirculated air always
switched on.
Note: Do not place objects under the front
seats as this may interfere with the airflow
to the rear seats.
142
F-150 (TFC) Canada/United States of America, enUSA, Edition date: 08/2015, First Printing Climate Control
Page 146 of 505

Note:
Remove any snow, ice or leaves from
the air intake area at the base of the
windshield.
Note: To improve the time to reach a
comfortable temperature in hot weather,
drive with the windows open until you feel
cold air through the air vents.
Manual Climate Control
Note: To reduce fogging of the windshield
during humid weather, adjust the air
distribution control to the windshield air
vents position. Automatic Climate Control
Note:
Adjusting the settings when your
vehicle interior is extremely hot or cold is
not necessary. The system automatically
adjusts to heat or cool the interior to your
selected temperature as quickly as possible.
For the system to function efficiently, the
instrument panel and side air vents should
be fully open.
Note: If you select AUTO during cold
outside temperatures, the system directs
airflow to the windshield and side window
vents. In addition, the fan may run at a
slower speed until the engine warms up.
Note: If you select AUTO during hot outside
temperatures, or when the inside of the
vehicle is hot, the system automatically uses
recirculated air to maximize interior cooling.
When the interior reaches the selected
temperature, the system automatically
switches to using outside air.
Heating the Interior Quickly Vehicle with automatic climate control
Vehicle with manual climate control
Press the
AUTO button.
Adjust the fan speed to a high speed
setting.
1
Adjust the temperature control to the
desired setting.
Adjust the temperature control to the
full heat setting.
2
Select the footwell air vents using the
air distribution buttons.
3
143
F-150 (TFC) Canada/United States of America, enUSA, Edition date: 08/2015, First Printing Climate Control
Page 147 of 505
Recommended Settings for Heating
Vehicle with automatic climate control
Vehicle with manual climate control
Press the AUTO button.
Adjust the fan speed to the center
setting.
1
Adjust the temperature control to the
desired setting. Use
72°F (22°C) as a
starting point, then adjust the setting as
necessary.
Adjust the temperature control to the
midway point of the hot settings.
2
Select the footwell air vents using the
air distribution buttons.
3
Cooling the Interior Quickly Vehicle with automatic climate control
Vehicle with manual climate control
Press the
MAX A/C button.
Adjust the temperature control to the
MAX A/C position.
1
Drive with the windows fully open until
you feel cold air through the air vents.
2
Recommended Settings for Cooling Vehicle with automatic climate control
Vehicle with manual climate control
Press the
AUTO button.
Adjust the fan speed to the center
setting.
1
Adjust the temperature control to the
desired setting. Use
72°F (22°C) as a
starting point, then adjust the setting as
necessary.
Adjust the temperature control to the
midway point of the cold settings.
2
Select the instrument panel air vents
using the air distribution buttons.
3
144
F-150 (TFC) Canada/United States of America, enUSA, Edition date: 08/2015, First Printing Climate Control
Page 165 of 505

12 Volt DC Power Point
WARNING
Do not plug optional electrical
accessories into the cigar lighter
socket (if equipped). Improper use
of the lighter can cause damage not
covered by your warranty, and can result
in fire or serious injury. Note:
If used when the engine is not
running, the battery can discharge. There
may be insufficient power to restart your
engine.
Note: Do not insert objects other than an
accessory plug into the power point. This
damages the outlet and blows the fuse.
Note: Do not hang any type of accessory or
accessory bracket from the plug.
Note: Do not use the power point over the
vehicle capacity of 12 volt DC 180 watts or
a fuse may blow.
Note: Do not use the power point for
operating a cigar lighter element.
Note: Improper use of the power point can
cause damage not covered by your
warranty.
Note: Always keep the power point caps
closed when not in use.
Run the engine for full capacity use of the
power point. To prevent the battery from
being discharged:
• Do not use the power point longer than
necessary when the engine is not
running.
• Do not leave devices plugged in
overnight or when the vehicle is parked
for extended periods. Locations
Power points may be in the following
locations:
•
On the instrument panel.
• In the front of the center console.
• In the 20% seat bin.
• In the center console storage bin.
• On the rear of the center console.
110 Volt - 400 Watt Capacity AC
Power Outlet WARNING
Do not keep electrical devices
plugged in the power outlet when
the devices are not in use. Do not use
any extension cord with the 110 volt AC
power outlet, since it will defeat the safety
protection design. Do not use a single
power outlet to power multiple devices. It
may cause the power outlet to exceed the
400 watt load limit and overload, resulting
in fire or serious injury. 162
F-150 (TFC) Canada/United States of America, enUSA, Edition date: 08/2015, First Printing Auxiliary Power PointsE191617
Page 202 of 505
To set the parking brake, press the parking
brake pedal down to its fullest extent. The
brake warning lamp in the instrument
cluster will illuminate and remains
illuminated until the parking brake is
released.
To release the parking brake, press the
parking brake pedal down again.
If you are parking your vehicle on a grade
or with a trailer, press and hold the brake
pedal down, then set the parking brake.
There may be a little vehicle movement as
the parking brake sets to hold the vehicle's
weight. This is normal and should be no
reason for concern. If needed, press and
hold the service brake pedal down, then
try reapplying the parking brake. Chock the
wheels if required. If the parking brake
cannot hold the weight of the vehicle, the
parking brake may need to be serviced or
the vehicle may be overloaded.
ELECTRIC PARKING BRAKE (If
Equipped)
The electric parking brake replaces the
conventional foot brake. The operating
switch is located on the instrument panel
left of the steering wheel. WARNING
Always set the parking brake fully
and make sure the transmission is
locked in park (P). Failure to set the
parking brake and engage park could result
in vehicle roll-away, property damage or
bodily injury. Note:
When you apply the electric parking
brake in certain conditions, for example, on
a steep hill, the electric parking brake may
reapply the brakes within ten minutes. Note:
You may notice various noises when
you apply and release the electric parking
brake. This is normal and no cause for
concern.
Applying the Electric Parking
Brake WARNING
The brake system warning lamp will
flash during an electric parking brake
apply. If the brake system warning
lamp continues to flash there could be a
problem with your electric parking brake.
Have the system checked by an authorized
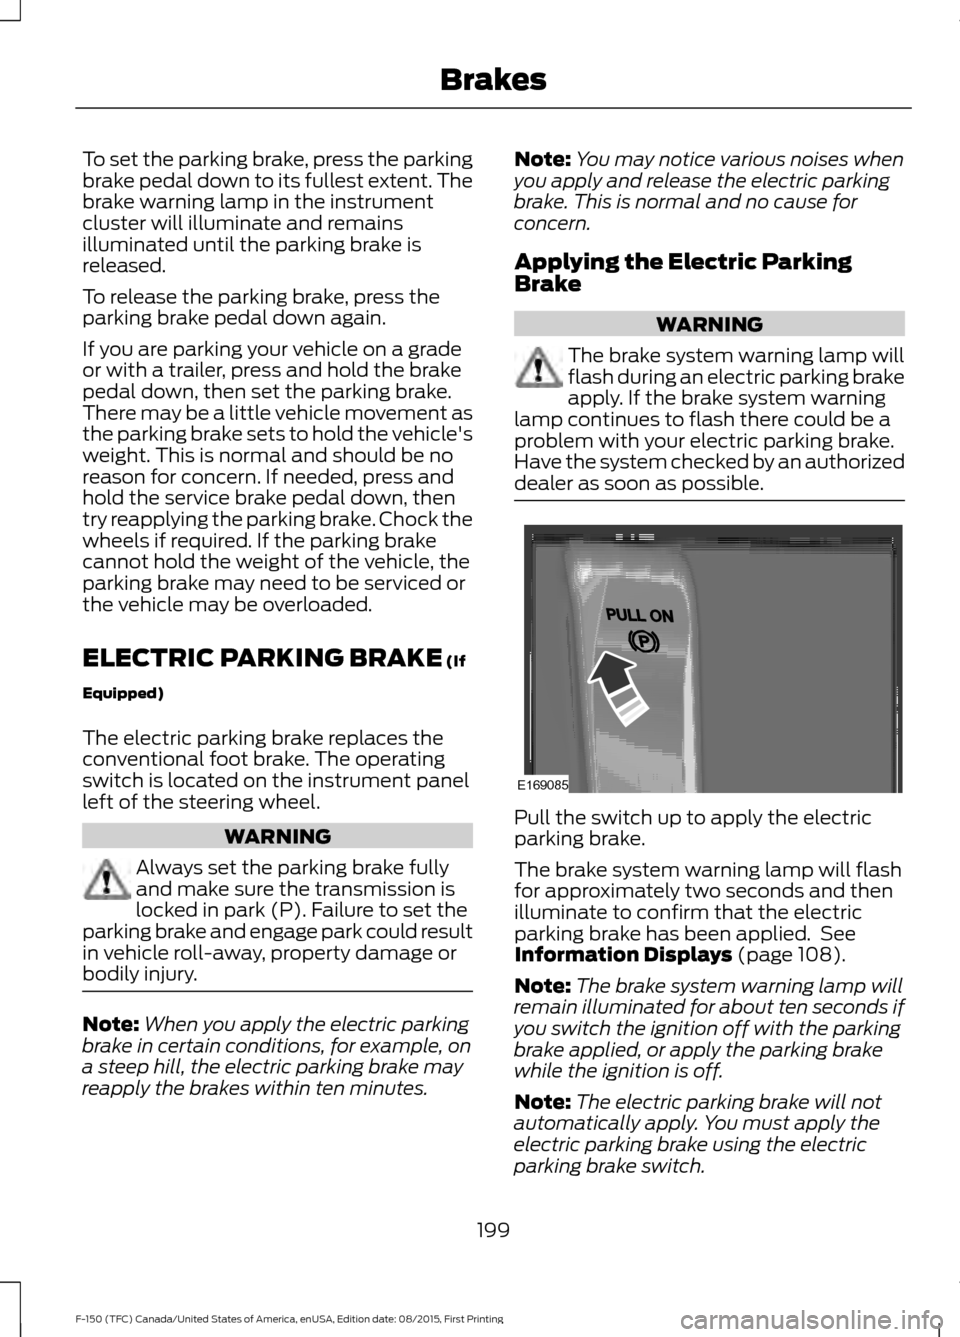
dealer as soon as possible. Pull the switch up to apply the electric
parking brake.
The brake system warning lamp will flash
for approximately two seconds and then
illuminate to confirm that the electric
parking brake has been applied. See
Information Displays
(page 108).
Note: The brake system warning lamp will
remain illuminated for about ten seconds if
you switch the ignition off with the parking
brake applied, or apply the parking brake
while the ignition is off.
Note: The electric parking brake will not
automatically apply. You must apply the
electric parking brake using the electric
parking brake switch.
199
F-150 (TFC) Canada/United States of America, enUSA, Edition date: 08/2015, First Printing BrakesE169085
Page 206 of 505
PRINCIPLE OF OPERATION
The traction control system helps avoid
drive wheel spin and loss of traction.
If your vehicle begins to slide, the system
applies the brakes to individual wheels
and, when needed, reduces engine power
at the same time. If the wheels spin when
accelerating on slippery or loose surfaces,
the system reduces engine power in order
to increase traction.
USING TRACTION CONTROL
WARNING
The stability and traction control
light illuminates steadily if the
system detects a failure. Make sure
you did not manually disable the traction
control system using the switch. If the
stability control and traction control light
is still illuminating steadily, have the
system serviced by an authorized dealer
immediately. Operating your vehicle with
traction control disabled could lead to an
increased risk of loss of vehicle control,
vehicle rollover, personal injury and death. The system automatically turns on each
time you switch the ignition on.
If your vehicle is stuck in mud or snow,
switching traction control off may be
beneficial as this allows the wheels to spin.
Note:
When you switch traction control off,
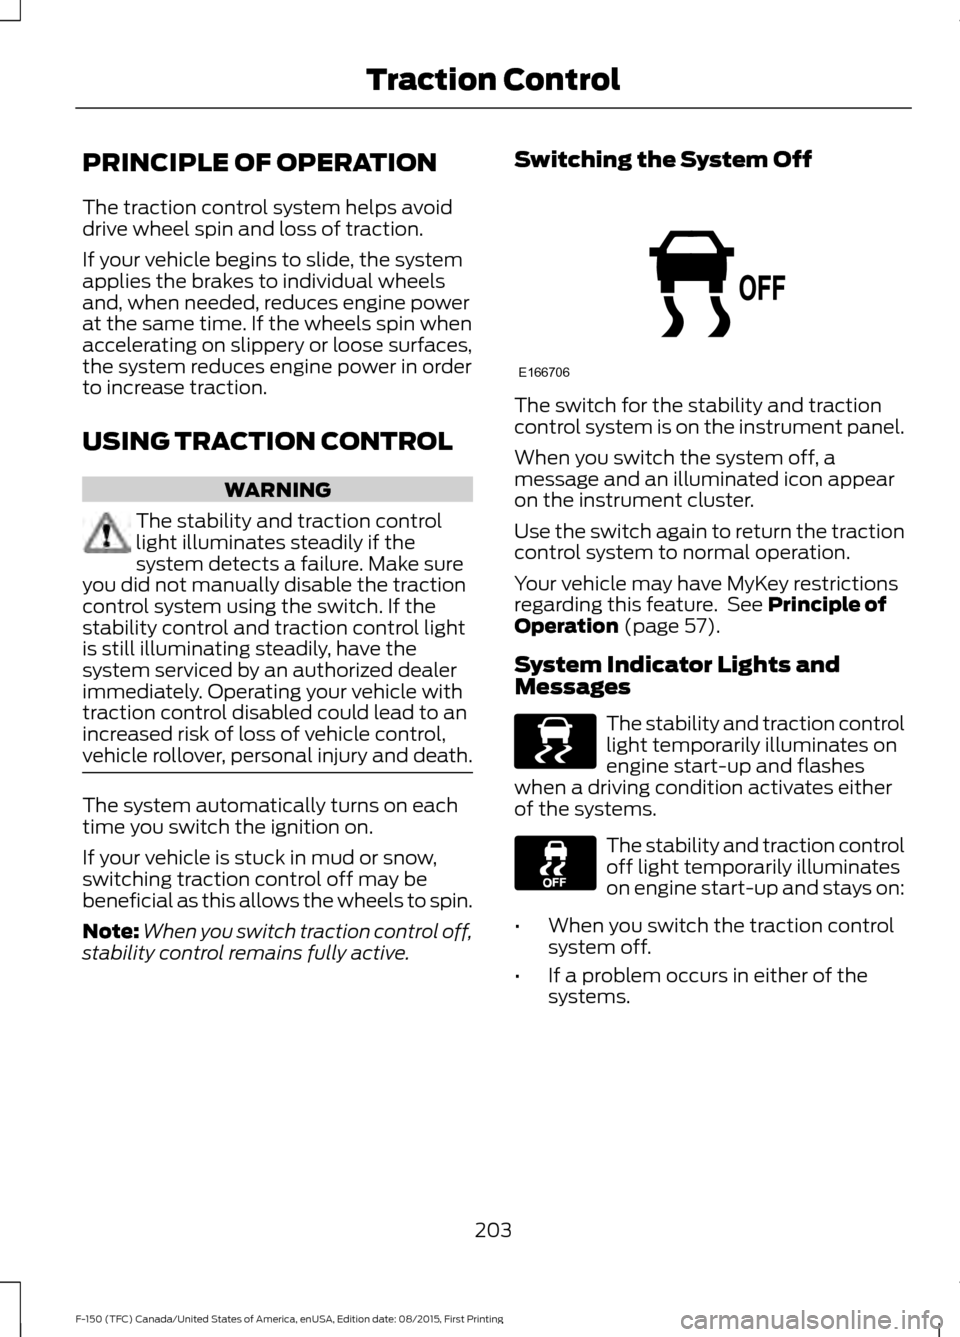
stability control remains fully active. Switching the System Off The switch for the stability and traction
control system is on the instrument panel.
When you switch the system off, a
message and an illuminated icon appear
on the instrument cluster.
Use the switch again to return the traction
control system to normal operation.
Your vehicle may have MyKey restrictions
regarding this feature. See Principle of
Operation (page 57).
System Indicator Lights and
Messages The stability and traction control
light temporarily illuminates on
engine start-up and flashes
when a driving condition activates either
of the systems. The stability and traction control
off light temporarily illuminates
on engine start-up and stays on:
• When you switch the traction control
system off.
• If a problem occurs in either of the
systems.
203
F-150 (TFC) Canada/United States of America, enUSA, Edition date: 08/2015, First Printing Traction ControlE166706 E138639
Page 210 of 505
PRINCIPLE OF OPERATION
WARNINGS
Hill descent control cannot control
descent in all surface conditions and
circumstances, such as ice or
extremely steep grades. Hill descent
control is a driver assist system and cannot
substitute for good judgment by the driver.
Failure to do so may result in loss of vehicle
control, crash or serious injury. Hill descent control does not provide
hill hold at zero miles per hour (0
kilometers per hour). When stopped,
the parking brake must be applied or the
vehicle must be placed in P (Park) or it
may roll away. Hill descent control allows the driver to set
and maintain vehicle speed while
descending steep grades in various surface
conditions.
Hill descent control can maintain vehicle
speeds on downhill grades between 2 mph
(3 km/h) and 12 mph (20 km/h). Above 20
mph (32 km/h), the system remains
armed, but descent speed cannot be set
or maintained.
Hill descent control requires a cooling
down interval after a period of sustained
use. The amount of time that the feature
can remain active before cooling varies
with conditions. The system will provide a
warning in the message center and a chime
will sound when the system is about to
disengage for cooling. At this time,
manually apply the brakes as needed to
maintain descent speed. USING HILL DESCENT
CONTROL Press and release the hill
descent button located on the
instrument panel. A light in the
cluster will illuminate and a chime will
sound when this feature is activated.
To increase descent speed, press the
accelerator pedal until you reach the
desired speed. To decrease descent
speed, press the brake pedal until you
reach the desired speed.
When accelerating or decelerating, once
you reach the desired descent speed,
remove your feet from the pedals and hill
descent control maintains the chosen
vehicle speed.
Note: Noise from the ABS pump motor may
be observed during hill descent control
operation. This is a normal characteristic of
the ABS and should be no reason for
concern.
Hill descent modes
• At speeds between
2 mph (3 km/h)
and 20 mph (32 km/h): When the Hill
Descent Control switch is pressed and
Hill Descent Control is active, the Hill
Descent Control indicator light flashes.
Your vehicle maintains your desired
speed.
• At speeds between
20 mph (32 km/h)
and 40 mph (64 km/h): When the Hill
Descent Control switch is pressed, the
Hill Descent Control system is enabled,
the Hill Descent Control indicator light
is solid and a message displays in the
information display. Your vehicle does
not maintain your desired speed and
you cannot set your descent speed.
207
F-150 (TFC) Canada/United States of America, enUSA, Edition date: 08/2015, First Printing Terrain Response
(If Equipped)E163957
Page 221 of 505

The 360 degree camera system
button is located on the
instrument panel and allows you
to toggle through different camera views.
The front and rear cameras have multiple
screens which consist of: Normal view with
360, Normal view, and split view. When in
park (P), neutral (N) or drive (D), only the
front images will be displayed when the
button is pressed. When in reverse (R), only
the rear images will be displayed when the
button is pressed.
Note: The 360 degree camera system will
turn OFF when your vehicle is in motion at
low speed, except when in reverse (R).
Camera Views
The small vehicle icon displayed on the
top left corner of the image illustrates the
camera view being displayed. Camera
views are laid out in the order the screens
will appear once the button is pressed.
Note: The front video image will be
disabled when your vehicle is in motion at
low speed, except when in reverse (R).
• Front 360 + Normal: Contains the
normal front camera view next to a
360 degree camera view. This view will
appear on the screen when the button
is pressed in any gear other than
reverse (R).
• Front Normal View:
Provides an
image of what is directly in front of your
vehicle. Access this view by pressing
the camera button from the Front 360
+ Normal View screen.
• Front Split View:
Provides an
extended view of what is in front of
your vehicle. Access this view by
pressing the camera button from the
Front Normal View screen. •
Rear 360 + Normal:
Contains the
normal rear camera view next to a 360
degree camera view. This view can be
accessed by putting your vehicle in
reverse (R), or by pressing the camera
button from the Rear Split View screen.
• Rear Normal View: Provides an image
of what is directly behind your vehicle.
Access this view by pressing the
camera button from the Rear 360 +
Normal screen.
• Rear Split View:
Provides an
extended view of what is behind your
vehicle. Access this view by pressing
the camera button from the Rear
Normal View screen.
Keep Out Zone The Keep Out Zone is represented by the
yellow dotted lines running parallel to your
vehicle. It is designed to give you the
indication on the ground of the fully
extended outside mirror position.
Front Camera
WARNING
The front camera system is an aid
supplement device that still requires
the driver to use it in conjunction with
looking out your vehicle. 218
F-150 (TFC) Canada/United States of America, enUSA, Edition date: 08/2015, First Printing Parking AidsE183663 E184448