Page 77 of 154
F53/F59 Passenger CompartmentFuse Panel
Locate this fuse panel below and to theleft of the steering wheel near the brake
pedal. Remove the panel cover to accessthe fuses.
To remove a fuse, use the fuse panelcover's fuse puller tool.
Protected componentsFuse amp ratingFuse or relay number
Multi function switch.20A1
Not used.—2
Not used.—3
Instrument cluster.10A4
Body builder accessory feed (accessoryand run).10A5
Not used.—6
Blower motor relay coil.15A7
74Motorhome (TY3) , enUSA, First PrintingFusesE161521
Page 81 of 154
UPS Passenger Compartment Fuse Panel
Protected componentsFuse amp ratingFuse or relay number
Not used.—F1
Flasher run.20AF2
Left turn.15AF3
Blower relay coil.15AF4
Right turn.15AF5
ABS run.10AF6
Right body builder headlamp.10AF7
Daytime running lamps.5AF8
Left body builder headlamp.10AF9
Not used.—F10
78Motorhome (TY3) , enUSA, First PrintingFusesE188334
Page 85 of 154
UNDER HOOD OVERVIEW
Engine coolant reservoir: See Engine Coolant Check (page 84).A
Engine oil filler cap: See Engine Oil Check (page 83).B
Automatic transmission fluid dipstick: See Automatic Transmission FluidCheck (page 87).C
Engine compartment fuse box: See Fuses (page 63).D
Air filter assembly: See Changing the Engine Air Filter (page 93).E
Engine oil dipstick: See Engine Oil Dipstick (page 83).F
Brake fluid reservoir: See Brake Fluid Check (page 88).G
Power steering fluid reservoir: See Power Steering Fluid Check (page 90).H
82Motorhome (TY3) , enUSA, First PrintingMaintenanceE190640
Page 86 of 154

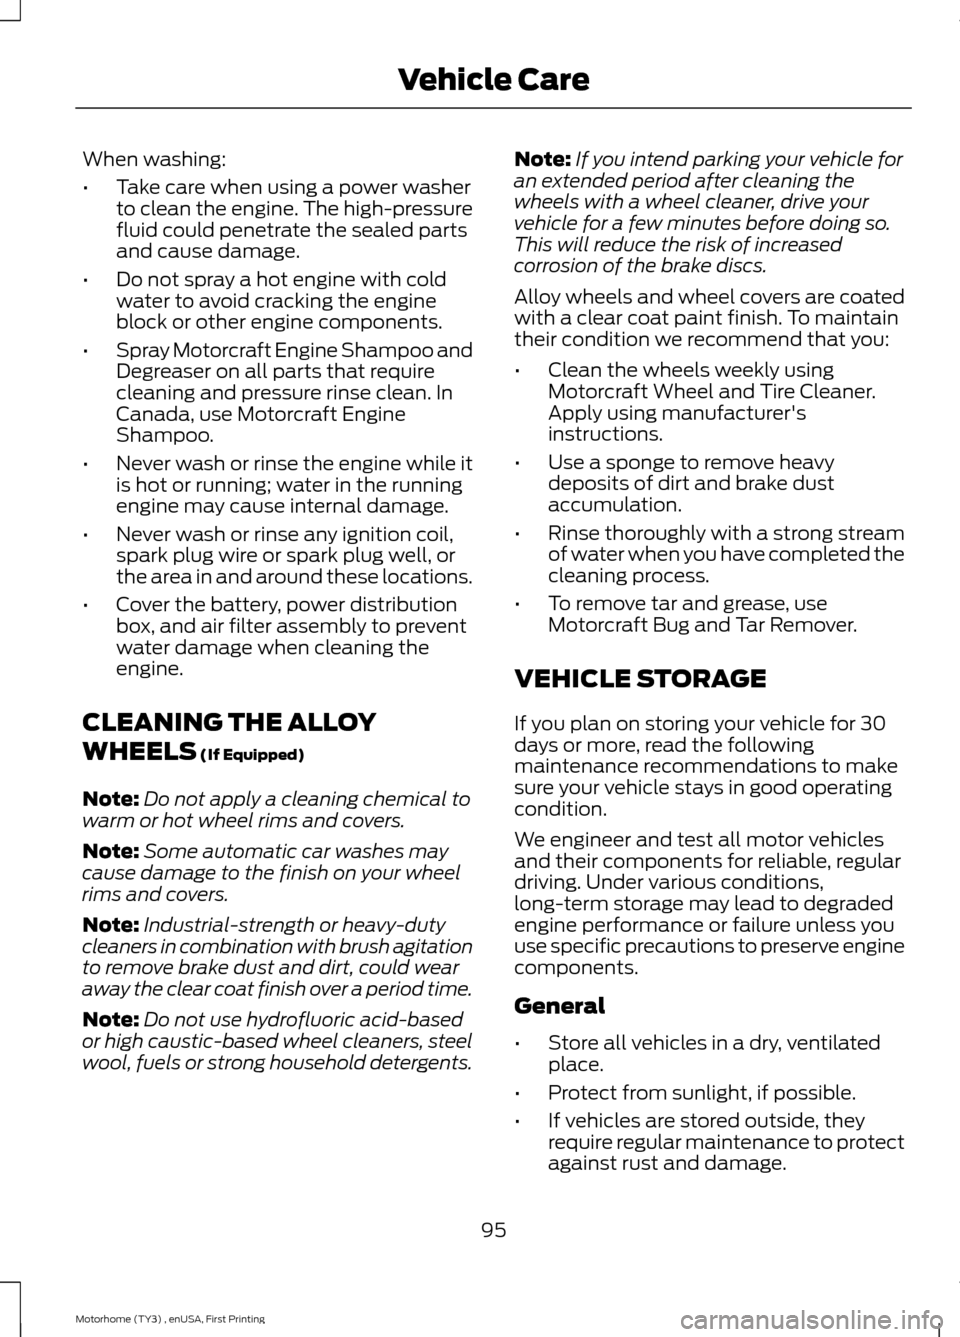
ENGINE OIL DIPSTICK
MINA
MAXB
ENGINE OIL CHECK
Note:Check the level before starting theengine.
Note:Make sure that the level is betweenthe MIN and the MAX marks.
1.Make sure that your vehicle is on levelground.
2.Turn the engine off and wait 10 minutesfor the oil to drain into the oil pan.
3.Remove the dipstick and wipe it witha clean, lint-free cloth. Replace thedipstick and remove it again to checkthe oil level.
If the level is at the MIN mark, add oilimmediately.
Adding Engine Oil
Note:Do not remove the filler cap whenthe engine is running.
Note:Do not add oil further than the MAXmark. Oil levels above the MAX mark maycause engine damage.
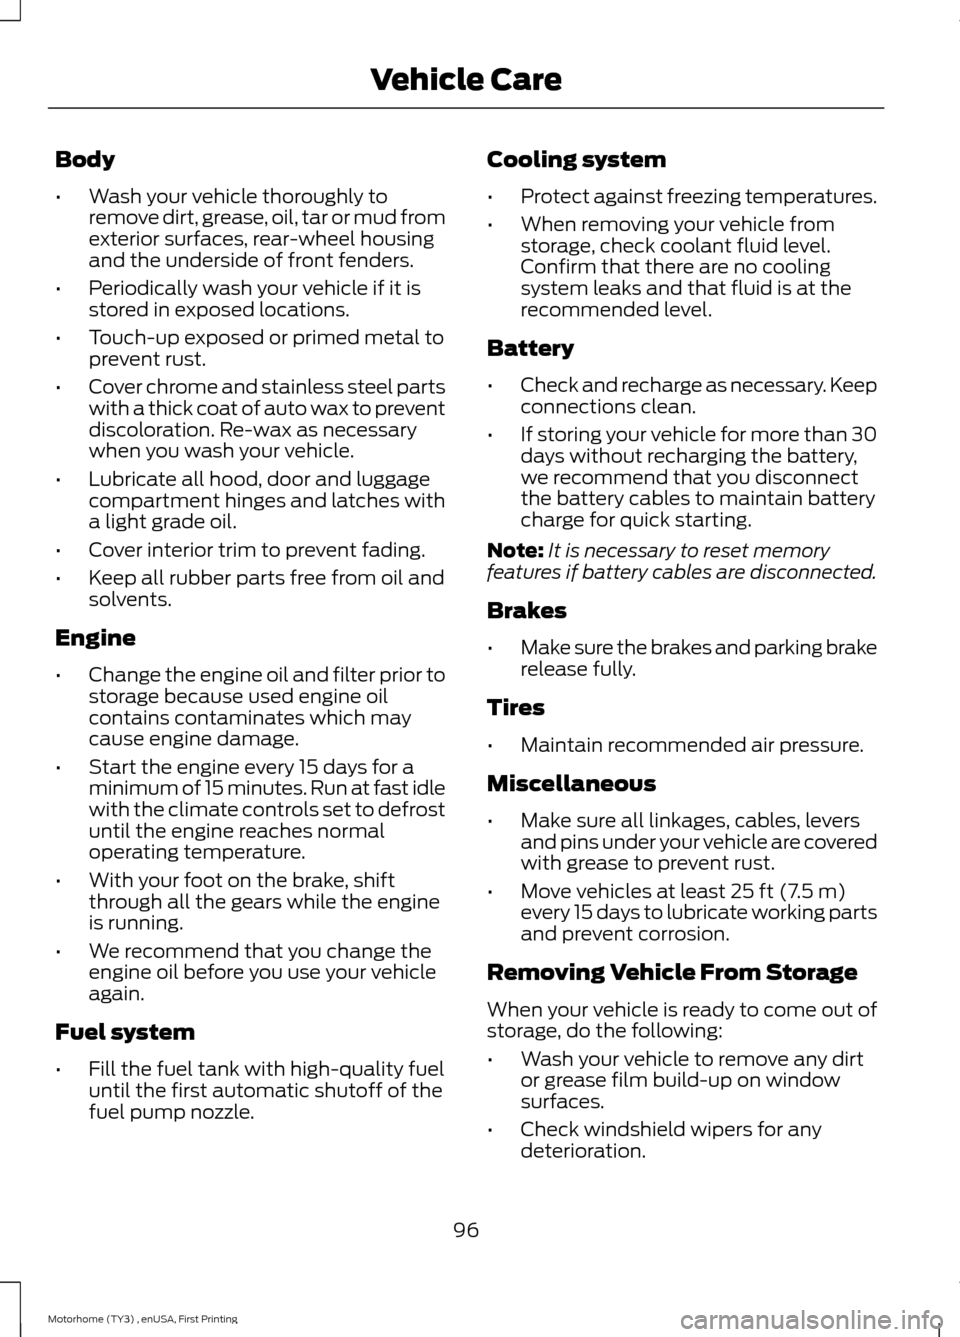
Only use oils certified for gasoline enginesby the American Petroleum Institute (API).An oil with this trademark symbolconforms to the current engine andemission system protection standards andfuel economy requirements of theInternational Lubricants SpecificationAdvisory Council (ILSAC), comprised ofU.S. and Japanese automobilemanufacturers.
1.Remove the filler cap.
2.If the engine oil level is not within thenormal range, add engine oil thatmeets Ford specifications. SeeCapacities and Specifications (page118).
3.Remove the engine oil filler cap anduse a funnel to pour the engine oil intothe opening.
4.Wipe off any spilled oil.
5.Replace the filler cap. Turn it until youfeel a strong resistance.
OIL CHANGE INDICATOR
RESET
Resetting the Oil Life MonitoringSystem
Only reset the oil life monitoring systemafter changing the engine oil and oil filter.
83Motorhome (TY3) , enUSA, First PrintingMaintenanceE161560AB E142732
Page 87 of 154

To reset the oil life monitoring system dothe following:
1.Switch the ignition on. Do not start theengine.
2.Fully press the accelerator and brakepedals at the same time.
3.Keep the accelerator and brake pedalsfully pressed.
4.After three seconds, a messagedisplays confirming the reset procedureis in progress.
5.After 25 seconds, a message displaysconfirming the reset procedure iscomplete.
6.Release the accelerator and brakepedals.
7.Switch the ignition off.
ENGINE COOLANT CHECK
WARNINGS
Do not add engine coolant when theengine is hot. Steam and scaldingliquids released from a hot coolingsystem can burn you badly. Also, spillingcoolant on hot engine parts can burn you.
Do not put engine coolant in thewindshield washer fluid container. Ifsprayed on the windshield, enginecoolant could make it difficult to seethrough the windshield.
To reduce the risk of personal injury,make sure the engine is cool beforeunscrewing the coolant pressurerelief cap. The cooling system is underpressure; steam and hot liquid can comeout forcefully when you loosen the capslightly.
Do not add coolant further than theMAX mark.
When the engine is cold, check theconcentration and level of the enginecoolant at the intervals listed in thescheduled maintenance information. SeeScheduled Maintenance (page 128).
Note:Make sure that the level is betweenthe MIN and MAX marks on the coolantreservoir.
Note:Coolant expands when it is hot. Thelevel may extend beyond the MAX mark
Note:If the level is at the MIN mark, belowthe MIN mark, or empty, add coolantimmediately. See Adding Engine Coolantin this chapter.
The coolant concentration should bemaintained within 48% to 50%, whichequates to a freeze point between -30°F(-34°C) and -34°F (-37°C).
Note:For best results, coolantconcentration should be tested with arefractometer such as Robinair® Coolantand Battery Refractometer 75240. We donot recommend the use of hydrometers orcoolant test strips for measuring coolantconcentrations.
Note:Automotive fluids are notinterchangeable. Do not use engine coolant,antifreeze or windshield washer fluid outsideof its specified function and vehicle location.
Adding Engine Coolant
Note:Do not use stop leak pellets, coolingsystem sealants, or additives as they cancause damage to the engine cooling orheating systems. Your vehicle’s warrantydoes not cover this damage.
84Motorhome (TY3) , enUSA, First PrintingMaintenance
Page 98 of 154

When washing:
•Take care when using a power washerto clean the engine. The high-pressurefluid could penetrate the sealed partsand cause damage.
•Do not spray a hot engine with coldwater to avoid cracking the engineblock or other engine components.
•Spray Motorcraft Engine Shampoo andDegreaser on all parts that requirecleaning and pressure rinse clean. InCanada, use Motorcraft EngineShampoo.
•Never wash or rinse the engine while itis hot or running; water in the runningengine may cause internal damage.
•Never wash or rinse any ignition coil,spark plug wire or spark plug well, orthe area in and around these locations.
•Cover the battery, power distributionbox, and air filter assembly to preventwater damage when cleaning theengine.
CLEANING THE ALLOY
WHEELS (If Equipped)
Note:Do not apply a cleaning chemical towarm or hot wheel rims and covers.
Note:Some automatic car washes maycause damage to the finish on your wheelrims and covers.
Note:Industrial-strength or heavy-dutycleaners in combination with brush agitationto remove brake dust and dirt, could wearaway the clear coat finish over a period time.
Note:Do not use hydrofluoric acid-basedor high caustic-based wheel cleaners, steelwool, fuels or strong household detergents.
Note:If you intend parking your vehicle foran extended period after cleaning thewheels with a wheel cleaner, drive yourvehicle for a few minutes before doing so.This will reduce the risk of increasedcorrosion of the brake discs.
Alloy wheels and wheel covers are coatedwith a clear coat paint finish. To maintaintheir condition we recommend that you:
•Clean the wheels weekly usingMotorcraft Wheel and Tire Cleaner.Apply using manufacturer'sinstructions.
•Use a sponge to remove heavydeposits of dirt and brake dustaccumulation.
•Rinse thoroughly with a strong streamof water when you have completed thecleaning process.
•To remove tar and grease, useMotorcraft Bug and Tar Remover.
VEHICLE STORAGE
If you plan on storing your vehicle for 30days or more, read the followingmaintenance recommendations to makesure your vehicle stays in good operatingcondition.
We engineer and test all motor vehiclesand their components for reliable, regulardriving. Under various conditions,long-term storage may lead to degradedengine performance or failure unless youuse specific precautions to preserve enginecomponents.
General
•Store all vehicles in a dry, ventilatedplace.
•Protect from sunlight, if possible.
•If vehicles are stored outside, theyrequire regular maintenance to protectagainst rust and damage.
95Motorhome (TY3) , enUSA, First PrintingVehicle Care
Page 99 of 154

Body
•Wash your vehicle thoroughly toremove dirt, grease, oil, tar or mud fromexterior surfaces, rear-wheel housingand the underside of front fenders.
•Periodically wash your vehicle if it isstored in exposed locations.
•Touch-up exposed or primed metal toprevent rust.
•Cover chrome and stainless steel partswith a thick coat of auto wax to preventdiscoloration. Re-wax as necessarywhen you wash your vehicle.
•Lubricate all hood, door and luggagecompartment hinges and latches witha light grade oil.
•Cover interior trim to prevent fading.
•Keep all rubber parts free from oil andsolvents.
Engine
•Change the engine oil and filter prior tostorage because used engine oilcontains contaminates which maycause engine damage.
•Start the engine every 15 days for aminimum of 15 minutes. Run at fast idlewith the climate controls set to defrostuntil the engine reaches normaloperating temperature.
•With your foot on the brake, shiftthrough all the gears while the engineis running.
•We recommend that you change theengine oil before you use your vehicleagain.
Fuel system
•Fill the fuel tank with high-quality fueluntil the first automatic shutoff of thefuel pump nozzle.
Cooling system
•Protect against freezing temperatures.
•When removing your vehicle fromstorage, check coolant fluid level.Confirm that there are no coolingsystem leaks and that fluid is at therecommended level.
Battery
•Check and recharge as necessary. Keepconnections clean.
•If storing your vehicle for more than 30days without recharging the battery,we recommend that you disconnectthe battery cables to maintain batterycharge for quick starting.
Note:It is necessary to reset memoryfeatures if battery cables are disconnected.
Brakes
•Make sure the brakes and parking brakerelease fully.
Tires
•Maintain recommended air pressure.
Miscellaneous
•Make sure all linkages, cables, leversand pins under your vehicle are coveredwith grease to prevent rust.
•Move vehicles at least 25 ft (7.5 m)every 15 days to lubricate working partsand prevent corrosion.
Removing Vehicle From Storage
When your vehicle is ready to come out ofstorage, do the following:
•Wash your vehicle to remove any dirtor grease film build-up on windowsurfaces.
•Check windshield wipers for anydeterioration.
96Motorhome (TY3) , enUSA, First PrintingVehicle Care
Page 100 of 154
•Check under the hood for any foreignmaterial that may have collectedduring storage such as mice or squirrelnests.
•Check the exhaust for any foreignmaterial that may have collectedduring storage.
•Check tire pressures and set tireinflation per the Tire Label.
•Check brake pedal operation. Driveyour vehicle 15 ft (4.5 m) back andforth to remove rust build-up.
•Check fluid levels (including coolant,oil and gas) to make sure there are noleaks, and fluids are at recommendedlevels.
•If you remove the battery, clean thebattery cable ends and check fordamage.
Contact an authorized dealer if you haveany concerns or issues.
97Motorhome (TY3) , enUSA, First PrintingVehicle Care