2016 FORD EXPEDITION wheel
[x] Cancel search: wheelPage 176 of 421

PARKING BRAKE
WARNING
Always set the parking brake fully
and make sure the transmission is
placed in park (P). Failure to set the
parking brake and engage park could result
in vehicle roll-away, property damage or
bodily injury. Turn the ignition to the lock
position and remove the key whenever you
leave your vehicle. Apply the parking brake whenever your
vehicle is parked. Press the pedal
downward to set the parking brake. The
brake warning lamp in the instrument
cluster will illuminate and remains
illuminated until the parking brake is
released.
To release, pull the brake release lever
located at the lower left side of the
instrument panel.
If you are parking your vehicle on a grade
or with a trailer, press and hold the brake
pedal down, then set the parking brake.
There may be a little vehicle movement as
the parking brake sets to hold the vehicle's
weight. This is normal and should be no
reason for concern. If needed, press and
hold the service brake pedal down, then
try reapplying the parking brake. Chock the
wheels if required. If the parking brake
cannot hold the weight of the vehicle, the
parking brake may need to be serviced or
the vehicle may be overloaded.
HILL START ASSIST
WARNINGS
The system does not replace the
parking brake. When you leave your
vehicle, always apply the parking
brake and shift the transmission into park
(P) (automatic transmission) or first gear
(1) (manual transmission). WARNINGS
You must remain in your vehicle once
you have activated the system.
During all times, you are responsible
for controlling your vehicle,
supervising the system and
intervening, if required. If the engine is revved excessively, or
if a malfunction is detected, the
system will be deactivated.
The system makes it easier to pull away
when your vehicle is on a slope without the
need to use the parking brake.
When the system is active, your vehicle will
remain stationary on the slope for two to
three seconds after you release the brake
pedal. This allows you time to move your
foot from the brake to the accelerator
pedal. The brakes release automatically
when the engine has sufficient torque to
prevent your vehicle from rolling down the
grade. This is an advantage when pulling
away on a slope, for example from a car
park ramp, traffic lights or when reversing
uphill into a parking space.
The system will activate automatically on
any slope that will cause significant vehicle
rollback. For vehicles with a manual
transmission, you can switch this feature
off using the information display. See
Information Displays (page 92). The
system will remain on or off depending on
how it was last set.
Note: There is no warning lamp to indicate
the system is either on or off.
Note: If your vehicle is equipped with Auto
Hold, Hill Start Assist will not be available
while Auto Hold is active.
173
Expedition (TB7) Canada/United States of America, enUSA, First Printing Brakes
Page 178 of 421
PRINCIPLE OF OPERATION
The traction control system helps avoid
drive wheel spin and loss of traction.
If your vehicle begins to slide, the system
applies the brakes to individual wheels
and, when needed, reduces engine power
at the same time. If the wheels spin when
accelerating on slippery or loose surfaces,
the system reduces engine power in order
to increase traction.
USING TRACTION CONTROL
WARNING
The stability and traction control
light illuminates steadily if the
system detects a failure. Make sure
you did not manually disable the traction
control system using the switch. If the
stability control and traction control light
is still illuminating steadily, have the
system serviced by an authorized dealer
immediately. Operating your vehicle with
traction control disabled could lead to an
increased risk of loss of vehicle control,
vehicle rollover, personal injury and death. The system automatically turns on each
time you switch the ignition on.
If your vehicle is stuck in mud or snow,
switching traction control off may be
beneficial as this allows the wheels to spin.
Note:
When you switch traction control off,
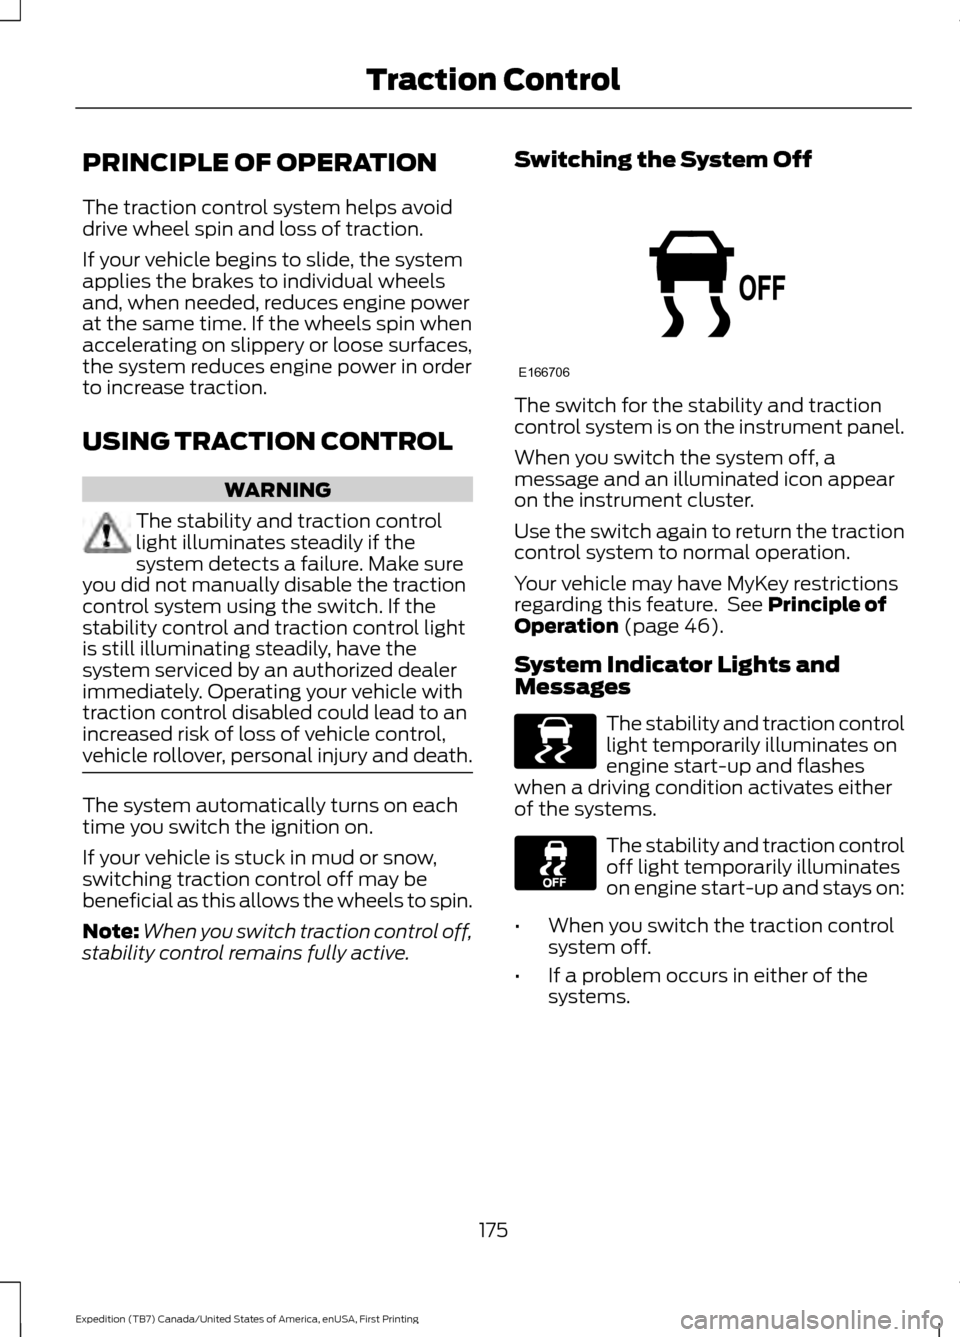
stability control remains fully active. Switching the System Off The switch for the stability and traction
control system is on the instrument panel.
When you switch the system off, a
message and an illuminated icon appear
on the instrument cluster.
Use the switch again to return the traction
control system to normal operation.
Your vehicle may have MyKey restrictions
regarding this feature. See Principle of
Operation (page 46).
System Indicator Lights and
Messages The stability and traction control
light temporarily illuminates on
engine start-up and flashes
when a driving condition activates either
of the systems. The stability and traction control
off light temporarily illuminates
on engine start-up and stays on:
• When you switch the traction control
system off.
• If a problem occurs in either of the
systems.
175
Expedition (TB7) Canada/United States of America, enUSA, First Printing Traction ControlE166706 E138639
Page 179 of 421

PRINCIPLE OF OPERATION
WARNINGS
Vehicle modifications involving
braking system, aftermarket roof
racks, suspension, steering system,
tire construction and wheel and tire size
may change the handling characteristics
of your vehicle and may adversely affect
the performance of the electronic stability
control system. In addition, installing any
stereo loudspeakers may interfere with
and adversely affect the electronic stability
control system. Install any aftermarket
stereo loudspeaker as far as possible from
the front center console, the tunnel, and
the front seats in order to minimize the risk
of interfering with the electronic stability
control sensors. Reducing the
effectiveness of the electronic stability
control system could lead to an increased
risk of loss of vehicle control, vehicle
rollover, personal injury and death. Remember that even advanced
technology cannot defy the laws of
physics. It’
s always possible to lose
control of a vehicle due to inappropriate
driver input for the conditions. Aggressive
driving on any road condition can cause
you to lose control of your vehicle
increasing the risk of personal injury or
property damage. Activation of the
electronic stability control system is an
indication that at least some of the tires
have exceeded their ability to grip the road;
this could reduce the operator ’s ability to
control the vehicle potentially resulting in
a loss of vehicle control, vehicle rollover,
personal injury and death. If your electronic
stability control system activates, SLOW
DOWN. The system automatically turns on each
time you switch the ignition on. If a driving condition activates either the
stability control or the traction control
system you may experience the following
conditions:
•
The stability and traction control light
flashes.
• Your vehicle slows down.
• Reduced engine power.
• A vibration in the brake pedal.
• The brake pedal is stiffer than usual.
• If the driving condition is severe and
your foot is not on the brake, the brake
pedal may move as the systems
applies higher brake forces.
The stability control system has several
features built into it to help you maintain
control of your vehicle:
Electronic Stability Control
The system enhances your vehicle ’s ability
to prevent skids or lateral slides by
applying brakes to one or more of the
wheels individually and, if necessary,
reducing engine power.
Roll Stability Control
The system enhances your vehicle ’s ability
to prevent rollovers by detecting your
vehicle ’s roll motion and the rate at which
it changes by applying the brakes to one
or more wheels individually.
Traction Control
The system enhances your vehicle ’s ability
to maintain traction of the wheels by
detecting and controlling wheel spin. See
Using Traction Control (page 175).
176
Expedition (TB7) Canada/United States of America, enUSA, First Printing Stability Control
Page 181 of 421
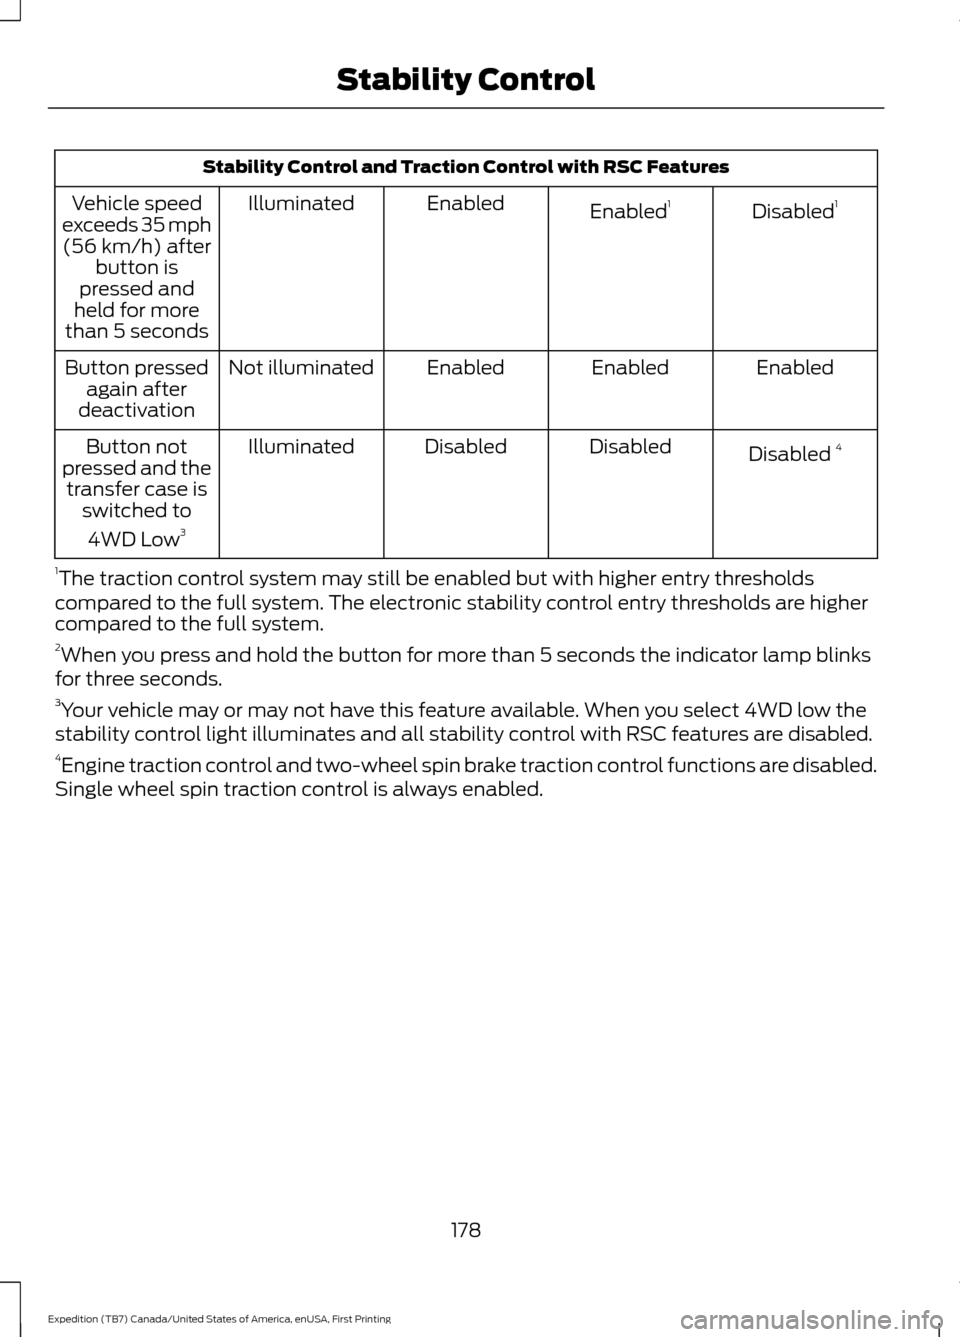
Stability Control and Traction Control with RSC Features
Disabled1
Enabled 1
Enabled
Illuminated
Vehicle speed
exceeds 35 mph (56 km/h) after button is
pressed and
held for more
than 5 seconds
Enabled
Enabled
Enabled
Not illuminated
Button pressed
again after
deactivation
Disabled 4
Disabled
Disabled
Illuminated
Button not
pressed and the transfer case is switched to
4WD Low 3
1 The traction control system may still be enabled but with higher entry thresholds
compared to the full system. The electronic stability control entry thresholds are higher
compared to the full system.
2 When you press and hold the button for more than 5 seconds the indicator lamp blinks
for three seconds.
3 Your vehicle may or may not have this feature available. When you select 4WD low the
stability control light illuminates and all stability control with RSC features are disabled.
4 Engine traction control and two-wheel spin brake traction control functions are disabled.
Single wheel spin traction control is always enabled.
178
Expedition (TB7) Canada/United States of America, enUSA, First Printing Stability Control
Page 189 of 421
PRINCIPLE OF OPERATION
Cruise control lets you maintain a set
speed without keeping your foot on the
accelerator pedal. You can use cruise
control when your vehicle speed is greater
than 20 mph (30 km/h).
USING CRUISE CONTROL WARNINGS
Do not use cruise control on winding
roads, in heavy traffic or when the
road surface is slippery. This could
result in loss of vehicle control, serious
injury or death. When you are going downhill, your
vehicle speed may increase above
the set speed. The system will not
apply the brakes but a warning displays.
Failure to follow this warning could result
in serious personal injury or death. Note:
Cruise control will disengage if the
vehicle speed decreases more than 10 mph
(16 km/h) below the set speed while driving
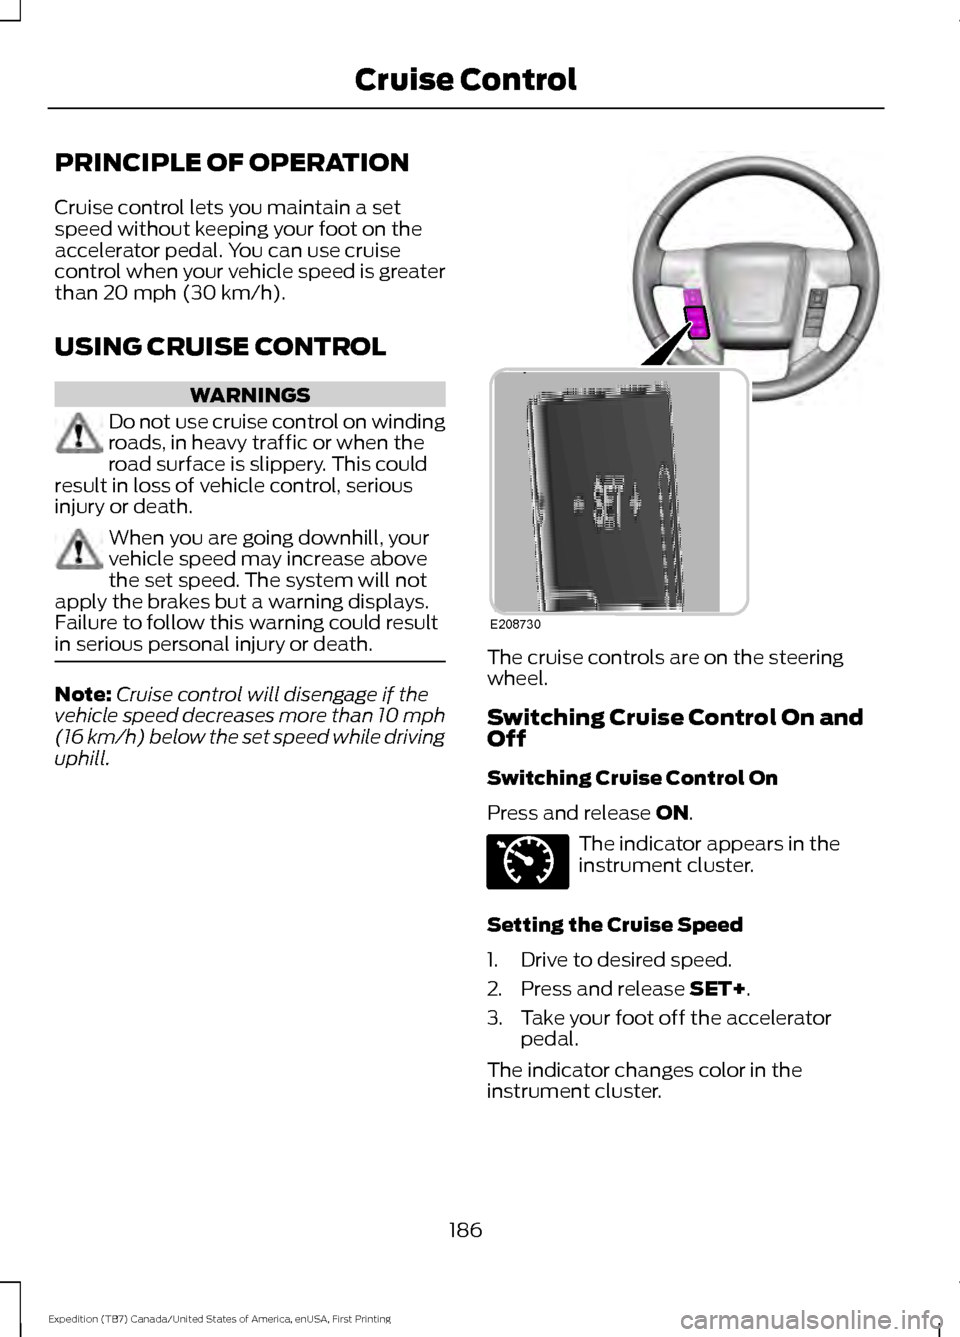
uphill. The cruise controls are on the steering
wheel.
Switching Cruise Control On and
Off
Switching Cruise Control On
Press and release
ON.
The indicator appears in the
instrument cluster.
Setting the Cruise Speed
1. Drive to desired speed.
2. Press and release
SET+.
3. Take your foot off the accelerator pedal.
The indicator changes color in the
instrument cluster.
186
Expedition (TB7) Canada/United States of America, enUSA, First Printing Cruise ControlE208730 E71340
Page 198 of 421
Modes:
•
Comfort – Provides a more relaxed
driving experience, maximizing comfort.
Your steering effort decreases and the
suspension movement is more fluid.
Comfort mode is ideal when you desire
enhanced traveling comfort.
• Normal – Delivers a balanced
combination of comfortable, controlled
ride and confident handling. This mode
provides an engaging drive experience
and a direct connection to the road
without sacrificing any of the
composure demanded from your
vehicle.
• Sport – Provides a sportier driving
experience. The suspension stiffens,
with an emphasis on handling and
control. The engine responds more
directly to your inputs. Sport mode is
ideal for use during more spirited
driving.
Adaptive Steering
You can configure which of the modes are
active from the main menu on the
information display. See General
Information (page 92).
Modes:
• Normal – Default factory setting.
• Sport – Slightly higher effort required
for steering with more road force felt
through the steering wheel.
Note: The Drive Control has diagnostic
checks that continuously monitor the
system to ensure proper operation. Certain
types of system errors will gray out the
mode selections within the information
display, preventing you from changing states
when the gear position is changed. Other
types of errors will produce a temporary
message that states a malfunction. If either
condition persists for multiple key cycles,
have your vehicle checked by an authorized
dealer. SELF-LEVELING SUSPENSION
The self-leveling suspension system is
designed to improve ride, handling and
general vehicle performance during:
•
Certain road conditions
• Steering maneuvers
• Braking
• Acceleration
• Towing
This system keeps the rear of your vehicle
at a constant level through a hydraulic
pump inside each rear shock. Depending
on the payload or road surface conditions
it will take approximately 2 mi (3.2 km) for
the leveling to complete.
If the loaded vehicle is not moved for
approximately 12 hours, the leveling system
may bleed down to a lower height. This
can be especially apparent if a trailer is left
attached to the parked vehicle for long
periods of time. You must drive your vehicle
in order to re-level the suspension.
If a self-equalizing hitch is used, your
vehicle should be driven approximately
2 mi (3.2 km) with the trailer prior to
adjusting (leveling) the hitch.
195
Expedition (TB7) Canada/United States of America, enUSA, First Printing Driving Aids
Page 200 of 421
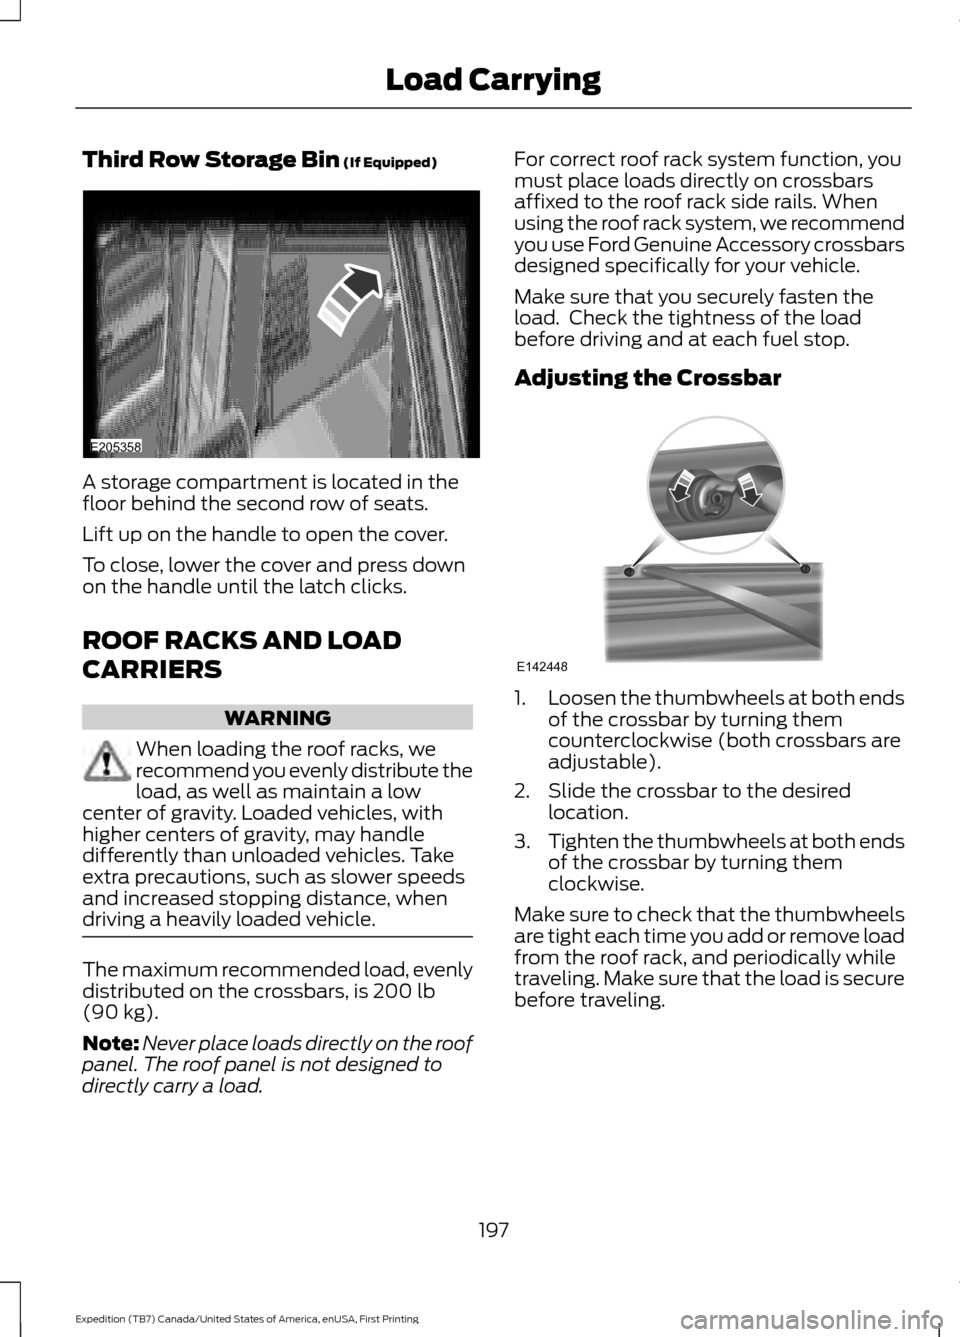
Third Row Storage Bin (If Equipped)
A storage compartment is located in the
floor behind the second row of seats.
Lift up on the handle to open the cover.
To close, lower the cover and press down
on the handle until the latch clicks.
ROOF RACKS AND LOAD
CARRIERS
WARNING
When loading the roof racks, we
recommend you evenly distribute the
load, as well as maintain a low
center of gravity. Loaded vehicles, with
higher centers of gravity, may handle
differently than unloaded vehicles. Take
extra precautions, such as slower speeds
and increased stopping distance, when
driving a heavily loaded vehicle. The maximum recommended load, evenly
distributed on the crossbars, is
200 lb
(90 kg).
Note: Never place loads directly on the roof
panel. The roof panel is not designed to
directly carry a load. For correct roof rack system function, you
must place loads directly on crossbars
affixed to the roof rack side rails. When
using the roof rack system, we recommend
you use Ford Genuine Accessory crossbars
designed specifically for your vehicle.
Make sure that you securely fasten the
load. Check the tightness of the load
before driving and at each fuel stop.
Adjusting the Crossbar
1.
Loosen the thumbwheels at both ends
of the crossbar by turning them
counterclockwise (both crossbars are
adjustable).
2. Slide the crossbar to the desired location.
3. Tighten the thumbwheels at both ends
of the crossbar by turning them
clockwise.
Make sure to check that the thumbwheels
are tight each time you add or remove load
from the roof rack, and periodically while
traveling. Make sure that the load is secure
before traveling.
197
Expedition (TB7) Canada/United States of America, enUSA, First Printing Load CarryingE205358 E142448
Page 205 of 421
GCW (Gross Combined Weight)
- is the Gross Vehicle Weight plus
the weight of the fully loaded
trailer.
GCWR (Gross Combined
Weight Rating) - is the maximum
allowable weight of the vehicle
and the loaded trailer, including
all cargo and passengers, that the
vehicle can handle without risking
damage. (Important: The towing
vehicle ’s braking system is rated
for operation at Gross Vehicle
Weight Rating, not at Gross
Combined Weight Rating.)
Separate functional brakes should
be used for safe control of towed
vehicles and for trailers where the
Gross Combined Weight of the
towing vehicle plus the trailer
exceed the Gross Vehicle Weight
Rating of the towing vehicle. The
Gross Combined Weight must
never exceed the Gross
Combined Weight Rating.
Maximum Loaded Trailer
Weight -
is the highest possible
weight of a fully loaded trailer the
vehicle can tow. It assumes a
vehicle with mandatory options,
driver and front passenger weight
(150 pounds [68 kilograms]
each), no cargo weight (internal
or external) and a tongue load of
10– 15% (conventional trailer) or
king pin weight of 15– 25% (fifth
wheel trailer). Consult an
authorized dealer (or the RV and
Trailer Towing Guide available at
an authorized dealer) for more
detailed information. Tongue Load or Fifth Wheel
King Pin Weight -
refers to the
amount of the weight that a trailer
pushes down on a trailer hitch.
Examples:
For a 5000 pound
(2268 kilogram) conventional
trailer, multiply 5000 by 0.10 and
0.15 to obtain a proper tongue
load range of 500 to 750 pounds
(227 to 340 kilograms). For an
11500 pound (5216 kilogram) fifth
wheel trailer, multiply by 0.15 and
0.25 to obtain a proper king pin
load range of 1725 to 2875 pounds
(782 to 1304 kilograms). WARNINGS
Do not exceed the GVWR or
the GAWR specified on the
Safety Compliance Certification
Label. Do not use replacement tires
with lower load carrying
capacities than the original tires
because they may lower the
vehicle ’s GVWR and GAWR
limitations. Replacement tires
with a higher limit than the original
tires do not increase the GVWR
and GAWR limitations. Exceeding any vehicle weight
rating limitation could result
in serious damage to the vehicle
and/or personal injury. Steps for determining the
correct load limit:
202
Expedition (TB7) Canada/United States of America, enUSA, First Printing Load Carrying