Page 62 of 421

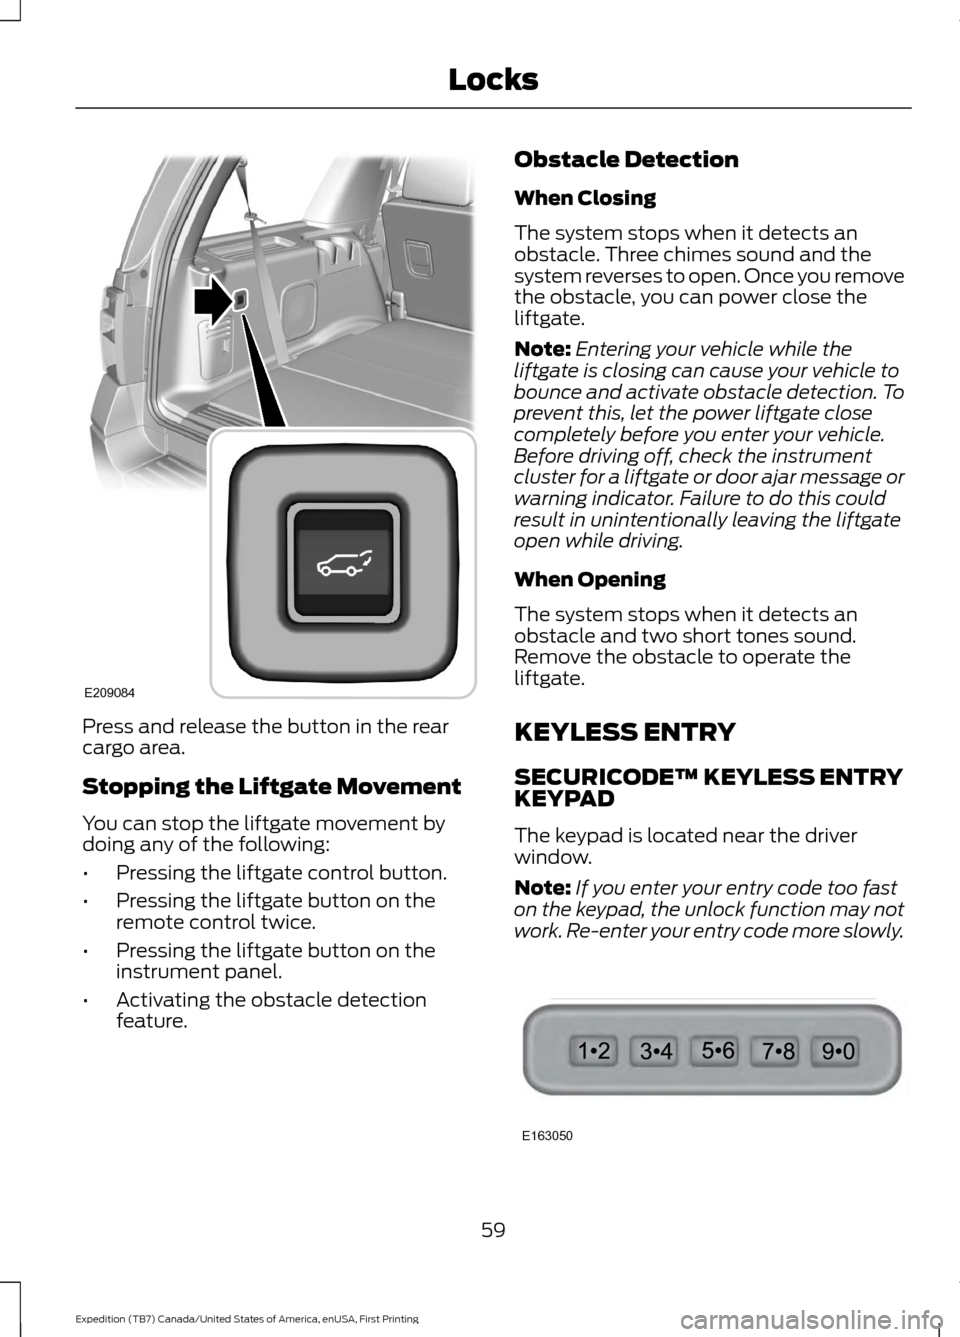
Press and release the button in the rear
cargo area.
Stopping the Liftgate Movement
You can stop the liftgate movement by
doing any of the following:
•
Pressing the liftgate control button.
• Pressing the liftgate button on the
remote control twice.
• Pressing the liftgate button on the
instrument panel.
• Activating the obstacle detection
feature. Obstacle Detection
When Closing
The system stops when it detects an
obstacle. Three chimes sound and the
system reverses to open. Once you remove
the obstacle, you can power close the
liftgate.
Note:
Entering your vehicle while the
liftgate is closing can cause your vehicle to
bounce and activate obstacle detection. To
prevent this, let the power liftgate close
completely before you enter your vehicle.
Before driving off, check the instrument
cluster for a liftgate or door ajar message or
warning indicator. Failure to do this could
result in unintentionally leaving the liftgate
open while driving.
When Opening
The system stops when it detects an
obstacle and two short tones sound.
Remove the obstacle to operate the
liftgate.
KEYLESS ENTRY
SECURICODE™ KEYLESS ENTRY
KEYPAD
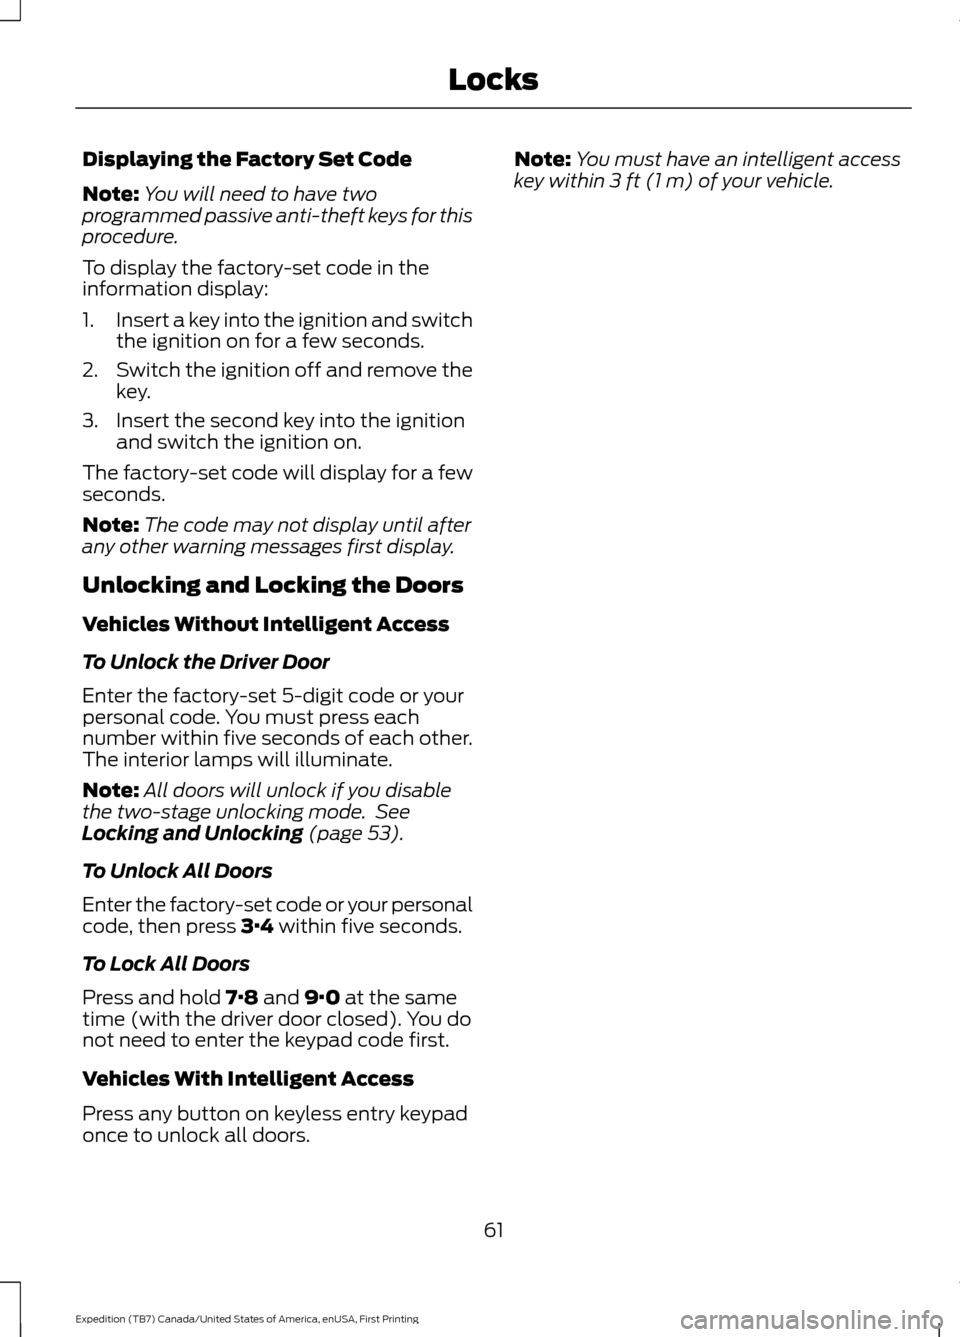
The keypad is located near the driver
window.
Note: If you enter your entry code too fast
on the keypad, the unlock function may not
work. Re-enter your entry code more slowly. 59
Expedition (TB7) Canada/United States of America, enUSA, First Printing LocksE209084 E163050
Page 64 of 421

Displaying the Factory Set Code
Note:
You will need to have two
programmed passive anti-theft keys for this
procedure.
To display the factory-set code in the
information display:
1. Insert a key into the ignition and switch
the ignition on for a few seconds.
2. Switch the ignition off and remove the
key.
3. Insert the second key into the ignition and switch the ignition on.
The factory-set code will display for a few
seconds.
Note: The code may not display until after
any other warning messages first display.
Unlocking and Locking the Doors
Vehicles Without Intelligent Access
To Unlock the Driver Door
Enter the factory-set 5-digit code or your
personal code. You must press each
number within five seconds of each other.
The interior lamps will illuminate.
Note: All doors will unlock if you disable
the two-stage unlocking mode. See
Locking and Unlocking (page 53).
To Unlock All Doors
Enter the factory-set code or your personal
code, then press
3·4 within five seconds.
To Lock All Doors
Press and hold
7·8 and 9·0 at the same
time (with the driver door closed). You do
not need to enter the keypad code first.
Vehicles With Intelligent Access
Press any button on keyless entry keypad
once to unlock all doors. Note:
You must have an intelligent access
key within
3 ft (1 m) of your vehicle.
61
Expedition (TB7) Canada/United States of America, enUSA, First Printing Locks
Page 67 of 421

USING POWER RUNNING
BOARDS
WARNINGS
In extreme climates, excessive ice
buildup may occur, causing the
running boards not to deploy. Make
sure that the running boards have
deployed, and have finished moving before
attempting to step on them. The running
boards will resume normal function once
the blockage is cleared. Turn off the running boards before
jacking or placing any object under
your vehicle. Never place your hand
between the extended running board and
your vehicle. A moving running board may
cause injury. Note:
Do not use the running boards, front
and rear hinge assemblies, running board
motors, or the running board underbody
mounts to lift your vehicle when jacking.
Always use proper jacking points.
Note: The running boards may operate
more slowly in cool temperatures.
Note: The running board mechanism may
trap debris such as mud, dirt, snow, ice and
salt. This may cause unwanted noise. If this
happens, manually set the running boards
to the deployed position. Then, wash the
system, in particular the front and rear hinge
arms, with a high-pressure car wash wand. Automatic Power Deploy The running boards automatically extend
down and out when you open the door.
This can help you enter and exit your
vehicle.
Automatic Power Stow
When you close the doors, the running
boards return to the stowed position after
a two-second delay.
Manual Power Deploy
You can manually operate the running
boards in the information display. See
General Information (page 92).
Set the running boards in the deployed
position to access the roof.
The running boards return to the stowed
position and enter automatic mode when
the vehicle speed exceeds 5 mph (8 km/h).
Enabling and Disabling
You can enable and disable the power
running board feature in the information
display. See
General Information (page
92).
64
Expedition (TB7) Canada/United States of America, enUSA, First Printing Power Running Boards
(If Equipped)E166682
Page 69 of 421
ADJUSTING THE STEERING
WHEEL - VEHICLES WITH:
COLUMN SHIFT/MANUAL
ADJUSTABLE STEERING
COLUMN
WARNING
Do not adjust the steering wheel
when your vehicle is moving.
Note:
Make sure that you are sitting in the
correct position. See Sitting in the Correct
Position (page 122). 1. Unlock the steering column.
2.
Adjust the steering wheel to the desired
position. 3. Lock the steering column.
ADJUSTING THE STEERING
WHEEL - VEHICLES WITH:
FLOOR SHIFT/MANUAL
ADJUSTABLE STEERING
COLUMN
WARNING
Do not adjust the steering wheel
when your vehicle is moving.
Note:
Make sure that you are sitting in the
correct position. See Sitting in the Correct
Position
(page 122).
66
Expedition (TB7) Canada/United States of America, enUSA, First Printing Steering WheelE205804 E183049
Page 70 of 421
1. Unlock the steering column.
2.
Adjust the steering wheel to the desired
position. 3. Lock the steering column. ADJUSTING THE STEERING
WHEEL - VEHICLES WITH:
POWER ADJUSTABLE
STEERING COLUMN
Note:
Make sure that you are sitting in the
correct position. See Sitting in the Correct
Position (page 122). WARNING
Do not adjust the steering wheel
when your vehicle is moving.
Use the control on the side of the steering
column to adjust the position.
To adjust:
•
Tilt: Press the top or bottom of the
control.
• Telescope: Press the front or rear of
the control.
67
Expedition (TB7) Canada/United States of America, enUSA, First Printing Steering WheelE183047 E183049 E161834
Page 74 of 421
ADJUSTING THE PEDALS
WARNING
Never use the controls while your
feet are on the accelerator and brake
pedals and the vehicle is moving.
You can find the control on the left side of
the steering column. Press and hold the
appropriate side of the control to move the
pedals.
A. Farther
B. Closer
You can save and recall the pedal positions
with the memory feature. See Memory
Function (page 126).
Note: Adjust the pedals only when your
vehicle is in
P (Park).
71
Expedition (TB7) Canada/United States of America, enUSA, First Printing Pedals
(If Equipped)AB
E162916
Page 78 of 421

Headlamp Flasher
Slightly pull the lever toward you and
release it to flash the headlamps.
AUTOLAMPS
WARNING
The autolamps switch position may
not activate the headlamps in all low
visibility conditions, such as daytime
fog. Make sure the headlamps are
switched to auto or on, as appropriate,
during all low visibility conditions. Failure
to do so may result in a crash. When the lighting control is in the
autolamps position, the headlamps
automatically turn on in low light situations
or when the wipers activate. If equipped, the following also activate
when the lighting control is in the
autolamps position and you switch them
on in the information display:
•
Configurable daytime running lamps.
• Automatic high beam control.
• Adaptive headlamp control.
The headlamps remain on for a period of
time after you switch the ignition off. Use
the information display controls to adjust
the period of time that the headlamps
remain on. See Information Displays
(page 92).
Note: With the headlamps in the
autolamps position, you cannot switch the
high beam headlamps on until the
autolamps system turns the low beam
headlamps on.
Windshield Wiper Activated
Headlamps
The windshield wiper activated headlamps
turn on within 10 seconds when you switch
the windshield wipers on and the lighting
control is in the autolamps position. They
turn off approximately 60 seconds after
you switch the windshield wipers off.
The headlamps do not turn on by wiper
activation:
• During a mist wipe.
• When the wipers are on to clear washer
fluid during a wash condition.
• If the wipers are in intermittent mode.
Note: If you switch autolamps and
autowipers on, the headlamps will
automatically turn on when the windshield
wipers continuously operate.
75
Expedition (TB7) Canada/United States of America, enUSA, First Printing LightingE163268 E173258
A
Page 79 of 421

INSTRUMENT LIGHTING
DIMMER
Use to adjust the brightness of the
instrument panel and all applicable lit
components in the vehicle during
headlamp and parking lamp operation.
•
Tap the top or bottom of the control
to brighten/dim all interior lit
components incrementally, or
• Press and hold at the first position the
top or bottom of the control until the
desired lighting level is reached.
• Press and hold the top of the control
to the full on position to activate the
“dome on ” feature. This will turn on the
interior courtesy lights. The lights will
remain on until the bottom of the
control is pressed. DAYTIME RUNNING LAMPS (If
Equipped) WARNING
The daytime running lamps system
does not activate the rear lamps and
may not provide adequate lighting
during low visibility driving conditions. Also,
the autolamps switch position may not
activate the headlamps in all low visibility
conditions, such as daytime fog. Make sure
the headlamps are switched to auto or on,
as appropriate, during all low visibility
conditions. Failure to do so may result in a
crash. Type 1 - Conventional (Non-
Configurable)
The daytime running lamps turn on when:
1. The ignition is switched to the on
position.
2. The transmission is not in park (P) for vehicles with automatic transmissions
or the parking brake is released for
vehicles with manual transmissions.
3. The lighting control is in the off, parking
lamp or autolamps positions.
4. The headlamps are off.
Type 2 - Configurable
Switch the daytime running lamps on or
off using the information display controls.
See
Information Displays (page 92).
The daytime running lamps turn on when:
1. They are switched on in the information
display. See
Information Displays
(page 92).
2. The ignition is switched to the on position.
76
Expedition (TB7) Canada/United States of America, enUSA, First Printing LightingE163270