2016 FORD EXPEDITION check engine light
[x] Cancel search: check engine lightPage 180 of 421
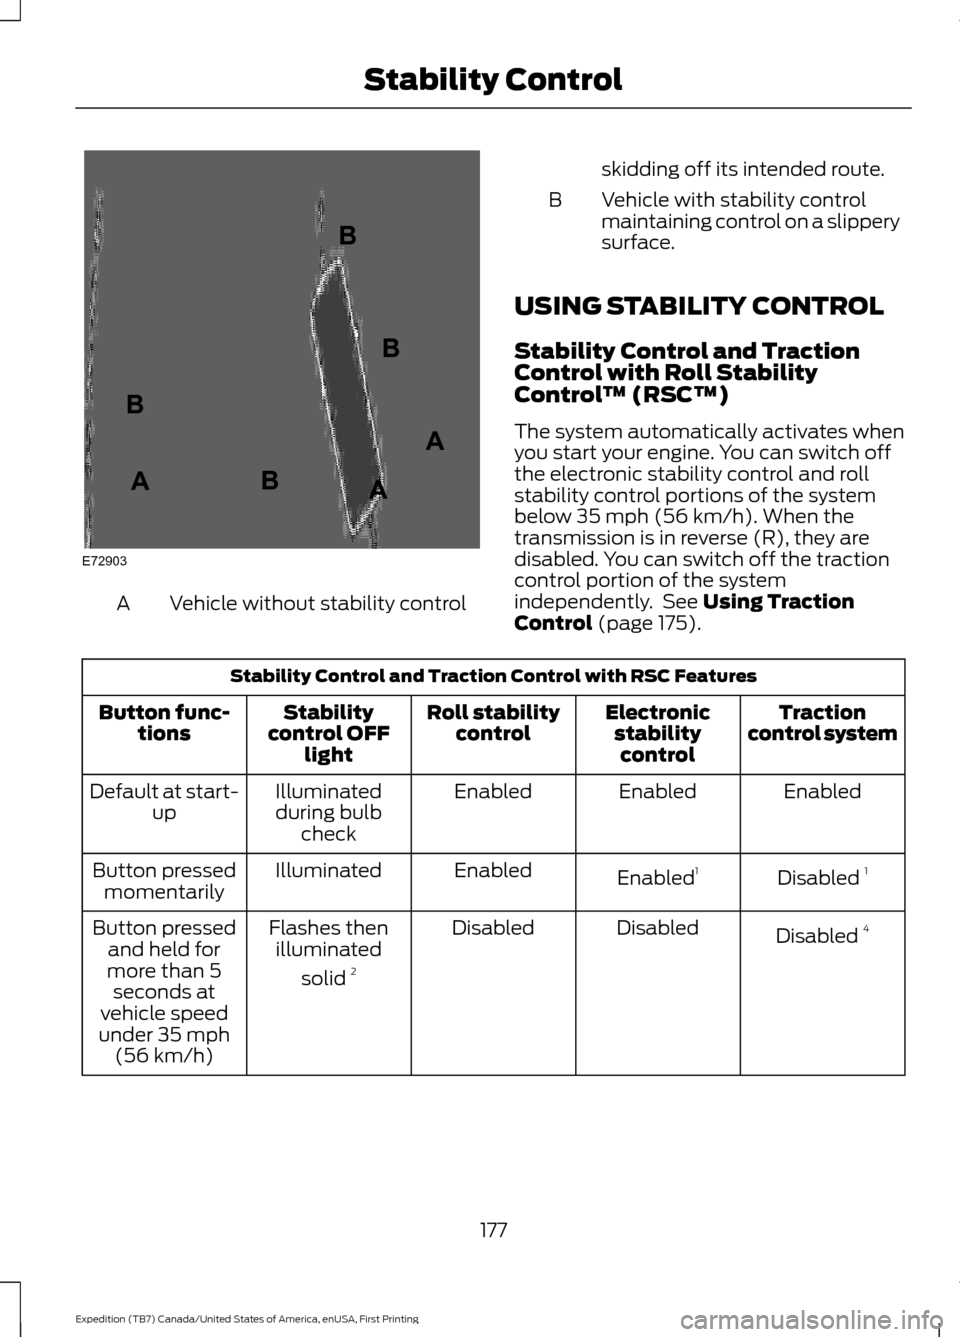
Vehicle without stability control
A skidding off its intended route.
Vehicle with stability control
maintaining control on a slippery
surface.
B
USING STABILITY CONTROL
Stability Control and Traction
Control with Roll Stability
Control ™ (RSC™)
The system automatically activates when
you start your engine. You can switch off
the electronic stability control and roll
stability control portions of the system
below 35 mph (56 km/h). When the
transmission is in reverse (R), they are
disabled. You can switch off the traction
control portion of the system
independently. See Using Traction
Control (page 175). Stability Control and Traction Control with RSC Features
Traction
control system
Electronic
stabilitycontrol
Roll stability
control
Stability
control OFF light
Button func-
tions
Enabled
Enabled
Enabled
Illuminated
during bulb check
Default at start-
up
Disabled 1
Enabled 1
Enabled
Illuminated
Button pressed
momentarily
Disabled 4
Disabled
Disabled
Flashes then
illuminated
solid 2
Button pressed
and held for
more than 5 seconds at
vehicle speed
under 35 mph (56 km/h)
177
Expedition (TB7) Canada/United States of America, enUSA, First Printing Stability ControlE72903A
AA
B
BB
B
Page 198 of 421
Modes:
•
Comfort – Provides a more relaxed
driving experience, maximizing comfort.
Your steering effort decreases and the
suspension movement is more fluid.
Comfort mode is ideal when you desire
enhanced traveling comfort.
• Normal – Delivers a balanced
combination of comfortable, controlled
ride and confident handling. This mode
provides an engaging drive experience
and a direct connection to the road
without sacrificing any of the
composure demanded from your
vehicle.
• Sport – Provides a sportier driving
experience. The suspension stiffens,
with an emphasis on handling and
control. The engine responds more
directly to your inputs. Sport mode is
ideal for use during more spirited
driving.
Adaptive Steering
You can configure which of the modes are
active from the main menu on the
information display. See General
Information (page 92).
Modes:
• Normal – Default factory setting.
• Sport – Slightly higher effort required
for steering with more road force felt
through the steering wheel.
Note: The Drive Control has diagnostic
checks that continuously monitor the
system to ensure proper operation. Certain
types of system errors will gray out the
mode selections within the information
display, preventing you from changing states
when the gear position is changed. Other
types of errors will produce a temporary
message that states a malfunction. If either
condition persists for multiple key cycles,
have your vehicle checked by an authorized
dealer. SELF-LEVELING SUSPENSION
The self-leveling suspension system is
designed to improve ride, handling and
general vehicle performance during:
•
Certain road conditions
• Steering maneuvers
• Braking
• Acceleration
• Towing
This system keeps the rear of your vehicle
at a constant level through a hydraulic
pump inside each rear shock. Depending
on the payload or road surface conditions
it will take approximately 2 mi (3.2 km) for
the leveling to complete.
If the loaded vehicle is not moved for
approximately 12 hours, the leveling system
may bleed down to a lower height. This
can be especially apparent if a trailer is left
attached to the parked vehicle for long
periods of time. You must drive your vehicle
in order to re-level the suspension.
If a self-equalizing hitch is used, your
vehicle should be driven approximately
2 mi (3.2 km) with the trailer prior to
adjusting (leveling) the hitch.
195
Expedition (TB7) Canada/United States of America, enUSA, First Printing Driving Aids
Page 209 of 421
RV & Trailer Towing Guide Online
http://www.fleet.ford.com/towing-guides/
Website
TRAILER SWAY CONTROL WARNING
Turning off trailer sway control
increases the risk of loss of vehicle
control, serious injury or death. Ford
does not recommend disabling this feature
except in situations where speed reduction
may be detrimental (such as hill climbing),
the driver has significant trailer towing
experience, and can control trailer sway
and maintain safe operation. Note:
This feature does not prevent trailer
sway, but reduces it once it begins.
Note: This feature cannot stop all trailers
from swaying.
Note: In some cases, if vehicle speed is too
high, the system may activate multiple
times, gradually reducing vehicle speed.
This feature applies your vehicle brakes at
individual wheels and, if necessary, reduces
engine power. If the trailer begins to sway,
the stability control light flashes and the
message TRAILER SWAY REDUCE
SPEED appears in the information display.
The first thing to do is slow your vehicle
down, then pull safely to the side of the
road and check for proper tongue load and
trailer load distribution. See
Load
Carrying (page 196). RECOMMENDED TOWING
WEIGHTS
Note:
Do not exceed the trailer weight for
your vehicle configuration listed in the chart
below.
Note: Make sure to take into consideration
trailer frontal area. Do not exceed 36.5 feet²
(3.39 meters²) if your vehicle is equipped
with the standard towing package, or 60
feet² (5.57 meters²) if your vehicle is
equipped with the optional heavy duty
package.
Note: Exceeding this limitation may
significantly reduce the performance of your
towing vehicle. Selecting a trailer with a low
aerodynamic drag and rounded front design
helps optimize performance and fuel
economy.
Note: For high altitude operation, reduce
the gross combined weight by 2% per 1000
feet (300 meters) starting at the 1000 foot
(300 meter) elevation point.
Note: Certain states require electric trailer
brakes for trailers over a specified weight.
Be sure to check state regulations for this
specified weight. The maximum trailer
weights listed may be limited to this
specified weight, as the vehicle ’s electrical
system may not include the wiring
connector needed to activate electric trailer
brakes.
Your vehicle may tow a trailer provided the
maximum trailer weight is less than or
equal to the maximum trailer weight listed
for your vehicle configuration on the
following chart.
206
Expedition (TB7) Canada/United States of America, enUSA, First Printing Towing
Page 212 of 421
Integrated Hitch Rating
WARNING
Towing trailers beyond the maximum
tongue weight exceeds the limit of
the towing system and could result
in vehicle structural damage, loss of vehicle
control and personal injury. The standard integrated hitch has two
ratings depending on mode of operation:
•
Weight-carrying mode requires a draw
bar and hitch ball. The draw bar
supports all the vertical tongue load of
the trailer.
• Weight-distributing mode requires an
aftermarket weight-distributing
system, which includes draw bar, hitch
ball, spring bars and snap-up brackets.
This system distributes the vertical
tongue load of the trailer between the
truck and the trailer. Maximum Tongue Weight
Maximum Trailer Weight
Mode
600 lb (272 kg)
6000 lb (2721 kg)
Weight carrying
920 lb (417 kg)
9200 lb (4173 kg)
Weight distributing
Note: These are hitch ratings only. Actual
vehicle ratings are dependent on engine,
transmission and axle combinations.
Weight-distributing Hitch - Vehicles
without Automatic Leveling
Suspension WARNING
Do not adjust a weight-distributing
hitch to any position where the rear
bumper of the vehicle is higher than
it was before attaching the trailer. Doing
so will defeat the function of the
weight-distributing hitch, which may cause
unpredictable handling, and could result
in serious personal injury. When hooking-up a trailer using a
weight-distributing hitch, always use the
following procedure:
1. Park the loaded vehicle, without the
trailer, on a level surface.
2. Measure the height to the top of your vehicle's front wheel opening on the
fender. This is H1. 3.
Attach the loaded trailer to your vehicle
without the weight-distributing bars
connected.
4. Measure the height to the top of your vehicle's front wheel opening on the
fender a second time. This is H2.
5. Install and adjust the tension in the weight-distributing bars so that the
height of your vehicle's front wheel
opening on the fender is approximately
half the way down from H2, toward H1.
6. Check that the trailer is level or slightly
nose down toward your vehicle. If not,
adjust the ball height accordingly and
repeat Steps 2-6.
When the trailer is level or slightly nose
down toward the vehicle:
• Lock the bar tension adjuster in place.
• Check that the trailer tongue securely
attaches and locks onto the hitch.
• Install safety chains, lighting, and trailer
brake controls as required by law or the
trailer manufacturer.
209
Expedition (TB7) Canada/United States of America, enUSA, First Printing Towing
Page 217 of 421
•
Your vehicle's brake system and the
trailer brake system work
independently of each other. Changing
the gain setting on the controller does
not affect the operation of your
vehicle's brakes whether you attach a
trailer or not.
• When you switch the engine off, the
controller output is disabled and the
display and module shut down. The
controller module and display turn on
when you switch the ignition on.
• The trailer brake controller is only a
factory-installed or dealer-installed
item. Ford is not responsible for
warranty or performance of the
controller due to misuse or customer
installation.
Trailer Lamps WARNING
Never connect any trailer lamp wiring
to the vehicle's tail lamp wiring; this
may damage the electrical system
resulting in fire. Contact your authorized
dealer as soon as possible for assistance
in proper trailer tow wiring installation.
Additional electrical equipment may be
required. Trailer lamps are required on most towed
vehicles. Make sure all running lights, brake
lights, turn signals and hazard lights are
working.
Before Towing a Trailer
Practice turning, stopping and backing up
to get the feel of your vehicle-trailer
combination before starting on a trip.
When turning, make wider turns so the
trailer wheels clear curbs and other
obstacles. When Towing a Trailer
•
Do not drive faster than 70 mph (113
km/h) during the first 500 miles (800
kilometers).
• Do not make full-throttle starts.
• Check your hitch, electrical connections
and trailer wheel lug nuts thoroughly
after you have traveled 50 miles (80
kilometers).
• When stopped in congested or heavy
traffic during hot weather, place the
gearshift in position P to aid engine and
transmission cooling and to help A/C
performance.
• Turn off the speed control with heavy
loads or in hilly terrain. The speed
control may turn off automatically
when you are towing on long, steep
grades.
• Shift to a lower gear when driving down
a long or steep hill. Do not apply the
brakes continuously, as they may
overheat and become less effective.
• If your transmission is equipped with a
Grade Assist or Tow/Haul feature, use
this feature when towing. This provides
engine braking and helps eliminate
excessive transmission shifting for
optimum fuel economy and
transmission cooling.
• If your vehicle is equipped with
AdvanceTrac with RSC, this system
may turn on during typical cornering
maneuvers with a heavily loaded trailer.
This is normal. Turning the corner at a
slower speed while towing may reduce
this tendency.
• If you are towing a trailer frequently in
hot weather, hilly conditions, at the
gross combined weight rating (or any
combination of these factors), consider
refilling your rear axle with synthetic
gear lubricant (if the axle is not already
filled with it). See Capacities and
Specifications (page 303).
214
Expedition (TB7) Canada/United States of America, enUSA, First Printing Towing
Page 221 of 421
Note:
If completed successfully, the
information display shows NEUTRAL TOW
LEAVE IN N or NEUTRAL TOW ENABLED
LEAVE TRANSMISSION IN NEUTRAL.
This indicates that your vehicle is safe to
tow with all wheels on the ground.
Note: If you do not see the message in the
display, you must perform the procedure
again from the beginning.
Note: You may hear an audible noise as the
transfer case shifts into its neutral position.
This is normal.
6. Leave the transmission in position
N
and turn the ignition as far as it will go
toward the off position (it will not turn
fully off when the transmission is in
position
N). If your vehicle has an
ignition key, you must leave the key in
the ignition while towing. To lock and
unlock your vehicle, use the keyless
entry keypad or extra set of keys. If your
vehicle has intelligent access, press the
engine
START/STOP button once
without pressing the brake pedal. You
do not need to leave your keys in the
vehicle. You can lock and unlock your
vehicle as you normally do.
7. Release the brake pedal. WARNINGS
Do not disconnect the battery during
recreational towing. Doing so will
prevent the transfer case from
shifting properly and may cause the vehicle
to roll even if the transmission is in P
(Park). Shifting the transfer case to its
neutral position for recreational
towing may cause the vehicle to be
able to roll even if the transmission is in P
(Park). The driver or others could be
injured. Make sure the foot brake is
depressed and the vehicle is in a secure
and safe position while the transfer case
is being shifted to its neutral position. WARNINGS
Failing to put the transfer case in its
neutral position will damage vehicle
components.
Note:
You can check four-wheel-down
towing status at any time by opening the
driver's door or turning the ignition to the
accessory or on position and verifying the
NEUTRAL TOW ENABLED
message
displays in the cluster.
Exiting Four-wheel-down Towing
To exit four-wheel-down towing and return
the transfer case to its
2H position:
1. With your vehicle still properly secured
to the tow vehicle, put the ignition in
the on position, but do not start the
engine. If your vehicle has an ignition
key, turn the key to on. If your vehicle
has intelligent access, press the engine
START/STOP
button twice without
pressing the brake pedal.
2. Press and hold the brake pedal.
3. Shift the transmission out of N and into
any gear.
4. Release the brake pedal.
Note: If completed successfully, the
instrument cluster displays
4X2, and
NEUTRAL TOW DISABLED.
Note: If the indicator light and message do
not display, you must perform the procedure
again from the beginning.
Note: You may hear an audible noise as the
transfer case shifts out of its neutral
position. This is normal.
Note: If
SHIFT DELAY PULL FORWARD
displays in the instrument cluster, transfer
case gear tooth blockage is present. See the
instructions after this section.
5. Apply the parking brake, and then disconnect the vehicle from the tow
vehicle.
218
Expedition (TB7) Canada/United States of America, enUSA, First Printing Towing
Page 224 of 421
•
Avoid using speed control in hilly
terrain.
• Do not rest your foot on the brake
pedal while driving.
• Avoid carrying unnecessary weight.
• Avoid adding particular accessories to
your vehicle (e.g. bug deflectors,
rollbars/light bars, running boards, ski
racks).
• Avoid driving with the wheels out of
alignment.
DRIVING THROUGH WATER WARNING
Do not drive through flowing or deep
water as you may lose control of your
vehicle.
Note:
Driving through standing water can
cause vehicle damage.
Note: Engine damage can occur if water
enters the air filter.
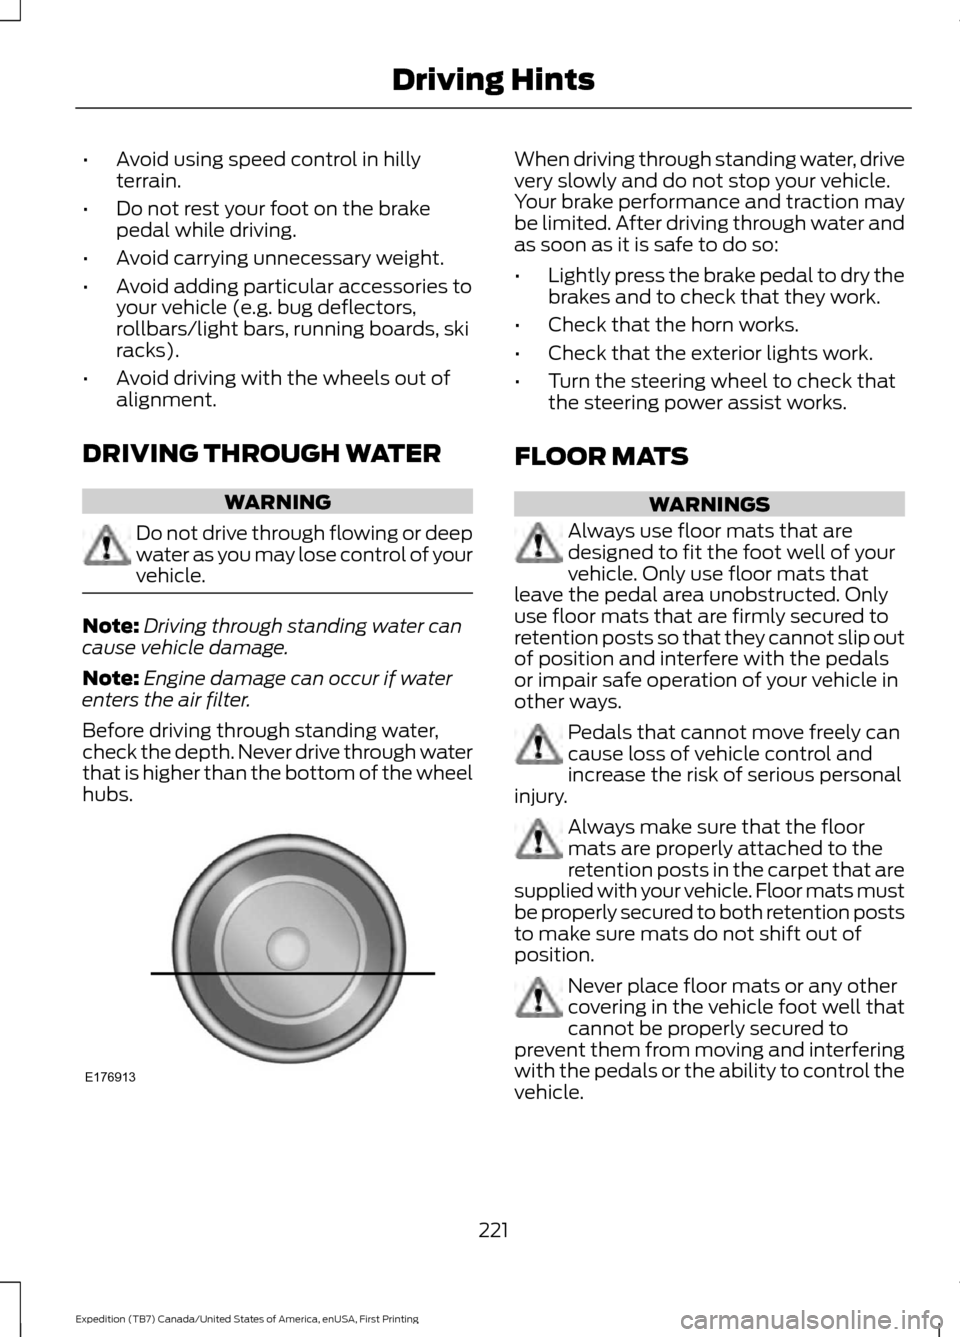
Before driving through standing water,
check the depth. Never drive through water
that is higher than the bottom of the wheel
hubs. When driving through standing water, drive
very slowly and do not stop your vehicle.
Your brake performance and traction may
be limited. After driving through water and
as soon as it is safe to do so:
•
Lightly press the brake pedal to dry the
brakes and to check that they work.
• Check that the horn works.
• Check that the exterior lights work.
• Turn the steering wheel to check that
the steering power assist works.
FLOOR MATS WARNINGS
Always use floor mats that are
designed to fit the foot well of your
vehicle. Only use floor mats that
leave the pedal area unobstructed. Only
use floor mats that are firmly secured to
retention posts so that they cannot slip out
of position and interfere with the pedals
or impair safe operation of your vehicle in
other ways. Pedals that cannot move freely can
cause loss of vehicle control and
increase the risk of serious personal
injury. Always make sure that the floor
mats are properly attached to the
retention posts in the carpet that are
supplied with your vehicle. Floor mats must
be properly secured to both retention posts
to make sure mats do not shift out of
position. Never place floor mats or any other
covering in the vehicle foot well that
cannot be properly secured to
prevent them from moving and interfering
with the pedals or the ability to control the
vehicle.
221
Expedition (TB7) Canada/United States of America, enUSA, First Printing Driving HintsE176913
Page 250 of 421

ENGINE COOLANT CHECK
WARNINGS
Do not add engine coolant when the
engine is hot. Steam and scalding
liquids released from a hot cooling
system can burn you badly. Also, spilling
coolant on hot engine parts can burn you. Do not put engine coolant in the
windshield washer fluid container. If
sprayed on the windshield, engine
coolant could make it difficult to see
through the windshield. To reduce the risk of personal injury,
make sure the engine is cool before
unscrewing the coolant pressure
relief cap. The cooling system is under
pressure. Steam and hot liquid can come
out forcefully when you loosen the cap
slightly. Do not add coolant further than the
MAX mark.
Checking the Engine Coolant
When the engine is cold, check the
concentration and level of the engine
coolant at the intervals listed in the
scheduled maintenance information.
See
Scheduled Maintenance (page 372).
Note: Make sure that the coolant level is
between the
MIN and MAX marks on the
coolant reservoir.
Note: Coolant expands when it is hot. The
level may extend beyond the
MAX mark.
Note: If the level is at the MIN mark, below
the MIN mark, or empty, add coolant
immediately.
Maintain coolant concentration within
48% to 50%, which equates to a freeze
point between -30°F (-34°C) and -34°F
(-37°C). Note:
For best results, coolant
concentration should be tested with a
refractometer such as Robinair® Coolant
and Battery Refractometer 75240. We do
not recommend the use of hydrometers or
coolant test strips for measuring coolant
concentrations.
Note: Automotive fluids are not
interchangeable. Do not use engine coolant,
antifreeze or windshield washer fluid outside
of its specified function and vehicle location.
Adding Engine Coolant
Note: Do not use stop leak pellets, cooling
system sealants or additives as they can
cause damage to the engine cooling or
heating systems. Your warranty may not
cover these damages.
Note: During normal vehicle operation, the
coolant may change color from orange to
pink or light red. As long as the coolant is
clear and uncontaminated, this color change
does not indicate the coolant has degraded
nor does it require the coolant to be drained,
the system to be flushed, or the coolant to
be replaced.
Do not mix different colors or types of
coolant in your vehicle. Mixing of engine
coolants may harm your engine ’s cooling
system. Use prediluted engine coolant
meeting the correct specification. See
Capacities and Specifications
(page
303). The use of an incorrect coolant may
harm the engine or cooling system
components and may not be covered by
the vehicle Warranty.
In case of emergency, you can add a large
amount of water without engine coolant
in order to reach a vehicle service location.
In this instance, qualified personnel:
1. Must drain the cooling system.
2. Chemically clean the cooling system with Motorcraft Premium Cooling
System Flush.
247
Expedition (TB7) Canada/United States of America, enUSA, First Printing Maintenance