Page 168 of 476
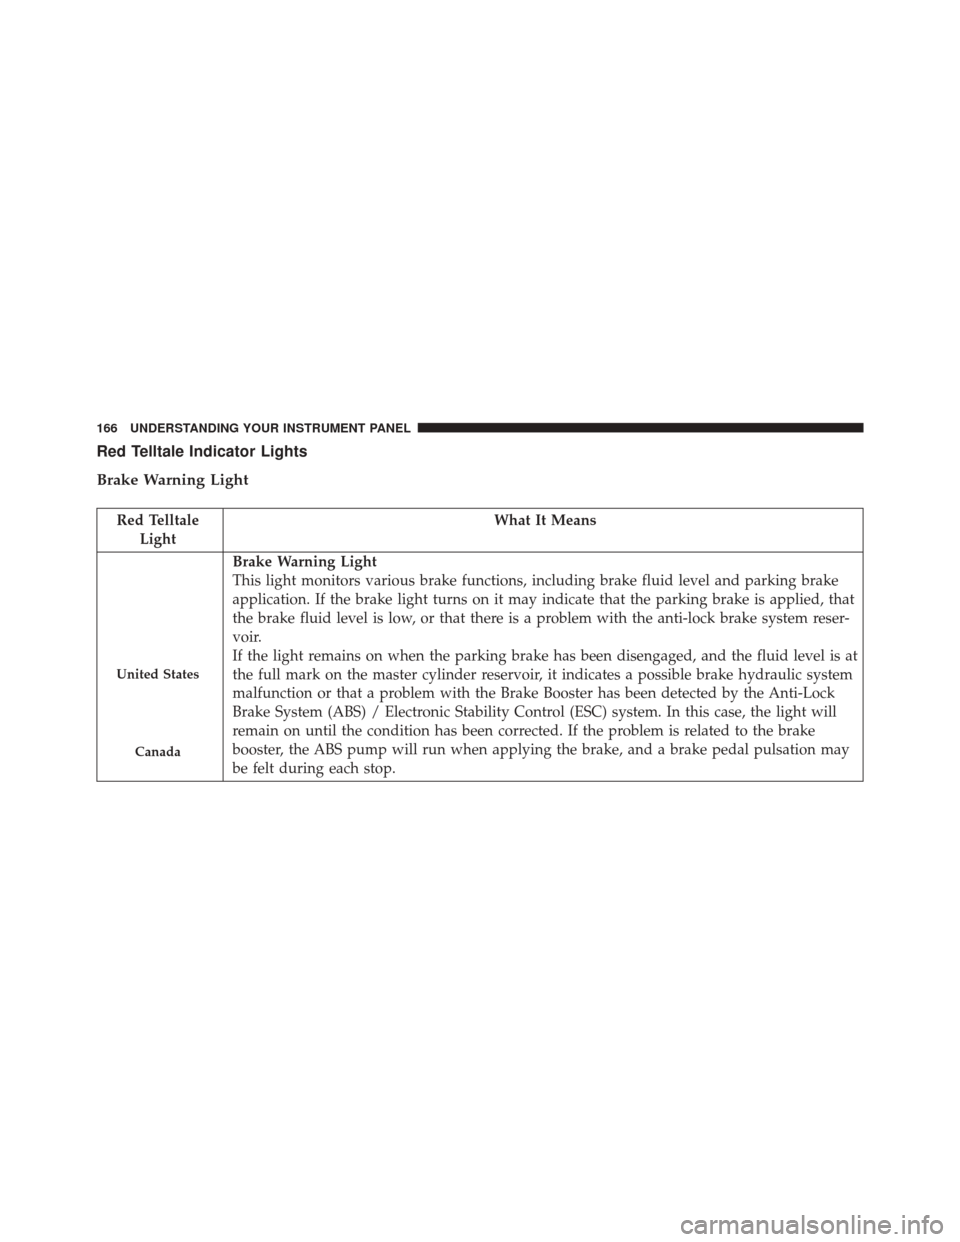
Red Telltale Indicator Lights
Brake Warning Light
Red TelltaleLight What It Means
United States
Canada
Brake Warning Light
This light monitors various brake functions, including brake fluid level and parking brake
application. If the brake light turns on it may indicate that the parking brake is applied, that
the brake fluid level is low, or that there is a problem with the anti-lock brake system reser-
voir.
If the light remains on when the parking brake has been disengaged, and the fluid level is at
the full mark on the master cylinder reservoir, it indicates a possible brake hydraulic system
malfunction or that a problem with the Brake Booster has been detected by the Anti-Lock
Brake System (ABS) / Electronic Stability Control (ESC) system. In this case, the light will
remain on until the condition has been corrected. If the problem is related to the brake
booster, the ABS pump will run when applying the brake, and a brake pedal pulsation may
be felt during each stop.
166 UNDERSTANDING YOUR INSTRUMENT PANEL
Page 169 of 476
The dual brake system provides a reserve braking capac-
ity in the event of a failure to a portion of the hydraulic
system. A leak in either half of the dual brake system is
indicated by the Brake Warning Light, which will turn on
when the brake fluid level in the master cylinder has
dropped below a specified level.
The light will remain on until the cause is corrected.
NOTE:The light may flash momentarily during sharp
cornering maneuvers, which change fluid level condi-
tions. The vehicle should have service performed, and
the brake fluid level checked.
If brake failure is indicated, immediate repair is neces-
sary.WARNING!
Driving a vehicle with the red brake light on is
dangerous. Part of the brake system may have failed.
It will take longer to stop the vehicle. You could have
a collision. Have the vehicle checked immediately.
Vehicles equipped with the Anti-Lock Brake System
(ABS) are also equipped with Electronic Brake Force
Distribution (EBD). In the event of an EBD failure, the
Brake Warning Light will turn on along with the ABS
Light. Immediate repair to the ABS system is required.
Operation of the Brake Warning Light can be checked by
turning the ignition switch from the OFF position to the
ON/RUN position. The light should illuminate for ap-
proximately two seconds. The light should then turn off
unless the parking brake is applied or a brake fault is
detected. If the light does not illuminate, have the light
inspected by an authorized dealer.
4
UNDERSTANDING YOUR INSTRUMENT PANEL 167
Page 170 of 476
The light also will turn on when the parking brake is
applied with the ignition switch in the ON/RUN posi-
tion.NOTE:
This light shows only that the parking brake is
applied. It does not show the degree of brake application.
Engine Temperature Warning Light
Red Warning Light What It Means
Engine Temperature Warning Light
This light warns of an overheated engine condition. As engine coolant temperatures rise and
the gauge approaches
H,this indicator will illuminate and a single chime will sound after
reaching a set threshold. Further overheating will cause the temperature gauge to pass H,a
continuous chime will occur until the engine is allowed to cool or the 4 minutes duration is
expired, whichever come first.
If the light turns on while driving, safely pull over and stop the vehicle. If the A/C system
is on, turn it off. Also, shift the transmission into NEUTRAL and idle the vehicle. If the tem-
perature reading does not return to normal, turn the engine off immediately and call for ser-
vice. Refer to “If Your Engine Overheats” in “What To Do In Emergencies” for further infor-
mation.
168 UNDERSTANDING YOUR INSTRUMENT PANEL
Page 175 of 476
Anti-Lock Brake (ABS) Indicator Light
Yellow TelltaleLight What It Means
Anti-Lock Brake (ABS) Indicator Light
After the ignition is turned on, the Anti-Lock Brake System (ABS) light illuminates to indi-
cate function check at vehicle startup. If the light remains on after startup or comes on and
stays on at road speeds, it may indicate that the ABS has detected a malfunction or has be-
come inoperative. The system reverts to standard non-anti-lock brakes.
If both the Brake Warning Light and the ABS Warning Light are on, see an authorized dealer
immediately. Refer to “Anti-Lock Brake System” in “Starting And Operating” for further in-
formation.
4
UNDERSTANDING YOUR INSTRUMENT PANEL 173
Page 191 of 476
•Tire Reset
• City Brake Control
• Selecting An Option Of The Main Menu Without
Submenu
Briefly push and release the MENUbutton to select the
main menu option to set.
Push and release the UP
or DOWNbutton (by
single pushes) to select the new setting.
Briefly push and release the MENUbutton to store the
new setting and go back to the main menu option
previously selected.
• Selecting An Option Of The Main Menu With Sub-
menu
Briefly push and release the MENUbutton to display the
first submenu option. Push and release the UP
or DOWNbutton (by
single pushes) to scroll through all the submenu
options.
Briefly push and release the MENUbutton to select the
displayed submenu option and to open the relevant
setup menu.
Push and release the UP
or DOWNbutton (by
single pushes) to select the new setting for this sub-
menu option.
Briefly push and release the MENUbutton to store the
new setting and go back to the previously selected
submenu option.
Push and release and hold the MENUbutton to return to
the main menu (short hold) or the main screen (longer
hold).
4
UNDERSTANDING YOUR INSTRUMENT PANEL 189
Page 208 of 476
•Push the MENUbutton briefly; a message confirming
the selection is displayed and you return to the menu
screen; Hold down the button to return to the standard
screen without storing.
Daytime Running Lamps (DRL)
This function may be used to activate / deactivate the
Daytime Running Lamps.
Proceed as follows to switch this function on or off:
1. Briefly push and release the MENUbutton. Push and
release the Up
or DOWNbutton to highlight
Daytime Running Lamps (DRL). Push and release
the MENU button to enter the DRL MENU.
2. Briefly push and release theMENUbutton. “On” or
“Off” will flash on the display (according to previous
setting). 3. Push and release the UP
or DOWNbutton for
setting.
4. Briefly push and release the MENUbutton to go back
to the menu screen, or push and hold the button
(approximately one second) to go back to the main
screen without storing the settings.
Hill Start Assist
This function is used when starting a vehicle from a stop
on a hill. Hill Start Assist maintains the same level of
brake pressure the driver applied for a short period of
time after the foot has been removed from the brake
pedal.
Proceed as follows to switch this function on or off:
1. Briefly push and release the MENUbutton. “On” or
“Off” will flash on the display (according to previous
setting).
206 UNDERSTANDING YOUR INSTRUMENT PANEL
Page 209 of 476

2. Push and release the UPor DOWNbutton for
setting.
3. Briefly push and release the MENUbutton to go back
to the menu screen, or push and hold the button
(approximately one second) to go back to the main
screen without storing the settings.
City Brake Control (Collision Mitigation)
This function allows to activate (�On�) or deactivate
(�Off�) the City Brake Control - �Collision Mitigation�
system.
To adjust proceed as follows:
• Push MENU button briefly. �On�or�Off� will flash on
the display, according to what has been previously set;
• A confirmation request message will appear on the
display; •
By pushing the UPorDOWN buttons, select �Ye s�(to
confirm activation/deactivation) or �No�(to cancel);
• Push the MENUbutton briefly; a message confirming
the selection is displayed and you return to the menu
screen; Hold down the button to return to the standard
screen without storing.
When the system is deactivated, the dedicated warning
light in the instrument panel switches on.
Tire Reset
With this function, it is possible to reset the TPMS.
To reset, proceed as follows:
• Briefly push the MENUbutton. The display will show
Reset.
• Push the UPorDOWN buttons to select “Yes” or
“No.”
4
UNDERSTANDING YOUR INSTRUMENT PANEL 207
Page 263 of 476
STARTING AND OPERATING
CONTENTS
�STARTING PROCEDURES ................265
▫ Manual Transmission — If Equipped .......265
▫ Automatic Transmission — If Equipped .....265
▫ Normal Starting ...................... .265
▫ Cold Weather Operation ................266
▫ Extended Park Starting ..................266
▫ If Engine Fails To Start .................267
▫ After Starting ....................... .268
▫ Turbo Charger “Cool Down” .............268
� MANUAL TRANSMISSION — IF EQUIPPED . .268 ▫
Downshifting ....................... .270
� AUTOMATIC TRANSMISSION —
IF EQUIPPED ........................ .270
▫ Key Ignition Park Interlock ...............272
▫ Brake/Transmission Shift Interlock System . . .272
▫ Six-Speed Euro Twin Clutch Transmission — If
Equipped .......................... .272
▫ Six-Speed Automatic Transmission (Aisin
AW6F25) — If Equipped ................283
� AUTOSTICK ......................... .289
▫ Operation .......................... .289
5