Page 79 of 707
WARNING!(Continued)
•Active Head Restraints may be deployed if they are
struck by an object such as a hand, foot or loose
cargo. To avoid accidental deployment of the Ac-
tive Head Restraint ensure that all cargo is secured,
as loose cargo could contact the Active Head Re-
straint during sudden stops. Failure to follow this
warning could cause personal injury if the Active
Head Restraint is deployed.
NOTE: For more information on properly adjusting and
positioning the head restraint, refer to “Adjusting Active
Head Restraints” in “Understanding The Features Of
Your Vehicle.”
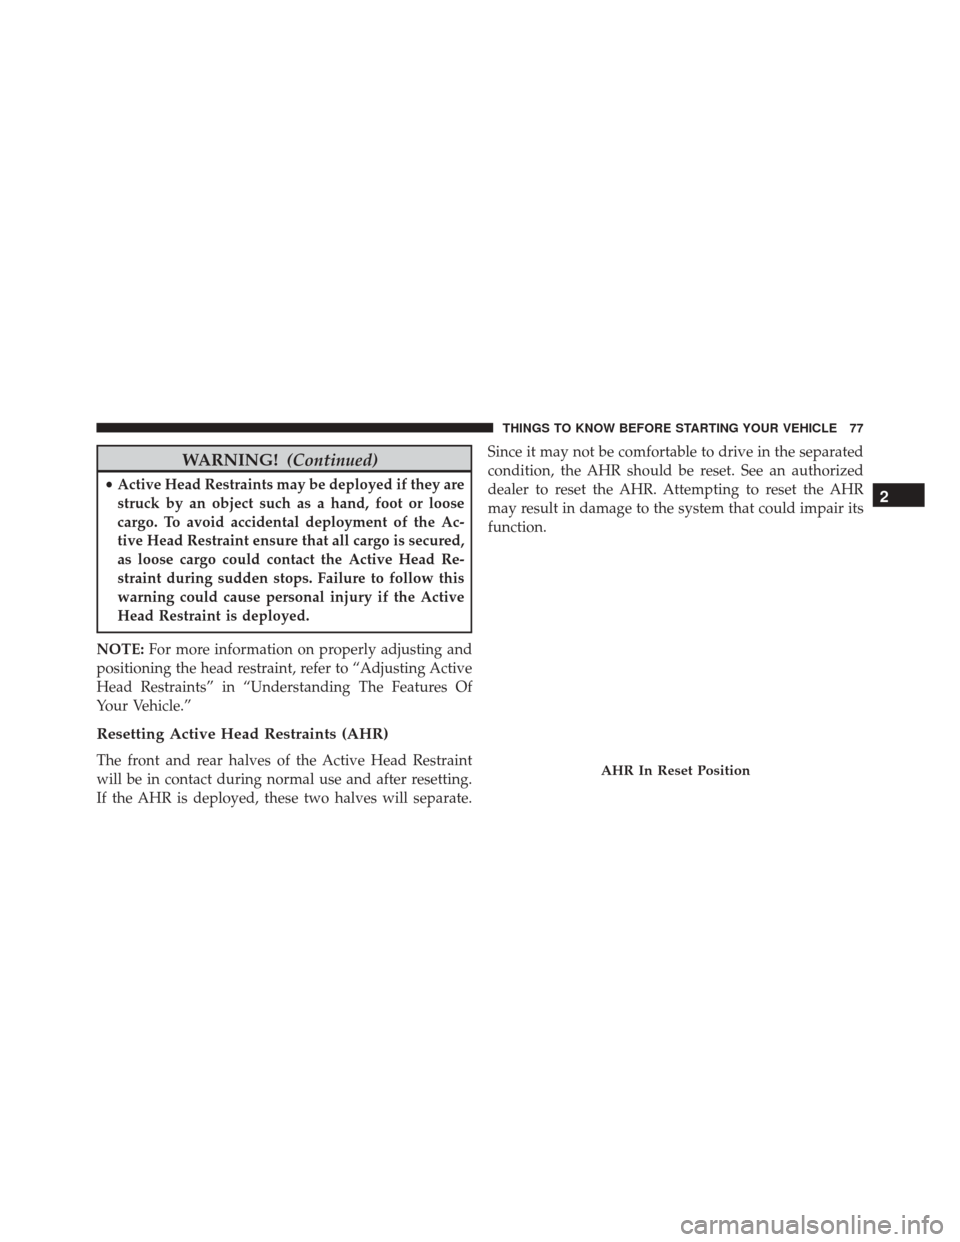
Resetting Active Head Restraints (AHR)
The front and rear halves of the Active Head Restraint
will be in contact during normal use and after resetting.
If the AHR is deployed, these two halves will separate. Since it may not be comfortable to drive in the separated
condition, the AHR should be reset. See an authorized
dealer to reset the AHR. Attempting to reset the AHR
may result in damage to the system that could impair its
function.AHR In Reset Position
2
THINGS TO KNOW BEFORE STARTING YOUR VEHICLE 77
Page 100 of 707
seat. The child and belt-positioning booster seat are held
in the vehicle by the seat belt.
WARNING!
•Improper installation can lead to failure of an
infant or child restraint. It could come loose in a
collision. The child could be badly injured or
killed. Follow the child restraint manufacturer ’s
directions exactly when installing an infant or
child restraint.
• After a child restraint is installed in the vehicle, do
not move the vehicle seat forward or rearward
because it can loosen the child restraint attach-
ments. Remove the child restraint before adjusting
the vehicle seat position. When the vehicle seat has
been adjusted, reinstall the child restraint.
(Continued)
WARNING! (Continued)
•When your child restraint is not in use, secure it in
the vehicle with the seat belt or LATCH anchor-
ages, or remove it from the vehicle. Do not leave it
loose in the vehicle. In a sudden stop or accident, it
could strike the occupants or seatbacks and cause
serious personal injury.
Children Too Large For Booster Seats
Children who are large enough to wear the shoulder belt
comfortably, and whose legs are long enough to bend
over the front of the seat when their back is against the
seatback, should use the seat belt in a rear seat. Use this
simple 5-step test to decide whether the child can use the
vehicle’s seat belt alone:
1. Can the child sit all the way back against the back of the vehicle seat?
98 THINGS TO KNOW BEFORE STARTING YOUR VEHICLE
Page 198 of 707
•In the event of deployment of an Active Head Re-
straint, refer to “Occupant Restraints/Resetting Active
Head Restraints (AHR)” in “Things To Know Before
Starting Your Vehicle” for further information.
WARNING!
• All occupants, including the driver, should not
operate a vehicle or sit in a vehicle’s seat until the
head restraints are placed in their proper positions
in order to minimize the risk of neck injury in the
event of a collision.
•
Do not place items over the top of the Active Head
Restraint, such as coats, seat covers or portable DVD
players. These items may interfere with the opera-
tion of the Active Head Restraint in the event of a
collision and could result in serious injury or death.
(Continued)
WARNING! (Continued)
•Active Head Restraints may be deployed if they are
struck by an object such as a hand, foot or loose
cargo. To avoid accidental deployment of the Ac-
tive Head Restraint ensure that all cargo is secured,
as loose cargo could contact the Active Head Re-
straint during sudden stops. Failure to follow this
warning could cause personal injury if the Active
Head Restraint is deployed.
Head Restraints — Second Row Quad Seats
To raise the head restraint, pull upward on the head
restraint. To lower the head restraint, push the adjust-
ment button, located at the base of the head restraint, and
push downward on the head restraint.
196 UNDERSTANDING THE FEATURES OF YOUR VEHICLE
Page 323 of 707
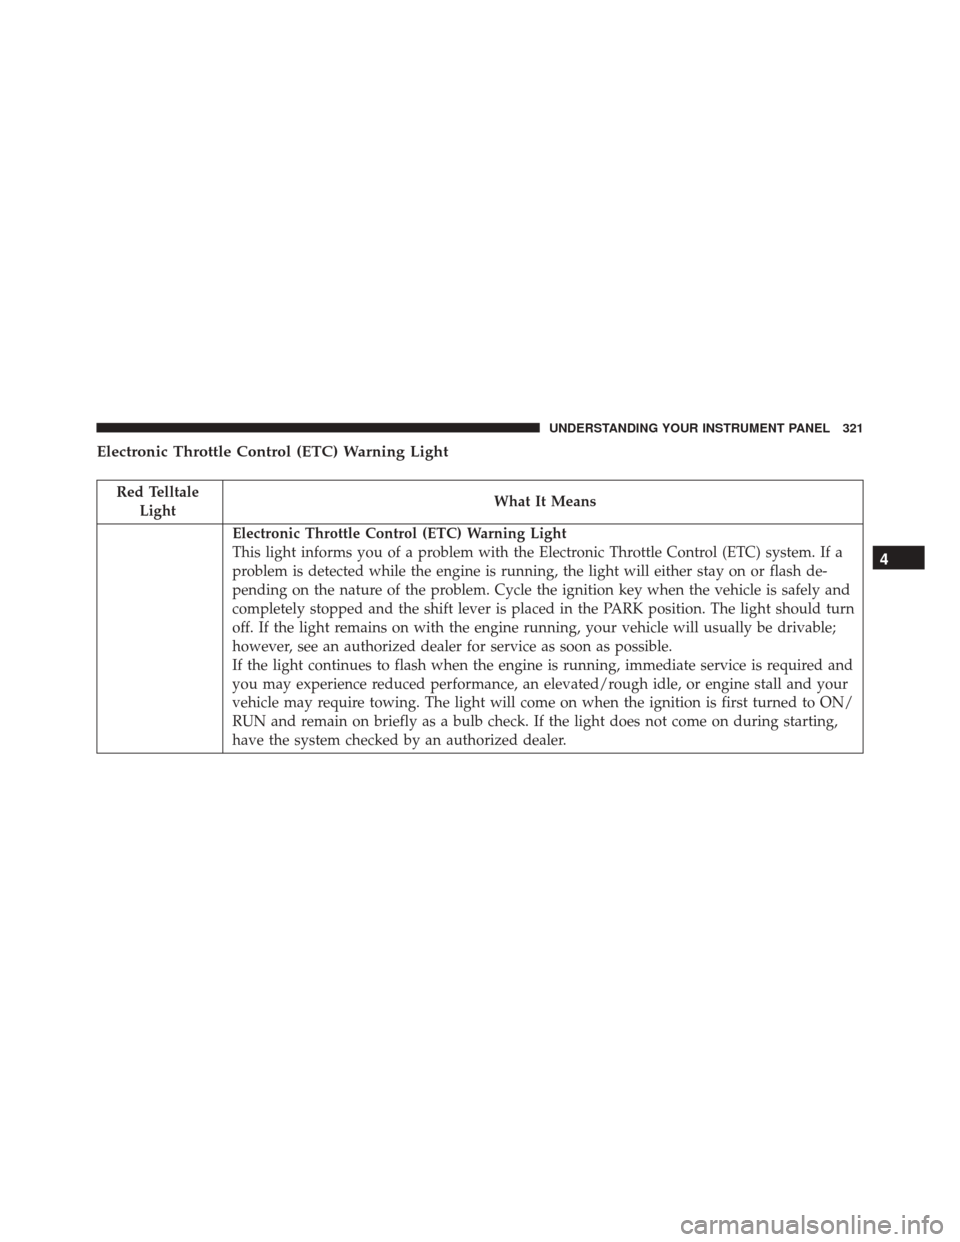
Electronic Throttle Control (ETC) Warning Light
Red TelltaleLight What It Means
Electronic Throttle Control (ETC) Warning Light
This light informs you of a problem with the Electronic Throttle Control (ETC) system. If a
problem is detected while the engine is running, the light will either stay on or flash de-
pending on the nature of the problem. Cycle the ignition key when the vehicle is safely and
completely stopped and the shift lever is placed in the PARK position. The light should turn
off. If the light remains on with the engine running, your vehicle will usually be drivable;
however, see an authorized dealer for service as soon as possible.
If the light continues to flash when the engine is running, immediate service is required and
you may experience reduced performance, an elevated/rough idle, or engine stall and your
vehicle may require towing. The light will come on when the ignition is first turned to ON/
RUN and remain on briefly as a bulb check. If the light does not come on during starting,
have the system checked by an authorized dealer.
4
UNDERSTANDING YOUR INSTRUMENT PANEL 321
Page 325 of 707
Oil Pressure Warning Light
Red TelltaleLight What It Means
Oil Pressure Warning Light
This light indicates low engine oil pressure. The light should turn on momentarily when the
engine is started; if the bulb does not come on, have the system checked by an authorized
dealer. If the light turns on while driving, stop the vehicle and shut off the engine as soon as
possible. A chime will sound when this light turns on.
Do not operate the vehicle until the cause is corrected. This light does not indicate how
much oil is in the engine. The engine oil level must be checked under the hood.
4
UNDERSTANDING YOUR INSTRUMENT PANEL 323
Page 335 of 707
Each tire, including the spare (if provided), should be
checked monthly when cold and inflated to the inflation
pressure recommended by the vehicle manufacturer on
the vehicle placard or tire inflation pressure label. If your
vehicle has tires of a different size than the size indicated
on the vehicle placard or tire inflation pressure label, you
should determine the proper tire inflation pressure for
those tires.
As an added safety feature, your vehicle has been
equipped with a Tire Pressure Monitoring System
(TPMS) that illuminates a low tire pressure telltale when
one or more of your tires is significantly under-inflated.
Accordingly, when the low tire pressure telltale illumi-
nates, you should stop and check your tires as soon as
possible and inflate them to the proper pressure. Driving
on a significantly under-inflated tire causes the tire to
overheat and can lead to tire failure. Under-inflation also
reduces fuel efficiency and tire tread life, and may affect
the vehicle’s handling and stopping ability.Please note that the TPMS is not a substitute for proper
tire maintenance, and it is the driver ’s responsibility to
maintain correct tire pressure, even if under-inflation has
not reached the level to trigger illumination of the TPMS
low tire pressure telltale.
Your vehicle has also been equipped with a TPMS
malfunction indicator to indicate when the system is not
operating properly. The TPMS malfunction indicator is
combined with the low tire pressure telltale. When the
system detects a malfunction, the telltale will flash for
approximately one minute and then remain continuously
illuminated. This sequence will continue upon subse-
quent vehicle start-ups as long as the malfunction exists.
When the malfunction indicator is illuminated, the sys-
tem may not be able to detect or signal low tire pressure
as intended. TPMS malfunctions may occur for a variety
of reasons, including the installation of replacement or
alternate tires or wheels on the vehicle that prevent the
TPMS from functioning properly. Always check the
4
UNDERSTANDING YOUR INSTRUMENT PANEL 333
Page 347 of 707
Vehicles Equipped With Keyless Enter-N-Go
1. Without pushing the brake pedal, push the ENGINESTART/STOP button and cycle the ignition to the
ON/RUN position (do not start the engine).
2. Fully depress the accelerator pedal, slowly, three times within 10 seconds.
3. Without pushing the brake pedal, push the ENGINE START/STOP button once to return the ignition to the
OFF/LOCK position.
Vehicles Not Equipped With Keyless Enter-N-Go
1. Turn the ignition switch to the ON/RUN position (do not start the engine).
2. Fully depress the accelerator pedal, slowly, three times within 10 seconds.
3. Turn the ignition switch to the OFF/LOCK position. NOTE:
If the indicator message illuminates when you
start the engine, the oil change indicator system did not
reset. If necessary, repeat these steps.
Fuel Economy
Push and release the UP or DOWN button until “Fuel
Economy” displays highlighted in the EVIC and push the
RIGHT button. The following Fuel Economy functions
display in the EVIC:
• Average Fuel Economy (AVG)
• Distance To Empty (DTE)
• Current Fuel Economy (MPG or L/100 km)4
UNDERSTANDING YOUR INSTRUMENT PANEL 345
Page 390 of 707
the next screen of data for that track. Once all screens
have been viewed, the lastINFObutton push will go
back to the play mode screen on the radio.
• Pushing the REPEATbutton will change the audio
device mode to repeat the current playing track or
push the VR button and say �Repeat ON�or�Repeat
Off.�
• Push the SCANbutton to use iPod/USB/MP3 device
scan mode, which will play the first ten seconds of
each track in the current list and then forward to the
next song. To stop SCAN mode and start playing the
desired track, when it is playing the track, push the
SCAN button again. During Scan mode, pushing the
<< SEEK andSEEK >> buttons will select the previous
and next tracks.
• RND button (available on sales code RES radio only):
Pushing this button toggles between Shuffle ON and
Shuffle OFF modes for the iPod or external USB device, or push the VR button and say
�Shuffle ON�or
�Shuffle Off.� If theRND icon is showing on the radio
display, then the shuffle mode is ON.
List Or Browse Mode
During Play mode, pushing any of the buttons described
below, will bring up List mode. List mode enables
scrolling through the list of menus and tracks on the
audio device.
TUNE control knob: The TUNEcontrol knob functions in
a similar manner as the scroll wheel on the audio device
or external USB device.
• Turning it clockwise (forward) and counterclockwise
(backward) scrolls through the lists, displaying the
track detail on the radio display. Once the track to be
played is highlighted on the radio display, push the
TUNE control knob to select and start playing the
track. Turning the TUNEcontrol knob fast will scroll
388 UNDERSTANDING YOUR INSTRUMENT PANEL