Page 25 of 296

23
The distance remaining may be
weighted by the time factor, depending
on the driving conditions.
Therefore, the spanner may also come
on if you have exceeded the period
since the last service, indicated in the
manufacturer's service schedule.
For BlueHDi Diesel versions, the
spanner may also be brought on earlier
than expected, depending on the
degree of deterioration of the engine oil
(depending on the country of sale).
The rate of deterioration of the engine
oil depends on the driving conditions in
which the vehicle is used.
Service overdue
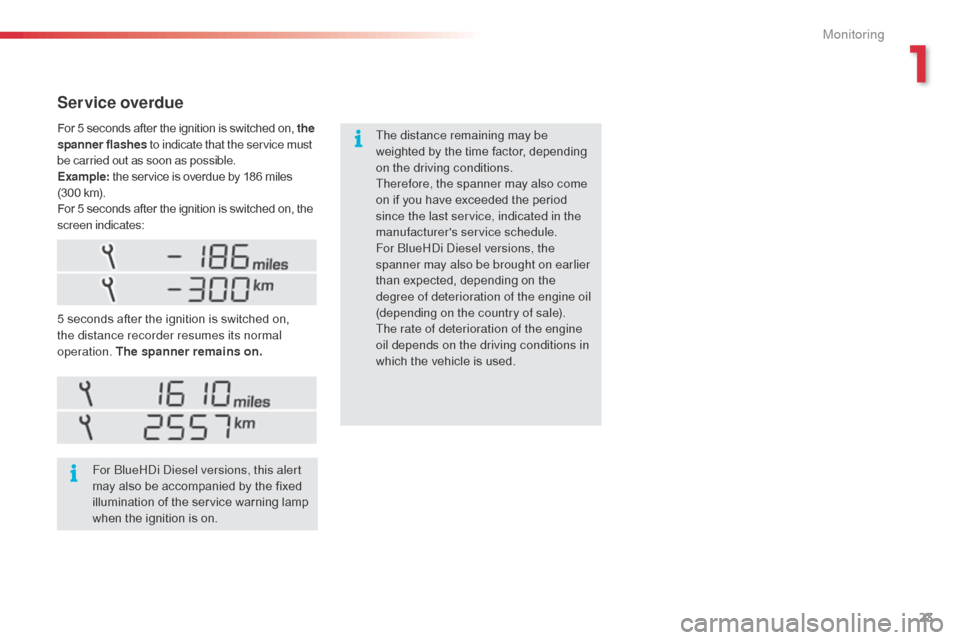
5 seconds after the ignition is switched on,
the distance recorder resumes its normal
operation. The spanner remains on.For BlueHDi Diesel versions, this alert
may also be accompanied by the fixed
illumination of the service warning lamp
when the ignition is on.
For 5 seconds after the ignition is switched on, the
spanner flashes
to indicate that the service must
be carried out as soon as possible.
Example: the service is overdue by 186 miles
(300 km).
For 5 seconds after the ignition is switched on, the
screen indicates:
1
Monitoring
Page 26 of 296
24
Resetting the service indicator
After each service, the service indicator must
be reset to zero.
If you have carried out the service on your
vehicle yourself:
F
s
witch off the ignition,
F
p
ress and hold the trip distance recorder
zero reset button,
F
s
witch on the ignition; the distance recorder
display begins a countdown,
F
w
hen the display indicates "=0" , release
the button; the spanner disappears.
Retrieving the service
information
You can access the service information at any
time.
F
P
ress the trip distance recorder zero reset
button.
T
he service information is displayed for a
few seconds, then disappears. If you have to disconnect the battery
following this operation, lock the vehicle
and wait at least five minutes for the
reset to be registered.
Monitoring
Page 27 of 296

25
Engine oil level indicator*
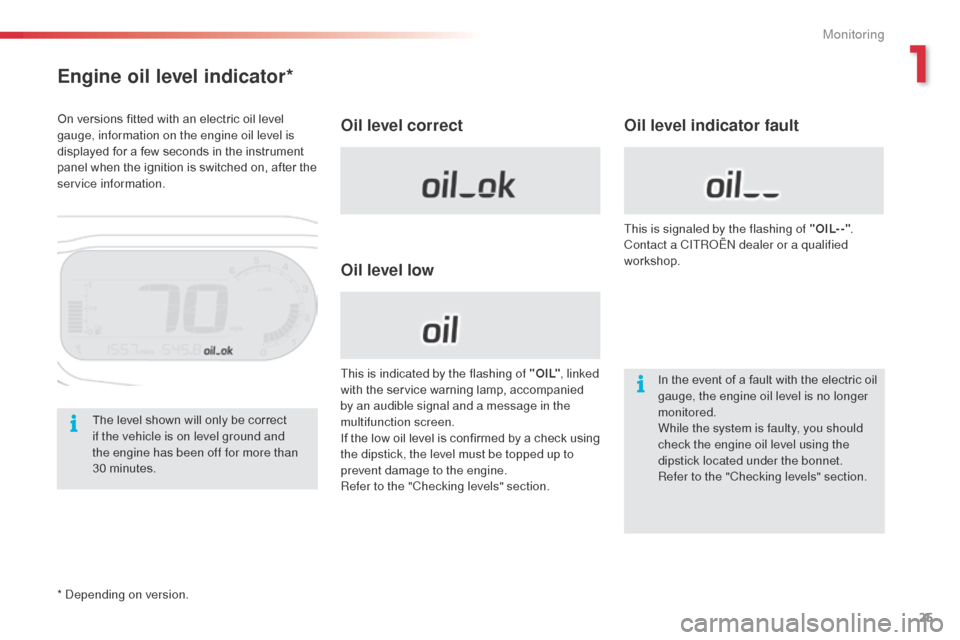
Oil level correct
Oil level lowOil level indicator fault
In the event of a fault with the electric oil
gauge, the engine oil level is no longer
monitored.
While the system is faulty, you should
check the engine oil level using the
dipstick located under the bonnet.
Refer to the "Checking levels" section.
This is indicated by the flashing of " O I L"
, linked
with the service warning lamp, accompanied
by an audible signal and a message in the
multifunction screen.
If the low oil level is confirmed by a check using
the dipstick, the level must be topped up to
prevent damage to the engine.
Refer to the "Checking levels" section. This is signaled by the flashing of "OIL- -"
.
Contact a CITROËN dealer or a qualified
workshop.
The level shown will only be correct
if the vehicle is on level ground and
the engine has been off for more than
30
m
inutes.
On versions fitted with an electric oil level
gauge, information on the engine oil level is
displayed for a few seconds in the instrument
panel when the ignition is switched on, after the
service information.
* Depending on version.
1
Monitoring
Page 39 of 296

37
Choice of language
Once this menu has been selected, you can
change the language used by the display by
selecting a new language from the list offered.
Telephone menu
With the Audio system on, with this menu
s elected, you can configure your Bluetooth
hands-free kit (pairing), view the various
telephone directories (call log, services...) and
manage your calls (call, hang up, double call,
secret mode...).
For more information on the "Telephone"
application, refer to the Audio system section in
"Audio and telematics".
As a safety measure, configuration of
the multifunction screen by the driver
must only be done when stationary.Display configuration
Once this menu has been selected, you can
gain access to the following settings:
-
b
rightness-video setting,
-
d
ate and time setting,
-
s
election of the units.Once the fuel consumption unit has
been changed to l/100 km or km/l,
the information relating to speed and
distance also changes to kilometres.
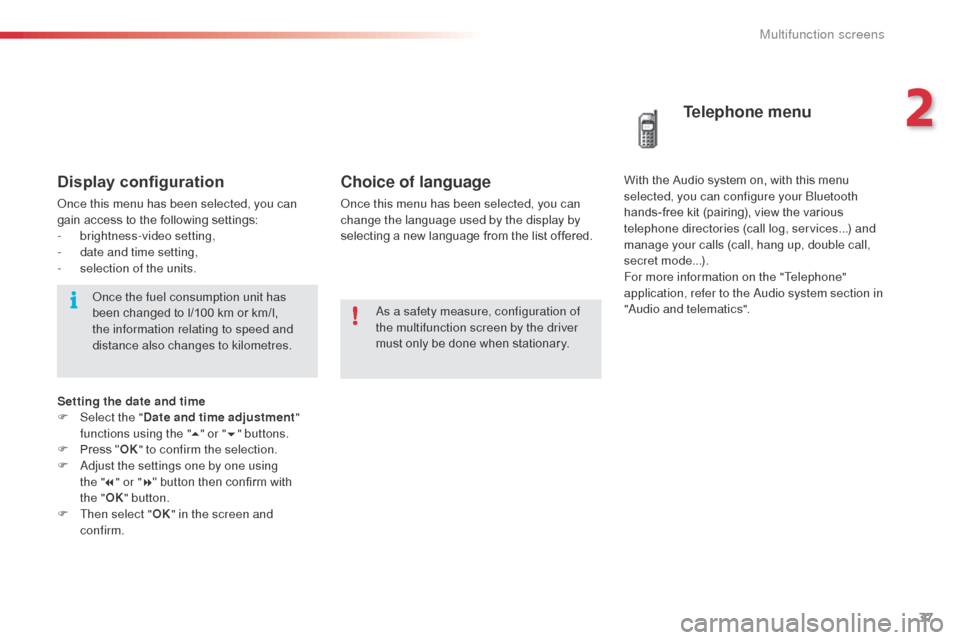
Setting the date and time
F
Sel
ect the " Date and time adjustment "
functions using the " 5" or " 6" buttons.
F
P
ress " OK" to confirm the selection.
F
A
djust the settings one by one using
the " 7" or " 8" button then confirm with
the
"OK " button.
F
T
hen select " OK" in the screen and
confirm.
2
Multifunction screens
Page 51 of 296

49
Scented air freshenerSystem permitting the diffusion of a fragrance in the passenger compartment in accordance with
your requirements, by means of the adjustment dial and the various fragrance cartridges available.
Fitting the cartridge
F Remove the cartridge from the sealing case.
F
I
nstall the cartridge (flower at top right).
F
P
ress the dial and turn it a quarter of a turn
clockwise.
This dial is located on the dashboard.
It allows you to adjust the intensity of diffusion
of the fragrance.
F
T
urn the dial to the right to permit diffusion
of the fragrance.
F
T
urn the dial to the left to stop diffusion of
the fragrance.
Fragrance cartridge
Removing the cartridge
F Press the dial and turn it a quarter of a turn anti-clockwise.
F
R
emove the cartridge.
F
R
efit its sealing case.
As a safety precaution, do not carry
out any action on the cartridge while
driving.
Do not dismantle the cartridges.
Do not attempt to refill the fragrance
diffuser or the cartridges.
Avoid all contact with the skin and eyes.
Keep out of reach of children and
animals. Do not discard the original cartridge as
this serves as a plug when no fragrance
cartridge is in use.
In order to preserve the service life of
the cartridge, turn the dial to the left
when you no longer wish to diffuse the
fragrance in the passenger compartment.
Leave the central vents open.
The intensity of diffusion of the
fragrance may depend on the
ventilation or air conditioning settings.
Adjustment dial
This cartridge can be removed easily.
You can change it at any time and store it in the
sealed case which keeps it closed once it has
been opened.
You can obtain different fragrance cartridges
from a CITROËN dealer or a qualified
workshop.
3
Comfort
Page 62 of 296

60
Remote control
The high frequency remote control is a sensitive system; do not operate it while it is in your
pocket as there is a possibility that it may unlock the vehicle, without you being aware of it.
Do not repeatedly press the buttons of your remote control out of range and out of sight of
your vehicle. You run the risk of stopping it from working and the remote control would have
to be reinitialised.
No remote control can operate when the key is in the ignition switch, even when the ignition
is switched off, except for reinitialisation.
Locking the vehicle
Driving with the doors locked may make access to the passenger compartment by the
emergency services more difficult in an emergency.
As a safety precaution, never leave children alone in the vehicle, except for a very short
period.
In all cases, it is essential to remove the key from the ignition switch when leaving the vehicle.
Anti-theft protection
Do not make any modifications to the electronic engine immobiliser system; this could
cause malfunctions.
When purchasing a second-hand vehicle
Have the pairing of all of the keys in your possession checked by a CITROËN dealer, to
ensure that only your keys can be used to open and start the vehicle.
Lost keys
Go to a CITROËN dealer with the vehicle's registration document, your personal
identification documents and if possible the key code label.
The CITROËN dealer will be able to look up the key code and the transponder code
required to order a new key.Do not throw the remote control
batteries away, they contain metals
which are harmful to the environment.
Take them to an approved collection
point.
Access
Page 66 of 296

64
Manual central locking
control
System which provides full manual locking or
unlocking of the doors from the inside.
Automatic central locking
System which provides full automatic locking
or unlocking of the doors and the boot while
driving.
You can activate or deactivate this function.
Unlocking
F Above 6 mph (10 km/h), press button A to unlock the doors and the boot temporarily.
Unlocking
F Press button A again to unlock the vehicle.
The red indicator lamp on the button
switches
off.
Locking
When the speed exceeds 6 mph (10 km/h), the
doors and the boot lock automatically.
If the vehicle is locked from the outside,
the red indicator lamp flashes and
button A is inactive.
F
I
n this case, use the remote control
or the key to unlock the vehicle.
If one of the doors is open, central
locking from the inside does not take
place. If one of the doors is open, the
automatic central locking does not take
place.
If the boot is open, the automatic central
locking of the doors is active.
Locking
F Press button A to lock the vehicle.
The red indicator lamp on the button comes on.
Driving with the doors locked can make
access more difficult for the emergency
services in the event an emergency.
Access
Page 67 of 296

65
Activation
F Press button A for more than two seconds.
A confirmation message appears on the
multifunction screen, accompanied by an
audible signal.
Deactivation
F Press button A again for more than two seconds.
A confirmation message appears on the
multifunction screen, accompanied by an
audible signal.
Emergency control
Locking the front and rear
passenger doors
F Insert the key in the lock, located on the edge of the door, then turn it one eighth of
a turn .
Locking the driver's door
F Insert the key in the lock, then turn it to the
left.
Unlocking the driver's door
F Insert the key in the lock, then turn it to the right.
Unlocking the front and rear
passenger doors
F Pull the interior door opening control.
In the event of a failure with the central
locking system, you should disconnect
the battery to lock the boot and so
ensure the complete locking of the
vehicle.
System which locks or unlocks the doors
mechanically in the event of a malfunction of
the battery or of the central locking.
Driving with the doors locked may make
access more difficult for the emergency
services in an emergency.
4
Access