Page 130 of 727

WARNING!(Continued)
•Check mounting of mats on a regular basis. Always
properly reinstall and secure floor mats that have
been removed for cleaning.
• Always make sure that objects cannot fall into the
driver footwell while the vehicle is moving. Ob-
jects can become trapped under the brake pedal
and accelerator pedal causing a loss of vehicle
control.
• If required, mounting posts must be properly in-
stalled, if not equipped from the factory.
Failure to properly follow floor mat installation or
mounting can cause interference with the brake
pedal and accelerator pedal operation causing loss of
control of the vehicle.
Periodic Safety Checks You Should Make Outside
The Vehicle
Tires
Examine tires for excessive tread wear and uneven wear
patterns. Check for stones, nails, glass, or other objects
lodged in the tread or sidewall. Inspect the tread for cuts
and cracks. Inspect sidewalls for cuts, cracks, and bulges.
Check the wheel nuts for tightness. Check the tires
(including spare) for proper cold inflation pressure.
Lights
Have someone observe the operation of brake lights and
exterior lights while you work the controls. Check turn
signal and high beam indicator lights on the instrument
panel.
128 THINGS TO KNOW BEFORE STARTING YOUR VEHICLE
Page 350 of 727

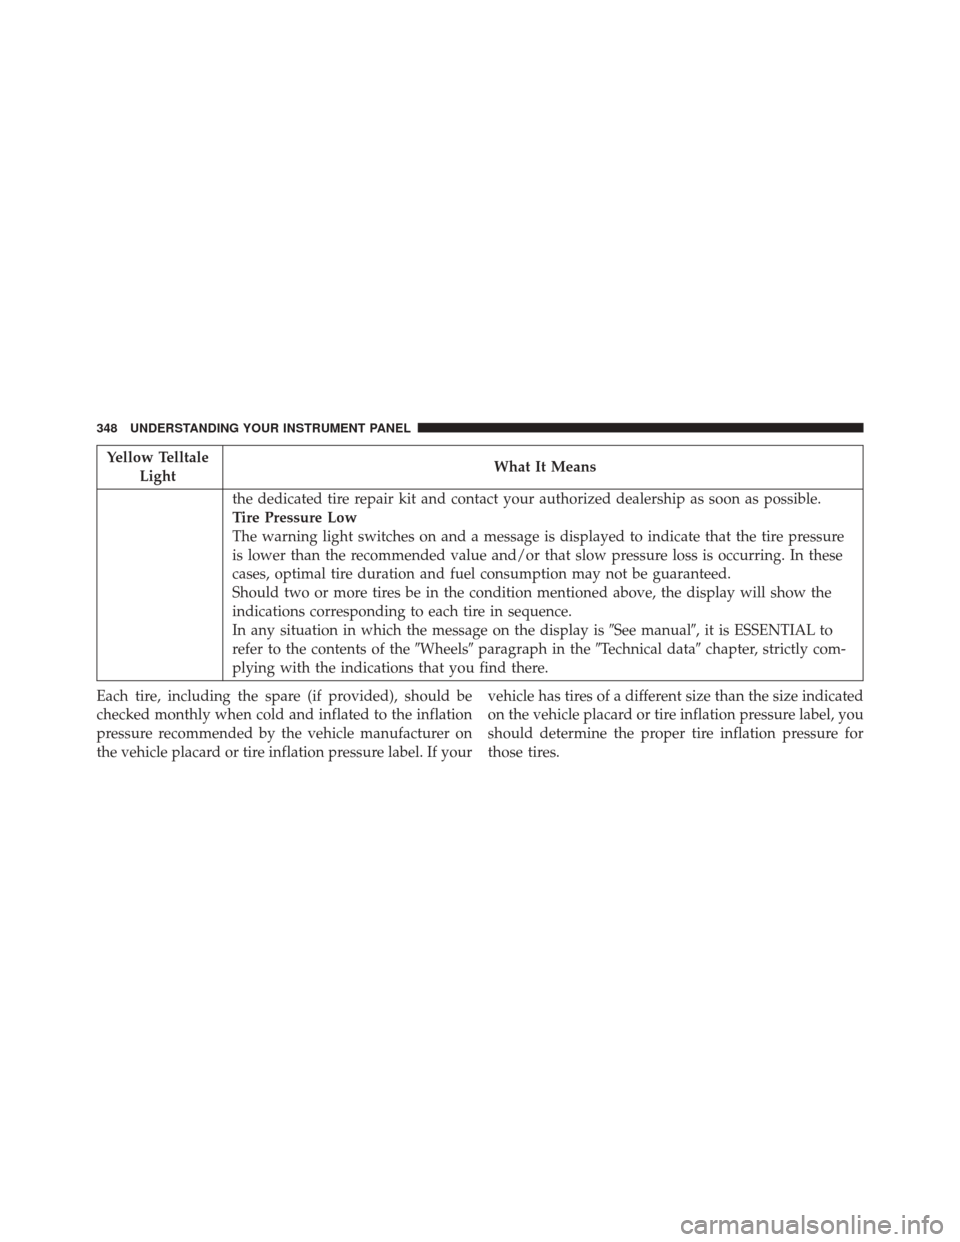
Yellow TelltaleLight What It Means
the dedicated tire repair kit and contact your authorized dealership as soon as possible.
Tire Pressure Low
The warning light switches on and a message is displayed to indicate that the tire pressure
is lower than the recommended value and/or that slow pressure loss is occurring. In these
cases, optimal tire duration and fuel consumption may not be guaranteed.
Should two or more tires be in the condition mentioned above, the display will show the
indications corresponding to each tire in sequence.
In any situation in which the message on the display is
�See manual�, it is ESSENTIAL to
refer to the contents of the �Wheels�paragraph in the �Technical data�chapter, strictly com-
plying with the indications that you find there.
Each tire, including the spare (if provided), should be
checked monthly when cold and inflated to the inflation
pressure recommended by the vehicle manufacturer on
the vehicle placard or tire inflation pressure label. If your vehicle has tires of a different size than the size indicated
on the vehicle placard or tire inflation pressure label, you
should determine the proper tire inflation pressure for
those tires.
348 UNDERSTANDING YOUR INSTRUMENT PANEL
Page 351 of 727

As an added safety feature, your vehicle has been
equipped with a Tire Pressure Monitoring System
(TPMS) that illuminates a low tire pressure telltale when
one or more of your tires is significantly under-inflated.
Accordingly, when the low tire pressure telltale illumi-
nates, you should stop and check your tires as soon as
possible and inflate them to the proper pressure. Driving
on a significantly under-inflated tire causes the tire to
overheat and can lead to tire failure. Under-inflation also
reduces fuel efficiency and tire tread life, and may affect
the vehicle’s handling and stopping ability.
Please note that the TPMS is not a substitute for proper
tire maintenance, and it is the driver ’s responsibility to
maintain correct tire pressure, even if under-inflation has
not reached the level to trigger illumination of the TPMS
low tire pressure telltale.Your vehicle has also been equipped with a TPMS
malfunction indicator to indicate when the system is not
operating properly. The TPMS malfunction indicator is
combined with the low tire pressure telltale. When the
system detects a malfunction, the telltale will flash for
approximately one minute and then remain continuously
illuminated. This sequence will continue upon subse-
quent vehicle start-ups as long as the malfunction exists.
When the malfunction indicator is illuminated, the sys-
tem may not be able to detect or signal low tire pressure
as intended. TPMS malfunctions may occur for a variety
of reasons, including the installation of replacement or
alternate tires or wheels on the vehicle that prevent the
TPMS from functioning properly. Always check the
TPMS malfunction telltale after replacing one or more
tires or wheels on your vehicle, to ensure that the
replacement or alternate tires and wheels allow the TPMS
to continue to function properly.
4
UNDERSTANDING YOUR INSTRUMENT PANEL 349
Page 484 of 727

▫Power Steering Fluid Check ..............508
� PARKING BRAKE ..................... .508
� BRAKE SYSTEM .......................511
� ELECTRONIC BRAKE CONTROL SYSTEM . . . .511
▫ Electronic Brake Force Distribution (EBD) . . . .512
▫ Brake System Warning Light ..............512
▫ Anti-Lock Brake System (ABS) ............512
▫ Anti-Lock Brake Warning Light ............514
▫ Brake Assist System (BAS) ...............514
▫ Hill Start Assist (HSA) .................515
▫ Traction Control System (TCS) ............518
▫ Electronic Stability Control (ESC) ..........518
▫ Electronic Roll Mitigation (ERM) ...........522▫
Trailer Sway Control (TSC) ..............523
� TIRE SAFETY INFORMATION .............523
▫ Tire Markings ....................... .523
▫ Tire Identification Number (TIN) ...........527
▫ Tire Terminology And Definitions ..........528
▫ Tire Loading And Tire Pressure ...........530
� TIRES — GENERAL INFORMATION ........535
▫ Tire Pressure ....................... .535
▫ Tire Inflation Pressures .................536
▫ Tire Pressures For High Speed Operation . . . .538
▫ Radial Ply Tires ..................... .538
▫ Tire Types .......................... .539
▫ Run Flat Tires — If Equipped .............540
482 STARTING AND OPERATING
Page 529 of 727
EXAMPLE:
H = Speed Symbol
– A symbol indicating the range of speeds at which a tire can carry a load corresponding to
its load index under certain operating conditions
– The maximum speed corresponding to the speed symbol should only be achieved under
specified operating conditions (i.e., tire pressure, vehicle loading, road conditions, and
posted speed limits)
Load Identification:
Absence of the following load identification symbols on the sidewall of the tire indicates a Standard Load (SL)
tire:
•XL = Extra load (or reinforced) tire, or
•LL= Light load tire or
•C, D, E, F, G = Load range associated with the maximum load a tire can carry at a specified pressure
Maximum Load – Maximum load indicates the maximum load this tire is designed to carry
Maximum Pressure – Maximum pressure indicates the maximum permissible cold tire inflation pressure for this
tire
5
STARTING AND OPERATING 527
Page 531 of 727
EXAMPLE:
DOT MA L9 ABCD 0301
01 = Number representing the year in which the tire was manufactured (two digits)
– 01 means the year 2001
– Prior to July 2000, tire manufacturers were only required to have one number to represent the year
in which the tire was manufactured. Example: 031 could represent the 3rd week of 1981 or 1991
Tire Terminology And Definitions
Term Definition
B-Pillar The vehicle B-Pillar is the structural member of the body located
behind the front door.
Cold Tire Inflation Pressure Cold tire inflation pressure is defined as the tire pressure after
the vehicle has not been driven for at least three hours, or driven
less than 1 mile (1.6 km) after sitting for a minimum of three
hours. Inflation pressure is measured in units of PSI (pounds per
square inch) or kPa (kilopascals).
5
STARTING AND OPERATING 529
Page 532 of 727
TermDefinition
Maximum Inflation Pressure The maximum inflation pressure is the maximum permissible
cold tire inflation pressure for this tire. The maximum inflation
pressure is molded into the sidewall.
Recommended Cold Tire Inflation Pressure Vehicle manufacturer’s recommended cold tire inflation pressure
as shown on the tire placard.
Tire Placard A label permanently attached to the vehicle describing the vehi-
cle’s loading capacity, the original equipment tire sizes and the
recommended cold tire inflation pressures.
530 STARTING AND OPERATING
Page 533 of 727
Tire Loading And Tire Pressure
Tire And Loading Information Placard Location
NOTE:The proper cold tire inflation pressure is listed on
the driver ’s side B-Pillar or the rear edge of the driver’s
side door.
Example Tire Placard Location (Door)
Example Tire Placard Location (B-Pillar)
5
STARTING AND OPERATING 531