Page 131 of 727
Door Latches
Check for proper closing, latching, and locking.
Fluid Leaks
Check area under vehicle after overnight parking for fuel,
engine coolant, oil, or other fluid leaks. Also, if gasoline
fumes are detected or if fuel, power steering fluid (if
equipped), or brake fluid leaks are suspected. The cause
should be located and corrected immediately.
2
THINGS TO KNOW BEFORE STARTING YOUR VEHICLE 129
Page 333 of 727
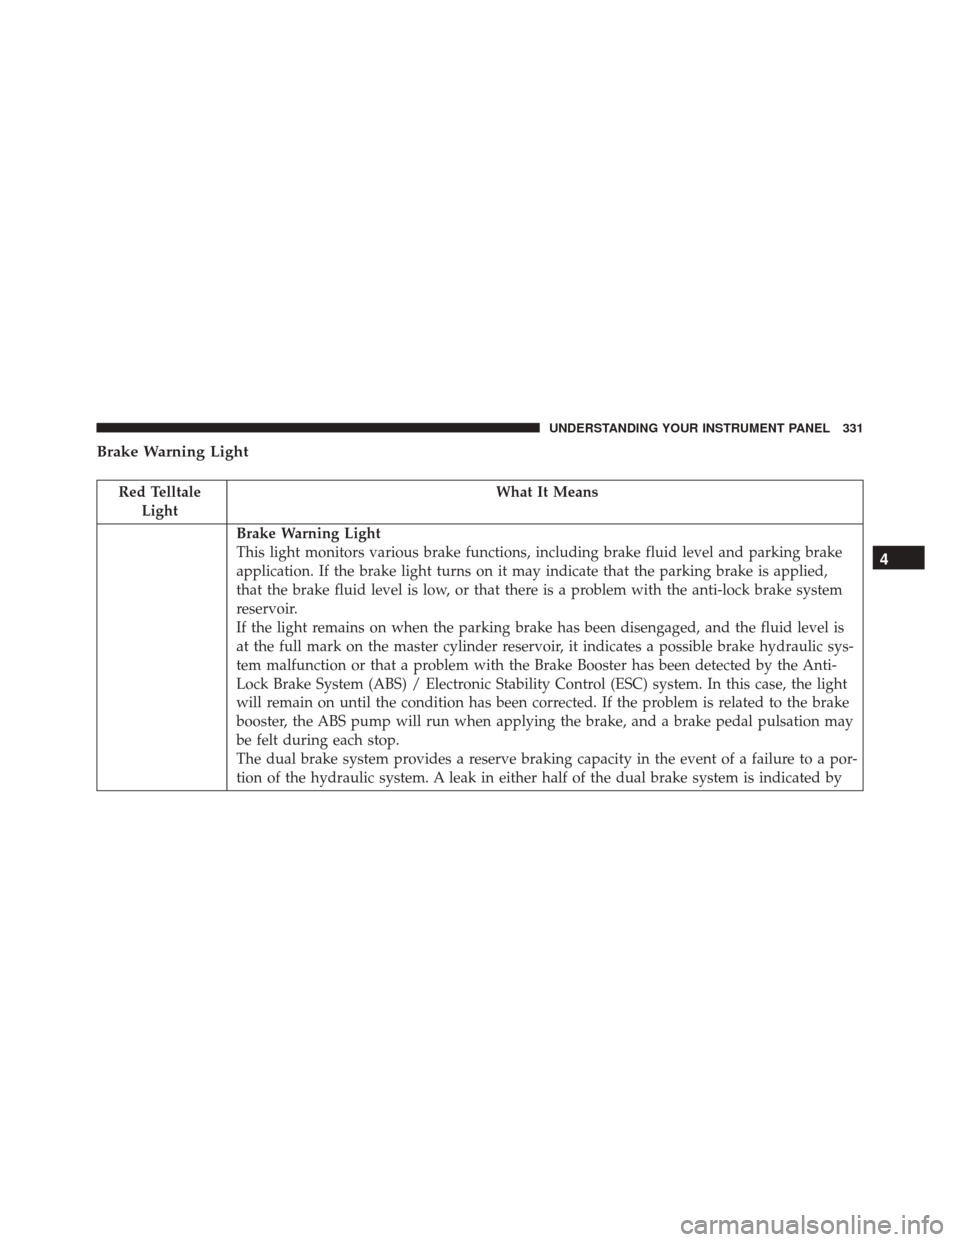
Brake Warning Light
Red TelltaleLight What It Means
Brake Warning Light
This light monitors various brake functions, including brake fluid level and parking brake
application. If the brake light turns on it may indicate that the parking brake is applied,
that the brake fluid level is low, or that there is a problem with the anti-lock brake system
reservoir.
If the light remains on when the parking brake has been disengaged, and the fluid level is
at the full mark on the master cylinder reservoir, it indicates a possible brake hydraulic sys-
tem malfunction or that a problem with the Brake Booster has been detected by the Anti-
Lock Brake System (ABS) / Electronic Stability Control (ESC) system. In this case, the light
will remain on until the condition has been corrected. If the problem is related to the brake
booster, the ABS pump will run when applying the brake, and a brake pedal pulsation may
be felt during each stop.
The dual brake system provides a reserve braking capacity in the event of a failure to a por-
tion of the hydraulic system. A leak in either half of the dual brake system is indicated by
4
UNDERSTANDING YOUR INSTRUMENT PANEL 331
Page 334 of 727
Red TelltaleLight What It Means
the Brake Warning Light, which will turn on when the brake fluid level in the master cylin-
der has dropped below a specified level.
The light will remain on until the cause is corrected.
NOTE:
The light may flash momentarily during sharp cornering maneuvers, which change fluid
level conditions. The vehicle should have service performed, and the brake fluid level
checked.
If brake failure is indicated, immediate repair is necessary.
332 UNDERSTANDING YOUR INSTRUMENT PANEL
Page 361 of 727
•Remote start disabled — Start Vehicle to Reset
• Remote start active — Push Start Button
• Remote start active — Key to Run
• Wrong Key
• Damaged Key
• Key not programmed
• Vehicle Not in Park
• Key Left Vehicle
• Key Not Detected
• Press Brake Pedal and Push Button to Start
• Liftgate Ajar (chime will sound when vehicle starts
moving)
• Low Tire Pressure •
Service TPM System (refer to “Tire Pressure Monitor-
ing System” in “Starting And Operating”)
• Tire Pressure Screen With Low Tire(s) “Inflate Tire to
XX”
• Turn Signal On
• RKE Battery Low
• Service Keyless System
• Low Washer Fluid
• Oil Change Required
• Check Gascap
• Left Front Turn Signal Light Out
• Left Rear Turn Signal Light Out
• Right Front Turn Signal Light Out
• Right Rear Turn Signal Light Out
4
UNDERSTANDING YOUR INSTRUMENT PANEL 359
Page 484 of 727
▫Power Steering Fluid Check ..............508
� PARKING BRAKE ..................... .508
� BRAKE SYSTEM .......................511
� ELECTRONIC BRAKE CONTROL SYSTEM . . . .511
▫ Electronic Brake Force Distribution (EBD) . . . .512
▫ Brake System Warning Light ..............512
▫ Anti-Lock Brake System (ABS) ............512
▫ Anti-Lock Brake Warning Light ............514
▫ Brake Assist System (BAS) ...............514
▫ Hill Start Assist (HSA) .................515
▫ Traction Control System (TCS) ............518
▫ Electronic Stability Control (ESC) ..........518
▫ Electronic Roll Mitigation (ERM) ...........522▫
Trailer Sway Control (TSC) ..............523
� TIRE SAFETY INFORMATION .............523
▫ Tire Markings ....................... .523
▫ Tire Identification Number (TIN) ...........527
▫ Tire Terminology And Definitions ..........528
▫ Tire Loading And Tire Pressure ...........530
� TIRES — GENERAL INFORMATION ........535
▫ Tire Pressure ....................... .535
▫ Tire Inflation Pressures .................536
▫ Tire Pressures For High Speed Operation . . . .538
▫ Radial Ply Tires ..................... .538
▫ Tire Types .......................... .539
▫ Run Flat Tires — If Equipped .............540
482 STARTING AND OPERATING
Page 508 of 727
WARNING!
•Driving through standing water limits your vehi-
cle’s traction capabilities. Do not exceed 5 mph
(8 km/h) when driving through standing water.
• Driving through standing water limits your vehi-
cle’s braking capabilities, which increases stopping
distances. Therefore, after driving through stand-
ing water, drive slowly and lightly press on the
brake pedal several times to dry the brakes.
• Failure to follow these warnings may result in
injuries that are serious or fatal to you, your pas-
sengers, and others around you.
CAUTION!
• Always check the depth of the standing water
before driving through it. Never drive through
(Continued)
CAUTION! (Continued)
standing water that is deeper than the bottom of
the tire rims mounted on the vehicle.
• Determine the condition of the road or the path
that is under water and if there are any obstacles in
the way before driving through the standing water.
• Do not exceed 5 mph (8 km/h) when driving
through standing water. This will minimize wave
effects.
• Driving through standing water may cause damage
to your vehicle’s drivetrain components. Always
inspect your vehicle’s fluids (i.e., engine oil, trans-
mission, axle, etc.) for signs of contamination (i.e.,
fluid that is milky or foamy in appearance) after
driving through standing water. Do not continue to
operate the vehicle if any fluid appears contami-
nated, as this may result in further damage. Such
(Continued)
506 STARTING AND OPERATING
Page 510 of 727
Power Steering Fluid Check
Checking the power steering fluid level at a defined
service interval is not required. The fluid should only be
checked if a leak is suspected, abnormal noises are
apparent, and/or the system is not functioning as antici-
pated. Coordinate inspection efforts through an autho-
rized dealer.
CAUTION!
Do not use chemical flushes in your power steering
system as the chemicals can damage your power
steering components. Such damage is not covered by
the New Vehicle Limited Warranty.
WARNING!
Fluid level should be checked on a level surface and
with the engine off to prevent injury from moving
parts and to ensure accurate fluid level reading. Do
not overfill. Use only manufacturer’s recommended
power steering fluid.
If necessary, add fluid to restore to the proper indicated
level. With a clean cloth, wipe any spilled fluid from all
surfaces. Refer to “Fluids, Lubricants, And Genuine
Parts” in “Maintaining Your Vehicle” for further informa-
tion.
PARKING BRAKE
Before leaving the vehicle, make sure that the parking
brake is fully applied and place the shift lever in the
PARK position.
508 STARTING AND OPERATING
Page 598 of 727
on the ground. This will provide the best positioning
of the kit when injecting the sealant into the deflated
tire and running the air pump. Move the vehicle as
necessary to place the valve stem in this position
before proceeding.
3. Place the transmission in PARK (auto transmission) or in Gear (manual transmission) and place the ignition
in the OFF position.
4. Set the parking brake.
(B) Setting Up To Use Tire Service Kit:
1. Push in the Mode Select Knob (5) and turn to the Sealant Mode position.
2. Uncoil the Sealant Hose (6) and then remove the cap from the fitting at the end of the hose.
3. Place the Tire Service Kit flat on the ground next to the deflated tire. 4. Remove the cap from the valve stem and then screw
the fitting at the end of the Sealant Hose (6) onto the
valve stem.
5. Uncoil the Power Plug (8) and insert the plug into the vehicle’s 12 Volt power outlet.
NOTE: Do not remove foreign objects (e.g., screws or
nails) from the tire.
(C) Injecting Tire Service Kit Sealant Into The
Deflated Tire:
• Always start the engine before turning ON the Tire
Service Kit.
NOTE: Manual transmission vehicles must have the
parking brake engaged and the shift lever in NEUTRAL.
• After pushing the Power Button (4), the sealant (white
fluid) will flow from the Sealant Bottle (1) through the
Sealant Hose (6) and into the tire.
596 WHAT TO DO IN EMERGENCIES