2016 CHEVROLET ORLANDO manual radio set
[x] Cancel search: manual radio setPage 21 of 372
Black plate (15,1)Chevrolet Orlando Owner Manual - 2013 - CRC - 6/5/12
In Brief 1-15
Storing a Favorite Station
Stations from all bands can be
stored in the favorite lists in any
order. Up to six stations can be
stored in each favorite page and the
number of available favorite pages
can be set.
To store the station to a position in
the list, press the corresponding
numeric button 1 to 6 until a beep is
heard.
For more information, see“Storing a
Station as a Favorite” inAM-FM
Radio on page 7‑7.
Setting the Clock
Adjusting the Time
1. Press the CONFIG button and select Time Settings.
2. Select Set Time.
3. Turn the MENU knob to adjust the highlighted number.
4. Press the MENU knob to select the next number. 5. To save the time and return to
the Time Settings menu, press
the BACK button at any time or
press the MENU knob after
adjusting the minutes.
Setting the 12/24 Hour Format
1. Press the CONFIG button and select Time Settings.
2. Highlight 12/24 Hour Format.
3. Press the MENU knob to select the 12 hour or 24 hour display
format.
For more information, see Clock on
page 5‑5.Satellite Radio
Vehicles with a SiriusXM® satellite
radio tuner and a valid SiriusXM
satellite radio subscription can
receive SiriusXM programming.
SiriusXM Satellite Radio
Service
SiriusXM is a satellite radio service
based in the 48 contiguous United
States and 10 Canadian provinces.
SiriusXM satellite radio has a wide
variety of programming and
commercial-free music, coast to
coast, and in digital-quality sound.
A fee is required to receive the
SiriusXM service.
Refer to:
.www.siriusxm.com or call
1-866-635-2349 (U.S.).
.www.xmradio.ca or call
1-877-209-0079 (Canada).
See Satellite Radio on page 7‑9.
Page 38 of 372

Black plate (10,1)Chevrolet Orlando Owner Manual - 2013 - CRC - 6/5/12
2-10 Keys, Doors, and Windows
.Always unlock a door with the
transmitter. Unlocking the driver
door with the mechanical backup
key will not disarm the alarm.
If you set off the alarm by accident,
turn off the alarm by pressing on the
transmitter, or start the vehicle with
a recognized transmitter in the
vehicle. the alarm will not stop if you
unlock the driver door with the key.
How to Detect a Tamper
Condition
IfKis pressed and the horn chirps
three times, an attempted break-in
has occurred while the system was
armed.
If the alarm has been activated, the
THEFT ATTEMPTED message will
appear on the DIC.
See Key and Lock Messages on
page 5‑27.
Immobilizer
See Radio Frequency Statement on
page 13‑15 for information
regarding Part 15 of the Federal
Communications Commission (FCC)
rules and Industry Canada
Standards RSS-GEN/210/220/310.
Immobilizer Operation
This vehicle has a passive
theft-deterrent system.
The system does not have to be
manually armed or disarmed.
The vehicle is automatically
immobilized when the key is
removed from the ignition.
The system is automatically
disarmed when the vehicle is
started with the correct key. The
key uses a transponder that
matches an immobilizer control unit in the vehicle and automatically
disarms the system. Only an
authorized key starts the vehicle.
The vehicle may not start if the key
is damaged.
The security light in the instrument
cluster comes on if there is a
problem with arming or disarming
the theft-deterrent system.
When trying to start the vehicle, the
security light comes on briefly when
the ignition is turned on.
If the engine does not start and the
security light stays on, there is a
problem with the system. Turn the
ignition off and try again.
Page 144 of 372
Black plate (2,1)Chevrolet Orlando Owner Manual - 2013 - CRC - 6/5/12
7-2 Infotainment System
To minimize taking your eyes off the
road while driving, do the following
while the vehicle is parked:
.Become familiar with the
operation and controls of the
audio system.
.Set up the tone, speaker
adjustments, and preset radio
stations.
For more information, see Defensive
Driving on page 9‑2. Notice:
Contact your dealer
before adding any equipment.
Adding audio or communication
equipment could interfere with
the operation of the engine, radio,
or other systems, and could
damage them. Follow federal
rules covering mobile radio and
telephone equipment.
The vehicle has Retained
Accessory Power (RAP). With RAP,
the audio system can be played
even after the ignition is turned off.
See Retained Accessory Power
(RAP) on page 9‑18 for more
information.
Theft-Deterrent Feature
The theft-deterrent feature works by
learning a portion of the Vehicle
Identification Number (VIN) to the
infotainment system. The
infotainment system does not
operate if it is stolen or moved to a
different vehicle.
Page 146 of 372
Black plate (4,1)Chevrolet Orlando Owner Manual - 2013 - CRC - 6/5/12
7-4 Infotainment System
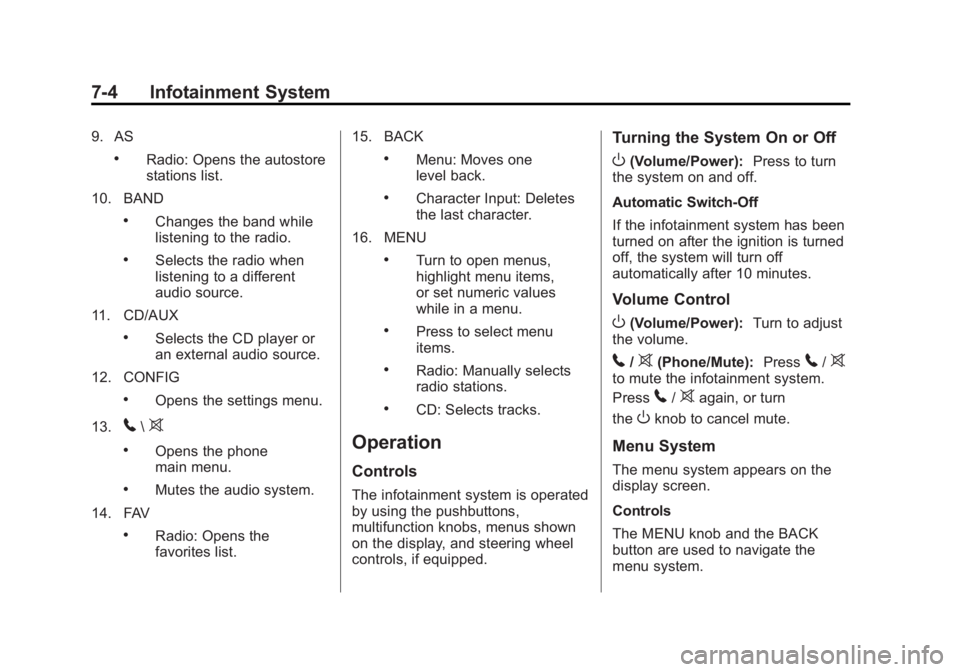
9. AS
.Radio: Opens the autostore
stations list.
10. BAND
.Changes the band while
listening to the radio.
.Selects the radio when
listening to a different
audio source.
11. CD/AUX
.Selects the CD player or
an external audio source.
12. CONFIG
.Opens the settings menu.
13.
5\>
.Opens the phone
main menu.
.Mutes the audio system.
14. FAV
.Radio: Opens the
favorites list. 15. BACK
.Menu: Moves one
level back.
.Character Input: Deletes
the last character.
16. MENU
.Turn to open menus,
highlight menu items,
or set numeric values
while in a menu.
.Press to select menu
items.
.Radio: Manually selects
radio stations.
.CD: Selects tracks.
Operation
Controls
The infotainment system is operated
by using the pushbuttons,
multifunction knobs, menus shown
on the display, and steering wheel
controls, if equipped.
Turning the System On or Off
O(Volume/Power): Press to turn
the system on and off.
Automatic Switch-Off
If the infotainment system has been
turned on after the ignition is turned
off, the system will turn off
automatically after 10 minutes.
Volume Control
O(Volume/Power): Turn to adjust
the volume.
5/>(Phone/Mute): Press5/>to mute the infotainment system.
Press
5/>again, or turn
the
Oknob to cancel mute.
Menu System
The menu system appears on the
display screen.
Controls
The MENU knob and the BACK
button are used to navigate the
menu system.
Page 148 of 372
Black plate (6,1)Chevrolet Orlando Owner Manual - 2013 - CRC - 6/5/12
7-6 Infotainment System
2. Press the MENU knob to turnthe function on or off.
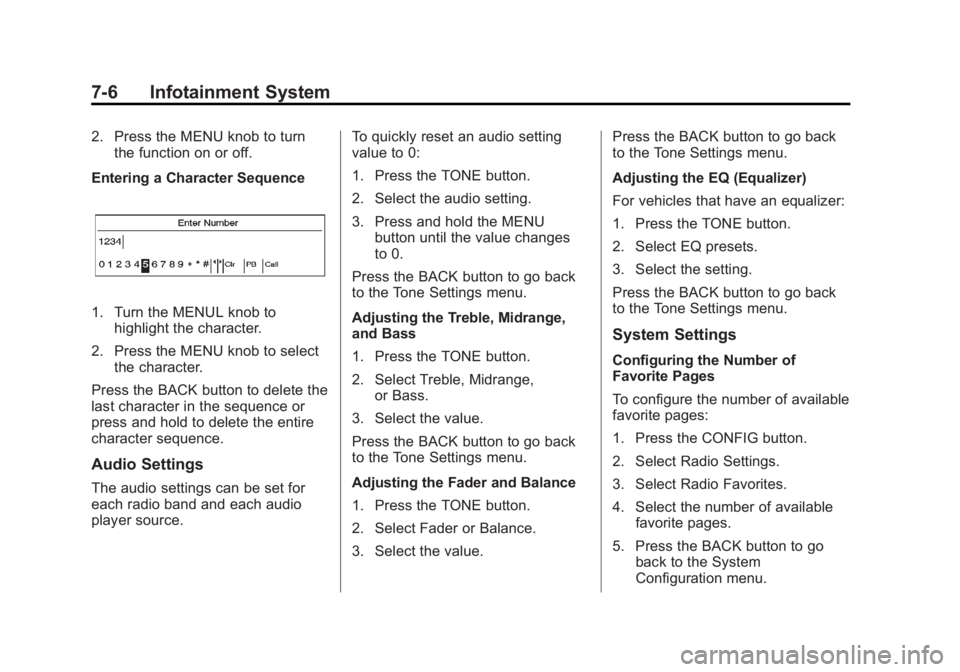
Entering a Character Sequence
1. Turn the MENUL knob to highlight the character.
2. Press the MENU knob to select the character.
Press the BACK button to delete the
last character in the sequence or
press and hold to delete the entire
character sequence.
Audio Settings
The audio settings can be set for
each radio band and each audio
player source. To quickly reset an audio setting
value to 0:
1. Press the TONE button.
2. Select the audio setting.
3. Press and hold the MENU
button until the value changes
to 0.
Press the BACK button to go back
to the Tone Settings menu.
Adjusting the Treble, Midrange,
and Bass
1. Press the TONE button.
2. Select Treble, Midrange, or Bass.
3. Select the value.
Press the BACK button to go back
to the Tone Settings menu.
Adjusting the Fader and Balance
1. Press the TONE button.
2. Select Fader or Balance.
3. Select the value. Press the BACK button to go back
to the Tone Settings menu.
Adjusting the EQ (Equalizer)
For vehicles that have an equalizer:
1. Press the TONE button.
2. Select EQ presets.
3. Select the setting.
Press the BACK button to go back
to the Tone Settings menu.
System Settings
Configuring the Number of
Favorite Pages
To configure the number of available
favorite pages:
1. Press the CONFIG button.
2. Select Radio Settings.
3. Select Radio Favorites.
4. Select the number of available
favorite pages.
5. Press the BACK button to go back to the System
Configuration menu.
Page 149 of 372
Black plate (7,1)Chevrolet Orlando Owner Manual - 2013 - CRC - 6/5/12
Infotainment System 7-7
Auto Volume
The auto volume feature
automatically adjusts the radio
volume to compensate for road and
wind noise as the vehicle speeds up
or slows down, so that the volume
level is consistent.
The level of volume compensation
can be selected, or the auto volume
feature can be turned off.
1. Press the CONFIG button.
2. Select Radio Settings.
3. Select Auto Volume.
4. Select the setting.
5. Press the BACK button to goback to the System
Configuration menu. Maximum Startup Volume
The maximum volume played when
the radio is first turned on can
be set.
1. Press the CONFIG button.
2. Select Radio Settings.
3. Select Maximum Startup
Volume.
4. Select the setting.
5. Press the BACK button to go back to the System
Configuration menu.Radio
AM-FM Radio
Control Buttons
The buttons used to control the
radio are:
BAND: Press to turn the radio on
and choose between AM, FM, and
SiriusXM®, if equipped.
MENU: Turn to navigate the
available menus and to search for
stations.
INFO: Press to display additional
information that may be available for
the current song.
gorl: Press to search for
stations.
FAV: Press to open the favorites
list and select the favorites page.
1 to 6: Press to select preset
stations.
AS (Autostore): Press to open the
autostore list.
Page 151 of 372
Black plate (9,1)Chevrolet Orlando Owner Manual - 2013 - CRC - 6/5/12
Infotainment System 7-9
3. Select the programming type.A list of stations that transmit
programming of the selected
type displays.
4. Select the station.
The category lists are updated when
the station lists are updated.
Updating Station & Category Lists
If stations stored in the station list
can no longer be received:
1. Turn the MENU knob.
2. Select Update AM or FM Station List. A station search will be
completed and the first station in
the updated list will play.
To cancel the station search, press
the MENU knob.
Storing a Station as a Favorite
Stations from all bands can be
stored in any order in the favorite
pages. Up to six stations can be stored in
each favorite page and the number
of available favorite pages can
be set.
Storing Stations
To store the station to a position in
the list, press the corresponding
button 1 to 6 until a beep is heard.
Retrieving Stations
Press the FAV button to open a
favorite page or to switch to another
favorite page. Briefly press one of
the 1 to 6 buttons to retrieve the
station.
Autostore Stations
AS (Autostore):
Autostore
searches and stores six FM and
six AM stations with the strongest
signal. To use autostore:
1. Press BAND to select FM or AM.
2. Press AS for at least
two seconds until a beep
sounds. SEARCH displays on
the radio, followed by the
number of stations found. 3. The radio will automatically store
the six strongest stations found
as autostore presets.
Press the AS button to alternate
between the autostore stations and
favorites.
AS displays on the radio when using
autostore presets.
Autostore does not delete
previously stored favorite stations.
Autostore does not function with
SiriusXM radio stations.
Satellite Radio
Vehicles with an SiriusXM® Satellite
Radio tuner and a valid SiriusXM
Satellite Radio subscription can
receive SiriusXM programming.
SiriusXM Satellite Radio
Service
SiriusXM is a satellite radio service
based in the 48 contiguous United
States and 10 Canadian provinces.
Page 152 of 372
Black plate (10,1)Chevrolet Orlando Owner Manual - 2013 - CRC - 6/5/12
7-10 Infotainment System
SiriusXM Satellite Radio has a
wide variety of programming and
commercial-free music, coast to
coast, and in digital-quality sound.
A service fee is required to receive
the SiriusXM service. If SiriusXM
Service needs to be reactivated, the
radio will display "No Subscription
Please Renew" on channel XM1.
For more information, contact
SiriusXM at www.siriusxm.com or
call 1-866-635-2349 (U.S.) and
www.xmradio.ca or call
1-877-209-0079 (Canada).
Control Buttons
The buttons used to control the
SiriusXM radio are:
BAND:Press to turn the radio on
and choose between AM, FM,
and XM.
gorl: Press to go to the
previous or next channel. FAV:
Press to open the
favorites list.
1 to 6: Press to select a favorite.
MENU: Turn to select a channel.
INFO: Press to display additional
information that may be available
about the current song.
k(Play/Pause): Press to pause
time shifted content, if equipped.
Selecting the XM Band
Press the BAND button to choose
between the AM, FM, and XM
bands. The last channel played in
that band begins to play when that
band is selected.
XM Categories
XM channels are organized in
categories.
Removing or Adding Categories
Channels in a category that have
been removed can still be accessed
by using the
gorlbuttons,
or the MENU knob. To add or remove categories:
1. Press the CONFIG button.
2. Select Radio Settings.
3. Select XM Categories.
4. Turn the MENU knob to highlight
the category.
5. Press the MENU knob to remove or add the category.
Selecting an XM Channel
XM channels can be selected by
using
g,l, the MENU knob,
or the menu system.
Selecting a Channel Using
g
orl
.Press and releasegorlto
go to the previous or next
channel.
.Press and holdgorlto
scroll through the previous or
next channel until the channel is
reached.