2016 CHEVROLET MALIBU steering wheel
[x] Cancel search: steering wheelPage 266 of 420
Chevrolet Malibu Owner Manual (GMNA-Localizing-U.S./Canada/Mexico-
9087641) - 2016 - crc - 9/3/15
Driving and Operating 265
LCA displays may not come on
when passing a vehicle quickly, for
a stopped vehicle, or when towing a
trailer. The LCA detection zones
that extend back from the side of
the vehicle do not move further back
when a trailer is towed. Use caution
while changing lanes when towing a
trailer. LCA may alert to objects
attached to the vehicle, such as a
trailer, bicycle, or object extending
out to either side of the vehicle.
Attached objects may also interfere
with the detection of vehicles. This
is normal system operation; the
vehicle does not need service.
LCA may not always alert the driver
to vehicles in the next lane over,
especially in wet conditions or when
driving on sharp curves. The system
does not need to be serviced. The
system may light up due to
guardrails, signs, trees, shrubs, and
other non-moving objects. This is
normal system operation; the
vehicle does not need service.
LCA may not operate when the LCA
sensors in the left or right corners of
the rear bumper are covered with
mud, dirt, snow, ice, or slush, or inheavy rainstorms. For cleaning
instructions, see "Washing the
Vehicle" under
Exterior Care0358
ii.
If the DIC still displays the system
unavailable message after cleaning
both sides of the vehicle toward the
rear corners of the vehicle, see your
dealer.
If the LCA displays do not light up
when moving vehicles are in the
side blind zone or rapidly
approaching this zone and the
system is clean, the system may
need service. Take the vehicle to
your dealer.
When LCA is disabled for any
reason other than the driver turning
it off, the Lane Change Alert On
option will not be available on the
personalization menu.
Radio Frequency Information
See Radio Frequency Statement
0 394ii.
Lane Departure
Warning (LDW)
If equipped, LDW may help avoid
crashes due to unintentional lane
departures. It may provide a
warning if the vehicle is crossing a
detected lane marking without using
a turn signal in the lane departure
direction. Since this system is part
of the Lane Keep Assist (LKA)
system, read the entire LKA section
before using this feature.
Lane Keep Assist (LKA)
If equipped, LKA may help avoid
crashes due to unintentional lane
departures. It may assist by gently
turning the steering wheel if the
vehicle approaches a detected lane
marking without using a turn signal
in that direction. It may also provide
a Lane Departure Warning (LDW)
system alert as the lane marking is
crossed. The LKA system will not
assist or provide an LDW alert if it
detects that you are actively
steering. Override LKA by turning
the steering wheel. LKA uses a
Page 267 of 420
Chevrolet Malibu Owner Manual (GMNA-Localizing-U.S./Canada/Mexico-
9087641) - 2016 - crc - 9/3/15
266 Driving and Operating
camera to detect lane markings
between 60 km/h (37 mph) and
180 km/h (112 mph).
{Warning
The LKA system does not
continuously steer the vehicle.
It may not keep the vehicle in the
lane or give a Lane Departure
Warning (LDW) alert, even if a
lane marking is detected.
The LKA and LDW systems
may not:. Provide an alert or enough
steering assist to avoid a
lane departure or crash.
. Detect lane markings under
poor weather or visibility
conditions. This can occur if
the windshield or
headlamps are blocked by
dirt, snow, or ice, if they are
not in proper condition, or if
the sun shines directly into
the camera.
. Detect road edges.
(Continued)
Warning (Continued)
.Detect lanes on winding or
hilly roads.
If LKA only detects lane markings
on one side of the road, it will
only assist or provide an LDW
alert when approaching the lane
on the side where it has detected
a lane marking. Even with LKA
and LDW, you must steer the
vehicle. Always keep your
attention on the road and
maintain proper vehicle position
within the lane, or vehicle
damage, injury, or death could
occur. Always keep the
windshield, headlamps, and
camera sensors clean and in
good repair. Do not use LKA in
bad weather conditions.
{Warning
Using LKA while towing a trailer
or on slippery roads could cause
loss of control of the vehicle and
a crash. Turn the system off.
How the System Works
The LKA camera sensor is on the
windshield ahead of the rearview
mirror.
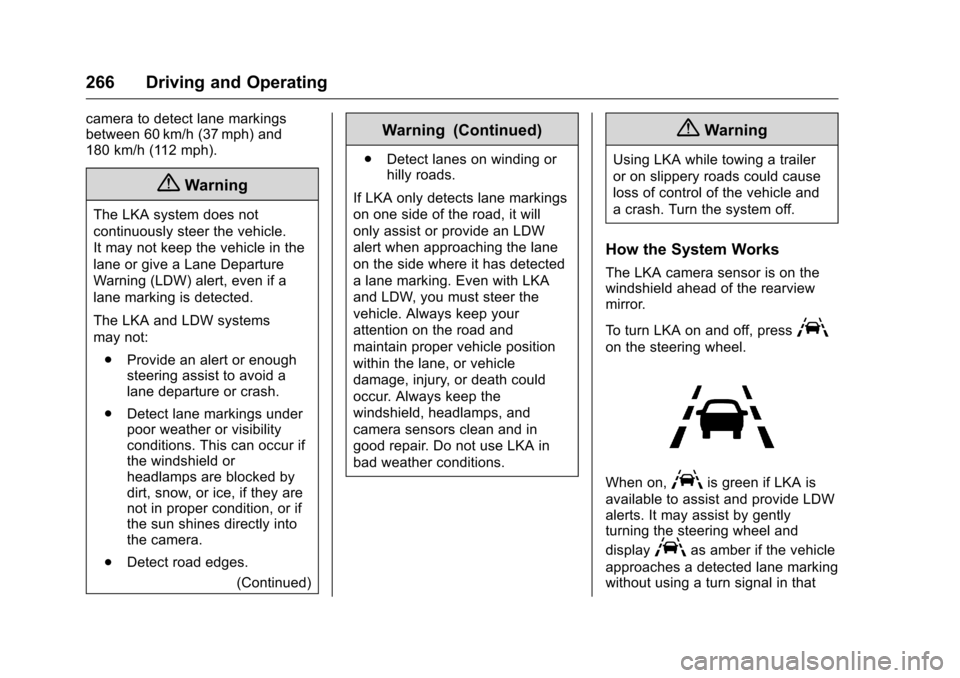
To turn LKA on and off, press
A
on the steering wheel.
When on,Ais green if LKA is
available to assist and provide LDW
alerts. It may assist by gently
turning the steering wheel and
display
Aas amber if the vehicle
approaches a detected lane marking
without using a turn signal in that
Page 268 of 420
Chevrolet Malibu Owner Manual (GMNA-Localizing-U.S./Canada/Mexico-
9087641) - 2016 - crc - 9/3/15
Driving and Operating 267
direction. It may also provide an
LDW alert by flashing
Aamber
as the lane marking is crossed.
Additionally, there will be three
beeps on the right or left, depending
on the lane departure direction.
The LKA system does not
continuously steer the vehicle.
If LKA does not detect active driver
steering, an alert and chime may be
provided. Move the steering wheel
to dismiss.
When the System Does Not
Seem to Work Properly
The system performance may be
affected by:
. Close vehicles ahead.
. Sudden lighting changes, such
as when driving through tunnels.
. Banked roads. .
Roads with poor lane markings,
such as two-lane roads.
If the LKA system is not functioning
properly when lane markings are
clearly visible, cleaning the
windshield may help.
LKA assistance and/or LDW alerts
may occur due to tar marks,
shadows, cracks in the road,
temporary or construction lane
markings, or other road
imperfections. This is normal system
operation; the vehicle does not need
service. Turn LKA off if these
conditions continue.
Fuel
Use of the recommended fuel is an
important part of the proper
maintenance of this vehicle. When
driving in the U.S. and Canada, to
help keep the engine clean and
maintain optimum vehicle
performance, we recommend using
TOP TIER Detergent Gasolines.
See www.toptiergas.com for a list of
TOP TIER Detergent Gasolines.
For vehicles with the 1.5L L4 engine
or the 1.8L L4 engine hybrid vehicle,
use regular unleaded gasoline
meeting ASTM specification D4814
with a posted octane rating of 87 or
Page 275 of 420
Chevrolet Malibu Owner Manual (GMNA-Localizing-U.S./Canada/Mexico-
9087641) - 2016 - crc - 9/3/15
274 Driving and Operating
Towing a trailer requires a certain
amount of experience. The
combination you are driving is
longer and not as responsive as the
vehicle itself. Get acquainted with
the handling and braking of the rig
before setting out for the open road.
Before starting, check all trailer hitch
parts and attachments, safety
chains, electrical connectors, lamps,
tires, and mirrors. If the trailer has
electric brakes, start the
combination moving and then apply
the trailer brake controller by hand
to be sure the brakes work.
During the trip, check occasionally
to be sure that the load is secure
and the lamps and any trailer
brakes still work.
Towing with a Stability Control
System
When towing, the sound of the
stability control system might be
heard. The system is reacting to the
vehicle movement caused by the
trailer, which mainly occurs during
cornering. This is normal when
towing heavier trailers.
Following Distance
Stay at least twice as far behind the
vehicle ahead as you would when
driving the vehicle without a trailer.
This can help to avoid situations
that require heavy braking and
sudden turns.
Passing
More passing distance is needed
when towing a trailer. Because the
rig is longer, it is necessary to go
farther beyond the passed vehicle
before returning to the lane.
Backing Up
Hold the bottom of the steering
wheel with one hand. To move the
trailer to the left, move your hand to
the left. To move the trailer to the
right, move your hand to the right.
Always back up slowly and,
if possible, have someone
guide you.
Making TurnsCaution
Making very sharp turns while
trailering could cause the trailer to
come in contact with the vehicle.
The vehicle could be damaged.
Avoid making very sharp turns
while trailering.
When turning with a trailer, make
wider turns than normal so the
trailer will not strike soft shoulders,
curbs, road signs, trees, or other
objects. Use the turn signal well in
advance and avoid jerky or sudden
maneuvers.
Turn Signals When Towing a
Trailer
The turn signal indicators on the
instrument cluster flash whenever
signaling a turn or lane change.
Properly hooked up, the trailer
lamps also flash, telling other
drivers the vehicle is turning,
changing lanes, or stopping.
Page 293 of 420
Chevrolet Malibu Owner Manual (GMNA-Localizing-U.S./Canada/Mexico-
9087641) - 2016 - crc - 9/3/15
292 Vehicle Care
include engine revolutions, engine
temperature, and miles driven.
Based on driving conditions, the
mileage at which an oil change is
indicated can vary considerably. For
the oil life system to work properly,
the system must be reset every time
the oil is changed.
When the system has calculated
that oil life has been diminished, it
indicates that an oil change is
necessary. A CHANGE ENGINE
OIL SOON message comes on. See
Engine Oil Messages0139
ii.
Change the oil as soon as possible
within the next 1 000 km (600 mi).
It is possible that, if driving under
the best conditions, the oil life
system might indicate that an oil
change is not necessary for up to a
year. The engine oil and filter must
be changed at least once a year
and, at this time, the system must
be reset. Your dealer has trained
service people who will perform this
work and reset the system. It is also
important to check the oil regularly
over the course of an oil drain
interval and keep it at the proper
level. If the system is ever reset
accidentally, the oil must be
changed at 5 000 km (3,000 mi)
since the last oil change.
Remember to reset the oil life
system whenever the oil is changed.
How to Reset the Engine Oil
Life System
1. Using the DIC controls on the
right side of the steering wheel,
display REMAINING OIL LIFE
on the DIC. See Driver
Information Center (DIC) (Base
Level) 0129
iior Driver
Information Center (DIC)
(Uplevel) 0132
ii. When
remaining oil life is low, the
CHANGE ENGINE OIL SOON
message will appear on the
display. See Engine Oil
Messages 0139
ii.
2. Press
Von the DIC controls
and hold down for a few
seconds to clear the CHANGE
ENGINE OIL SOON message
and reset the oil life at 100%. Be careful not to reset the oil
life display accidentally at any
time other than after the oil is
changed. It cannot be reset
accurately until the next oil
change.
The oil life system can also be reset
as follows: 1. Turn the ignition on with the engine off.
2. Fully press and release the accelerator pedal three times
within five seconds.
The system is reset when the
CHANGE ENGINE OIL SOON
message is off and the REMAINING
OIL LIFE 100% message is
displayed.
If the CHANGE ENGINE OIL SOON
message comes back on when the
vehicle is started, the engine oil life
system has not been reset. Repeat
the procedure.
Page 315 of 420
Chevrolet Malibu Owner Manual (GMNA-Localizing-U.S./Canada/Mexico-
9087641) - 2016 - crc - 9/3/15
314 Vehicle Care
The vehicle may not be equipped
with all of the fuses, relays, and
features shown.Fuses Usage
1 Not used
2 Not used
3 Antilock brake system pump
5 AC/DC inverter
6 Rear closure
7 ATWS horn
8 Mirror
9 Eboost
10 Left seat lumbar/ Airbag HEV
11 DC, DC battery 1
12 Rear defogger
13 Heated mirror
14 Not used
15 Passive entry/Passive start
16 Front wiper
17 Passenger power seat Fuses Usage
18 Antilock brake system valve
19 Driver power seat
21 Sunroof
22 Park light
23 Active headlamp leveling
24 Not used
26 Transmission control module ignition
27 Instrument panel/ Body ignition
28 Fuel pump power module
29 Rear view camera/ Seat ventilation
30 Malfunction indicator lamp SS
32 CVS/Evaporative leak check module
33 Front heated seat
34 Rear heated seat/ BSM/ESS fan Fuses Usage
35 Body control module 6/Body control
module 7
36 Fuel module
38 Not used
39 Not used
40 Steering column lock
41 Not used
43 Heated steering wheel
44 Headlamp leveling
45 Not used
46 Engine control module ignition
47 Not used
48 Eboost (HEV) motor
49 DC, DC battery 2
50 Not used
51 Not used
52 Not used
53 Not used
54 Not used
Page 318 of 420
Chevrolet Malibu Owner Manual (GMNA-Localizing-U.S./Canada/Mexico-
9087641) - 2016 - crc - 9/3/15
Vehicle Care 317
Fuses Amps UsageF5 15 Body control module 2
(gas and
hybrid)
F6 –Not used
F7 –Not used
F8 15 Body control module 3
F9 5 Engine control
module/Rear
battery
F10 15 Body control module 2
F11 –Not used
F12 –Not used
F13 –Not used
F14 –Not used
F15 20 Transmission control
module with
Stop/Start
F16 30 Amplifier Fuses Amps Usage
F17 15 Power lumbar
F18 –Not used
F19 –Not used
F20 15 Body control module 1
(gas and
hybrid)
F21 15 Body control module 4
F22 –Not used
F23 10 Electric steering
column lock
(China only)
F24 10 Airbag
F25 7.5 Data link connector
F26 –Not used
F27 30 AC/DC inverter
F28 –Not used
F29 20 Body control module 8 Fuses Amps Usage
F30 10 Overhead console
F31 2 Steering wheel
controls
F32 –Not used
F33 10 Heater, ventilation,
and air
conditioning
F34 –Not used
F35 –Not used
F36 5 Wireless charger
F37 20 Front accessory
power outlets,
lighter (Cigar
Lighter
China only)
F38 5 OnStar
F39 7.5 Display
F40 10 Obstacle detection
Page 331 of 420
Chevrolet Malibu Owner Manual (GMNA-Localizing-U.S./Canada/Mexico-
9087641) - 2016 - crc - 9/3/15
330 Vehicle Care
could prevent the TPMS from
functioning properly. SeeBuying
New Tires 0333
ii.
. Operating electronic devices or
being near facilities using radio
wave frequencies similar to the
TPMS could cause the TPMS
sensors to malfunction.
If the TPMS is not functioning
properly it cannot detect or signal a
low tire condition. See your dealer
for service if the TPMS malfunction
light and DIC message comes on
and stays on.
TPMS Sensor Matching
Process
Each TPMS sensor has a unique
identification code. The identification
code needs to be matched to a new
tire/wheel position after rotating the
vehicle’s tires or replacing one or
more of the TPMS sensors. The
TPMS sensor matching process
should also be performed after
replacing a spare tire with a road
tire containing the TPMS sensor.
The malfunction light and the DIC
message should go off at the next
ignition cycle. The sensors are matched to the tire/wheel positions,
using a TPMS relearn tool, in the
following order: driver side front tire,
passenger side front tire, passenger
side rear tire, and driver side rear.
See your dealer for service or to
purchase a relearn tool. A TPMS
relearn tool can also be purchased.
See Tire Pressure Monitor Sensor
Activation Tool at
www.gmtoolsandequipment.com or
call 1-800-GM TOOLS
(1-800-468-6657).
There are two minutes to match the
first tire/wheel position, and
five minutes overall to match all four
tire/wheel positions. If it takes
longer, the matching process stops
and must be restarted.
The TPMS sensor matching
process is:
1. Set the parking brake.
2. Place the vehicle in ON/RUN/ START. See Ignition Positions
0 226
ii.
3. Make sure the Tire Pressure info page option is turned on.
The info pages on the DIC can be turned on and off through
the Settings menu. See
Driver
Information Center (DIC) (Base
Level) 0129
iior Driver
Information Center (DIC)
(Uplevel) 0132
ii.
4. Use the DIC controls on the right side of the steering wheel
to scroll to the Tire Pressure
screen under the DIC
info page.
5. Press and hold the
V(Set/
Reset) button in the center of
the DIC controls.
The horn sounds twice to
signal the receiver is in relearn
mode and the TIRE
LEARNING ACTIVE message
displays on the DIC screen.
6. Start with the driver side front tire.
7. Place the relearn tool against the tire sidewall, near the valve
stem. Then press the button to
activate the TPMS sensor.
A horn chirp confirms that the