2016 CHEVROLET MALIBU LIMITED stop start
[x] Cancel search: stop startPage 193 of 360
Chevrolet Malibu Limited Owner Manual (GMNA-Localizing-U.S/Canada-
9086425) - 2016 - crc - 7/30/15
192 Driving and Operating
immediately after starting it.
Operate the engine and
transmission gently until the oil
warms up and lubricates all
moving parts.
Stop/Start System
{Warning
Exiting the vehicle without first
shifting into P (Park) may cause
the vehicle to move. You or others
may be injured. Because the
vehicle has the auto engine stop/
start feature, the vehicle's engine
might seem to be shut off;
however, once the brake pedal is
released, the engine will start up
again.
Shift to P (Park) and turn the
ignition to LOCK/OFF, before
exiting the vehicle.
The vehicle has a fuel saving stop/
start system to shut off the engine to
help conserve fuel. Auto Engine Stop/Start
When the brakes are applied and
the vehicle is at a complete stop,
the engine may turn off. When
stopped, the tachometer displays
AUTO STOP. See
Tachometer
0 102. When the brake pedal is
released or the accelerator pedal
pushed, the engine will restart.
Auto Stop may be deactivated if:
. A minimum vehicle speed is not
reached.
. The engine or transmission is
not at the required operating
temperature.
. The outside temperature is not
in the required operating range.
Typically below -10 °C (14 °F) or
above 50 °C (122 °F).
. The shift lever is in any gear
other than D (Drive).
. The battery has been recently
disconnected.
. The battery charge is low.
. The interior comfort level has not
reached the required level for
the climate control system or defog settings. Use the eco
(green indicator on) air
conditioning mode for better
efficiency. See
Dual Automatic
Climate Control System 0170.
. The Auto Stop time is greater
than two minutes.
Engine Heater
The engine coolant heater,
if available, can help in cold weather
conditions at or below −18 °C (0 °F)
for easier starting and better fuel
economy during engine warm-up.
Plug in the coolant heater at least
four hours before starting the
vehicle. An internal thermostat in
the plug end of the cord will prevent
engine coolant heater operation at
temperatures above −18 °C (0 °F).
To Use the Engine Coolant
Heater
1. Turn off the engine.
2. Open the hood and unwrap the
electrical cord.
Page 199 of 360
Chevrolet Malibu Limited Owner Manual (GMNA-Localizing-U.S/Canada-
9086425) - 2016 - crc - 7/30/15
198 Driving and Operating
Warning (Continued)
Do not leave the vehicle when the
engine is running. If you have left
the engine running, the vehicle
can move suddenly. You or others
could be injured. To be sure the
vehicle will not move, even when
you are on fairly level ground,
always set the parking brake and
move the shift lever to P (Park).
SeeShifting Into Park 0194.
Make sure the shift lever is fully in
P (Park) before starting the engine.
The vehicle has an automatic
transmission shift lock control
system. You must fully apply the
brake pedal then press the shift
lever button before you can shift
from P (Park) while the ignition key
is in ON/RUN. If you cannot shift out
of P (Park), ease pressure on the
shift lever and push the shift lever
all the way into P (Park) as you
maintain brake application. Then
move the shift lever into another
gear. See Shifting out of Park 0195.
R : Use this gear to back up.
Caution
Shifting to R (Reverse) while the
vehicle is moving forward could
damage the transmission. The
repairs would not be covered by
the vehicle warranty. Shift to
R (Reverse) only after the vehicle
is stopped.
To rock the vehicle back and forth to
get out of snow, ice, or sand without
damaging the transmission, see If
the Vehicle Is Stuck 0183.
N : In this position, the engine does
not connect with the wheels. To
restart the engine when the vehicle
is already moving, use
N (Neutral) only.
{Warning
Shifting into a drive gear while the
engine is running at high speed is
dangerous. Unless your foot is
firmly on the brake pedal, the
vehicle could move very rapidly.
(Continued)
Warning (Continued)
You could lose control and hit
people or objects. Do not shift
into a drive gear while the engine
is running at high speed.
Caution
Shifting out of P (Park) or
N (Neutral) with the engine
running at high speed may
damage the transmission. The
repairs would not be covered by
the vehicle warranty. Be sure the
engine is not running at high
speed when shifting the vehicle.
D : This position is for normal
driving. It provides the best fuel
economy. If you need more power
for passing, and you are:
. Accelerating slowly or
maintaining a constant speed,
push the accelerator pedal about
halfway down.
Page 200 of 360
Chevrolet Malibu Limited Owner Manual (GMNA-Localizing-U.S/Canada-
9086425) - 2016 - crc - 7/30/15
Driving and Operating 199
.Accelerating quickly or passing,
push the accelerator all the
way down.
M : This position allows you to
change gears similar to a manual
transmission. If the vehicle has this
feature, see Manual Mode 0199.
Manual Mode
Driver Shift Control (DSC)
To use this feature:
1. Move the shift lever from D (Drive) rearward to
M (Manual).
While driving in manual mode,
the transmission will remain in
the driver selected gear. When
coming to a stop in the manual
position, the vehicle will
automatically shift into
1 (First) gear.
2. Press the + (plus) end of the button on the top of the shift
lever to upshift, or press the −
(minus) end of the button to
downshift. The Driver Information Center (DIC)
in the instrument cluster will change
from the currently displayed
message to the letter
“M,”for
Manual position, and a number
indicating the requested gear.
While using the DSC feature the
transmission will have firmer shifting
and sportier performance. You can
use this for sport driving or when
climbing hills to stay in gear longer
or to downshift for more power or
engine braking.
The transmission will only allow you
to shift into gears appropriate for the
vehicle speed and engine
revolutions per minute (rpm):
. The transmission will not allow
shifting to the next higher gear if
the vehicle speed or engine rpm
is too low.
. The transmission will not allow
shifting to the next lower gear if
the vehicle speed or engine rpm
is too high. Second Gear Start Feature
When accelerating the vehicle from
a stop in snowy and icy conditions,
you may want to shift into
2 (Second) gear. A higher gear
allows you to gain more traction on
slippery surfaces.
With the DSC feature, the vehicle
can be set to pull away in
2 (Second) gear.
1. Move the shift lever from D (Drive) to M (Manual Mode).
2. With the vehicle stopped, press the (+) end of the button to
select 2 (Second) gear. The
vehicle will start from a stop
position in 2 (Second) gear.
3. Once moving, select the desired drive gear.
Page 202 of 360

Chevrolet Malibu Limited Owner Manual (GMNA-Localizing-U.S/Canada-
9086425) - 2016 - crc - 7/30/15
Driving and Operating 201
To set the parking brake, hold the
brake pedal down and pull up on the
parking brake lever. If the ignition is
on, the brake system warning light
will come on. SeeBrake System
Warning Light 0107.
To release the parking brake, hold
the brake pedal down. Pull the
parking brake lever up until you can
press the release button. Hold the
release button in as you move the
brake lever all the way down.
Caution
Driving with the parking brake on
can overheat the brake system
and cause premature wear or
damage to brake system parts.
Make sure that the parking brake
is fully released and the brake
warning light is off before driving.
Brake Assist
The Brake Assist feature is
designed to assist the driver in
stopping or decreasing vehicle
speed in emergency driving conditions. This feature uses the
stability system hydraulic brake
control module to supplement the
power brake system under
conditions where the driver has
quickly and forcefully applied the
brake pedal in an attempt to quickly
stop or slow down the vehicle. The
stability system hydraulic brake
control module increases brake
pressure at each corner of the
vehicle until the ABS activates.
Minor brake pedal pulsation or
pedal movement during this time is
normal and the driver should
continue to apply the brake pedal as
the driving situation dictates. The
Brake Assist feature will
automatically disengage when the
brake pedal is released or brake
pedal pressure is quickly
decreased.
Hill Start Assist (HSA)
If equipped, HSA may automatically
activate when the vehicle is stopped
on a grade. This feature is designed
to prevent the vehicle from rolling,
either forward or rearward, during
vehicle drive off. During thetransition from releasing the brake
pedal to accelerating to drive off on
a grade, HSA holds the braking
pressure to prevent rolling. HSA will
not activate if the vehicle is in a
drive gear and facing downhill or if
the vehicle is facing uphill and in
R (Reverse).
Page 203 of 360
Chevrolet Malibu Limited Owner Manual (GMNA-Localizing-U.S/Canada-
9086425) - 2016 - crc - 7/30/15
202 Driving and Operating
Ride Control Systems
Traction Control/
Electronic Stability
Control
System Operation
The vehicle has a Traction Control
System (TCS) and StabiliTrak®, an
electronic stability control system.
These systems help limit wheel slip
and assist the driver in maintaining
control, especially on slippery road
conditions.
TCS activates if it senses that any
of the drive wheels are spinning or
beginning to lose traction. When this
happens, TCS applies the brakes to
the spinning wheels and reduces
engine power to limit wheel spin.
StabiliTrak activates when the
vehicle senses a difference between
the intended path and the direction
the vehicle is actually traveling.
StabiliTrak selectively applies
braking pressure to any one of the vehicle wheel brakes to assist the
driver in keeping the vehicle on the
intended path.
If cruise control is being used and
traction control or StabiliTrak begins
to limit wheel spin, cruise control will
disengage. Cruise control may be
turned back on when road
conditions allow.
Both systems come on
automatically when the vehicle is
started and begins to move. The
systems may be heard or felt while
they are operating or while
performing diagnostic checks. This
is normal and does not mean there
is a problem with the vehicle.
It is recommended to leave both
systems on for normal driving
conditions, but it may be necessary
to turn TCS off if the vehicle gets
stuck in sand, mud, ice, or snow.
See
If the Vehicle Is Stuck 0183
and “Turning the Systems Off and
On” later in this section.
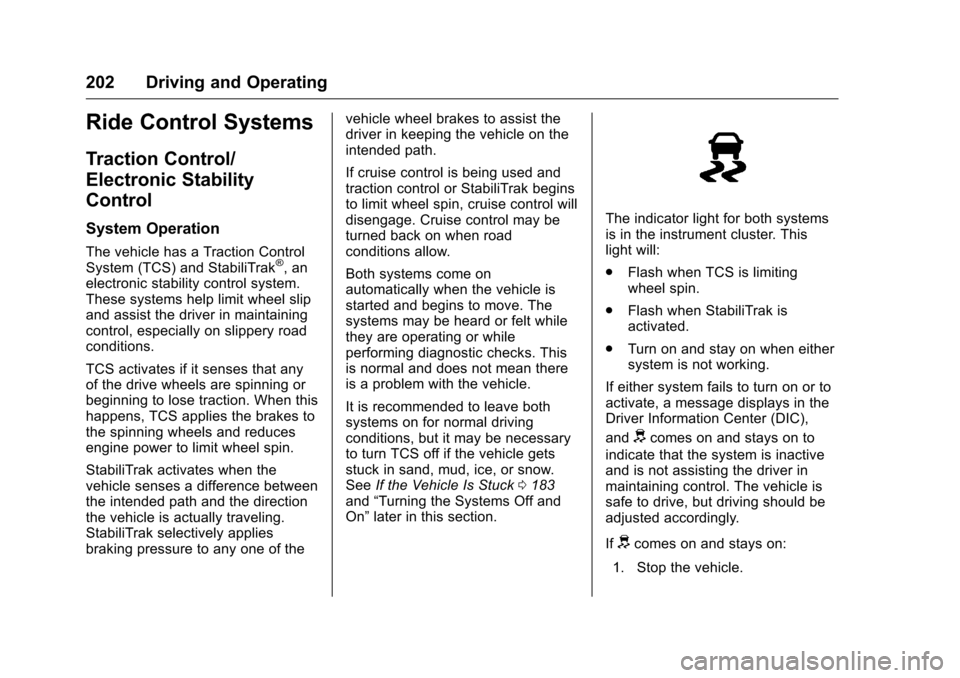
The indicator light for both systems
is in the instrument cluster. This
light will:
.
Flash when TCS is limiting
wheel spin.
. Flash when StabiliTrak is
activated.
. Turn on and stay on when either
system is not working.
If either system fails to turn on or to
activate, a message displays in the
Driver Information Center (DIC),
and
dcomes on and stays on to
indicate that the system is inactive
and is not assisting the driver in
maintaining control. The vehicle is
safe to drive, but driving should be
adjusted accordingly.
If
dcomes on and stays on:
1. Stop the vehicle.
Page 204 of 360
Chevrolet Malibu Limited Owner Manual (GMNA-Localizing-U.S/Canada-
9086425) - 2016 - crc - 7/30/15
Driving and Operating 203
2. Turn the engine off and wait15 seconds.
3. Start the engine.
Drive the vehicle. If
dcomes on
and stays on, the vehicle may need
more time to diagnose the problem.
If the condition persists, see your
dealer.
Turning the Systems Off
and On
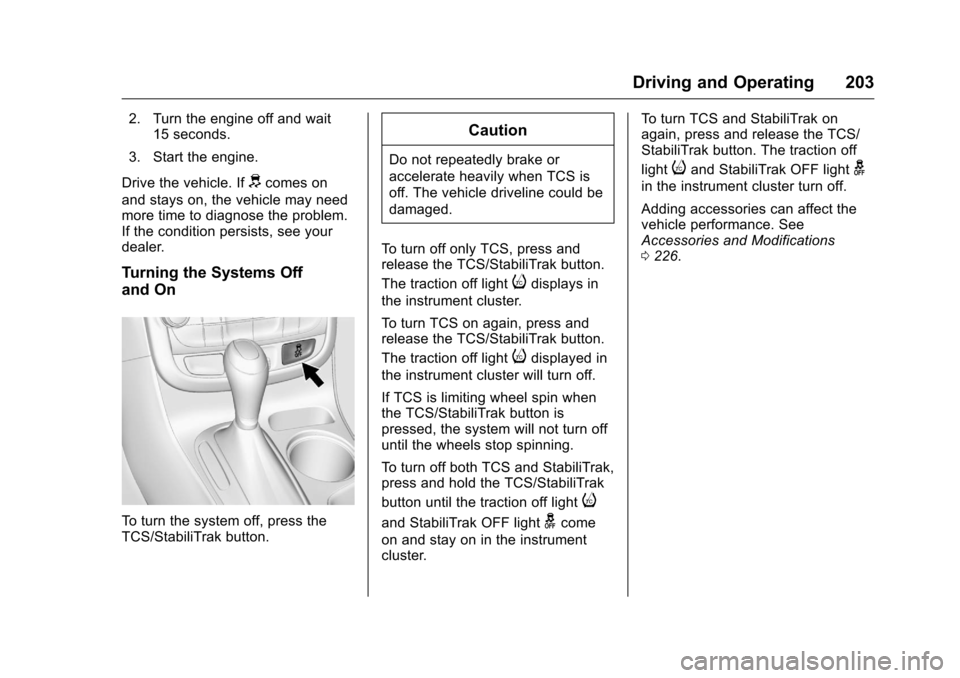
To turn the system off, press the
TCS/StabiliTrak button.
Caution
Do not repeatedly brake or
accelerate heavily when TCS is
off. The vehicle driveline could be
damaged.
To turn off only TCS, press and
release the TCS/StabiliTrak button.
The traction off light
idisplays in
the instrument cluster.
To turn TCS on again, press and
release the TCS/StabiliTrak button.
The traction off light
idisplayed in
the instrument cluster will turn off.
If TCS is limiting wheel spin when
the TCS/StabiliTrak button is
pressed, the system will not turn off
until the wheels stop spinning.
To turn off both TCS and StabiliTrak,
press and hold the TCS/StabiliTrak
button until the traction off light
i
and StabiliTrak OFF lightgcome
on and stay on in the instrument
cluster. To turn TCS and StabiliTrak on
again, press and release the TCS/
StabiliTrak button. The traction off
light
iand StabiliTrak OFF lightg
in the instrument cluster turn off.
Adding accessories can affect the
vehicle performance. See
Accessories and Modifications
0
226.
Page 218 of 360

Chevrolet Malibu Limited Owner Manual (GMNA-Localizing-U.S/Canada-
9086425) - 2016 - crc - 7/30/15
Driving and Operating 217
Warning (Continued)
.Fuel can spray out if the fuel
cap is opened too quickly.
This spray can happen if the
tank is nearly full, and is
more likely in hot weather.
Open the fuel cap slowly
and wait for any hiss noise
to stop, then unscrew the
cap all the way.
The fuel cap is behind a hinged fuel
door on the passenger side of the
vehicle. To open the fuel door, push
and release the rearward center
edge of the door.
Turn the fuel cap counterclockwise
to remove. While refueling, hang the
fuel cap from the hook on the fuel
door. Reinstall the cap by turning it
clockwise until it clicks.
{Warning
Overfilling the fuel tank by more
than three clicks of a standard fill
nozzle may cause:
. Vehicle performance issues,
including engine stalling and
damage to the fuel system.
. Fuel spills.
. Potential fuel fires.
Be careful not to spill fuel. Wait a
few seconds after you have finished
pumping before removing the
nozzle. Clean fuel from painted
surfaces as soon as possible. See
Exterior Care 0298. When replacing the fuel cap, turn it
clockwise until it clicks. Make sure
the cap is fully installed. The
diagnostic system can determine if
the fuel cap has been left off or
improperly installed. This would
allow fuel to evaporate into the
atmosphere. See
Malfunction
Indicator Lamp (Check Engine
Light) 0106.
{Warning
If a fire starts while you are
refueling, do not remove the
nozzle. Shut off the flow of fuel by
shutting off the pump or by
notifying the station attendant.
Leave the area immediately.
Caution
If a new fuel cap is needed, be
sure to get the right type of cap
from your dealer. The wrong type
of fuel cap may not fit properly,
may cause the malfunction
(Continued)
Page 221 of 360
Chevrolet Malibu Limited Owner Manual (GMNA-Localizing-U.S/Canada-
9086425) - 2016 - crc - 7/30/15
220 Driving and Operating
Passing
More passing distance is needed
when towing a trailer. Because the
rig is longer, it is necessary to go
farther beyond the passed vehicle
before returning to the lane.
Backing Up
Hold the bottom of the steering
wheel with one hand. To move the
trailer to the left, move your hand to
the left. To move the trailer to the
right, move your hand to the right.
Always back up slowly and,
if possible, have someone
guide you.
Making TurnsCaution
Making very sharp turns while
trailering could cause the trailer to
come in contact with the vehicle.
The vehicle could be damaged.
Avoid making very sharp turns
while trailering. When turning with a trailer, make
wider turns than normal so the
trailer will not strike soft shoulders,
curbs, road signs, trees, or other
objects. Use the turn signal well in
advance and avoid jerky or sudden
maneuvers.
Turn Signals When Towing a
Trailer
The turn signal indicators on the
instrument cluster flash whenever
signaling a turn or lane change.
Properly hooked up, the trailer
lamps also flash, telling other
drivers the vehicle is turning,
changing lanes, or stopping.
When towing a trailer, the arrows on
the instrument cluster flash for turns
even if the bulbs on the trailer are
burned out. Check occasionally to
be sure the trailer bulbs are still
working.
Driving on Grades
Reduce speed and shift to a lower
gear before starting down a long or
steep downgrade. If the
transmission is not shifted down, the brakes might have to be used so
much that they would get hot and no
longer work well.
The vehicle can tow in D (Drive).
Use a lower gear if the transmission
shifts too often.
When towing at high altitude on
steep uphill grades, engine coolant
boils at a lower temperature than at
normal altitudes. If the engine is
turned off immediately after towing
at high altitude on steep uphill
grades, the vehicle could show
signs similar to engine overheating.
To avoid this, let the engine run
while parked, preferably on level
ground, with the transmission in
P (Park) for a few minutes before
turning the engine off. If the
overheat warning comes on, see
Engine Overheating
0238.