2016 CHEVROLET EQUINOX brake sensor
[x] Cancel search: brake sensorPage 132 of 324

Chevrolet Equinox Owner Manual (GMNA-Localizing-U.S./Canada/Mexico-
9234773) - 2016 - crc - 9/3/15
Lighting 131
Flash-to-Pass
The flash-to-pass feature works with
the low beams or Daytime Running
Lamps (DRL) on or off.
To flash the high beams, pull the
turn signal lever all the way toward
you, then release it.
Daytime Running
Lamps (DRL)
DRL can make it easier for others to
see the front of your vehicle during
the day.
The low-beam headlamps or
dedicated DRL, if equipped, come
on at a reduced brightness in
daylight when the following
conditions are met:
.The ignition is on.
. The exterior lamp control is
in AUTO.
. The transmission is not in
P (Park).
. The light sensor determines it is
daytime.
. The parking brake is released. Fully functional DRL are required on
all vehicles first sold in Canada.
When the DRL are on, the taillamps,
sidemarker, instrument panel lights,
and other lamps will not be on. The
instrument cluster will be lit.
When the exterior lamp control is
turned to
5, the low-beam
headlamps come on. The other
lamps that come on with the
headlamps will also come on.
To idle your vehicle with the DRL
off, move the shift lever to P (Park).
The DRL will stay off until the shift
lever is moved out of the P (Park)
position.
For vehicles first sold in the United
States or Mexico, the DRL can also
be turned off by turning the lamp
control counterclockwise. The DRL
will stay off until the next ignition
cycle.
The regular headlamp system
should be turned on when needed.
Automatic Headlamp
System
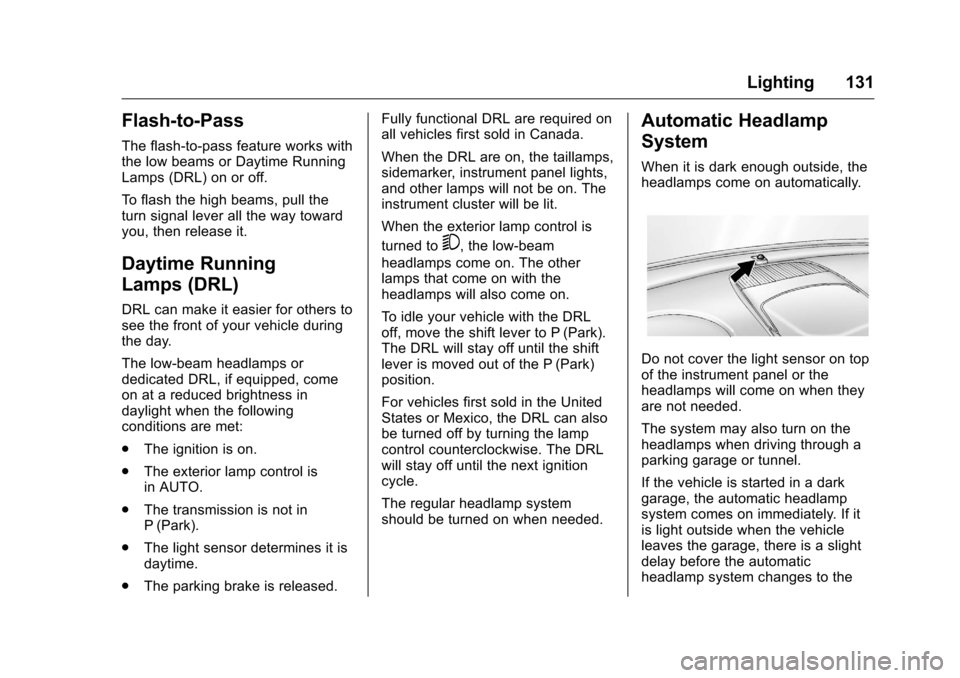
When it is dark enough outside, the
headlamps come on automatically.
Do not cover the light sensor on top
of the instrument panel or the
headlamps will come on when they
are not needed.
The system may also turn on the
headlamps when driving through a
parking garage or tunnel.
If the vehicle is started in a dark
garage, the automatic headlamp
system comes on immediately. If it
is light outside when the vehicle
leaves the garage, there is a slight
delay before the automatic
headlamp system changes to the
Page 182 of 324

Chevrolet Equinox Owner Manual (GMNA-Localizing-U.S./Canada/Mexico-
9234773) - 2016 - crc - 9/3/15
Driving and Operating 181
objects. FCA will not detect another
vehicle ahead until it is completely
in the driving lane.
{Warning
FCA does not provide a warning
to help avoid a crash, unless it
detects a vehicle. FCA may not
detect a vehicle ahead if the FCA
sensor is blocked by dirt, snow,
or ice, or if the windshield is
damaged. It may also not detect a
vehicle on winding or hilly roads,
or in conditions that can limit
visibility such as fog, rain,
or snow, or if the headlamps or
windshield are not cleaned or in
proper condition. Keep the
windshield, headlamps, and FCA
sensors clean and in good repair.Collision Alert
When your vehicle approaches
another detected vehicle too rapidly,
the red FCA display will flash and
sound several high-pitched beeps
from the front. When this Collision
Alert occurs, the brake system may
prepare for driver braking to occur
more rapidly which can cause a
brief, mild deceleration. Continue to
apply the brake pedal as needed.
Cruise control may be disengaged
when the Collision Alert occurs.
Tailgating Alert
The red Collision Alert display will
stay continuously illuminated when
following a detected vehicle ahead
much too closely.
Selecting the Alert Timing
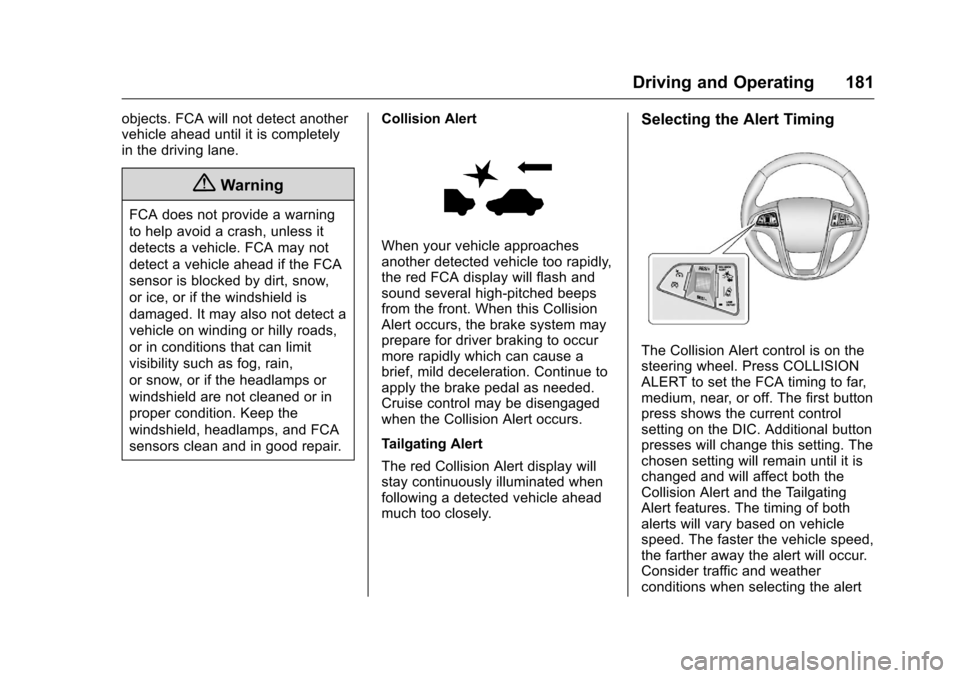
The Collision Alert control is on the
steering wheel. Press COLLISION
ALERT to set the FCA timing to far,
medium, near, or off. The first button
press shows the current control
setting on the DIC. Additional button
presses will change this setting. The
chosen setting will remain until it is
changed and will affect both the
Collision Alert and the Tailgating
Alert features. The timing of both
alerts will vary based on vehicle
speed. The faster the vehicle speed,
the farther away the alert will occur.
Consider traffic and weather
conditions when selecting the alert
Page 227 of 324

Chevrolet Equinox Owner Manual (GMNA-Localizing-U.S./Canada/Mexico-
9234773) - 2016 - crc - 9/3/15
226 Vehicle Care
J-CaseFuses Usage
8 Rear Defogger
9 Starter
10 AIR Pump Motor 11 Instrument Panel Fuse Block 2
12 Sunroof
13 Antilock Brake System Pump
14 Instrument Panel Fuse Block 3
15 Power Windows –Left
16 Antilock Brake System Module
77 Power Seat –Right
Mini Fuses Usage 17 Transmission Control Module
Battery
18 Trailer Parking Light Mini Fuses Usage
19 AIR Pump Solenoid
20 Engine Control Module Battery
21 Canister Vent
22 Trailer Left Side (If Equipped)
23 Liftgate Module
24 Power Lumbar
25 Trailer Right Side (If Equipped)
26 Rear Accessory Power Outlet
27 Memory Mirror Module
28 Regulated Voltage Control Battery
Sensor
29 Front Wiper
30 Rear Wiper
31 Air Conditioning Compressor
32 Rear Latch Mini Fuses Usage
33 Heated Mirrors
34 Horn
35 Right High-Beam Headlamp
36 Left High-Beam Headlamp
37 Ignition Even Coil
38 Ignition Odd Coil
39 Windshield Washer
40 Front Fog Lamps
41 Post Catalytic Converter Oxygen
Sensor
42 Engine Control Module
43 Pre–Catalytic Converter Oxygen
Sensor
44 Transmission Control Module
45 Mirror
Page 242 of 324

Chevrolet Equinox Owner Manual (GMNA-Localizing-U.S./Canada/Mexico-
9234773) - 2016 - crc - 9/3/15
Vehicle Care 241
tires or replacing one or more of the
TPMS sensors. The TPMS sensor
matching process should also be
performed after replacing a spare
tire with a road tire containing the
TPMS sensor. The malfunction light
and the DIC message should go off
at the next ignition cycle. The
sensors are matched to the tire/
wheel positions, using a TPMS
relearn tool, in the following order:
driver side front tire, passenger side
front tire, passenger side rear tire,
and driver side rear. See your
dealer for service or to purchase a
relearn tool. A TPMS relearn tool
can also be purchased. See Tire
Pressure Monitor Sensor Activation
Tool at
www.gmtoolsandequipment.com or
call 1-800-GM TOOLS
(1-800-468-6657).
There are two minutes to match the
first tire/wheel position, and
five minutes overall to match all four
tire/wheel positions. If it takes
longer, the matching process stops
and must be restarted.
The TPMS sensor matching
process is:1. Set the parking brake.
2. Turn the ignition to ON/RUN
with the engine off.
3. Use the MENU button to select the Vehicle Information Menu
in the Driver Information Center
(DIC). Use the arrow keys to
scroll to the Tire Pressure
screen.
4. Press the SET/CLR button to begin the sensor matching
process.
A message requesting
acceptance of the process
should display.
5. Press the SET/CLR button again to confirm the selection.
The horn sounds twice to
signal the receiver is in relearn
mode and the TIRE
LEARNING ACTIVE message
displays on the DIC screen.
6. Start with the driver side front tire.
7. Place the relearn tool against the tire sidewall, near the valve
stem. Then press the button to activate the TPMS sensor.
A horn chirp confirms that the
sensor identification code has
been matched to this tire and
wheel position.
8. Proceed to the passenger side front tire, and repeat the
procedure in Step 7.
9. Proceed to the passenger side rear tire, and repeat the
procedure in Step 7.
10. Proceed to the driver side rear tire, and repeat the procedure
in Step 7. The horn sounds two
times to indicate the sensor
identification code has been
matched to the driver side rear
tire, and the TPMS sensor
matching process is no longer
active. The TIRE LEARNING
ACTIVE message on the DIC
display screen goes off.
11. Turn the ignition to LOCK/OFF.
12. Set all four tires to the recommended air pressure
level as indicated on the Tire
and Loading Information label.