2016 CHEVROLET CRUZE LIMITED brake light
[x] Cancel search: brake lightPage 4 of 357
Chevrolet Cruze Limited Owner Manual (GMNA-Localizing-U.S./Canada-
9282844) - 2016 - crc - 9/3/15
Introduction 3
Danger, Warning, and
Caution
Warning messages found on vehicle
labels and in this manual describe
hazards and what to do to avoid or
reduce them.
{Danger
Danger indicates a hazard with a
high level of risk which will result
in serious injury or death.
{Warning
Warning indicates a hazard that
could result in injury or death.
Caution
Caution indicates a hazard that
could result in property or vehicle
damage.
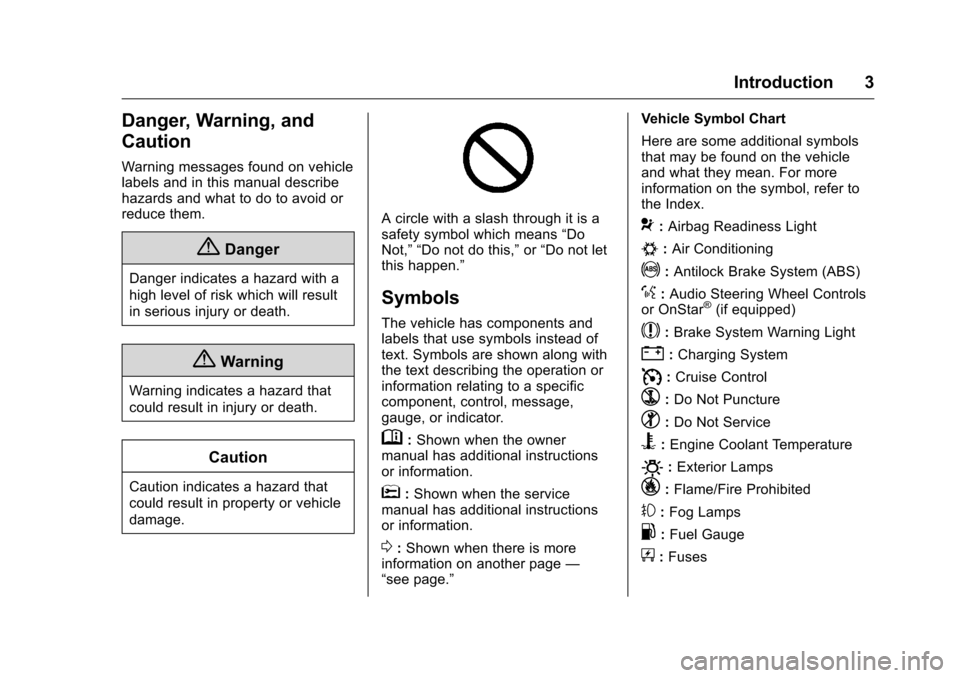
A circle with a slash through it is a
safety symbol which means“Do
Not,” “Do not do this,” or“Do not let
this happen.”
Symbols
The vehicle has components and
labels that use symbols instead of
text. Symbols are shown along with
the text describing the operation or
information relating to a specific
component, control, message,
gauge, or indicator.
M: Shown when the owner
manual has additional instructions
or information.
*: Shown when the service
manual has additional instructions
or information.
0: Shown when there is more
information on another page —
“see page.” Vehicle Symbol Chart
Here are some additional symbols
that may be found on the vehicle
and what they mean. For more
information on the symbol, refer to
the Index.
9:
Airbag Readiness Light
#:Air Conditioning
!:Antilock Brake System (ABS)
%:Audio Steering Wheel Controls
or OnStar®(if equipped)
$: Brake System Warning Light
":Charging System
I: Cruise Control
`:Do Not Puncture
^:Do Not Service
B:Engine Coolant Temperature
O:Exterior Lamps
_: Flame/Fire Prohibited
#:Fog Lamps
.:Fuel Gauge
+: Fuses
Page 8 of 357
Chevrolet Cruze Limited Owner Manual (GMNA-Localizing-U.S./Canada-
9282844) - 2016 - crc - 9/3/15
In Brief 7
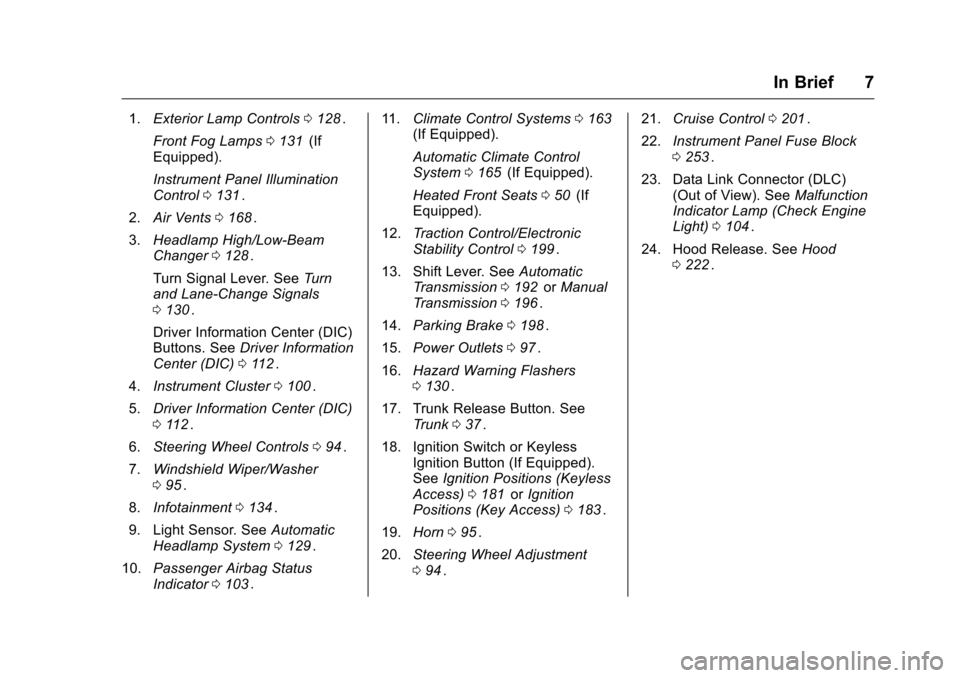
1.Exterior Lamp Controls 0128ii.
Front Fog Lamps 0131
ii(If
Equipped).
Instrument Panel Illumination
Control 0131
ii.
2. Air Vents 0168
ii.
3. Headlamp High/Low-Beam
Changer 0128
ii.
Turn Signal Lever. See Turn
and Lane-Change Signals
0 130
ii.
Driver Information Center (DIC)
Buttons. See Driver Information
Center (DIC) 0112
ii.
4. Instrument Cluster 0100
ii.
5. Driver Information Center (DIC)
0112
ii.
6. Steering Wheel Controls 094
ii.
7. Windshield Wiper/Washer
095
ii.
8. Infotainment 0134
ii.
9. Light Sensor. See Automatic
Headlamp System 0129
ii.
10. Passenger Airbag Status
Indicator 0103
ii. 11.
Climate Control Systems 0163
ii(If Equipped).
Automatic Climate Control
System 0165
ii(If Equipped).
Heated Front Seats 050
ii(If
Equipped).
12. Traction Control/Electronic
Stability Control 0199
ii.
13. Shift Lever. See Automatic
Transmission 0192
iior Manual
Transmission 0196ii.
14. Parking Brake 0198
ii.
15. Power Outlets 097
ii.
16. Hazard Warning Flashers
0130
ii.
17. Trunk Release Button. See Trunk 037
ii.
18. Ignition Switch or Keyless Ignition Button (If Equipped).
SeeIgnition Positions (Keyless
Access) 0181
iior Ignition
Positions (Key Access) 0183ii.
19. Horn 095
ii.
20. Steering Wheel Adjustment
094
ii. 21.
Cruise Control 0201
ii.
22. Instrument Panel Fuse Block
0253
ii.
23. Data Link Connector (DLC) (Out of View). See Malfunction
Indicator Lamp (Check Engine
Light) 0104
ii.
24. Hood Release. See Hood
0 222
ii.
Page 33 of 357
Chevrolet Cruze Limited Owner Manual (GMNA-Localizing-U.S./Canada-
9282844) - 2016 - crc - 9/3/15
32 Keys, Doors, and Windows
2. Press the button on therecognized transmitter to
extend the key blade. Insert the
key blade into the
transmitter slot.
3. With the vehicle in P (Park) or N (Neutral), press the brake
pedal and the ENGINE START/
STOP button. See Starting the
Engine 0185
iifor additional
information about the vehicle's
keyless ignition with
pushbutton start.
Replace the transmitter battery
as soon as possible.
Battery Replacement
Replace the battery if the REPLACE
BATTERY IN REMOTE KEY
message displays in the DIC. See
Key and Lock Messages 0118
ii.
Caution
When replacing the battery, do
not touch any of the circuitry on
the transmitter. Static from your
body could damage the
transmitter. The battery is not rechargeable. To
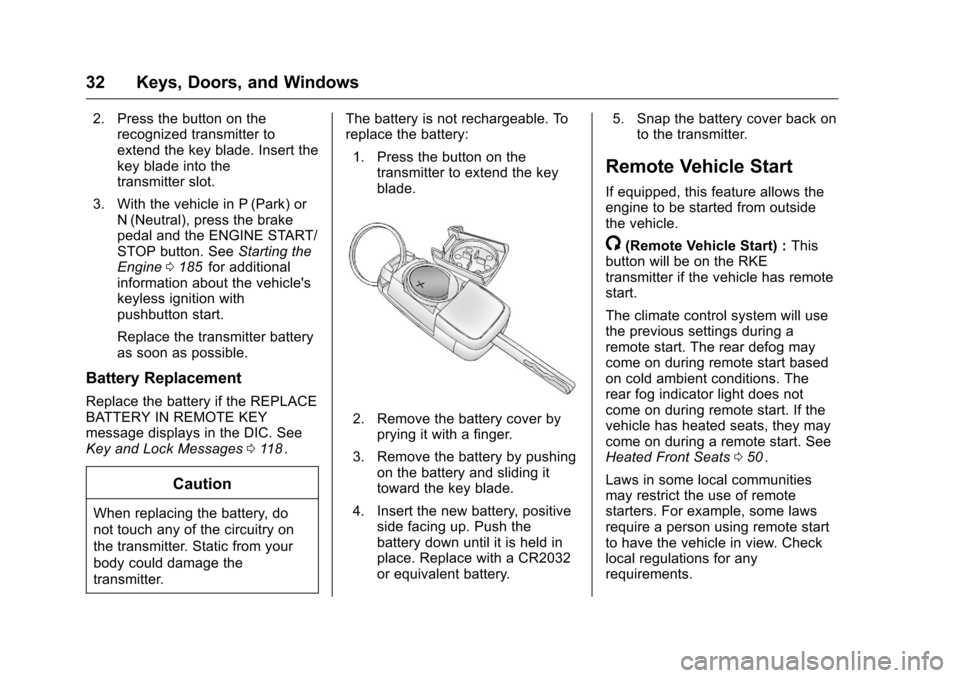
replace the battery:
1. Press the button on the transmitter to extend the key
blade.
2. Remove the battery cover byprying it with a finger.
3. Remove the battery by pushing on the battery and sliding it
toward the key blade.
4. Insert the new battery, positive side facing up. Push the
battery down until it is held in
place. Replace with a CR2032
or equivalent battery. 5. Snap the battery cover back on
to the transmitter.
Remote Vehicle Start
If equipped, this feature allows the
engine to be started from outside
the vehicle.
/(Remote Vehicle Start) : This
button will be on the RKE
transmitter if the vehicle has remote
start.
The climate control system will use
the previous settings during a
remote start. The rear defog may
come on during remote start based
on cold ambient conditions. The
rear fog indicator light does not
come on during remote start. If the
vehicle has heated seats, they may
come on during a remote start. See
Heated Front Seats 050
ii.
Laws in some local communities
may restrict the use of remote
starters. For example, some laws
require a person using remote start
to have the vehicle in view. Check
local regulations for any
requirements.
Page 94 of 357
Chevrolet Cruze Limited Owner Manual (GMNA-Localizing-U.S./Canada-
9282844) - 2016 - crc - 9/3/15
Instruments and Controls 93
Instruments and
Controls
Controls
Steering Wheel Adjustment . . . . 94
Steering Wheel Controls . . . . . . . 94
Horn . . . . . . . . . . . . . . . . . . . . . . . . . . . 95
Windshield Wiper/Washer . . . . . . 95
Compass . . . . . . . . . . . . . . . . . . . . . . 96
Clock . . . . . . . . . . . . . . . . . . . . . . . . . . 96
Power Outlets . . . . . . . . . . . . . . . . . 97
Cigarette Lighter . . . . . . . . . . . . . . . 98
Ashtrays . . . . . . . . . . . . . . . . . . . . . . . 98
Warning Lights, Gauges, and
Indicators
Warning Lights, Gauges, andIndicators . . . . . . . . . . . . . . . . . . . . 99
Instrument Cluster . . . . . . . . . . . . 100
Speedometer . . . . . . . . . . . . . . . . . 101
Odometer . . . . . . . . . . . . . . . . . . . . . 101
Trip Odometer . . . . . . . . . . . . . . . . 101
Tachometer . . . . . . . . . . . . . . . . . . . 101
Fuel Gauge . . . . . . . . . . . . . . . . . . . 101
Engine Coolant Temperature Gauge . . . . . . . . . . . . . . . . . . . . . . 102
Safety Belt Reminders . . . . . . . . 102
Airbag Readiness Light . . . . . . . 103 Passenger Airbag Status
Indicator . . . . . . . . . . . . . . . . . . . . 103
Charging System Light . . . . . . . 104
Malfunction Indicator Lamp (Check Engine Light) . . . . . . . . 104
Brake System Warning Light . . . . . . . . . . . . . . . . . . . . . . . . 106
Antilock Brake System (ABS) Warning Light . . . . . . . . . . . . . . . 107
Up-Shift Light . . . . . . . . . . . . . . . . . 107
Power Steering Warning Light . . . . . . . . . . . . . . . . . . . . . . . . 108
Traction Off Light . . . . . . . . . . . . . 108
StabiliTrak
®OFF Light . . . . . . . . 108
Traction Control System (TCS)/ StabiliTrak
®Light . . . . . . . . . . . 108
Tire Pressure Light . . . . . . . . . . . 109
Engine Oil Pressure Light . . . . 109
Low Fuel Warning Light . . . . . . . 110
Security Light . . . . . . . . . . . . . . . . . 110
Reduced Engine Power Light . . . . . . . . . . . . . . . . . . . . . . . . 110
High-Beam On Light . . . . . . . . . . 110
Front Fog Lamp Light . . . . . . . . . 111
Lamps On Reminder . . . . . . . . . . 111
Cruise Control Light . . . . . . . . . . . 111
Door Ajar Light . . . . . . . . . . . . . . . . 111
Information Displays
Driver Information Center (DIC) . . . . . . . . . . . . . . . . 112
Vehicle Messages
Vehicle Messages . . . . . . . . . . . . 115
Battery Voltage and ChargingMessages . . . . . . . . . . . . . . . . . . . 115
Brake System Messages . . . . . 116
Compass Messages . . . . . . . . . . 116
Cruise Control Messages . . . . . 116
Door Ajar Messages . . . . . . . . . . 116
Engine Cooling System Messages . . . . . . . . . . . . . . . . . . . 116
Engine Oil Messages . . . . . . . . . 117
Engine Power Messages . . . . . 117
Fuel System Messages . . . . . . . 117
Key and Lock Messages . . . . . . 118
Lamp Messages . . . . . . . . . . . . . . 118
Object Detection System Messages . . . . . . . . . . . . . . . . . . . 118
Ride Control System Messages . . . . . . . . . . . . . . . . . . . 119
Airbag System Messages . . . . . 119
Safety Belt Messages . . . . . . . . 119
Security Messages . . . . . . . . . . . 120
Service Vehicle Messages . . . . 120
Starting the Vehicle Messages . . . . . . . . . . . . . . . . . . . 120
Tire Messages . . . . . . . . . . . . . . . . 120
Transmission Messages . . . . . . 121
Vehicle Reminder Messages . . . . . . . . . . . . . . . . . . . 121
Page 107 of 357
Chevrolet Cruze Limited Owner Manual (GMNA-Localizing-U.S./Canada-
9282844) - 2016 - crc - 9/3/15
106 Instruments and Controls
least one full tank of the proper
fuel to turn the light off. SeeFuel
0 209
ii.
If the light remains on, see your
dealer.
Emissions Inspection and
Maintenance Programs
If the vehicle requires an Emissions
Inspection/Maintenance test, the
test equipment will likely connect to
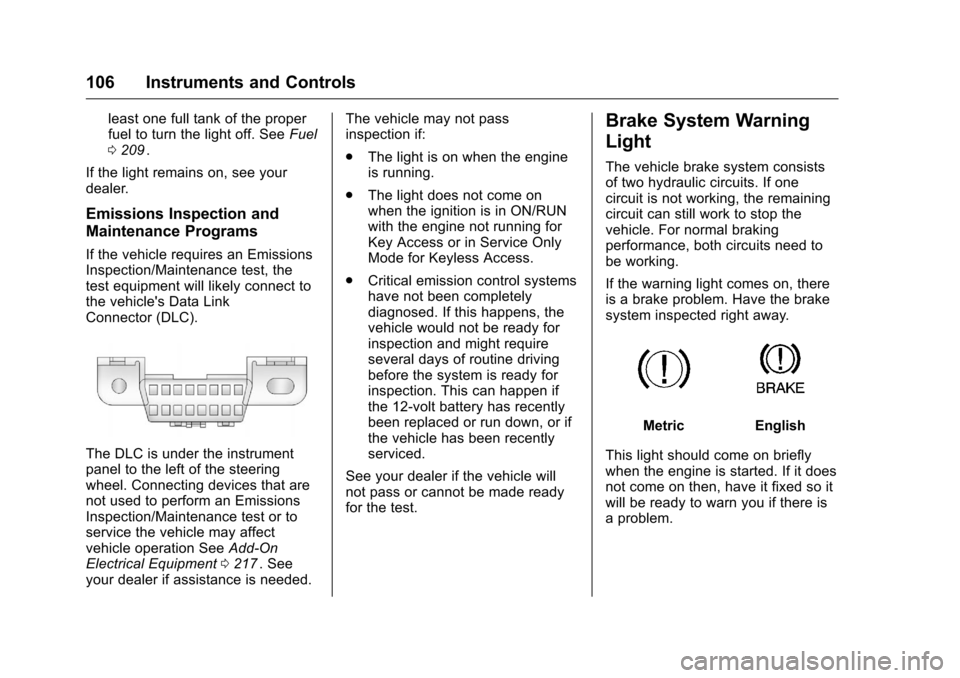
the vehicle's Data Link
Connector (DLC).
The DLC is under the instrument
panel to the left of the steering
wheel. Connecting devices that are
not used to perform an Emissions
Inspection/Maintenance test or to
service the vehicle may affect
vehicle operation See Add-On
Electrical Equipment 0217
ii. See
your dealer if assistance is needed. The vehicle may not pass
inspection if:
.
The light is on when the engine
is running.
. The light does not come on
when the ignition is in ON/RUN
with the engine not running for
Key Access or in Service Only
Mode for Keyless Access.
. Critical emission control systems
have not been completely
diagnosed. If this happens, the
vehicle would not be ready for
inspection and might require
several days of routine driving
before the system is ready for
inspection. This can happen if
the 12-volt battery has recently
been replaced or run down, or if
the vehicle has been recently
serviced.
See your dealer if the vehicle will
not pass or cannot be made ready
for the test.
Brake System Warning
Light
The vehicle brake system consists
of two hydraulic circuits. If one
circuit is not working, the remaining
circuit can still work to stop the
vehicle. For normal braking
performance, both circuits need to
be working.
If the warning light comes on, there
is a brake problem. Have the brake
system inspected right away.
MetricEnglish
This light should come on briefly
when the engine is started. If it does
not come on then, have it fixed so it
will be ready to warn you if there is
a problem.
Page 108 of 357
Chevrolet Cruze Limited Owner Manual (GMNA-Localizing-U.S./Canada-
9282844) - 2016 - crc - 9/3/15
Instruments and Controls 107
{Warning
The brake system might not be
working properly if the brake
system warning light is on.
Driving with the brake system
warning light on can lead to a
crash. If the light is still on after
the vehicle has been pulled off
the road and carefully stopped,
have the vehicle towed for
service.
If the light comes on while driving, a
chime sounds. Pull off the road and
stop. The pedal might be harder to
push or go closer to the floor.
It might also take longer to stop.
If the light is still on, have the
vehicle towed for service. See
Towing the Vehicle 0293
ii.
Antilock Brake System
(ABS) Warning Light
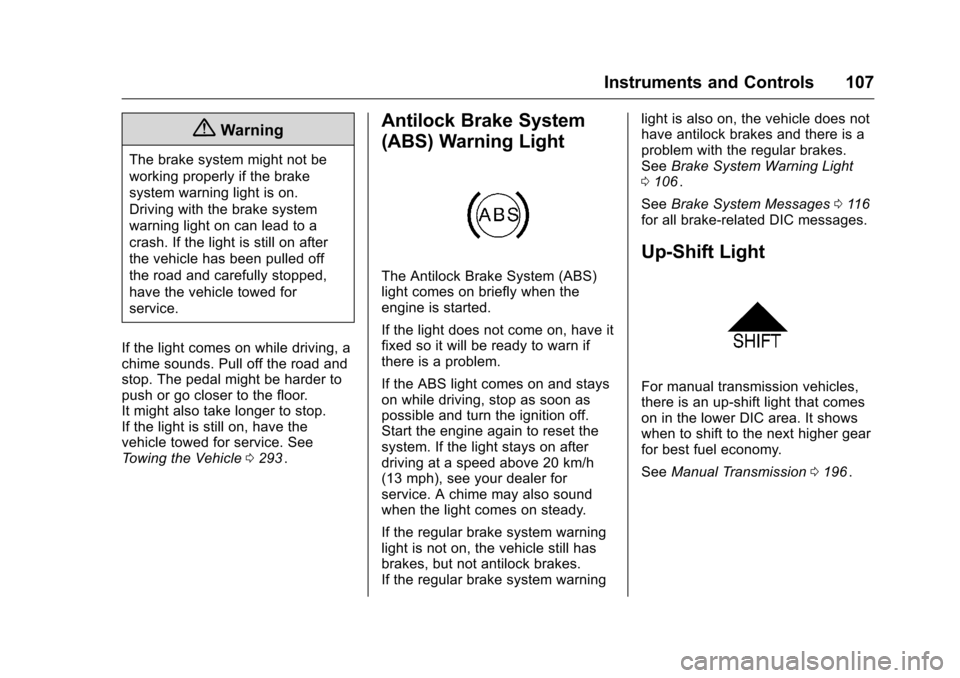
The Antilock Brake System (ABS)
light comes on briefly when the
engine is started.
If the light does not come on, have it
fixed so it will be ready to warn if
there is a problem.
If the ABS light comes on and stays
on while driving, stop as soon as
possible and turn the ignition off.
Start the engine again to reset the
system. If the light stays on after
driving at a speed above 20 km/h
(13 mph), see your dealer for
service. A chime may also sound
when the light comes on steady.
If the regular brake system warning
light is not on, the vehicle still has
brakes, but not antilock brakes.
If the regular brake system warning light is also on, the vehicle does not
have antilock brakes and there is a
problem with the regular brakes.
See
Brake System Warning Light
0 106
ii.
See Brake System Messages 0116
iifor all brake‐related DIC messages.
Up-Shift Light
For manual transmission vehicles,
there is an up-shift light that comes
on in the lower DIC area. It shows
when to shift to the next higher gear
for best fuel economy.
See Manual Transmission 0196
ii.
Page 121 of 357
Chevrolet Cruze Limited Owner Manual (GMNA-Localizing-U.S./Canada-
9282844) - 2016 - crc - 9/3/15
120 Instruments and Controls
SHIFTER UNLOCKED. BRAKE
TO SHIFT
This message displays when the
Safety Belt Assurance System times
out and allows the vehicle to be
shifted out of P (Park) after
30 seconds following brake apply.
See“Safety Belts” and“Child
Restraints” in the Index for
information about the importance of
proper restraint use.
This system may not function
properly if the airbag readiness light
is on. See Airbag Readiness Light
0 103
ii.
Security Messages
THEFT ATTEMPTED
This message displays if the vehicle
detects a tamper condition.
Service Vehicle Messages
CHANGE TIMING BELT
This message displays when
scheduled maintenance on the
timing belt is required. See your
dealer for service.
SERVICE POWER STEERING
This message displays and a chime
may sound when there may be a
problem with the power steering
system. If this message displays
and a reduction in steering
performance or loss of power
steering assistance is noticed, see
your dealer.
SERVICE STEERING
COLUMN LOCK
This message displays if there is a
problem with the steering column
lock. Take the vehicle to your dealer
for service.
SERVICE VEHICLE SOON
This message displays if there is a
problem with the vehicle. Take the
vehicle to your dealer for service.
Starting the Vehicle
Messages
TURN STEERING WHEEL
START VEHICLE AGAIN
This message displays when you try
to start the vehicle, but the column
remains locked. Try turning the
steering wheel while starting the
vehicle to unlock the steering
column. If the vehicle still does not
start, turn the steering wheel the
other way, and try starting the
vehicle again.
Tire Messages
SERVICE TIRE MONITOR
SYSTEM
This message displays if there is a
problem with the Tire Pressure
Monitor System (TPMS). See Tire
Pressure Monitor Operation 0264
iifor more information.
Page 130 of 357
Chevrolet Cruze Limited Owner Manual (GMNA-Localizing-U.S./Canada-
9282844) - 2016 - crc - 9/3/15
Lighting 129
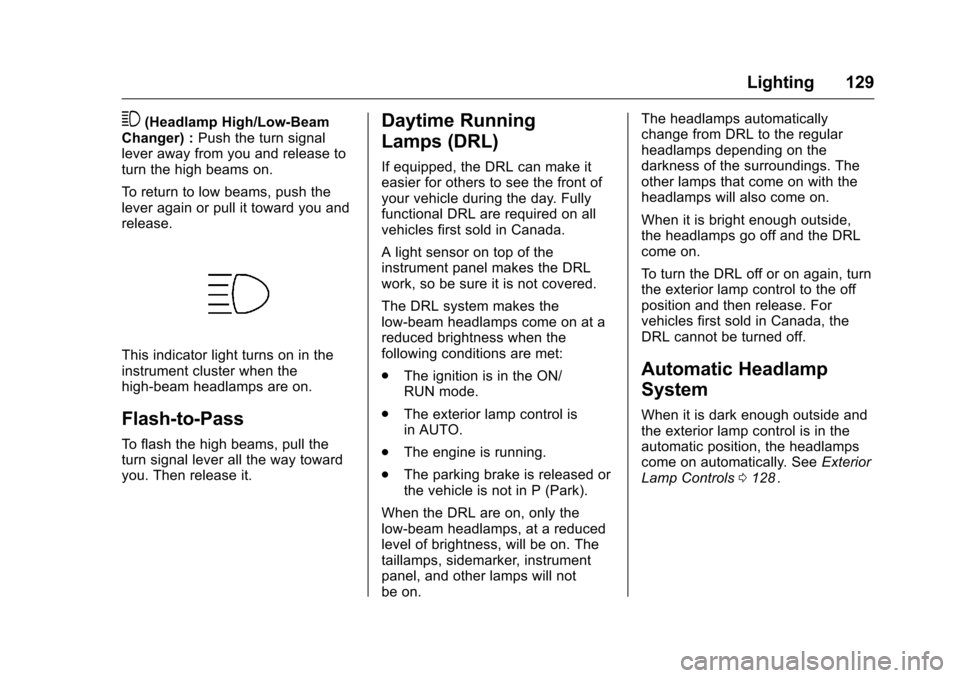
3(Headlamp High/Low-Beam
Changer) : Push the turn signal
lever away from you and release to
turn the high beams on.
To return to low beams, push the
lever again or pull it toward you and
release.
This indicator light turns on in the
instrument cluster when the
high-beam headlamps are on.
Flash-to-Pass
To flash the high beams, pull the
turn signal lever all the way toward
you. Then release it.
Daytime Running
Lamps (DRL)
If equipped, the DRL can make it
easier for others to see the front of
your vehicle during the day. Fully
functional DRL are required on all
vehicles first sold in Canada.
A light sensor on top of the
instrument panel makes the DRL
work, so be sure it is not covered.
The DRL system makes the
low-beam headlamps come on at a
reduced brightness when the
following conditions are met:
. The ignition is in the ON/
RUN mode.
. The exterior lamp control is
in AUTO.
. The engine is running.
. The parking brake is released or
the vehicle is not in P (Park).
When the DRL are on, only the
low-beam headlamps, at a reduced
level of brightness, will be on. The
taillamps, sidemarker, instrument
panel, and other lamps will not
be on. The headlamps automatically
change from DRL to the regular
headlamps depending on the
darkness of the surroundings. The
other lamps that come on with the
headlamps will also come on.
When it is bright enough outside,
the headlamps go off and the DRL
come on.
To turn the DRL off or on again, turn
the exterior lamp control to the off
position and then release. For
vehicles first sold in Canada, the
DRL cannot be turned off.
Automatic Headlamp
System
When it is dark enough outside and
the exterior lamp control is in the
automatic position, the headlamps
come on automatically. See
Exterior
Lamp Controls 0128
ii.