2016 CHEVROLET COLORADO Z71 air filter
[x] Cancel search: air filterPage 188 of 396

Chevrolet Colorado Owner Manual (GMNA-Localizing-U.S/Canada/Mexico-
9159327) - 2016 - crc - 8/28/15
Climate Controls 187
Climate Controls
Climate Control Systems
Climate Control Systems . . . . . 187
Automatic Climate ControlSystem . . . . . . . . . . . . . . . . . . . . . . 189
Air Vents
Air Vents . . . . . . . . . . . . . . . . . . . . . 191
Maintenance
Passenger Compartment AirFilter . . . . . . . . . . . . . . . . . . . . . . . . 192
Climate Control Systems
With this system the heating, cooling, and ventilation can be controlled.
1. Fan Control
2. A/C (Air Conditioning)
3. Air Delivery Mode Controls
4. Defrost
5. TEMP (Temperature Control)
6. Rear Window Defogger (If
Equipped)
7. Air Recirculation TEMP (Temperature Control) :
Turn clockwise or counterclockwise
to increase or decrease the
temperature inside the vehicle.
9(Fan Control) :
Turn clockwise
or counterclockwise to increase or
decrease the fan speed. There is
about a five second delay when the
fan is turned on. Turn the knob all
the way counterclockwise to turn the
fan off.
Page 193 of 396
Chevrolet Colorado Owner Manual (GMNA-Localizing-U.S/Canada/Mexico-
9159327) - 2016 - crc - 8/28/15
192 Climate Controls
Use the sliding knobs to turn vent
airflow on or off based on the mode
selected.
Operation Tips
.Clear away any ice, snow,
or leaves from air inlets at the
base of the windshield that could
block the flow of air into the
vehicle.
. Keep the path under the front
seats clear of objects to help
circulate the air inside of the
vehicle more effectively.
. Use of non-GM approved hood
deflectors can adversely affect
the performance of the system.
Check with your dealer before
adding equipment to the outside
of the vehicle.Maintenance
Passenger Compartment
Air Filter
The passenger compartment air
filter reduces dust, pollen, and other
airborne irritants from outside air
that is pulled into the vehicle. The
filter will need to be replaced
periodically. See Maintenance
Schedule 0344
ii.
Using the climate control system
without an air filter installed is not
recommended. Water or other
debris could enter the system and
result in leaks or noises. Always
install a new filter when removing
the old filter.
For more information on filter
replacement, see your dealer.
Page 259 of 396
Chevrolet Colorado Owner Manual (GMNA-Localizing-U.S/Canada/Mexico-
9159327) - 2016 - crc - 8/28/15
258 Vehicle Care
Vehicle Care
General Information
General Information . . . . . . . . . . 259
California Proposition65 Warning . . . . . . . . . . . . . . . . . 259
California Perchlorate Materials Requirements . . . . . 259
Accessories and Modifications . . . . . . . . . . . . . . . . 259
Vehicle Checks
Doing Your OwnService Work . . . . . . . . . . . . . . . 260
Hood . . . . . . . . . . . . . . . . . . . . . . . . . 261
Engine Compartment Overview . . . . . . . . . . . . . . . . . . . . 262
Engine Oil . . . . . . . . . . . . . . . . . . . . 265
Engine Oil Life System . . . . . . . 267
Automatic Transmission Fluid . . . . . . . . . . . . . . . . . . . . . . . . 268
Manual Transmission Fluid . . . 269
Hydraulic Clutch . . . . . . . . . . . . . . 269
Engine Air Cleaner/Filter . . . . . . 269
Cooling System . . . . . . . . . . . . . . 271
Engine Coolant . . . . . . . . . . . . . . . 272
Engine Overheating . . . . . . . . . . 274
Engine Fan . . . . . . . . . . . . . . . . . . . 276
Washer Fluid . . . . . . . . . . . . . . . . . 276
Brakes . . . . . . . . . . . . . . . . . . . . . . . 277 Brake Fluid . . . . . . . . . . . . . . . . . . . 278
Battery - North America . . . . . . 279
Four-Wheel Drive . . . . . . . . . . . . . 279
Front Axle . . . . . . . . . . . . . . . . . . . . 280
Rear Axle . . . . . . . . . . . . . . . . . . . . 280
Starter Switch Check . . . . . . . . . 281
Automatic Transmission Shift
Lock Control Function
Check . . . . . . . . . . . . . . . . . . . . . . . 282
Ignition Transmission Lock Check . . . . . . . . . . . . . . . . . . . . . . . 282
Park Brake and P (Park) Mechanism Check . . . . . . . . . . 282
Wiper Blade Replacement . . . . 283
Headlamp Aiming
Headlamp Aiming . . . . . . . . . . . . 284
Bulb Replacement
Bulb Replacement . . . . . . . . . . . . 284
Halogen Bulbs . . . . . . . . . . . . . . . . 284
Headlamps, Front Turn Signal, Sidemarker, and Parking
Lamps . . . . . . . . . . . . . . . . . . . . . . 284
Taillamps, Turn Signal, Stoplamps, and Back-Up
Lamps . . . . . . . . . . . . . . . . . . . . . . 285
Center High-Mounted Stoplamp (CHMSL) and
Cargo Lamp . . . . . . . . . . . . . . . . . 286
Replacement Bulbs . . . . . . . . . . . 286
Electrical System
Electrical System Overload . . . 287
Fuses . . . . . . . . . . . . . . . . . . . . . . . . 287
Engine Compartment Fuse Block . . . . . . . . . . . . . . . . . . . . . . . . 288
Instrument Panel Fuse
Block . . . . . . . . . . . . . . . . . . . . . . . . 292
Wheels and Tires
Tires . . . . . . . . . . . . . . . . . . . . . . . . . . 295
All-Season Tires . . . . . . . . . . . . . . 296
Winter Tires . . . . . . . . . . . . . . . . . . 296
All-Terrain Tires . . . . . . . . . . . . . . . 297
Tire Sidewall Labeling . . . . . . . . 297
Tire Designations . . . . . . . . . . . . . 299
Tire Terminology andDefinitions . . . . . . . . . . . . . . . . . . 300
Tire Pressure . . . . . . . . . . . . . . . . . 302
Tire Pressure Monitor
System . . . . . . . . . . . . . . . . . . . . . . 303
Tire Pressure Monitor Operation . . . . . . . . . . . . . . . . . . . 304
Tire Inspection . . . . . . . . . . . . . . . . 307
Tire Rotation . . . . . . . . . . . . . . . . . 308
When It Is Time for New Tires . . . . . . . . . . . . . . . . . . . . . . . . 309
Buying New Tires . . . . . . . . . . . . . 310
Different Size Tires and Wheels . . . . . . . . . . . . . . . . . . . . . . 311
Uniform Tire Quality Grading . . . . . . . . . . . . . . . . . . . . . 312
Page 264 of 396
Chevrolet Colorado Owner Manual (GMNA-Localizing-U.S/Canada/Mexico-
9159327) - 2016 - crc - 8/28/15
Vehicle Care 263
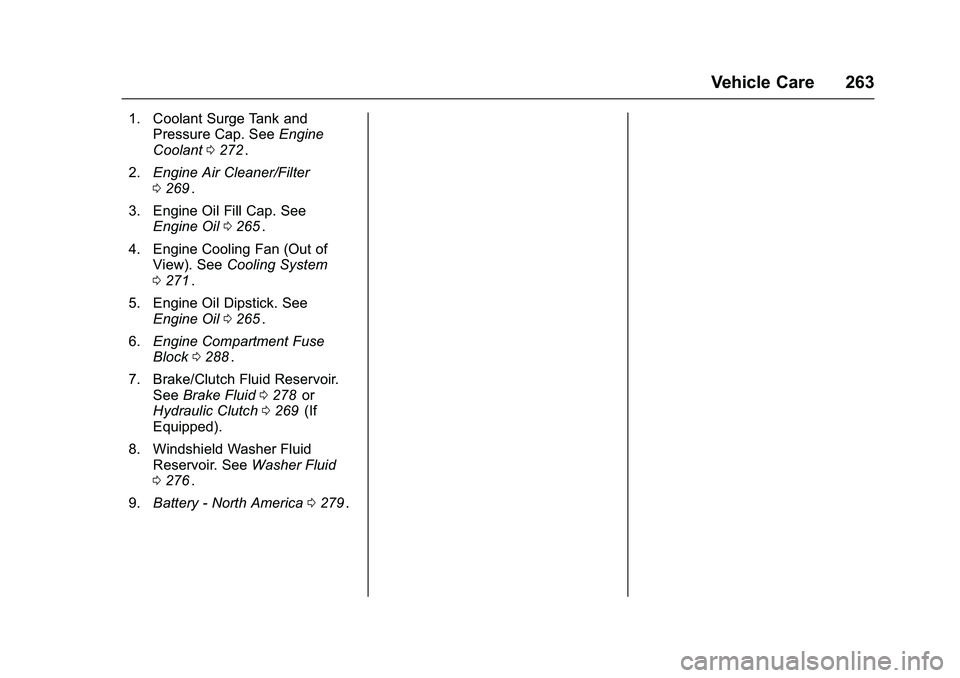
1. Coolant Surge Tank andPressure Cap. See Engine
Coolant 0272
ii.
2. Engine Air Cleaner/Filter
0269
ii.
3. Engine Oil Fill Cap. See Engine Oil 0265
ii.
4. Engine Cooling Fan (Out of View). See Cooling System
0 271
ii.
5. Engine Oil Dipstick. See Engine Oil 0265
ii.
6. Engine Compartment Fuse
Block 0288
ii.
7. Brake/Clutch Fluid Reservoir. See Brake Fluid 0278
iior
Hydraulic Clutch 0269ii(If
Equipped).
8. Windshield Washer Fluid Reservoir. See Washer Fluid
0 276
ii.
9. Battery - North America 0279
ii.
Page 266 of 396
Chevrolet Colorado Owner Manual (GMNA-Localizing-U.S/Canada/Mexico-
9159327) - 2016 - crc - 8/28/15
Vehicle Care 265
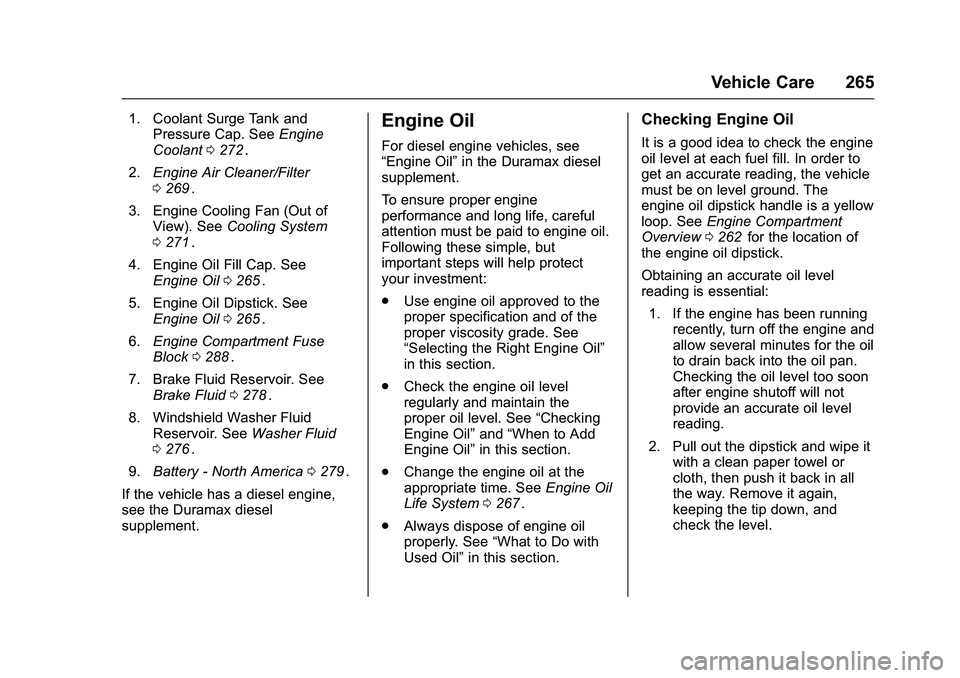
1. Coolant Surge Tank andPressure Cap. See Engine
Coolant 0272
ii.
2. Engine Air Cleaner/Filter
0269
ii.
3. Engine Cooling Fan (Out of View). See Cooling System
0 271
ii.
4. Engine Oil Fill Cap. See Engine Oil 0265
ii.
5. Engine Oil Dipstick. See Engine Oil 0265
ii.
6. Engine Compartment Fuse
Block 0288
ii.
7. Brake Fluid Reservoir. See Brake Fluid 0278
ii.
8. Windshield Washer Fluid Reservoir. See Washer Fluid
0 276
ii.
9. Battery - North America 0279
ii.
If the vehicle has a diesel engine,
see the Duramax diesel
supplement.
Engine Oil
For diesel engine vehicles, see
“Engine Oil” in the Duramax diesel
supplement.
To ensure proper engine
performance and long life, careful
attention must be paid to engine oil.
Following these simple, but
important steps will help protect
your investment:
. Use engine oil approved to the
proper specification and of the
proper viscosity grade. See
“Selecting the Right Engine Oil”
in this section.
. Check the engine oil level
regularly and maintain the
proper oil level. See “Checking
Engine Oil” and“When to Add
Engine Oil” in this section.
. Change the engine oil at the
appropriate time. See Engine Oil
Life System 0267
ii.
. Always dispose of engine oil
properly. See “What to Do with
Used Oil” in this section.
Checking Engine Oil
It is a good idea to check the engine
oil level at each fuel fill. In order to
get an accurate reading, the vehicle
must be on level ground. The
engine oil dipstick handle is a yellow
loop. See Engine Compartment
Overview 0262
iifor the location of
the engine oil dipstick.
Obtaining an accurate oil level
reading is essential:
1. If the engine has been running recently, turn off the engine and
allow several minutes for the oil
to drain back into the oil pan.
Checking the oil level too soon
after engine shutoff will not
provide an accurate oil level
reading.
2. Pull out the dipstick and wipe it with a clean paper towel or
cloth, then push it back in all
the way. Remove it again,
keeping the tip down, and
check the level.
Page 269 of 396

Chevrolet Colorado Owner Manual (GMNA-Localizing-U.S/Canada/Mexico-
9159327) - 2016 - crc - 8/28/15
268 Vehicle Care
must be reset. For vehicles without
the CHANGE ENGINE OIL SOON
message, an oil change is needed
when the OIL LIFE REMAINING
percentage is near 0%. Your dealer
has trained service people who will
perform this work and reset the
system. It is also important to check
the oil regularly over the course of
an oil drain interval and keep it at
the proper level.
If the system is ever reset
accidentally, the oil must be
changed at 5 000 km (3,000 mi)
since the last oil change.
Remember to reset the oil life
system whenever the oil is changed.
How to Reset the Engine Oil
Life System
Reset the system whenever the
engine oil is changed so that the
system can calculate the next
engine oil change. Always reset the
engine oil life to 100% after every oil
change. It will not reset itself. To
reset the engine oil life system:1. Display the OIL LIFE REMAINING on the Driver
Information System (DIC). See
Driver Information Center
(DIC) (Base Level) 0123
iior
Driver Information Center (DIC)
(Uplevel) 0126
ii.
2. Press and hold SET/CLR for several seconds. The oil life
will change to 100%.
The oil life system can also be reset
as follows: 1. Turn the ignition to ON/RUN with the engine off.
2. Display the OIL LIFE REMAINING on the DIC.
3. Fully press the accelerator pedal slowly three times within
five seconds. If the display
shows 100%, the system is
reset.
If the vehicle has a CHANGE
ENGINE OIL SOON message and it
comes back on when the vehicle is
started and/or the OIL LIFE
REMAINING is near 0%, the engine
oil life system has not been reset.
Repeat the procedure.
Automatic Transmission
Fluid
How to Check Automatic
Transmission Fluid
It is not necessary to check the
transmission fluid level.
A transmission fluid leak is the only
reason for fluid loss. If a leak
occurs, take the vehicle to your
dealer and have it repaired as soon
as possible.
There is a special procedure for
checking and changing the
transmission fluid. Because this
procedure is difficult, this should be
done at your dealer. Contact your
dealer for additional information or
the procedure can be found in the
service manual. To purchase a
service manual, see Service
Publications Ordering Information
0 370
ii.
Change the fluid and filter at the
intervals listed in Maintenance
Schedule 0344
ii, and be sure to use
the fluid listed in Recommended
Fluids and Lubricants 0353
ii.
Page 270 of 396
Chevrolet Colorado Owner Manual (GMNA-Localizing-U.S/Canada/Mexico-
9159327) - 2016 - crc - 8/28/15
Vehicle Care 269
Manual Transmission
Fluid
How to Check Manual
Transmission Fluid
It is not necessary to check the
manual transmission fluid level.
A transmission fluid leak is the only
reason for fluid loss. If a leak
occurs, take the vehicle to your
dealer and have it repaired as soon
as possible. SeeRecommended
Fluids and Lubricants 0353
iifor the
proper fluid to use.
Hydraulic Clutch
For vehicles with a manual
transmission, it is not necessary to
regularly check brake/clutch fluid
unless there is a leak suspected.
Adding fluid will not correct a leak.
A fluid loss in this system could
indicate a problem. Have the
system inspected and repaired.
When to Check and What
to Use
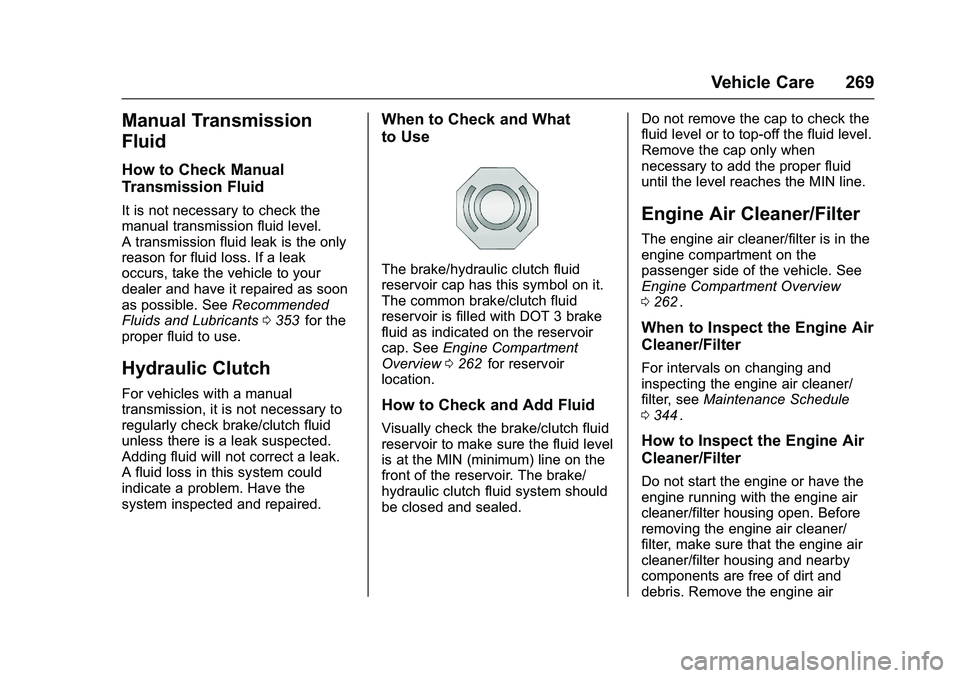
The brake/hydraulic clutch fluid
reservoir cap has this symbol on it.
The common brake/clutch fluid
reservoir is filled with DOT 3 brake
fluid as indicated on the reservoir
cap. See Engine Compartment
Overview 0262
iifor reservoir
location.
How to Check and Add Fluid
Visually check the brake/clutch fluid
reservoir to make sure the fluid level
is at the MIN (minimum) line on the
front of the reservoir. The brake/
hydraulic clutch fluid system should
be closed and sealed. Do not remove the cap to check the
fluid level or to top-off the fluid level.
Remove the cap only when
necessary to add the proper fluid
until the level reaches the MIN line.
Engine Air Cleaner/Filter
The engine air cleaner/filter is in the
engine compartment on the
passenger side of the vehicle. See
Engine Compartment Overview
0
262
ii.
When to Inspect the Engine Air
Cleaner/Filter
For intervals on changing and
inspecting the engine air cleaner/
filter, see Maintenance Schedule
0 344
ii.
How to Inspect the Engine Air
Cleaner/Filter
Do not start the engine or have the
engine running with the engine air
cleaner/filter housing open. Before
removing the engine air cleaner/
filter, make sure that the engine air
cleaner/filter housing and nearby
components are free of dirt and
debris. Remove the engine air
Page 271 of 396
Chevrolet Colorado Owner Manual (GMNA-Localizing-U.S/Canada/Mexico-
9159327) - 2016 - crc - 8/28/15
270 Vehicle Care
cleaner/filter. Lightly tap and shake
the engine air cleaner/filter (away
from the vehicle), to release loose
dust and dirt. Inspect the engine air
cleaner/filter for damage, and
replace if damaged. Do not clean
the engine air cleaner/filter or
components with water or
compressed air.
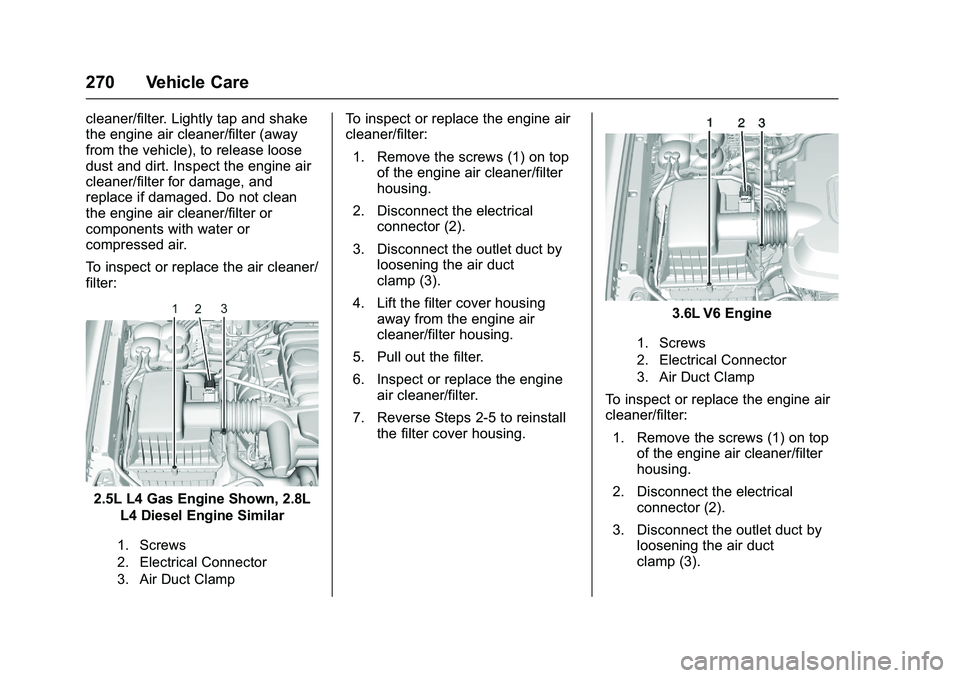
To inspect or replace the air cleaner/
filter:
2.5L L4 Gas Engine Shown, 2.8LL4 Diesel Engine Similar
1. Screws
2. Electrical Connector
3. Air Duct Clamp
To inspect or replace the engine air
cleaner/filter:
1. Remove the screws (1) on top of the engine air cleaner/filter
housing.
2. Disconnect the electrical connector (2).
3. Disconnect the outlet duct by loosening the air duct
clamp (3).
4. Lift the filter cover housing away from the engine air
cleaner/filter housing.
5. Pull out the filter.
6. Inspect or replace the engine air cleaner/filter.
7. Reverse Steps 2-5 to reinstall the filter cover housing.
3.6L V6 Engine
1. Screws
2. Electrical Connector
3. Air Duct Clamp
To inspect or replace the engine air
cleaner/filter:
1. Remove the screws (1) on top of the engine air cleaner/filter
housing.
2. Disconnect the electrical connector (2).
3. Disconnect the outlet duct by loosening the air duct
clamp (3).