2016 BMW M4 CONVERTIBLE roof
[x] Cancel search: roofPage 21 of 226
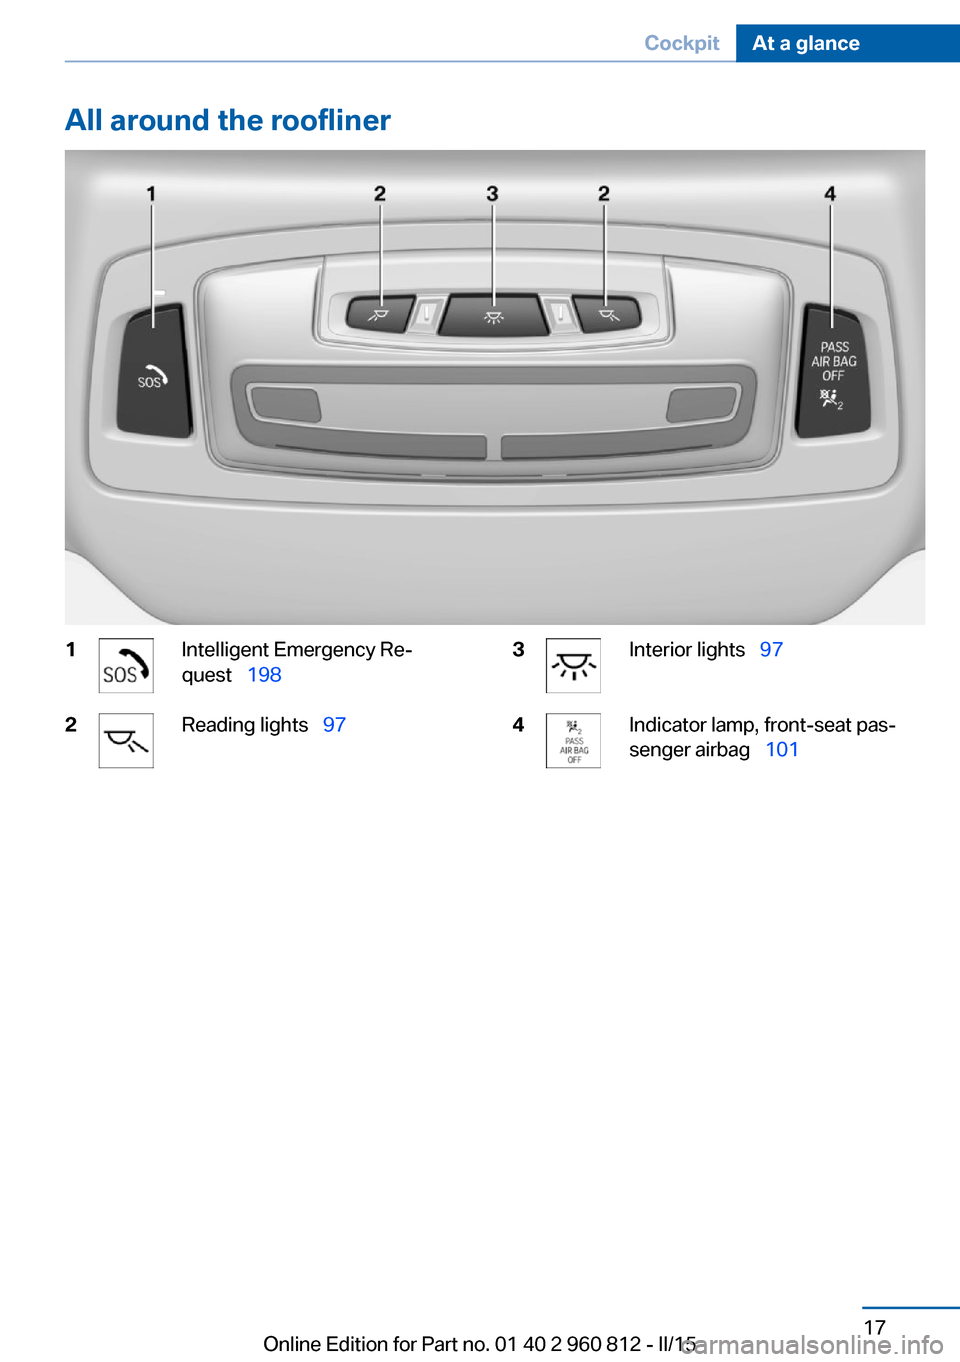
All around the roofliner1Intelligent Emergency Re‐
quest 1982Reading lights 973Interior lights 974Indicator lamp, front-seat pas‐
senger airbag 101Seite 17CockpitAt a glance17
Online Edition for Part no. 01 40 2 960 812 - II/15
Page 52 of 226

Do not attach any roof carrier systems to
the hardtop
Do not attach any roof carrier systems; other‐
wise, an accident may occur.◀
Do not operate hardtop on uneven sec‐tions or road
Do not open or close hardtop on uneven sec‐
tions of road. Otherwise, the vibrations can re‐
sult in damage to the hardtop.◀
Using the trunk
When hardtop is open
Luggage can only be stored under the trunk
partition; note the respective label.
When hardtop is closed
Luggage can be stowed under the trunk parti‐
tion and to the left and right of the lifting mech‐
anism; note the respective label.
Remove articles of luggage from the side
areas
Before opening the hardtop, remove all pieces
of luggage from the side areas. Otherwise, lug‐
gage and hardtop can be damaged.◀
Before opening and closing▷Follow the safety instructions for the hard‐
top.▷Make sure that the trunk partition in the
trunk is folded down.▷Make sure that the cargo does not push
against the trunk partition from below.▷Make sure that the trunk lid is closed.
Opening and closing from the inside
In order to protect the battery, move the hard‐
top only when the engine is running if possible.
Before closing the hardtop, remove any foreign
objects from the windshield frame; otherwise,
closing may be prevented.
▷Press and hold the reel. The win‐
dows are rolled down, and the
hardtop opens as long as the reel is
pressed.▷Pull the reel and hold it. The win‐
dows are lowered, the hardtop
closes and the windows are raised again as
long as the reel is pulled.
Push or pull reel until the hardtop is completely
open or closed and the end of the procedure is
indicated by a corresponding Check Control
message. Always make sure that the hardtop
well storage cover is completely closed. If the
hardtop is completely open or closed, hardtop
and hardtop well storage cover are latched.
Interruption Open and close hardtop completely
Always open or close the hardtop com‐
pletely. Hardtop and hardtop well storage
cover are locked in the final positions. Driving
Seite 48ControlsOpening and closing48
Online Edition for Part no. 01 40 2 960 812 - II/15
Page 59 of 226

Unlocking the backrest1.Pull lever up to the stop.2.Fold backrest forward.
Changing the seat positionRequirements
▷Vehicle at a standstill.▷When the door is open, the seat is accessi‐
ble from the side on which the door is
open.
Controls
▷Press and hold this button until the seat
has moved to the desired position. Releas‐
ing the button stops window/roof move‐
ment.▷Press button briefly. The seat automati‐
cally moves to the respective end position.
Pressing again stops the motion.
Folding back and locking the backrest
After entering the rear, fold the backrest back
and lock it.
Press button. The seat moves to its origi‐
nal position. Pressing again stops the
motion.
Safety belts Seats with safety beltThe vehicle has four seats, each of which is
equipped with a safety belt.
General information Always make sure that safety belts are being
worn by all occupants before driving off.
For the occupants' safety the belt locking
mechanism triggers early. Slowly guide the
belt out of the holder when applying it.
Although airbags enhance safety by providing
added protection, they are not a substitute for
safety belts.
The upper shoulder strap's anchorage point
will be correct for adult seat occupants of ev‐
ery build if the seat is correctly adjusted.
Hints One person per safety belt
Never allow more than one person to
wear a single safety belt. Never allow infants or
small children to ride on a passenger's lap.◀
Putting on the belt
Lay the belt, without twisting, snugly
across the lap and shoulders, as close to the
body as possible. Make sure that the belt lies
low around the hips in the lap area and does
not press on the abdomen. Otherwise, the belt
can slip over the hips in a frontal impact and in‐
jure the abdomen.
The safety belt must not lie across the neck,
rub on sharp edges, be routed over breakable
objects, or be pinched.◀Seite 55AdjustingControls55
Online Edition for Part no. 01 40 2 960 812 - II/15
Page 122 of 226
Do not deactivate DSC when driving with
roof load
Do not deactivate Dynamic Stability Control
DSC when driving with roof load, e.g. roof-
mounted luggage rack.
Otherwise, driving safety is not given in driv‐
ing-critical situation due to the elevated center
of gravity.◀
Overview
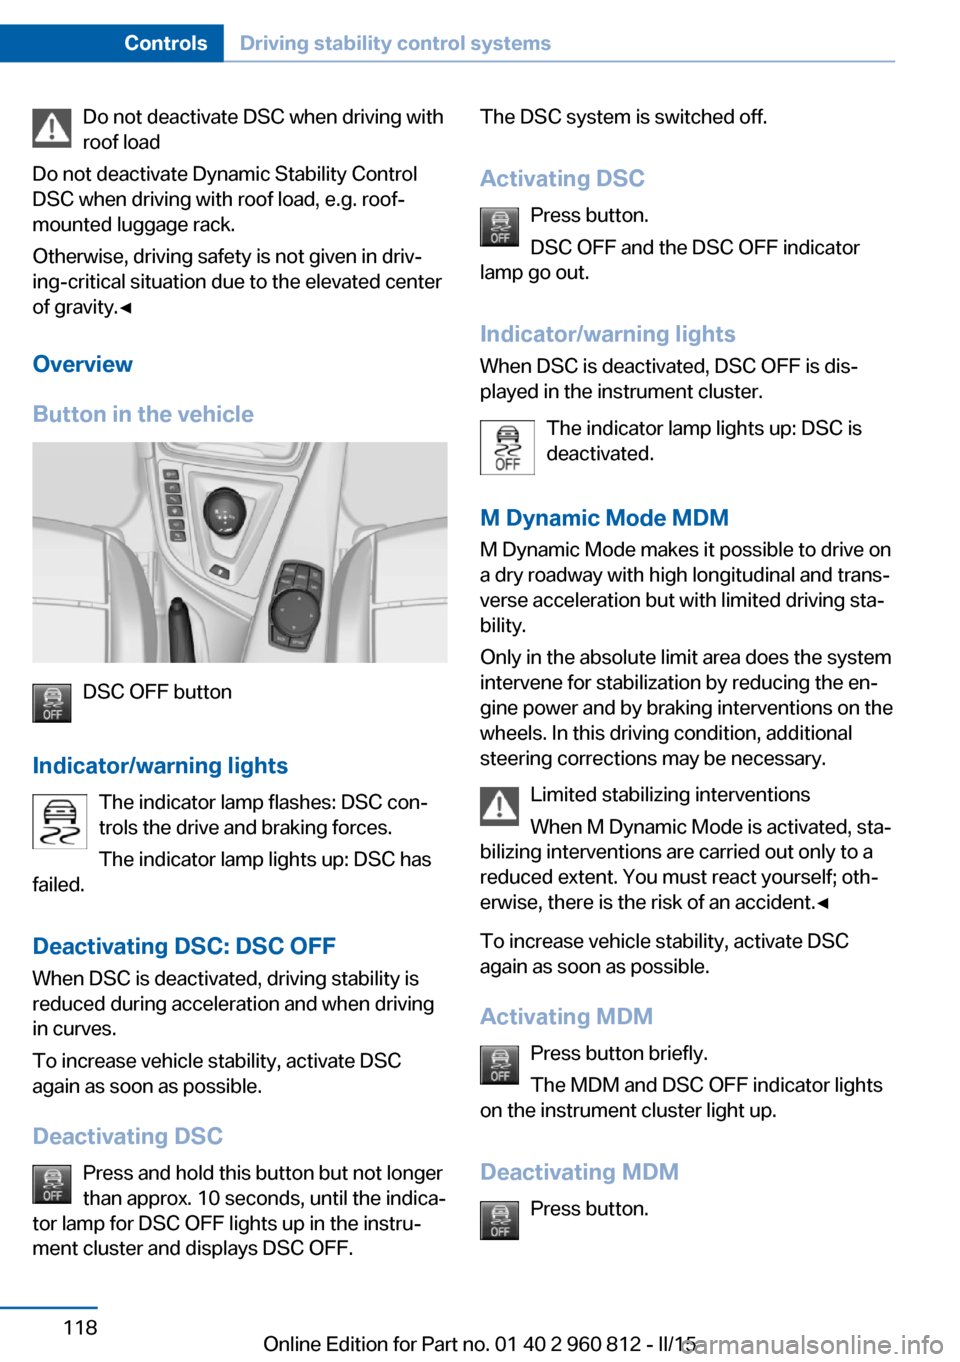
Button in the vehicle
DSC OFF button
Indicator/warning lights The indicator lamp flashes: DSC con‐
trols the drive and braking forces.
The indicator lamp lights up: DSC has
failed.
Deactivating DSC: DSC OFF
When DSC is deactivated, driving stability is
reduced during acceleration and when driving
in curves.
To increase vehicle stability, activate DSC
again as soon as possible.
Deactivating DSC Press and hold this button but not longer
than approx. 10 seconds, until the indica‐
tor lamp for DSC OFF lights up in the instru‐
ment cluster and displays DSC OFF.
The DSC system is switched off.
Activating DSC Press button.
DSC OFF and the DSC OFF indicator
lamp go out.
Indicator/warning lights
When DSC is deactivated, DSC OFF is dis‐
played in the instrument cluster.
The indicator lamp lights up: DSC is
deactivated.
M Dynamic Mode MDM
M Dynamic Mode makes it possible to drive on
a dry roadway with high longitudinal and trans‐
verse acceleration but with limited driving sta‐
bility.
Only in the absolute limit area does the system
intervene for stabilization by reducing the en‐
gine power and by braking interventions on the
wheels. In this driving condition, additional
steering corrections may be necessary.
Limited stabilizing interventions
When M Dynamic Mode is activated, sta‐
bilizing interventions are carried out only to a
reduced extent. You must react yourself; oth‐
erwise, there is the risk of an accident.◀
To increase vehicle stability, activate DSC
again as soon as possible.
Activating MDM Press button briefly.
The MDM and DSC OFF indicator lights
on the instrument cluster light up.
Deactivating MDM Press button.Seite 118ControlsDriving stability control systems118
Online Edition for Part no. 01 40 2 960 812 - II/15
Page 157 of 226
Storage compartment
between the rear seats
There is a storage compartment between the
rear seats.
Cupholders
Hints Shatter-proof containers and no hot
drinks
Use light and shatter-proof containers and do
not transport hot drinks. Otherwise, there is the increased danger of injury in an accident.◀
Unsuitable containers
Do not forcefully push unsuitable con‐
tainers into the cupholders. This may result in
damage.◀
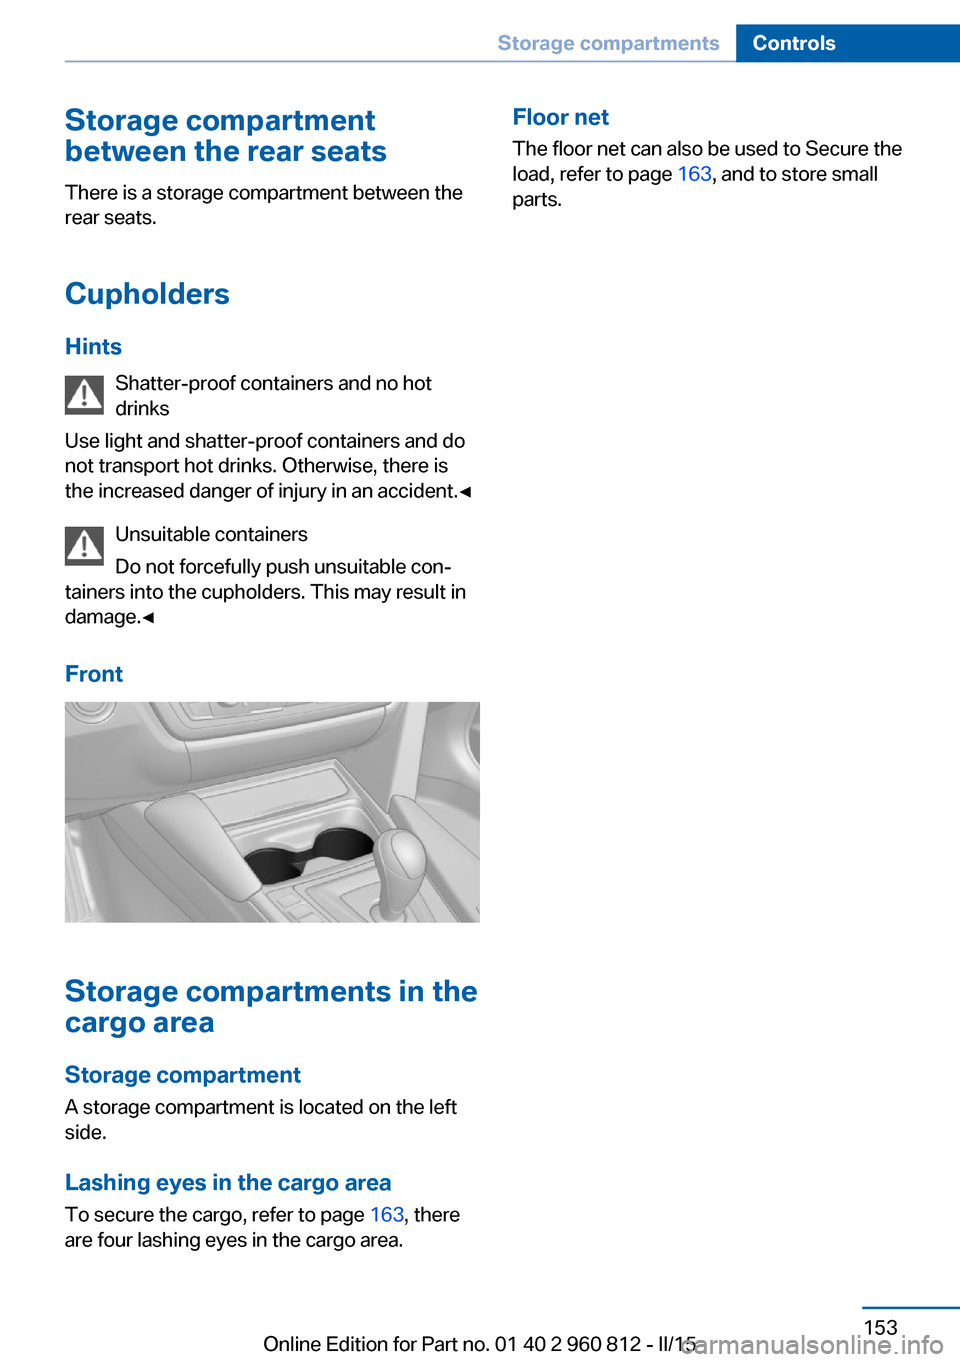
Front
Storage compartments in the
cargo area
Storage compartment A storage compartment is located on the left
side.
Lashing eyes in the cargo area
To secure the cargo, refer to page 163, there
are four lashing eyes in the cargo area.
Floor net
The floor net can also be used to Secure the
load, refer to page 163, and to store small
parts.Seite 153Storage compartmentsControls153
Online Edition for Part no. 01 40 2 960 812 - II/15
Page 168 of 226
Saving fuelVehicle features and optionsThis chapter describes all standard, country-
specific and optional features offered with the
series. It also describes features that are not
necessarily available in your car, e. g., due to
the selected options or country versions. This
also applies to safety-related functions and
systems. The respectively applicable country
provisions must be observed when using the
respective features and systems.
General information Your vehicle contains advanced technology for
the reduction of fuel consumption and emis‐
sions.
Fuel consumption depends on a number of dif‐
ferent factors.
Carrying out certain measures, such as a mod‐
erate driving style and regular maintenance,
can influence fuel consumption and the envi‐
ronmental impact.
Remove unnecessary cargo
Additional weight increases fuel consumption.
Remove attached parts
following use
Attached parts on the vehicle impair the aero‐
dynamics and increase the fuel consumption.
Close the windows and glass
sunroof
Driving with the glass sunroof and windows
open results in increased air resistance and
thereby reduces the range.Tires
General information
Tires can affect fuel consumption in various
ways, e.g., tire size may influence fuel con‐
sumption.
Check the tire inflation pressure
regularly
Check and, if needed, correct the tire inflation
pressure at least twice a month and before
starting on a long trip.
Low tire inflation pressure increases rolling re‐
sistance and thus raises fuel consumption and
tire wear.
Drive away immediately
Do not wait for the engine to warm-up while
the vehicle remains stationary. Start driving
right away, but at moderate engine speeds.
This is the quickest way of warming the cold
engine up to operating temperature.
Look well ahead when
driving
Avoid unnecessary acceleration and braking.
By maintaining a suitable distance to the vehi‐
cle driving ahead of you.
Driving smoothly and proactively reduces fuel
consumption.
Avoid high engine speeds
As a rule: driving at low engine speeds lowers
fuel consumption and reduces wear.
Use 1st gear to get the vehicle moving. Start‐
ing with the 2nd gear, accelerate rapidly. WhenSeite 164Driving tipsSaving fuel164
Online Edition for Part no. 01 40 2 960 812 - II/15
Page 192 of 226

MaintenanceVehicle features and options
This chapter describes all standard, country-
specific and optional features offered with the
series. It also describes features that are not
necessarily available in your car, e. g., due to
the selected options or country versions. This
also applies to safety-related functions and
systems. The respectively applicable country
provisions must be observed when using the
respective features and systems.
BMW maintenance system The maintenance system indicates required
maintenance measures, and thereby provides
support in maintaining road safety and the op‐
erational reliability of the vehicle.
In some cases scopes and intervals may vary
according to the country-specific version. Re‐
placement work, spare parts, fuels and lubri‐
cants and wear materials are calculated sepa‐
rately. Additional information is available from
the service center.
Condition Based Service
CBS
Sensors and special algorithms take into ac‐
count the driving conditions of your vehicle.
Based on this, Condition Based Service recog‐
nizes the maintenance requirements.
The system makes it possible to adapt the
amount of maintenance corresponding to your
user profile.
Detailed information on service requirements,
refer to page 84, can be displayed on the Con‐
trol Display.Service data in the remote control
Information on the required maintenance is
continuously stored in the remote control. Your service center will read out this data and
suggest the right array of service procedures for your vehicle.
Therefore, hand your service specialist the re‐
mote control with which the vehicle was driven
most recently.
Storage periods Storage periods during which the vehicle bat‐
tery was disconnected are not taken into ac‐
count.
If this occurs, have a service center update the
time-dependent maintenance procedures,
such as checking brake fluid and, if needed,
changing the engine oil and the microfilter/
activated-charcoal filter.
Service and Warranty
Information Booklet for US
models and Warranty and
Service Guide Booklet for
Canadian models
Please consult your Service and Warranty In‐
formation Booklet for US models and Warranty
and Service Guide Booklet for Canadian mod‐
els for additional information on service re‐
quirements.
Maintenance and repair should be performed
by your service center. Make sure to have reg‐
ular maintenance procedures recorded in the
vehicle's Service and Warranty Information
Booklet for US models, and in the Warranty
and Service Guide Booklet for Canadian mod‐
els. These entries are proof of regular mainte‐
nance.Seite 188MobilityMaintenance188
Online Edition for Part no. 01 40 2 960 812 - II/15
Page 202 of 226
Breakdown assistanceVehicle features and options
This chapter describes all standard, country-
specific and optional features offered with the
series. It also describes features that are not
necessarily available in your car, e. g., due to
the selected options or country versions. This
also applies to safety-related functions and
systems. The respectively applicable country
provisions must be observed when using the
respective features and systems.
Hazard warning flashers
The button is located in the center console.
Intelligent Emergency
Request
The concept In case of an emergency, an Emergency Re‐
quest can be made through this system.
General information
Only press the SOS button in an emergency.
Hints
Emergency Request not guaranteed
For technical reasons, the Emergency
Request cannot be guaranteed under unfavor‐
able conditions.◀
Overview
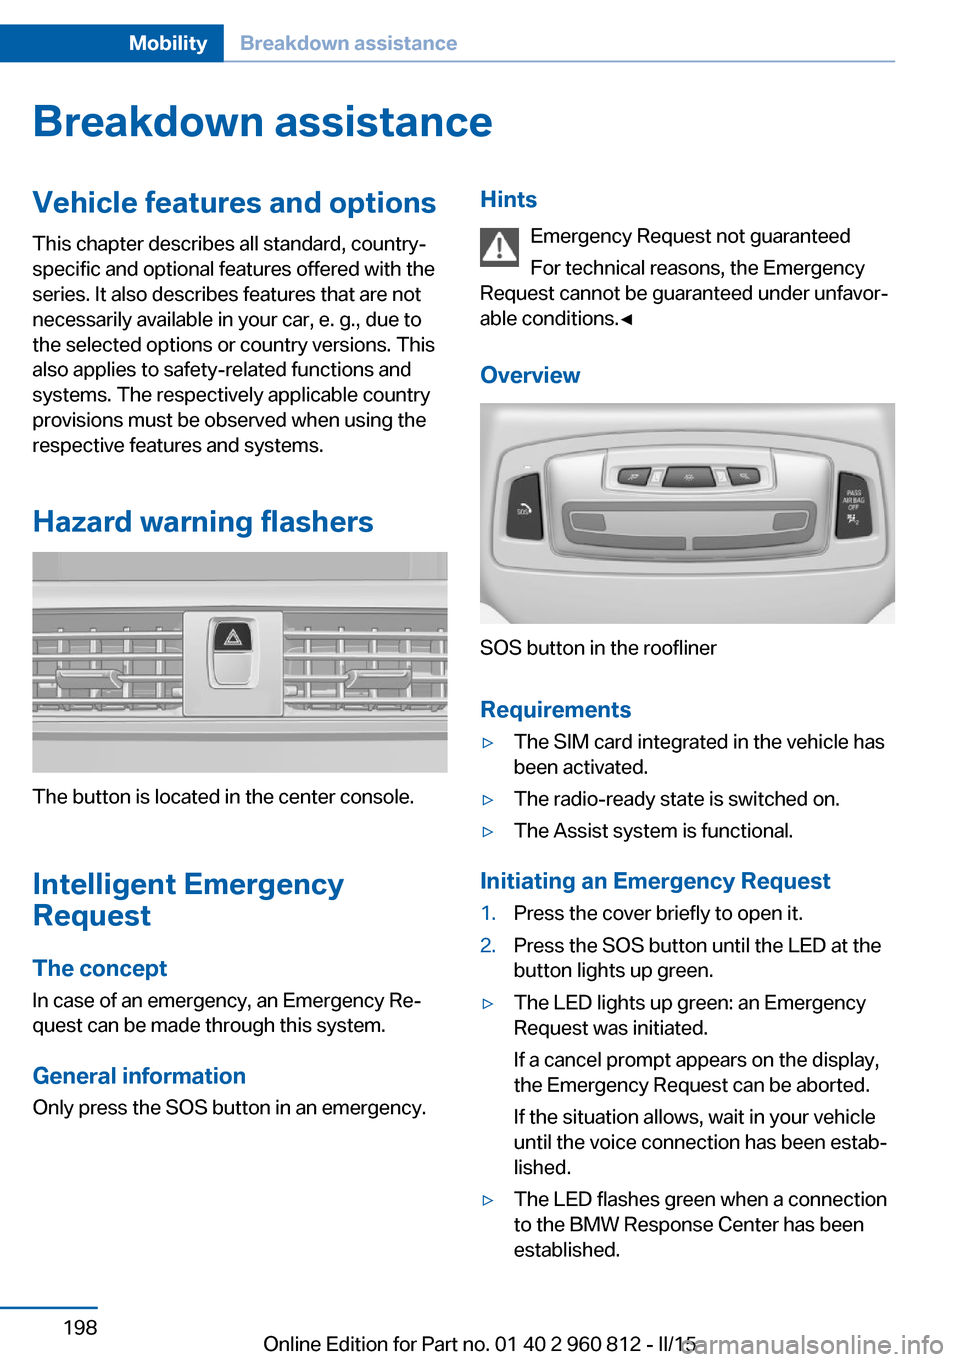
SOS button in the roofliner
Requirements
▷The SIM card integrated in the vehicle has
been activated.▷The radio-ready state is switched on.▷The Assist system is functional.
Initiating an Emergency Request
1.Press the cover briefly to open it.2.Press the SOS button until the LED at the
button lights up green.▷The LED lights up green: an Emergency
Request was initiated.
If a cancel prompt appears on the display,
the Emergency Request can be aborted.
If the situation allows, wait in your vehicle
until the voice connection has been estab‐
lished.▷The LED flashes green when a connection
to the BMW Response Center has been
established.Seite 198MobilityBreakdown assistance198
Online Edition for Part no. 01 40 2 960 812 - II/15