2016 BMW M2 center console
[x] Cancel search: center consolePage 16 of 220

All around the center console1Control Display 182Glove compartment 1433Ventilation 1324Hazard warning system 193Central locking system 405Radio/CD/multimedia, see Owner's Manual
for Navigation, Entertainment and Commu‐
nication 66Climate control 1277Controller with buttons 198Parking brake 709Driving Dynamics Control 116Dynamic Stability Control 11410M double-clutch transmission, selector
lever 75
Manual transmission, selector lever 74Seite 16At a glanceCockpit16
Online Edition for Part no. 01 40 2 970 518 - II/16
Page 138 of 220
Settings are stored automatically after approxi‐
mately 10 seconds.
Sun visor
Glare shield Fold the sun visor down or up.
Vanity mirror A vanity mirror is located in the sun visor be‐
hind a cover. When the cover is opened, the
mirror lighting switches on.
Ashtray/cigarette lighterAshtray
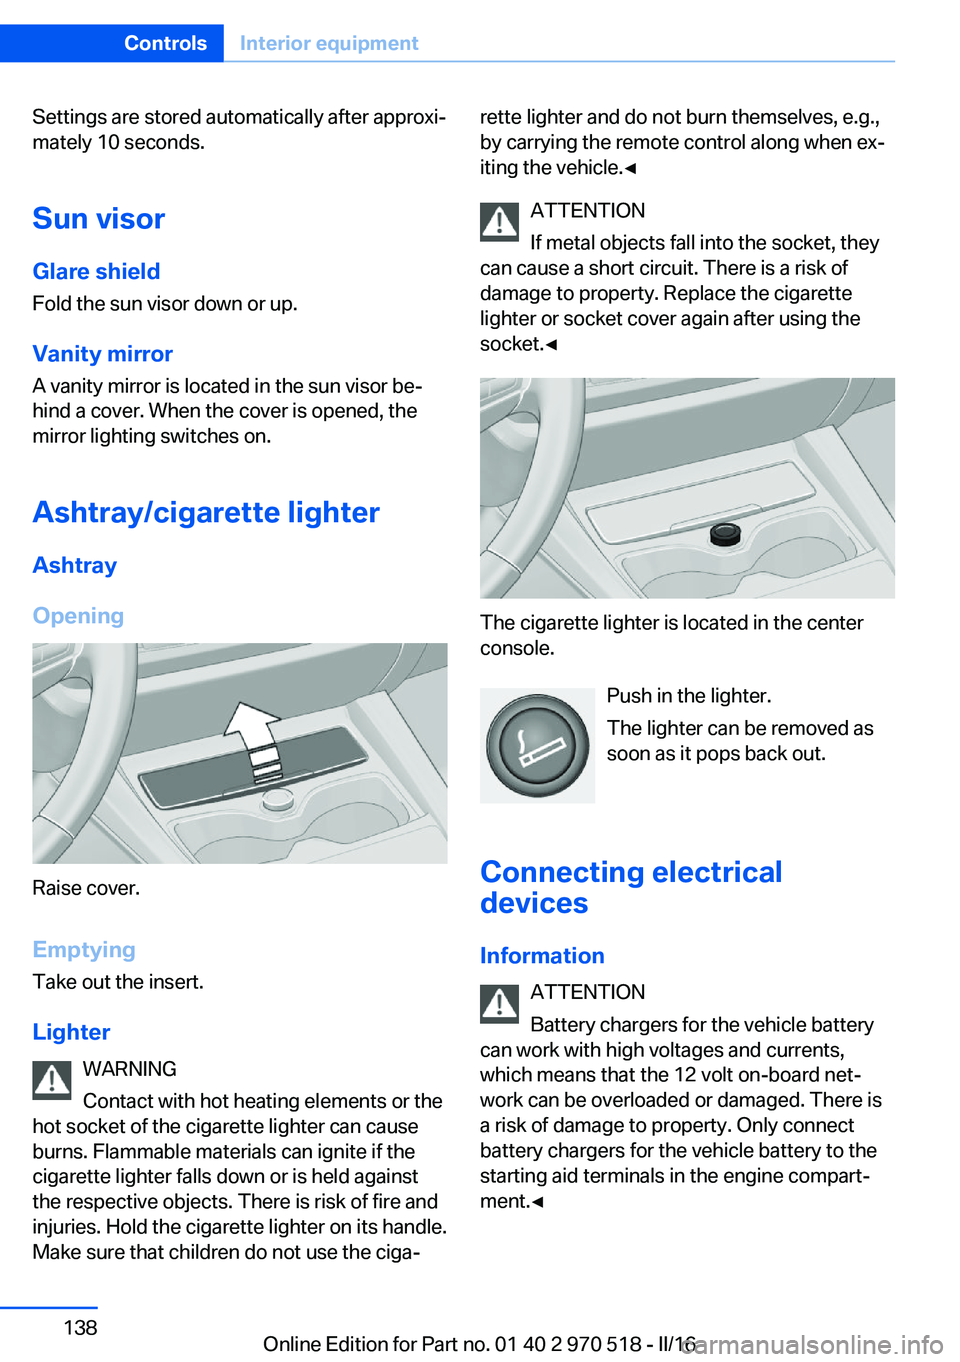
Opening
Raise cover.
EmptyingTake out the insert.
Lighter WARNING
Contact with hot heating elements or the
hot socket of the cigarette lighter can cause
burns. Flammable materials can ignite if the cigarette lighter falls down or is held against
the respective objects. There is risk of fire and
injuries. Hold the cigarette lighter on its handle.
Make sure that children do not use the ciga‐
rette lighter and do not burn themselves, e.g.,
by carrying the remote control along when ex‐
iting the vehicle.◀
ATTENTION
If metal objects fall into the socket, they
can cause a short circuit. There is a risk of
damage to property. Replace the cigarette
lighter or socket cover again after using the
socket.◀
The cigarette lighter is located in the center
console.
Push in the lighter.
The lighter can be removed as
soon as it pops back out.
Connecting electrical devices
Information ATTENTION
Battery chargers for the vehicle battery
can work with high voltages and currents,
which means that the 12 volt on-board net‐
work can be overloaded or damaged. There is
a risk of damage to property. Only connect
battery chargers for the vehicle battery to the
starting aid terminals in the engine compart‐
ment.◀
Seite 138ControlsInterior equipment138
Online Edition for Part no. 01 40 2 970 518 - II/16
Page 139 of 220
ATTENTION
If metal objects fall into the socket, they
can cause a short circuit. There is a risk of
damage to property. Replace the cigarette
lighter or socket cover again after using the
socket.◀
Sockets
General information
The lighter socket can be used as a socket for
electrical equipment while the engine is run‐
ning or when the ignition is switched on.
Information
The total load of all sockets must not exceed
140 watts at 12 volts.
Do not damage the socket by using non-com‐
patible connectors.
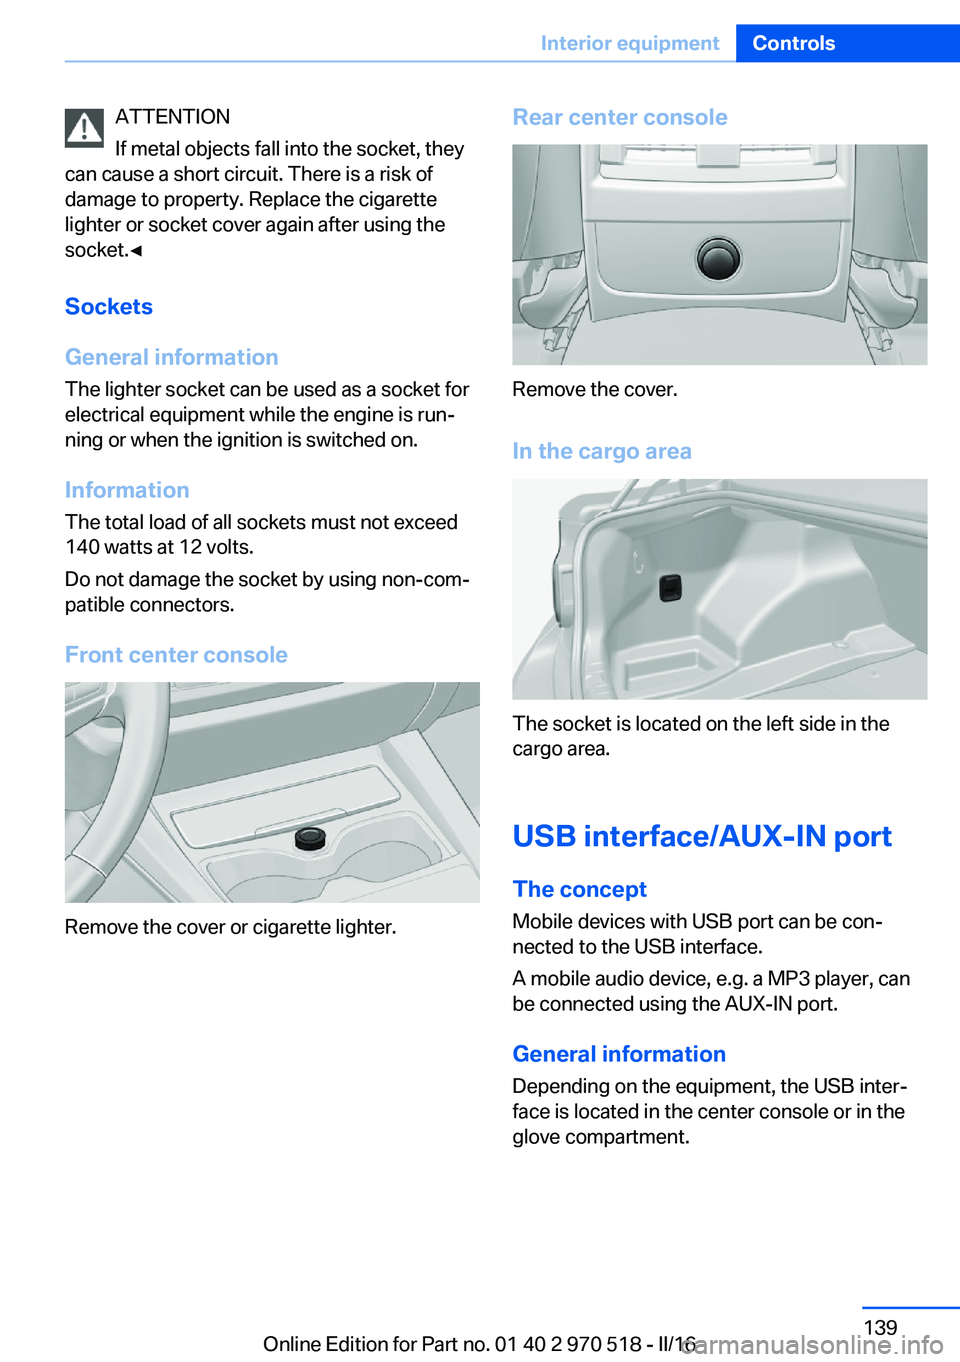
Front center console
Remove the cover or cigarette lighter.
Rear center console
Remove the cover.
In the cargo area
The socket is located on the left side in the
cargo area.
USB interface/AUX-IN port
The concept Mobile devices with USB port can be con‐
nected to the USB interface.
A mobile audio device, e.g. a MP3 player, can
be connected using the AUX-IN port.
General information Depending on the equipment, the USB inter‐
face is located in the center console or in the
glove compartment.
Seite 139Interior equipmentControls139
Online Edition for Part no. 01 40 2 970 518 - II/16
Page 140 of 220
USB interface in the glove
compartment
Mobile storage devices with USB port can be
connected to the USB interface in the glove
compartment.
Common file systems are supported. FAT32
and exFAT are the recommended formats.
The following applications are possible:▷Exporting and importing profiles, refer to
page 36.▷Loading of software updates.▷Adding music files to the music collection
and saving the music collection.
USB interface in the center console
In addition to the USB storage devices descri‐
bed above, additional mobile devices with USB
port can be connected to the USB interface in
the center console.
▷Mobile phones supported by the USB in‐
terface.
The snap-in adapter features a separate
USB port that is automatically connected
when a compatible mobile phone is in‐
serted.▷Audio devices with USB port, for example
MP3 player.
This allows further uses:
▷Playing music files via USB audio.▷Playing video films via USB video.
Information about compatible USB devices can
be found at www.bmwusa.com/bluetooth.
Information Observe the following when connecting:
▷Do not use force when plugging the con‐
nector into the USB interface.▷Use a flexible adapter cable.▷Protect the USB device against mechanical
damage.▷Due to the large number of USB devices
available on the market, it cannot be guar‐
anteed that every device is operable on the
vehicle.▷Do not expose USB devices to extreme en‐
vironmental conditions, such as very high
temperatures; refer to the owner's manual
of the device.▷Due to the many different compression
techniques, proper playback of the media
stored on the USB device cannot be guar‐
anteed in all cases.▷A connected USB device is supplied with
charging current via the USB interface, as‐
suming this is supported by the device.▷To ensure proper transmission of the
stored data, do not charge an USB device
via the onboard socket, when it is con‐
nected to the USB interface.▷Depending on how the USB device should
be used, settings may be required on the
USB device, refer to the owner's manual of
the device.
Not suitable USB devices:
▷USB hard drives.▷USB hubs.▷USB memory card readers with multiple in‐
serts.▷HFS-formatted USB devices.▷MTP devices.▷Devices such as fans or lights.Seite 140ControlsInterior equipment140
Online Edition for Part no. 01 40 2 970 518 - II/16
Page 143 of 220
Storage compartmentsVehicle features and optionsThis chapter describes all standard, country-
specific and optional features offered with the
series. It also describes features that are not
necessarily available in your car, e. g., due to
the selected options or country versions. This
also applies to safety-related functions and
systems. The respectively applicable country
provisions must be observed when using the
respective features and systems.
Information WARNING
Loose objects or devices with a cable
connection to the vehicle, e.g., mobile phones,
can be thrown into the vehicle's interior while
driving, e.g.,in the event of an accident or dur‐
ing braking and evasive maneuvers. There is a
a risk of injury. Secure loose objects or devices
with a cable connection to the vehicle in the
vehicle's interior.◀
ATTENTION
Anti-slip pads such as anti-slip mats can
damage the dashboard. There is a risk of dam‐
age to property. Do not use anti-slip pads.◀
Storage compartments The following storage compartments are avail‐
able in the vehicle interior:▷Glove compartment on the front passenger
side, refer to page 143.▷Glove compartment on the driver's side,
refer to page 144.▷Compartments in the doors, refer to
page 144.▷Without Smoker's package: Front storage
compartment, in front of the cup holders,
refer to page 144.▷Storage compartment in the front center
armrest, refer to page 144.▷Nets on the backrests of the front seats.▷Storage compartment in the rear center
console, refer to page 145.▷With two rear seats: Storage compartment
between the rear seats, refer to page 145.
Glove compartment
Front passenger side
Information WARNING
Folded open, the glove compartment
protrudes in the vehicle's interior. Objects in the glove compartment can be thrown into the
vehicle's interior while driving, e.g., in the event of an accident or during braking and evasive
maneuvers. There is a a risk of injury. Always
close the glove compartment immediately after
using it.◀
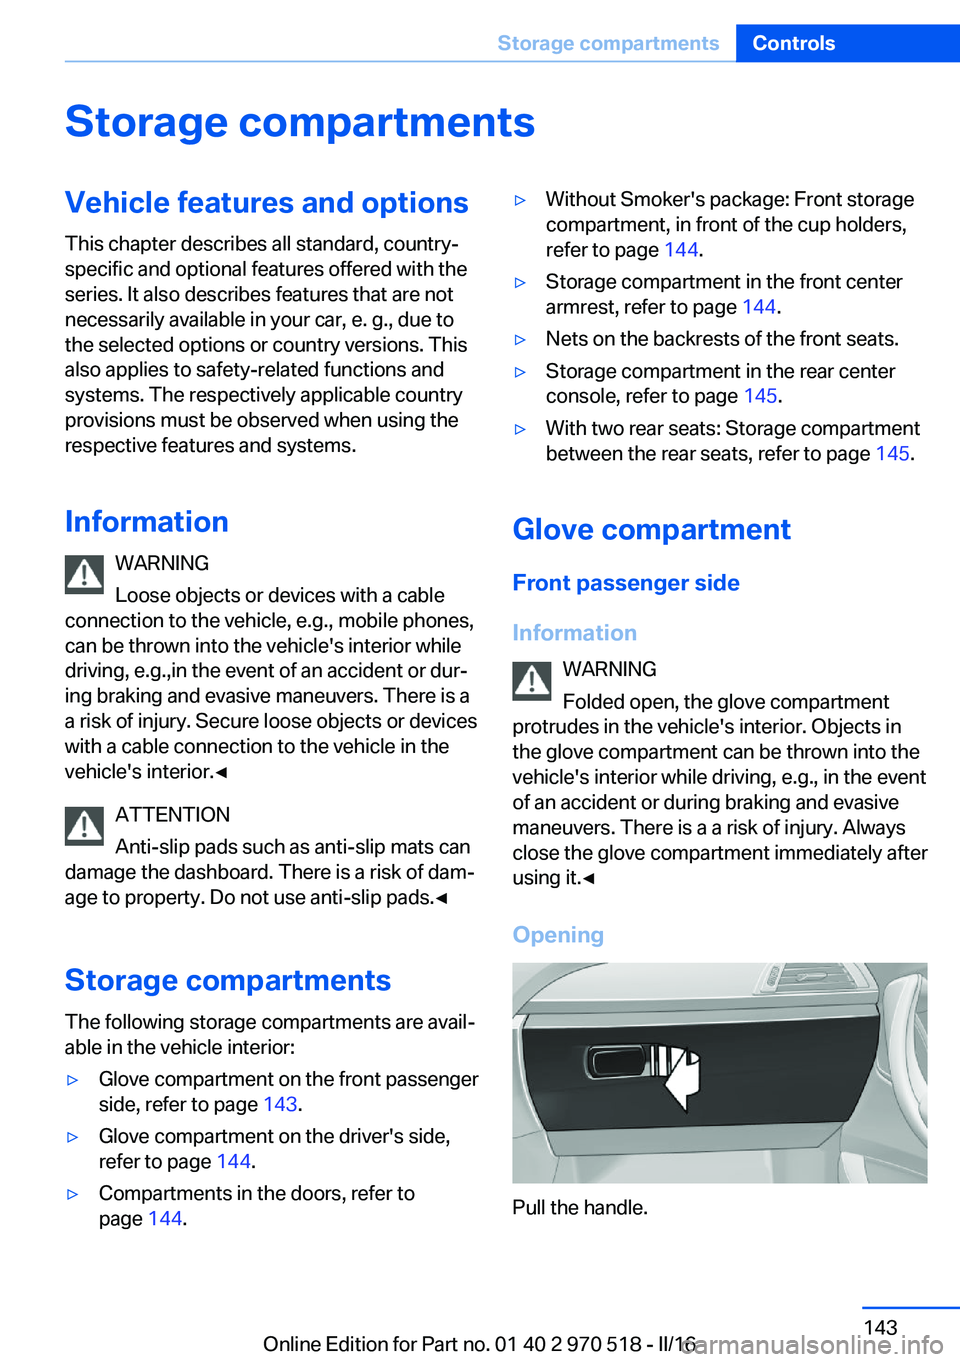
Opening
Pull the handle.
Seite 143Storage compartmentsControls143
Online Edition for Part no. 01 40 2 970 518 - II/16
Page 193 of 220
Breakdown assistanceVehicle features and options
This chapter describes all standard, country-
specific and optional features offered with the
series. It also describes features that are not
necessarily available in your car, e. g., due to
the selected options or country versions. This
also applies to safety-related functions and
systems. The respectively applicable country
provisions must be observed when using the
respective features and systems.
Hazard warning flashers
The button is located in the center console.
Intelligent emergency call
The concept In case of an emergency, an Emergency Re‐
quest can be made through this system.
General information
Only press the SOS button in an emergency.
For technical reasons, the Emergency Request
cannot be guaranteed under unfavorable con‐
ditions.
Overview
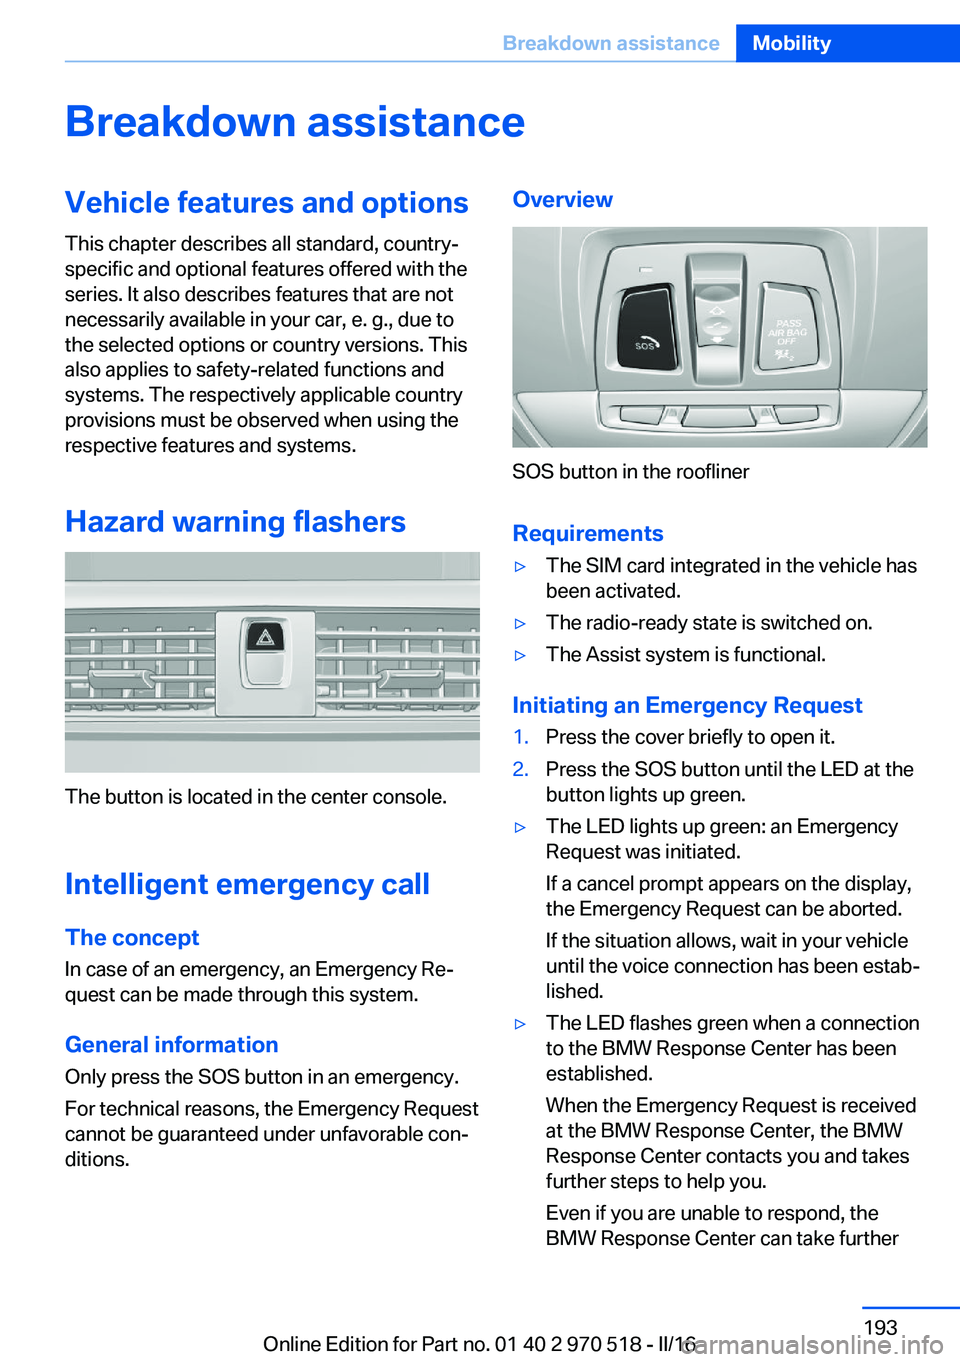
SOS button in the roofliner
Requirements
▷The SIM card integrated in the vehicle has
been activated.▷The radio-ready state is switched on.▷The Assist system is functional.
Initiating an Emergency Request
1.Press the cover briefly to open it.2.Press the SOS button until the LED at the
button lights up green.▷The LED lights up green: an Emergency
Request was initiated.
If a cancel prompt appears on the display,
the Emergency Request can be aborted.
If the situation allows, wait in your vehicle
until the voice connection has been estab‐
lished.▷The LED flashes green when a connection
to the BMW Response Center has been
established.
When the Emergency Request is received
at the BMW Response Center, the BMW
Response Center contacts you and takes
further steps to help you.
Even if you are unable to respond, the
BMW Response Center can take furtherSeite 193Breakdown assistanceMobility193
Online Edition for Part no. 01 40 2 970 518 - II/16
Page 211 of 220

Breakdown assis‐tance 193, 194
Break-in 152
Brightness of Control Dis‐ play 92
Bulb replacement 186
Bulb replacement, front 187
Bulb replacement, rear 189
Bulbs and lights 186
Button, Start/Stop 65
Bypassing, see Jump-start‐ ing 194
C
California Proposition 65 Warning 8
Calling up mirror adjust‐ ment 44
Calling up seat adjust‐ ment 44
Camera lenses, care 202
Camera, rearview cam‐ era 124
Can holder, see Cup holder 145
Car battery 190
Care, displays 202
Care, vehicle 200
Cargo 156
Cargo area, enlarging 141
Cargo area, storage compart‐ ments 146
Cargo straps, securing cargo 157
Car key, see Remote con‐ trol 34
Carpet, care 202
Car wash 199
Catalytic converter, see Hot exhaust system 153
CBS Condition Based Serv‐ ice 184
Center armrest 144
Center console 16
Central locking system 40 Central screen, see Control
Display 18
Changes, technical, see Own Safety 7
Changing parts 186
Changing wheels 190
Changing wheels/tires 171
Chassis number, see Vehicle identification number 10
Check Control 80
Checking the engine oil level electronically 179
Checking the oil level elec‐ tronically 179
Children, seating position 61
Children, transporting safely 61
Child restraint fixing system LATCH 63
Child restraint system 61
Child restraint systems, mounting 62
Child seat, mounting 62
Child seats 61
Chrome parts, care 201
Cigarette lighter 138
Cleaning displays 202
Climate control 127, 129
Clock 84
Closing/opening via door lock 39
Closing/opening with remote control 37
Clothes hooks 146
Cockpit 14
Combination switch, see Turn signals 70
Combination switch, see Wiper system 71
Comfort Access 41
COMFORT program, Dy‐ namic Driving Control 118
Compartments in the doors 144
Compass 136
Compound brake 150 Compressor 173
Condensation on win‐ dows 131
Condensation under the vehi‐ cle 154
Condition Based Service CBS 184
Confirmation signal 43
ConnectedDrive 6
ConnectedDrive Services 6
Connecting electrical devi‐ ces 138
Container for washer fluid 73
Control Display 18
Control Display, settings 91
Controller 19
Control systems, driving sta‐ bility 114
Convenient opening with the remote control 38
Coolant 182
Cooling function 128, 130
Cooling, maximum 130
Cooling system 182
Cornering light 95
Corrosion on brake discs 154
Cosmetic mirror 138
Courtesy lamps during un‐ locking 38
Courtesy lamps with the vehi‐ cle locked 38
Cruise control 119
Cruise control without dis‐ tance control, see cruise
control 119
Cruising range 84
Cup holder 145
Current fuel consumption 84
D
Damage, tires 171
Data, technical 206
Date 84
Daytime running lights 95 Seite 211Everything from A to ZReference211
Online Edition for Part no. 01 40 2 970 518 - II/16