2016 BMW M2 interior lights
[x] Cancel search: interior lightsPage 87 of 220

cident. Adjust the driving style to the traffic
conditions. Watch traffic closely and actively
intervene in the respective situations.◀
Overview
Camera
The camera is installed near the interior mirror.
Keep the windshield in the area behind the in‐
terior mirror clean and clear.
Switching on/off On the Control Display:
1."Settings"2."Instrument cluster"3."Speed limit information"
If speed limit detection is switched on, it can
be displayed on the CID (central information
display) in the instrument cluster via the on‐
board computer.
Display
The following is displayed in the instrument
cluster:
Speed limit detection Current speed limit.
Speed limit detection not availa‐
ble.
System limits
The system may not be fully functional and
may provide incorrect information in the fol‐
lowing situations:▷In heavy fog, rain or snowfall.▷When signs are fully or partially concealed
by objects, stickers or paint.▷When driving very close to the vehicle in
front of you.▷When driving toward bright lights or strong
reflections.▷When the windshield behind the interior
mirror is fogged over, dirty or covered by a
sticker, etc.▷In the event of incorrect detection by the
camera.▷If the speed limits stored in the navigation
system are incorrect.▷In areas not covered by the navigation sys‐
tem.▷When roads differ from the navigation,
such as due to changes in road routing.▷When passing buses or trucks with a
speed sticker.▷If the traffic signs are non-conforming.▷During calibration of the camera immedi‐
ately after vehicle delivery.▷When signs are detected valid for a parallel
road.Seite 87DisplaysControls87
Online Edition for Part no. 01 40 2 970 518 - II/16
Page 96 of 220
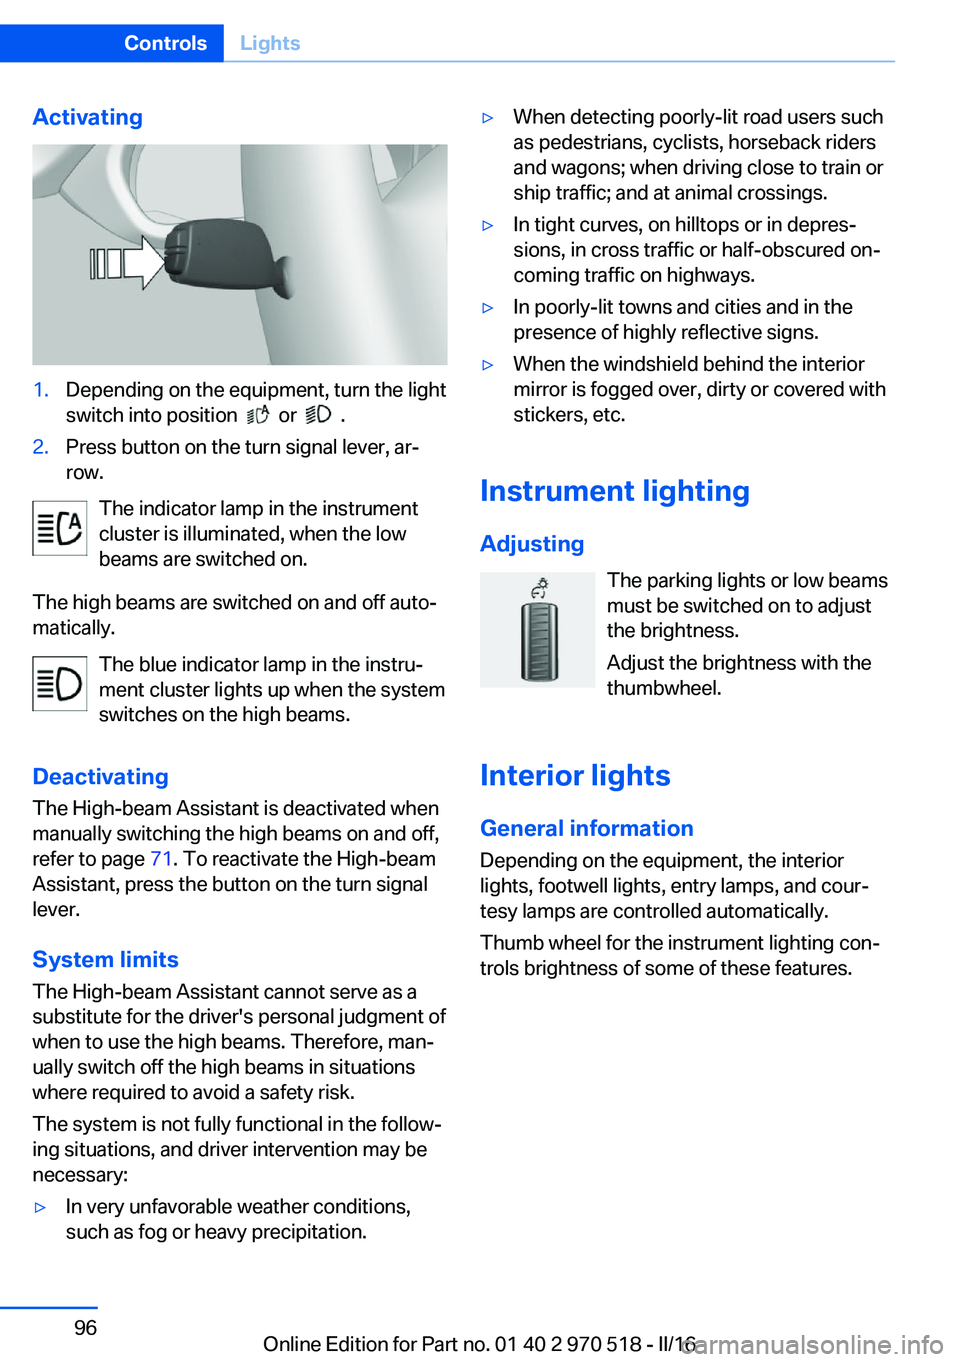
Activating1.Depending on the equipment, turn the light
switch into position
or .
2.Press button on the turn signal lever, ar‐
row.
The indicator lamp in the instrument
cluster is illuminated, when the low
beams are switched on.
The high beams are switched on and off auto‐
matically.
The blue indicator lamp in the instru‐
ment cluster lights up when the system
switches on the high beams.
Deactivating The High-beam Assistant is deactivated when
manually switching the high beams on and off,
refer to page 71. To reactivate the High-beam
Assistant, press the button on the turn signal
lever.
System limits
The High-beam Assistant cannot serve as a
substitute for the driver's personal judgment of
when to use the high beams. Therefore, man‐
ually switch off the high beams in situations
where required to avoid a safety risk.
The system is not fully functional in the follow‐
ing situations, and driver intervention may be
necessary:
▷In very unfavorable weather conditions,
such as fog or heavy precipitation.▷When detecting poorly-lit road users such
as pedestrians, cyclists, horseback riders
and wagons; when driving close to train or
ship traffic; and at animal crossings.▷In tight curves, on hilltops or in depres‐
sions, in cross traffic or half-obscured on‐
coming traffic on highways.▷In poorly-lit towns and cities and in the
presence of highly reflective signs.▷When the windshield behind the interior
mirror is fogged over, dirty or covered with
stickers, etc.
Instrument lighting
Adjusting The parking lights or low beams
must be switched on to adjust
the brightness.
Adjust the brightness with the
thumbwheel.
Interior lights
General information
Depending on the equipment, the interior
lights, footwell lights, entry lamps, and cour‐
tesy lamps are controlled automatically.
Thumb wheel for the instrument lighting con‐
trols brightness of some of these features.
Seite 96ControlsLights96
Online Edition for Part no. 01 40 2 970 518 - II/16
Page 97 of 220
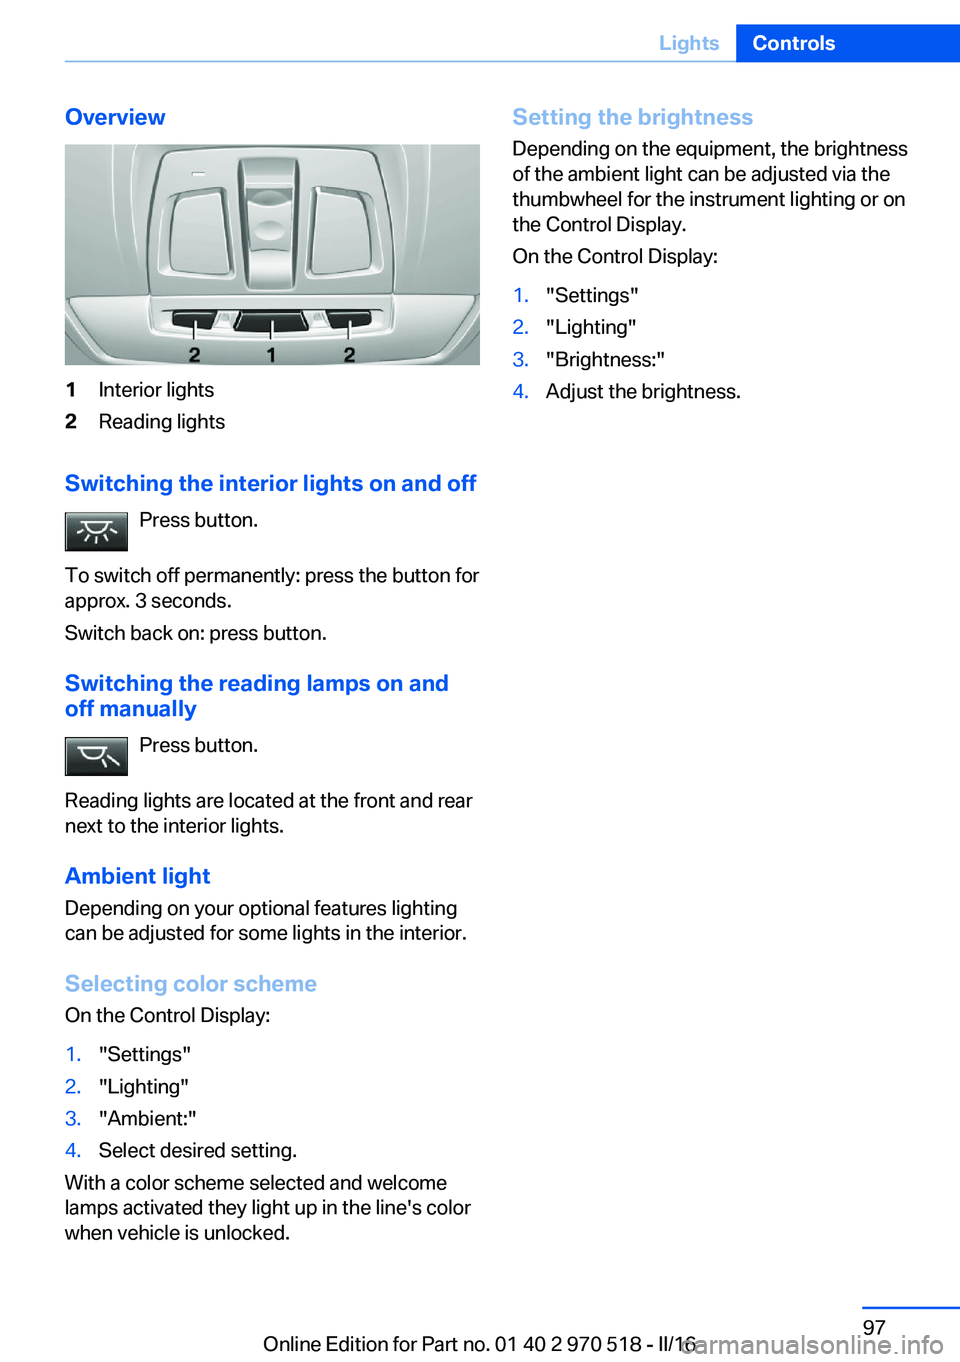
Overview1Interior lights2Reading lights
Switching the interior lights on and offPress button.
To switch off permanently: press the button for
approx. 3 seconds.
Switch back on: press button.
Switching the reading lamps on and off manually
Press button.
Reading lights are located at the front and rear
next to the interior lights.
Ambient light Depending on your optional features lighting
can be adjusted for some lights in the interior.
Selecting color scheme On the Control Display:
1."Settings"2."Lighting"3."Ambient:"4.Select desired setting.
With a color scheme selected and welcome
lamps activated they light up in the line's color
when vehicle is unlocked.
Setting the brightness
Depending on the equipment, the brightness
of the ambient light can be adjusted via the
thumbwheel for the instrument lighting or on
the Control Display.
On the Control Display:1."Settings"2."Lighting"3."Brightness:"4.Adjust the brightness.Seite 97LightsControls97
Online Edition for Part no. 01 40 2 970 518 - II/16
Page 106 of 220
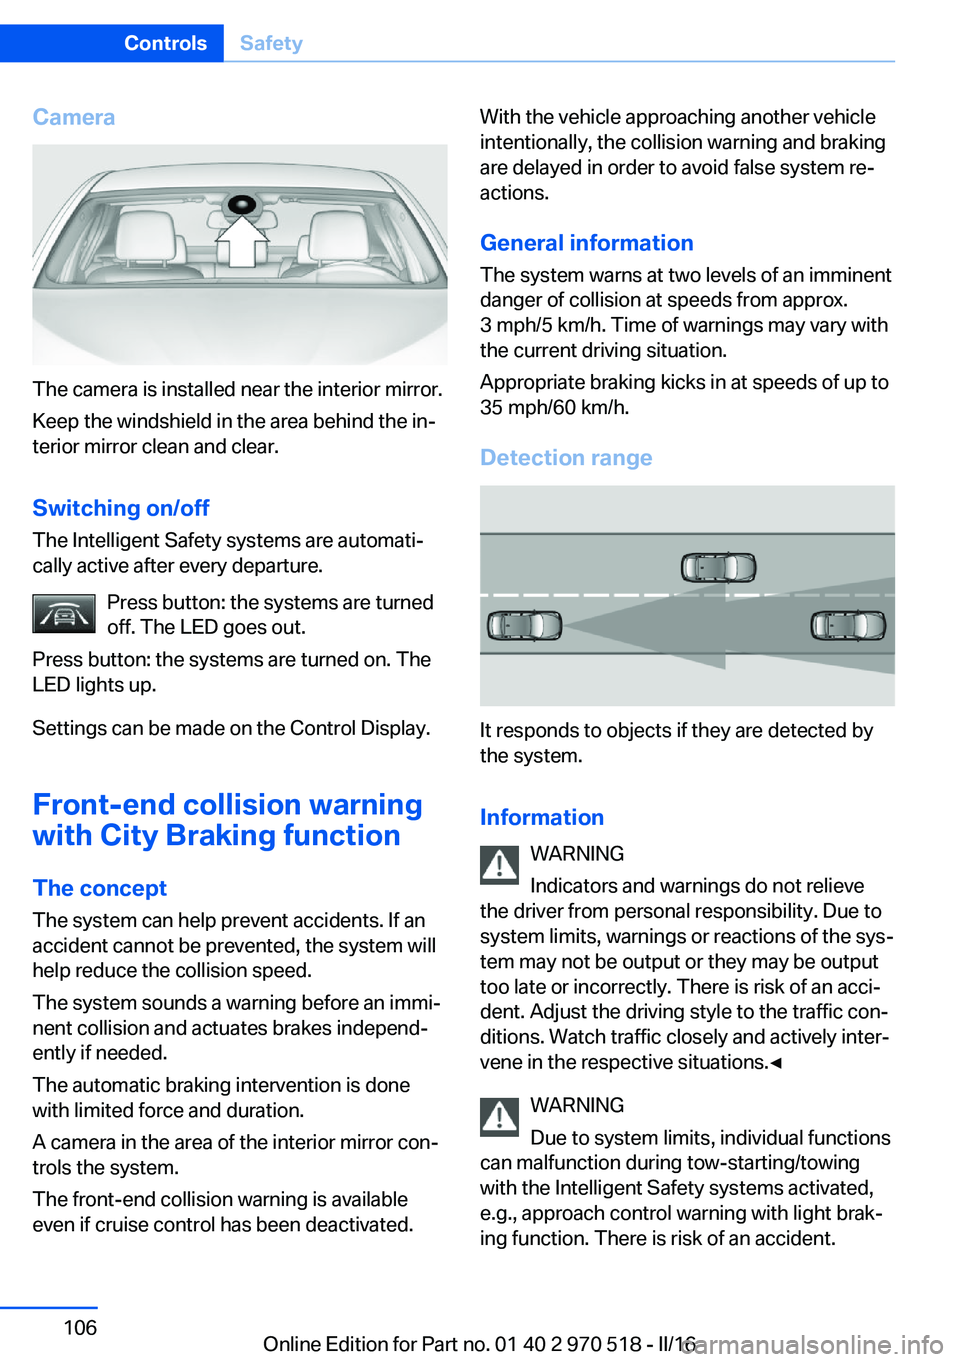
Camera
The camera is installed near the interior mirror.
Keep the windshield in the area behind the in‐
terior mirror clean and clear.
Switching on/off The Intelligent Safety systems are automati‐
cally active after every departure.
Press button: the systems are turned
off. The LED goes out.
Press button: the systems are turned on. The
LED lights up.
Settings can be made on the Control Display.
Front-end collision warning
with City Braking function
The concept The system can help prevent accidents. If an
accident cannot be prevented, the system will help reduce the collision speed.
The system sounds a warning before an immi‐
nent collision and actuates brakes independ‐
ently if needed.
The automatic braking intervention is done
with limited force and duration.
A camera in the area of the interior mirror con‐
trols the system.
The front-end collision warning is available
even if cruise control has been deactivated.
With the vehicle approaching another vehicle
intentionally, the collision warning and braking
are delayed in order to avoid false system re‐
actions.
General information
The system warns at two levels of an imminent
danger of collision at speeds from approx.
3 mph/5 km/h. Time of warnings may vary with
the current driving situation.
Appropriate braking kicks in at speeds of up to
35 mph/60 km/h.
Detection range
It responds to objects if they are detected by
the system.
Information WARNING
Indicators and warnings do not relieve
the driver from personal responsibility. Due to
system limits, warnings or reactions of the sys‐
tem may not be output or they may be output
too late or incorrectly. There is risk of an acci‐
dent. Adjust the driving style to the traffic con‐
ditions. Watch traffic closely and actively inter‐
vene in the respective situations.◀
WARNING
Due to system limits, individual functions
can malfunction during tow-starting/towing
with the Intelligent Safety systems activated,
e.g., approach control warning with light brak‐
ing function. There is risk of an accident.
Seite 106ControlsSafety106
Online Edition for Part no. 01 40 2 970 518 - II/16
Page 107 of 220
Switch all Intelligent Safety systems off prior to
tow-starting/towing.◀
Overview
Button in the vehicle
Intelligent Safety button
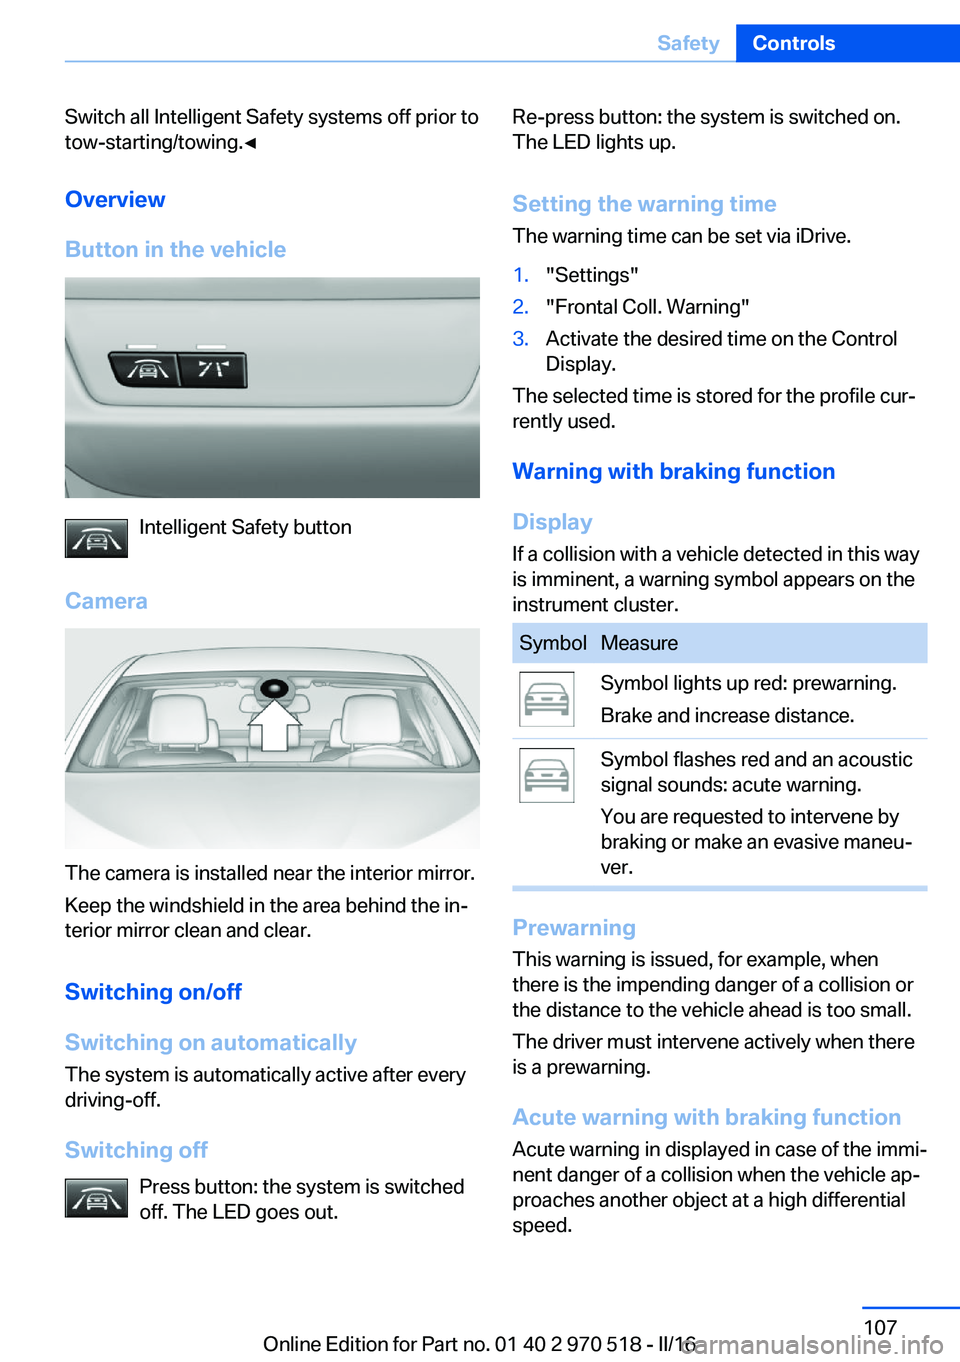
Camera
The camera is installed near the interior mirror.
Keep the windshield in the area behind the in‐
terior mirror clean and clear.
Switching on/off
Switching on automatically The system is automatically active after every
driving-off.
Switching off Press button: the system is switched
off. The LED goes out.
Re-press button: the system is switched on.
The LED lights up.
Setting the warning time The warning time can be set via iDrive.1."Settings"2."Frontal Coll. Warning"3.Activate the desired time on the Control
Display.
The selected time is stored for the profile cur‐
rently used.
Warning with braking function
Display If a collision with a vehicle detected in this way
is imminent, a warning symbol appears on the
instrument cluster.
SymbolMeasureSymbol lights up red: prewarning.
Brake and increase distance.Symbol flashes red and an acoustic
signal sounds: acute warning.
You are requested to intervene by
braking or make an evasive maneu‐
ver.
Prewarning
This warning is issued, for example, when
there is the impending danger of a collision or
the distance to the vehicle ahead is too small.
The driver must intervene actively when there
is a prewarning.
Acute warning with braking function
Acute warning in displayed in case of the immi‐
nent danger of a collision when the vehicle ap‐
proaches another object at a high differential
speed.
Seite 107SafetyControls107
Online Edition for Part no. 01 40 2 970 518 - II/16
Page 110 of 220
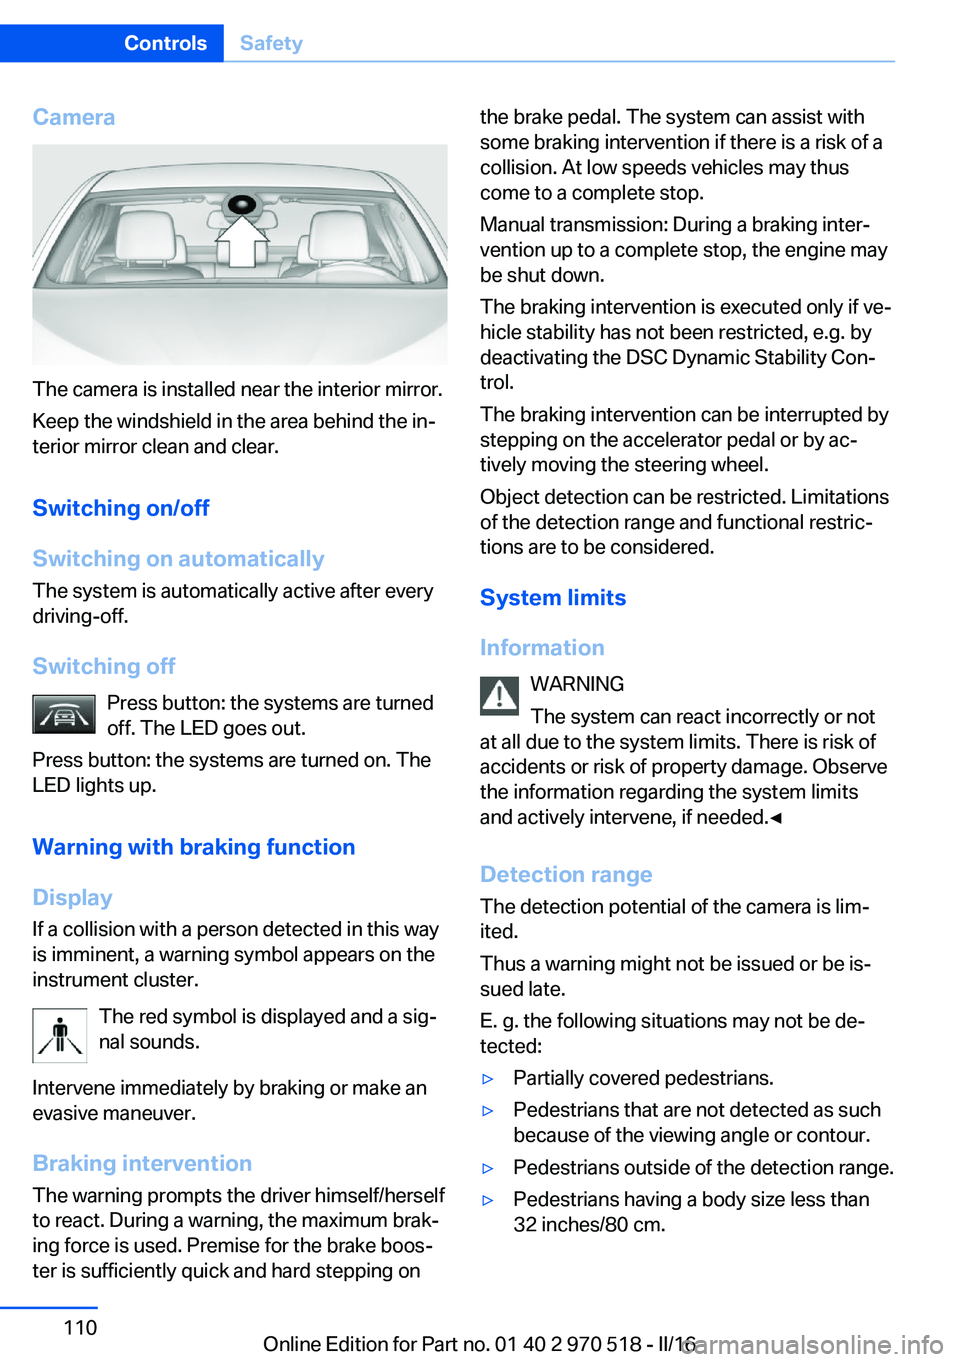
Camera
The camera is installed near the interior mirror.
Keep the windshield in the area behind the in‐
terior mirror clean and clear.
Switching on/off
Switching on automatically The system is automatically active after every
driving-off.
Switching off Press button: the systems are turned
off. The LED goes out.
Press button: the systems are turned on. The
LED lights up.
Warning with braking function
Display
If a collision with a person detected in this way
is imminent, a warning symbol appears on the
instrument cluster.
The red symbol is displayed and a sig‐
nal sounds.
Intervene immediately by braking or make an
evasive maneuver.
Braking intervention The warning prompts the driver himself/herself
to react. During a warning, the maximum brak‐
ing force is used. Premise for the brake boos‐
ter is sufficiently quick and hard stepping on
the brake pedal. The system can assist with
some braking intervention if there is a risk of a
collision. At low speeds vehicles may thus
come to a complete stop.
Manual transmission: During a braking inter‐
vention up to a complete stop, the engine may
be shut down.
The braking intervention is executed only if ve‐
hicle stability has not been restricted, e.g. by
deactivating the DSC Dynamic Stability Con‐
trol.
The braking intervention can be interrupted by
stepping on the accelerator pedal or by ac‐
tively moving the steering wheel.
Object detection can be restricted. Limitations
of the detection range and functional restric‐
tions are to be considered.
System limits
Information WARNING
The system can react incorrectly or not
at all due to the system limits. There is risk of
accidents or risk of property damage. Observe
the information regarding the system limits
and actively intervene, if needed.◀
Detection range The detection potential of the camera is lim‐
ited.
Thus a warning might not be issued or be is‐
sued late.
E. g. the following situations may not be de‐
tected:▷Partially covered pedestrians.▷Pedestrians that are not detected as such
because of the viewing angle or contour.▷Pedestrians outside of the detection range.▷Pedestrians having a body size less than
32 inches/80 cm.Seite 110ControlsSafety110
Online Edition for Part no. 01 40 2 970 518 - II/16
Page 112 of 220
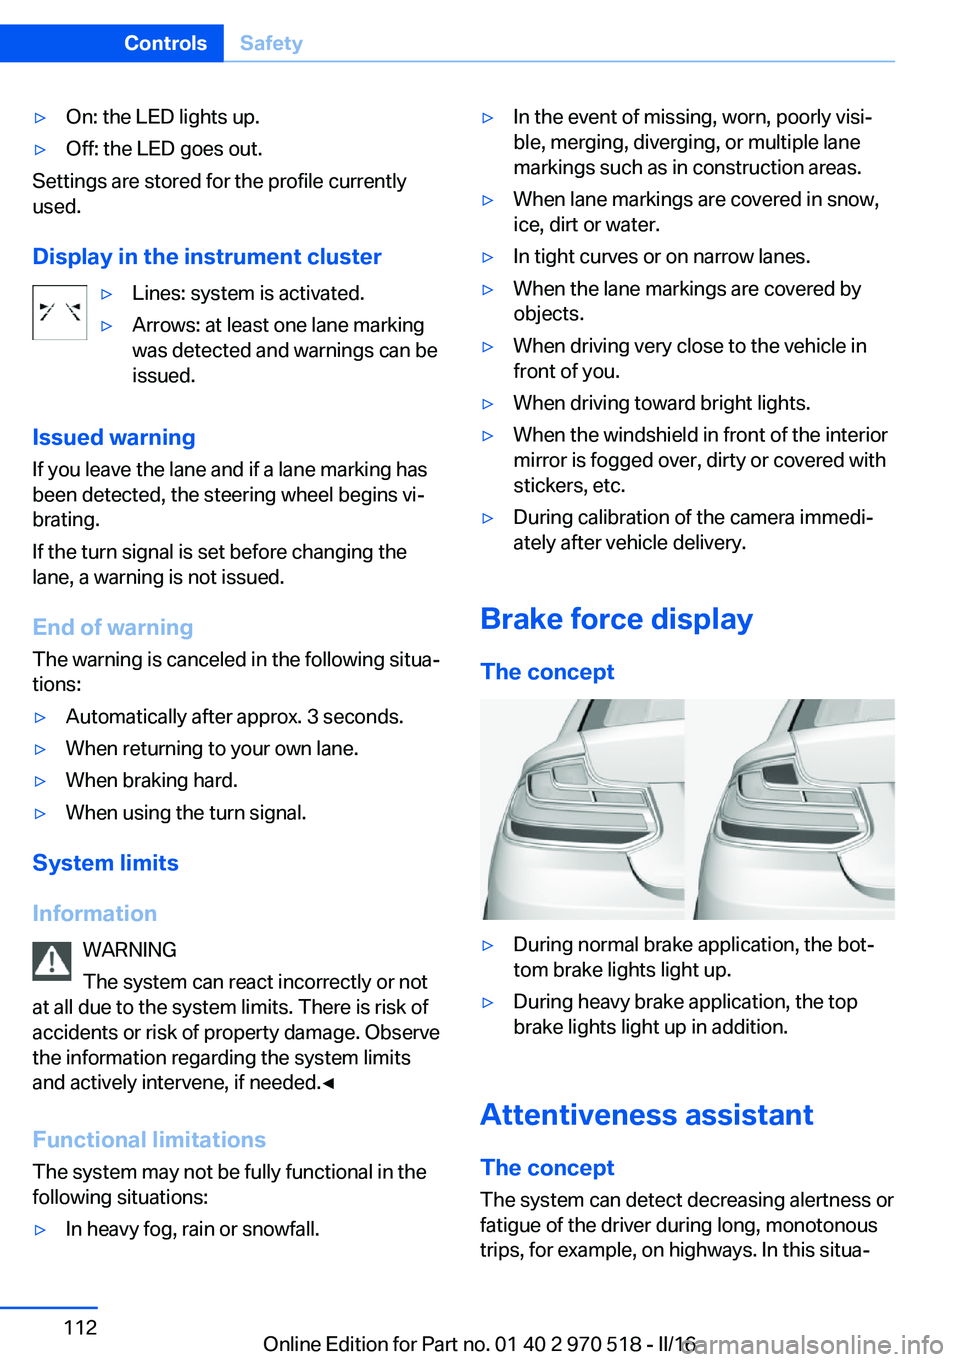
▷On: the LED lights up.▷Off: the LED goes out.
Settings are stored for the profile currently
used.
Display in the instrument cluster
▷Lines: system is activated.▷Arrows: at least one lane marking
was detected and warnings can be
issued.
Issued warning
If you leave the lane and if a lane marking has
been detected, the steering wheel begins vi‐
brating.
If the turn signal is set before changing the
lane, a warning is not issued.
End of warning
The warning is canceled in the following situa‐
tions:
▷Automatically after approx. 3 seconds.▷When returning to your own lane.▷When braking hard.▷When using the turn signal.
System limits
Information WARNING
The system can react incorrectly or not
at all due to the system limits. There is risk of
accidents or risk of property damage. Observe
the information regarding the system limits
and actively intervene, if needed.◀
Functional limitations
The system may not be fully functional in the
following situations:
▷In heavy fog, rain or snowfall.▷In the event of missing, worn, poorly visi‐
ble, merging, diverging, or multiple lane
markings such as in construction areas.▷When lane markings are covered in snow,
ice, dirt or water.▷In tight curves or on narrow lanes.▷When the lane markings are covered by
objects.▷When driving very close to the vehicle in
front of you.▷When driving toward bright lights.▷When the windshield in front of the interior
mirror is fogged over, dirty or covered with
stickers, etc.▷During calibration of the camera immedi‐
ately after vehicle delivery.
Brake force display
The concept
▷During normal brake application, the bot‐
tom brake lights light up.▷During heavy brake application, the top
brake lights light up in addition.
Attentiveness assistant
The concept The system can detect decreasing alertness or
fatigue of the driver during long, monotonous
trips, for example, on highways. In this situa‐
Seite 112ControlsSafety112
Online Edition for Part no. 01 40 2 970 518 - II/16
Page 140 of 220
USB interface in the glove
compartment
Mobile storage devices with USB port can be
connected to the USB interface in the glove
compartment.
Common file systems are supported. FAT32
and exFAT are the recommended formats.
The following applications are possible:▷Exporting and importing profiles, refer to
page 36.▷Loading of software updates.▷Adding music files to the music collection
and saving the music collection.
USB interface in the center console
In addition to the USB storage devices descri‐
bed above, additional mobile devices with USB
port can be connected to the USB interface in
the center console.
▷Mobile phones supported by the USB in‐
terface.
The snap-in adapter features a separate
USB port that is automatically connected
when a compatible mobile phone is in‐
serted.▷Audio devices with USB port, for example
MP3 player.
This allows further uses:
▷Playing music files via USB audio.▷Playing video films via USB video.
Information about compatible USB devices can
be found at www.bmwusa.com/bluetooth.
Information Observe the following when connecting:
▷Do not use force when plugging the con‐
nector into the USB interface.▷Use a flexible adapter cable.▷Protect the USB device against mechanical
damage.▷Due to the large number of USB devices
available on the market, it cannot be guar‐
anteed that every device is operable on the
vehicle.▷Do not expose USB devices to extreme en‐
vironmental conditions, such as very high
temperatures; refer to the owner's manual
of the device.▷Due to the many different compression
techniques, proper playback of the media
stored on the USB device cannot be guar‐
anteed in all cases.▷A connected USB device is supplied with
charging current via the USB interface, as‐
suming this is supported by the device.▷To ensure proper transmission of the
stored data, do not charge an USB device
via the onboard socket, when it is con‐
nected to the USB interface.▷Depending on how the USB device should
be used, settings may be required on the
USB device, refer to the owner's manual of
the device.
Not suitable USB devices:
▷USB hard drives.▷USB hubs.▷USB memory card readers with multiple in‐
serts.▷HFS-formatted USB devices.▷MTP devices.▷Devices such as fans or lights.Seite 140ControlsInterior equipment140
Online Edition for Part no. 01 40 2 970 518 - II/16