2016 BMW M2 COUPE audio
[x] Cancel search: audioPage 20 of 220
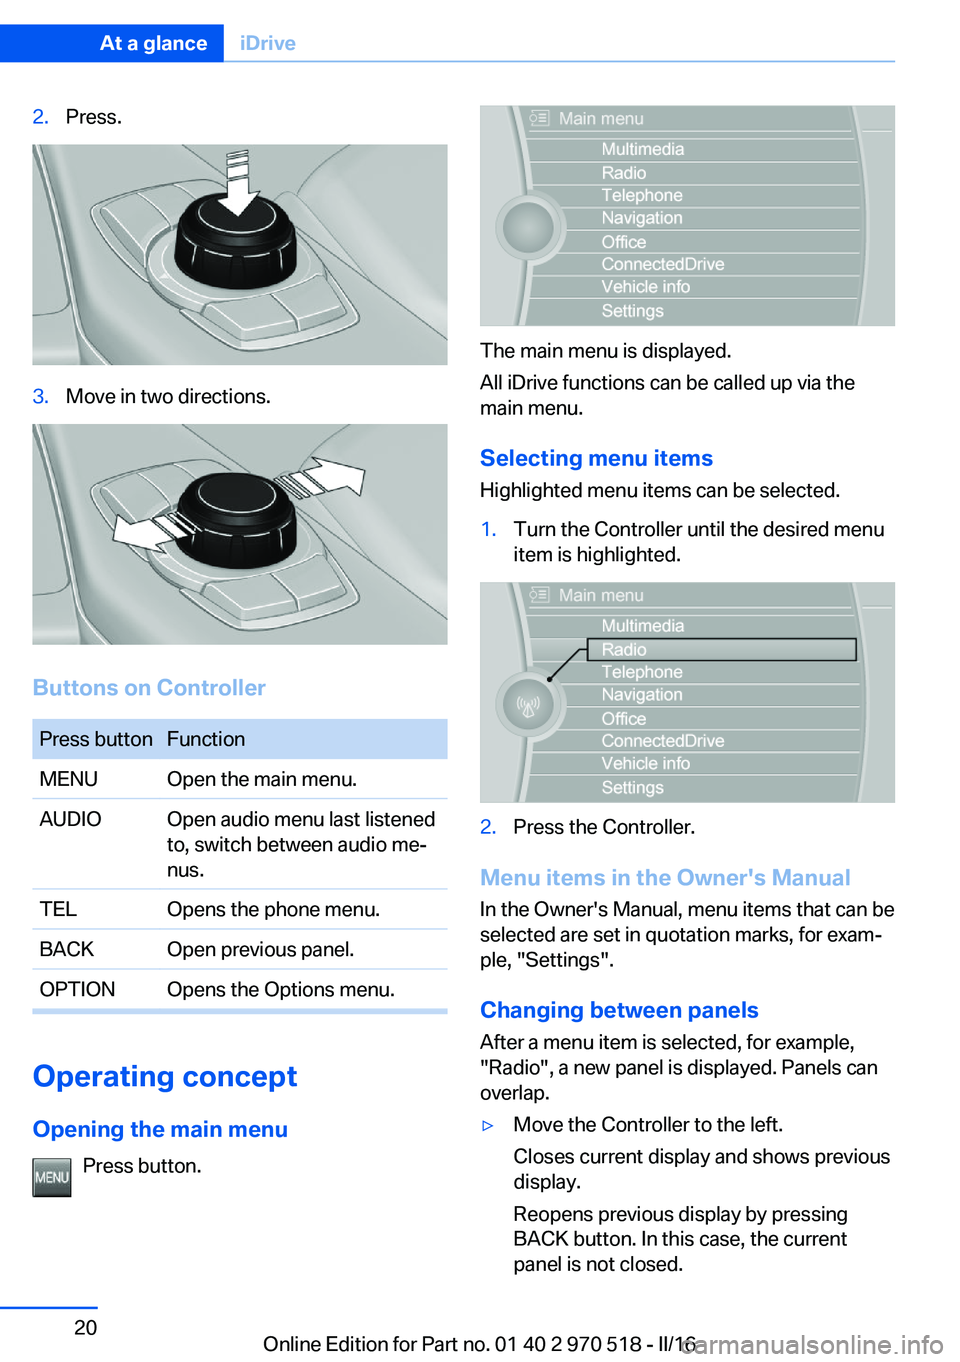
2.Press.3.Move in two directions.
Buttons on Controller
Press buttonFunctionMENUOpen the main menu.AUDIOOpen audio menu last listened
to, switch between audio me‐
nus.TELOpens the phone menu.BACKOpen previous panel.OPTIONOpens the Options menu.
Operating concept
Opening the main menu Press button.
The main menu is displayed.
All iDrive functions can be called up via the
main menu.
Selecting menu items
Highlighted menu items can be selected.
1.Turn the Controller until the desired menu
item is highlighted.2.Press the Controller.
Menu items in the Owner's Manual
In the Owner's Manual, menu items that can be
selected are set in quotation marks, for exam‐
ple, "Settings".
Changing between panels
After a menu item is selected, for example,
"Radio", a new panel is displayed. Panels can
overlap.
▷Move the Controller to the left.
Closes current display and shows previous
display.
Reopens previous display by pressing
BACK button. In this case, the current
panel is not closed.Seite 20At a glanceiDrive20
Online Edition for Part no. 01 40 2 970 518 - II/16
Page 21 of 220
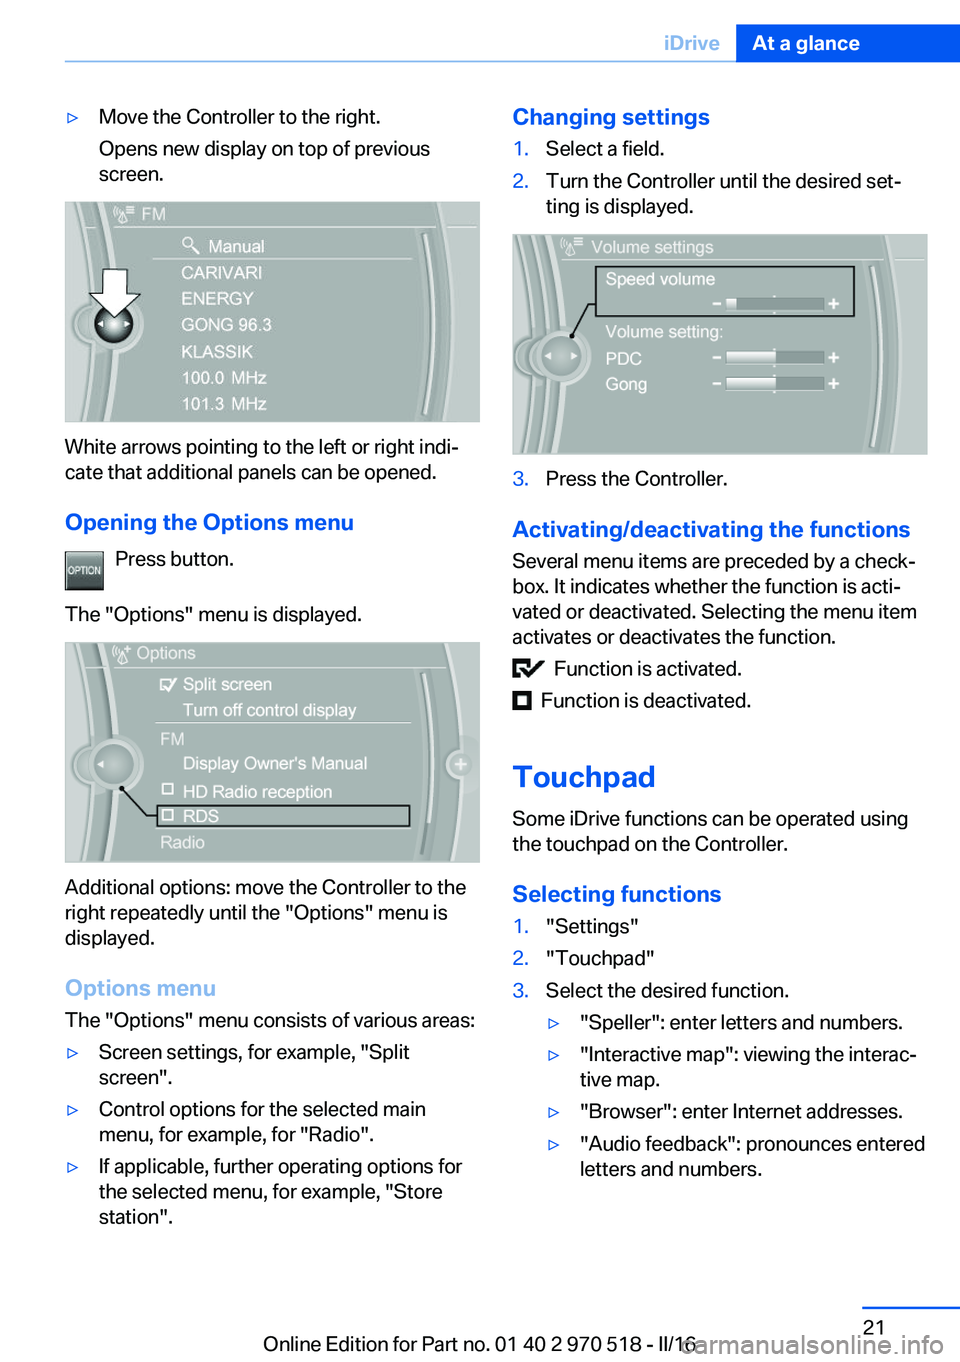
▷Move the Controller to the right.
Opens new display on top of previous
screen.
White arrows pointing to the left or right indi‐
cate that additional panels can be opened.
Opening the Options menu Press button.
The "Options" menu is displayed.
Additional options: move the Controller to the
right repeatedly until the "Options" menu is
displayed.
Options menu The "Options" menu consists of various areas:
▷Screen settings, for example, "Split
screen".▷Control options for the selected main
menu, for example, for "Radio".▷If applicable, further operating options for
the selected menu, for example, "Store
station".Changing settings1.Select a field.2.Turn the Controller until the desired set‐
ting is displayed.3.Press the Controller.
Activating/deactivating the functions
Several menu items are preceded by a check‐
box. It indicates whether the function is acti‐
vated or deactivated. Selecting the menu item
activates or deactivates the function.
Function is activated.
Function is deactivated.
Touchpad Some iDrive functions can be operated using
the touchpad on the Controller.
Selecting functions
1."Settings"2."Touchpad"3.Select the desired function.▷"Speller": enter letters and numbers.▷"Interactive map": viewing the interac‐
tive map.▷"Browser": enter Internet addresses.▷"Audio feedback": pronounces entered
letters and numbers.Seite 21iDriveAt a glance21
Online Edition for Part no. 01 40 2 970 518 - II/16
Page 23 of 220
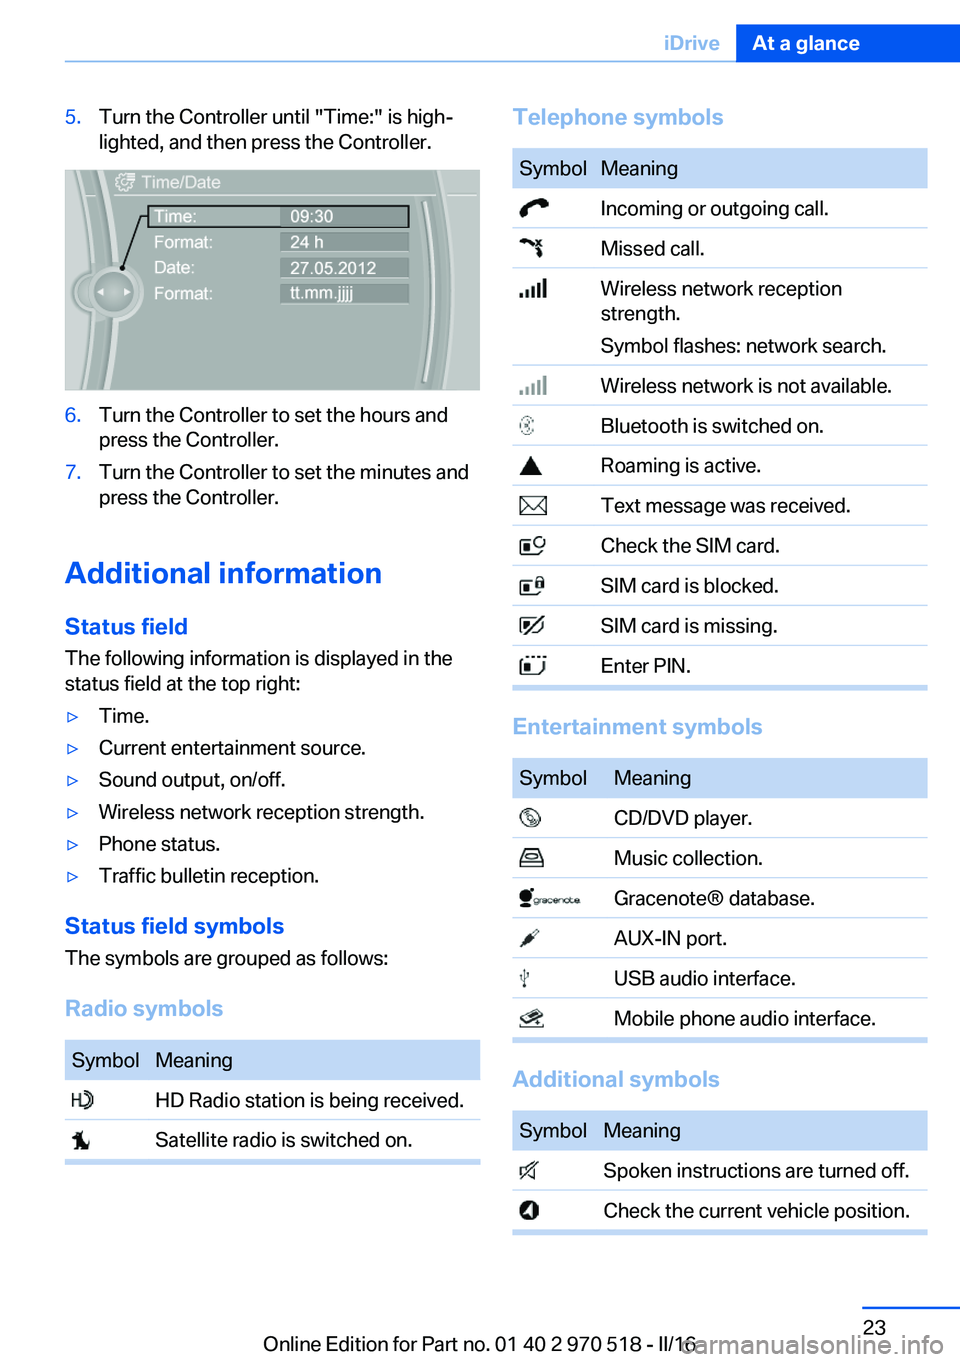
5.Turn the Controller until "Time:" is high‐
lighted, and then press the Controller.6.Turn the Controller to set the hours and
press the Controller.7.Turn the Controller to set the minutes and
press the Controller.
Additional information
Status field
The following information is displayed in the
status field at the top right:
▷Time.▷Current entertainment source.▷Sound output, on/off.▷Wireless network reception strength.▷Phone status.▷Traffic bulletin reception.
Status field symbols
The symbols are grouped as follows:
Radio symbols
SymbolMeaning HD Radio station is being received. Satellite radio is switched on.Telephone symbolsSymbolMeaning Incoming or outgoing call. Missed call. Wireless network reception
strength.
Symbol flashes: network search. Wireless network is not available. Bluetooth is switched on. Roaming is active. Text message was received. Check the SIM card. SIM card is blocked. SIM card is missing. Enter PIN.
Entertainment symbols
SymbolMeaning CD/DVD player. Music collection. Gracenote® database. AUX-IN port. USB audio interface. Mobile phone audio interface.
Additional symbols
SymbolMeaning Spoken instructions are turned off. Check the current vehicle position.Seite 23iDriveAt a glance23
Online Edition for Part no. 01 40 2 970 518 - II/16
Page 28 of 220
Executing functions using short
commands
Execute functions on the main menu via short
commands. It almost doesn't matter which
menu item is selected, for example, ›Vehicle
status‹.
The list for short commands of the voice acti‐
vation system can be called up via the Inte‐
grated Owner's Manual on the Control Display.
Help dialog for the voice activationsystem
Calling up help dialog: ›Help‹.
Additional commands for the help dialog:▷›Help with examples‹: announces informa‐
tion about the current operating options
and the most important commands for
them.▷›Help with voice activation‹: information
about the principle of operation for the
voice activation system is announced.
One example: opening the
tone settings
Via the main menu
The commands of the menu items are spoken
just as they are selected via the Controller.
1.Turn on the Entertainment sound output if
needed.2. Press button on the steering
wheel.3.›Radio‹4.›Tone‹
Via short command
The desired tone settings can also be started
via a short command.
1.Turn on the Entertainment sound output if
needed.2. Press button on the steering
wheel.3.›Tone‹
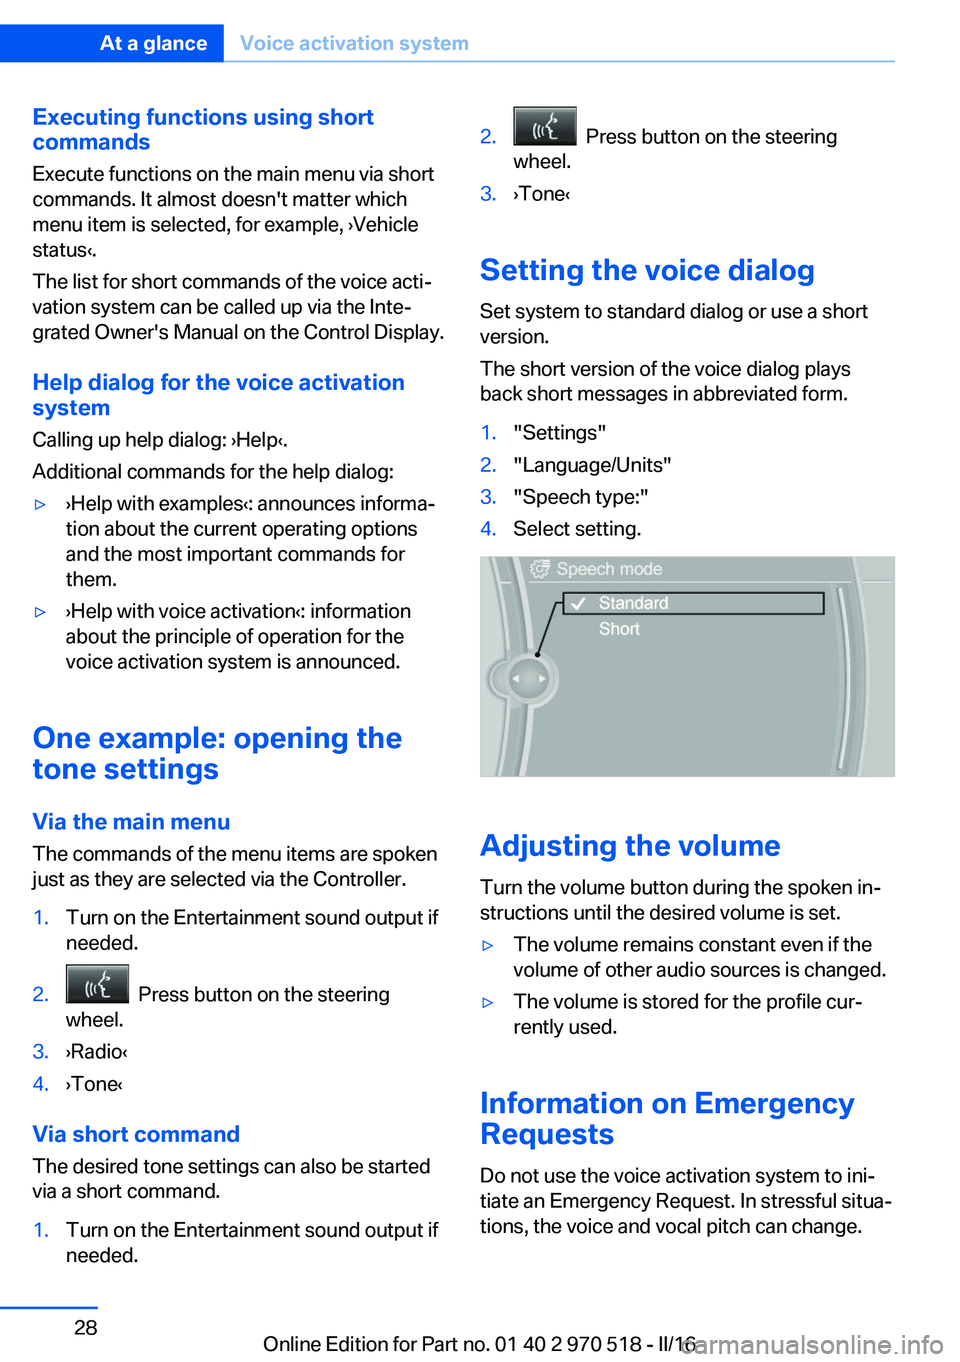
Setting the voice dialog
Set system to standard dialog or use a short
version.
The short version of the voice dialog plays
back short messages in abbreviated form.
1."Settings"2."Language/Units"3."Speech type:"4.Select setting.
Adjusting the volume
Turn the volume button during the spoken in‐
structions until the desired volume is set.
▷The volume remains constant even if the
volume of other audio sources is changed.▷The volume is stored for the profile cur‐
rently used.
Information on Emergency
Requests
Do not use the voice activation system to ini‐
tiate an Emergency Request. In stressful situa‐
tions, the voice and vocal pitch can change.
Seite 28At a glanceVoice activation system28
Online Edition for Part no. 01 40 2 970 518 - II/16
Page 88 of 220
Selection lists in the
instrument cluster
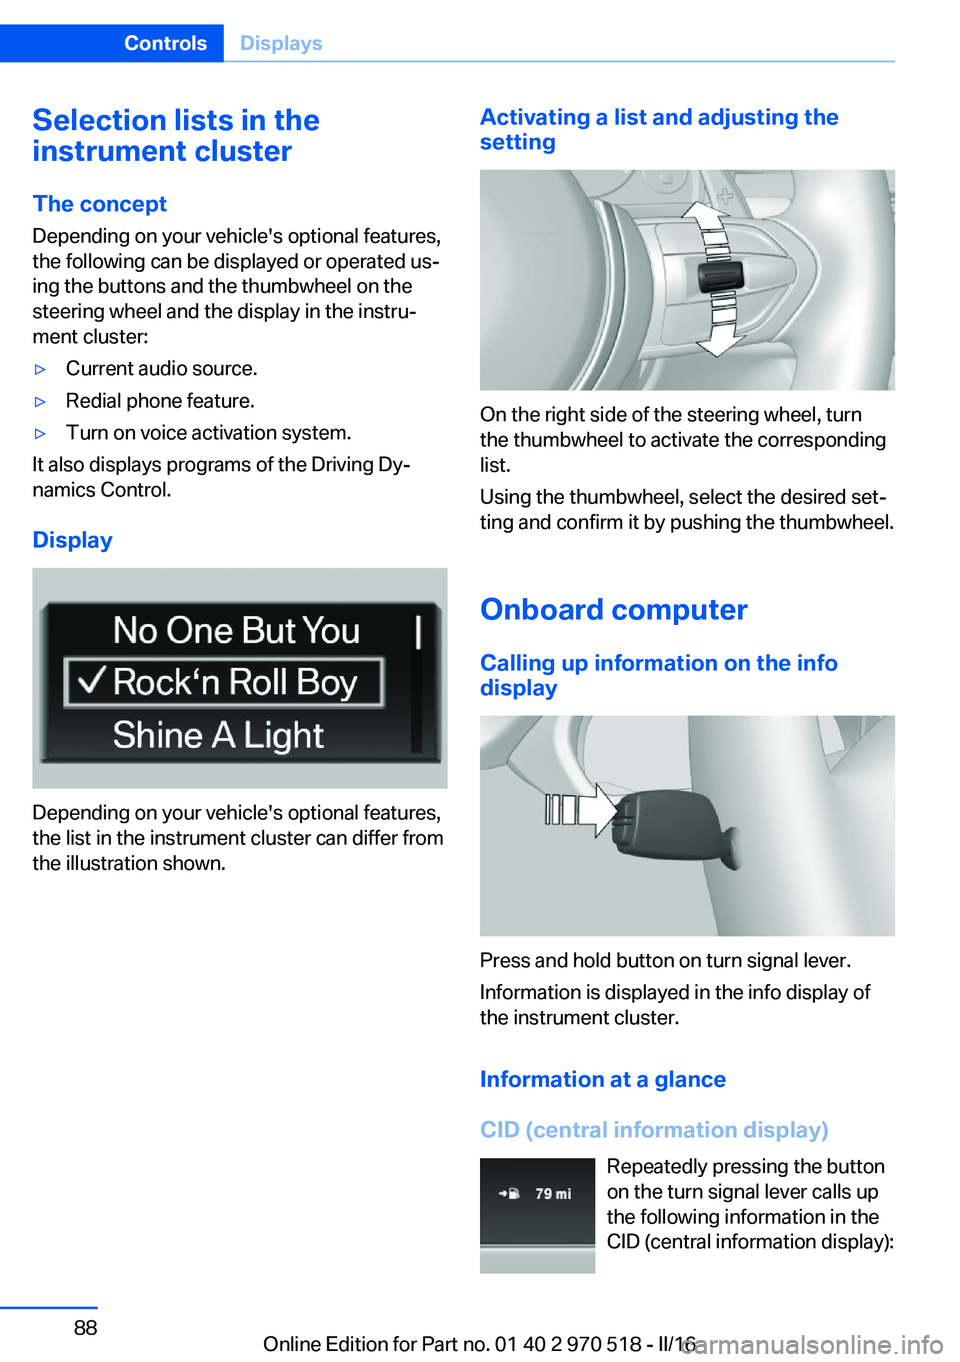
The concept Depending on your vehicle's optional features,
the following can be displayed or operated us‐
ing the buttons and the thumbwheel on the
steering wheel and the display in the instru‐
ment cluster:▷Current audio source.▷Redial phone feature.▷Turn on voice activation system.
It also displays programs of the Driving Dy‐
namics Control.
Display
Depending on your vehicle's optional features,
the list in the instrument cluster can differ from
the illustration shown.
Activating a list and adjusting the
setting
On the right side of the steering wheel, turn
the thumbwheel to activate the corresponding
list.
Using the thumbwheel, select the desired set‐
ting and confirm it by pushing the thumbwheel.
Onboard computer
Calling up information on the info
display
Press and hold button on turn signal lever.
Information is displayed in the info display of
the instrument cluster.
Information at a glance
CID (central information display) Repeatedly pressing the button
on the turn signal lever calls up
the following information in the
CID (central information display):
Seite 88ControlsDisplays88
Online Edition for Part no. 01 40 2 970 518 - II/16
Page 139 of 220

ATTENTION
If metal objects fall into the socket, they
can cause a short circuit. There is a risk of
damage to property. Replace the cigarette
lighter or socket cover again after using the
socket.◀
Sockets
General information
The lighter socket can be used as a socket for
electrical equipment while the engine is run‐
ning or when the ignition is switched on.
Information
The total load of all sockets must not exceed
140 watts at 12 volts.
Do not damage the socket by using non-com‐
patible connectors.
Front center console
Remove the cover or cigarette lighter.
Rear center console
Remove the cover.
In the cargo area
The socket is located on the left side in the
cargo area.
USB interface/AUX-IN port
The concept Mobile devices with USB port can be con‐
nected to the USB interface.
A mobile audio device, e.g. a MP3 player, can
be connected using the AUX-IN port.
General information Depending on the equipment, the USB inter‐
face is located in the center console or in the
glove compartment.
Seite 139Interior equipmentControls139
Online Edition for Part no. 01 40 2 970 518 - II/16
Page 140 of 220
USB interface in the glove
compartment
Mobile storage devices with USB port can be
connected to the USB interface in the glove
compartment.
Common file systems are supported. FAT32
and exFAT are the recommended formats.
The following applications are possible:▷Exporting and importing profiles, refer to
page 36.▷Loading of software updates.▷Adding music files to the music collection
and saving the music collection.
USB interface in the center console
In addition to the USB storage devices descri‐
bed above, additional mobile devices with USB
port can be connected to the USB interface in
the center console.
▷Mobile phones supported by the USB in‐
terface.
The snap-in adapter features a separate
USB port that is automatically connected
when a compatible mobile phone is in‐
serted.▷Audio devices with USB port, for example
MP3 player.
This allows further uses:
▷Playing music files via USB audio.▷Playing video films via USB video.
Information about compatible USB devices can
be found at www.bmwusa.com/bluetooth.
Information Observe the following when connecting:
▷Do not use force when plugging the con‐
nector into the USB interface.▷Use a flexible adapter cable.▷Protect the USB device against mechanical
damage.▷Due to the large number of USB devices
available on the market, it cannot be guar‐
anteed that every device is operable on the
vehicle.▷Do not expose USB devices to extreme en‐
vironmental conditions, such as very high
temperatures; refer to the owner's manual
of the device.▷Due to the many different compression
techniques, proper playback of the media
stored on the USB device cannot be guar‐
anteed in all cases.▷A connected USB device is supplied with
charging current via the USB interface, as‐
suming this is supported by the device.▷To ensure proper transmission of the
stored data, do not charge an USB device
via the onboard socket, when it is con‐
nected to the USB interface.▷Depending on how the USB device should
be used, settings may be required on the
USB device, refer to the owner's manual of
the device.
Not suitable USB devices:
▷USB hard drives.▷USB hubs.▷USB memory card readers with multiple in‐
serts.▷HFS-formatted USB devices.▷MTP devices.▷Devices such as fans or lights.Seite 140ControlsInterior equipment140
Online Edition for Part no. 01 40 2 970 518 - II/16
Page 145 of 220
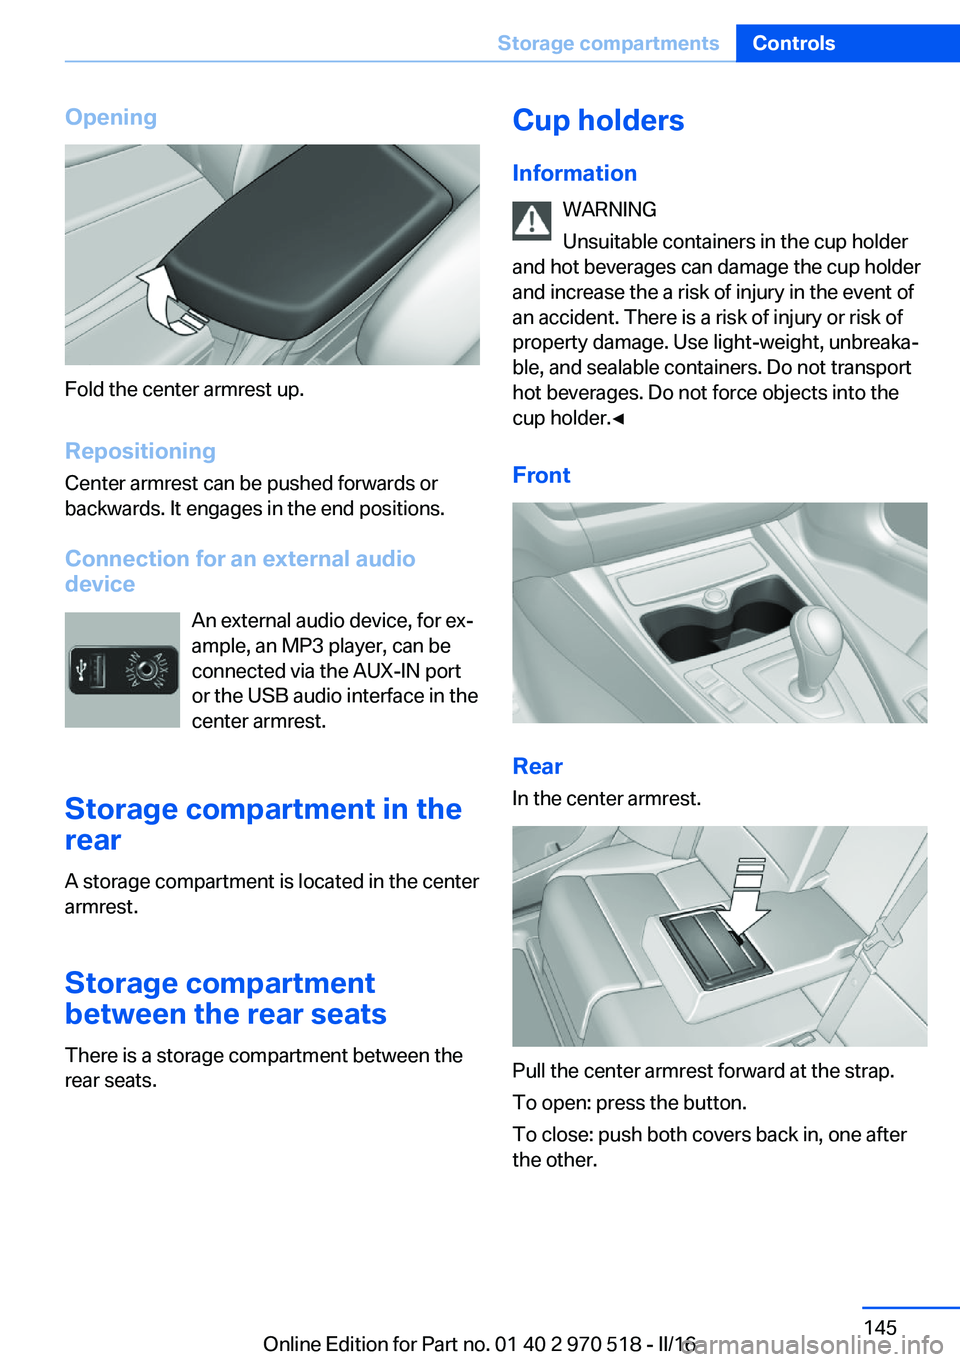
Opening
Fold the center armrest up.
Repositioning
Center armrest can be pushed forwards or
backwards. It engages in the end positions.
Connection for an external audio
device
An external audio device, for ex‐
ample, an MP3 player, can be
connected via the AUX-IN port
or the USB audio interface in the
center armrest.
Storage compartment in the
rear
A storage compartment is located in the center
armrest.
Storage compartment
between the rear seats
There is a storage compartment between the
rear seats.
Cup holders
Information WARNING
Unsuitable containers in the cup holder
and hot beverages can damage the cup holder
and increase the a risk of injury in the event of
an accident. There is a risk of injury or risk of
property damage. Use light-weight, unbreaka‐
ble, and sealable containers. Do not transport
hot beverages. Do not force objects into the
cup holder.◀
Front
Rear
In the center armrest.
Pull the center armrest forward at the strap.
To open: press the button.
To close: push both covers back in, one after
the other.
Seite 145Storage compartmentsControls145
Online Edition for Part no. 01 40 2 970 518 - II/16