2016 BMW 428I XDRIVE COUPE changing
[x] Cancel search: changingPage 24 of 247
Buttons on controllerPress buttonFunctionMENUOpen the main menu.AudioOpen audio menu last listened
to, switch between audio me‐
nus.TELOpens the phone menu.BACKOpen previous panel.OPTIONOpens the Options menu.
Operating concept
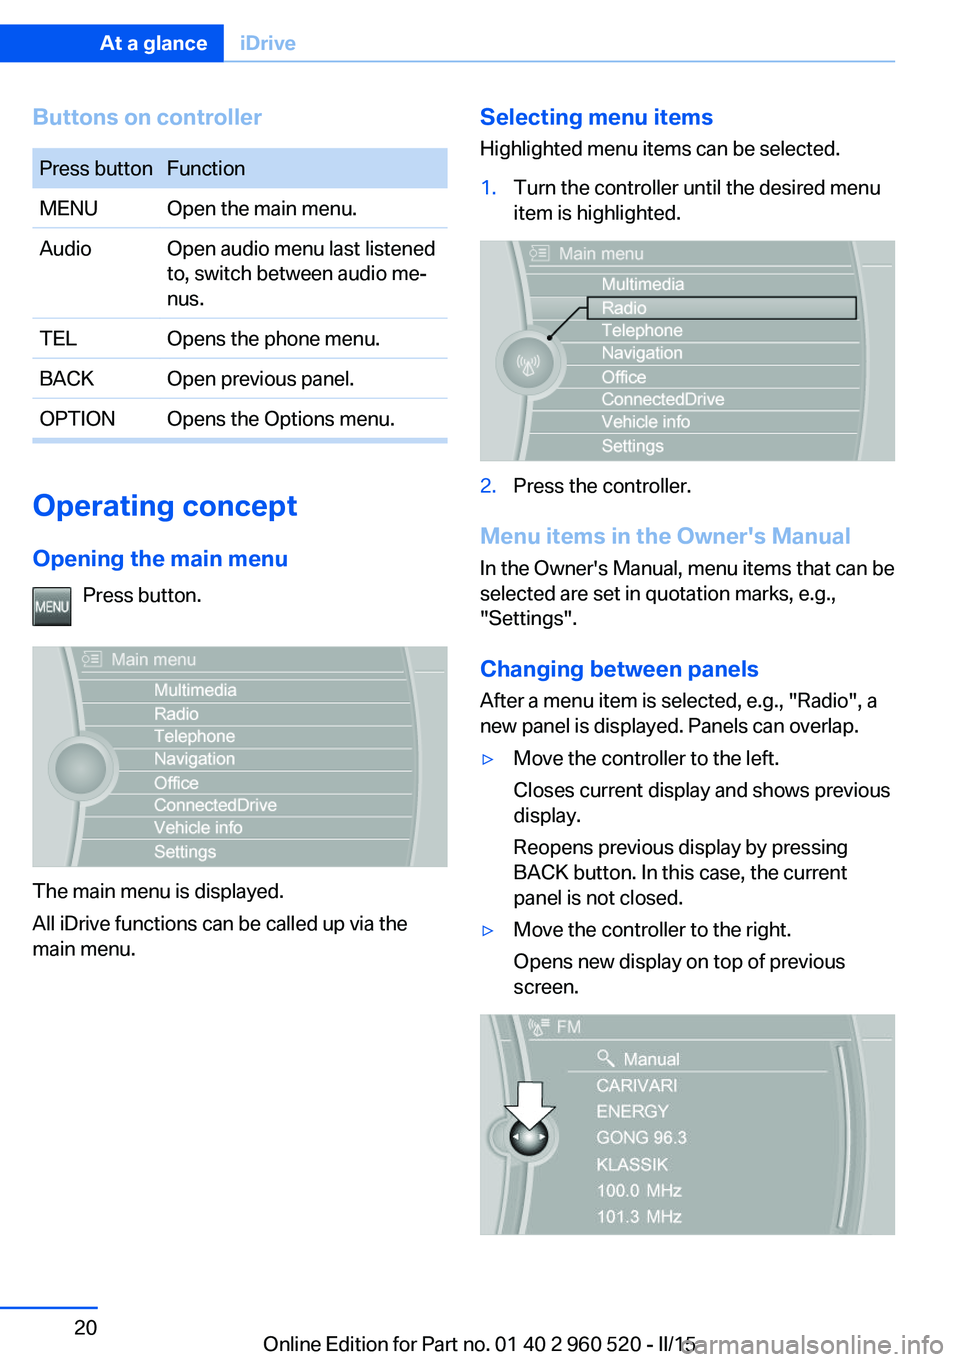
Opening the main menu Press button.
The main menu is displayed.
All iDrive functions can be called up via the
main menu.
Selecting menu items
Highlighted menu items can be selected.1.Turn the controller until the desired menu
item is highlighted.2.Press the controller.
Menu items in the Owner's Manual
In the Owner's Manual, menu items that can be
selected are set in quotation marks, e.g.,
"Settings".
Changing between panels
After a menu item is selected, e.g., "Radio", a
new panel is displayed. Panels can overlap.
▷Move the controller to the left.
Closes current display and shows previous
display.
Reopens previous display by pressing
BACK button. In this case, the current
panel is not closed.▷Move the controller to the right.
Opens new display on top of previous
screen.Seite 20At a glanceiDrive20
Online Edition for Part no. 01 40 2 960 520 - II/15
Page 25 of 247
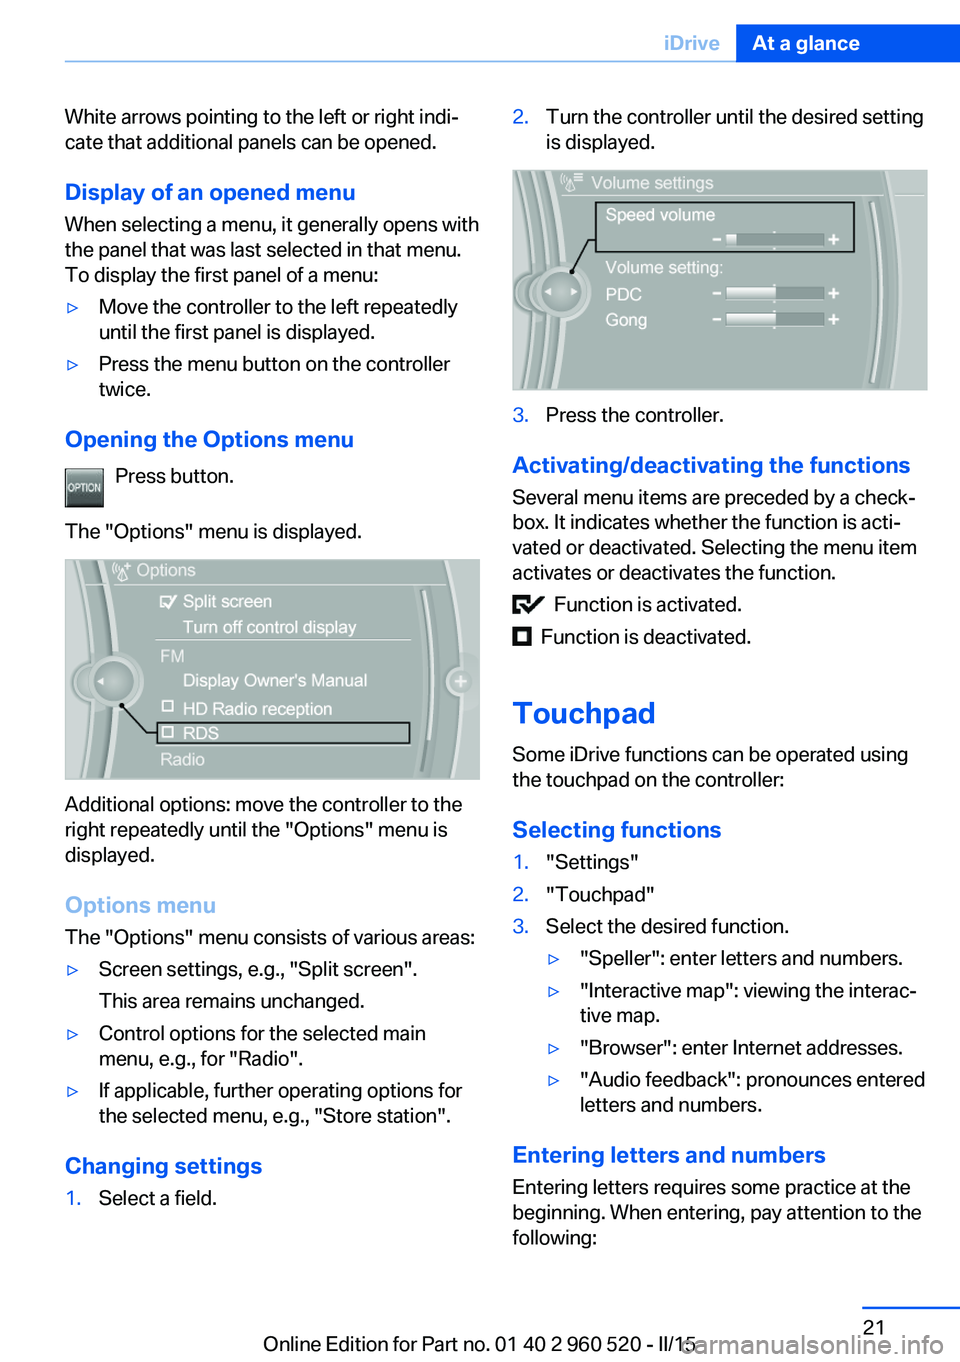
White arrows pointing to the left or right indi‐
cate that additional panels can be opened.
Display of an opened menu
When selecting a menu, it generally opens with
the panel that was last selected in that menu.
To display the first panel of a menu:▷Move the controller to the left repeatedly
until the first panel is displayed.▷Press the menu button on the controller
twice.
Opening the Options menu
Press button.
The "Options" menu is displayed.
Additional options: move the controller to the
right repeatedly until the "Options" menu is
displayed.
Options menu The "Options" menu consists of various areas:
▷Screen settings, e.g., "Split screen".
This area remains unchanged.▷Control options for the selected main
menu, e.g., for "Radio".▷If applicable, further operating options for
the selected menu, e.g., "Store station".
Changing settings
1.Select a field.2.Turn the controller until the desired setting
is displayed.3.Press the controller.
Activating/deactivating the functions
Several menu items are preceded by a check‐
box. It indicates whether the function is acti‐
vated or deactivated. Selecting the menu item
activates or deactivates the function.
Function is activated.
Function is deactivated.
Touchpad Some iDrive functions can be operated using
the touchpad on the controller:
Selecting functions
1."Settings"2."Touchpad"3.Select the desired function.▷"Speller": enter letters and numbers.▷"Interactive map": viewing the interac‐
tive map.▷"Browser": enter Internet addresses.▷"Audio feedback": pronounces entered
letters and numbers.
Entering letters and numbers
Entering letters requires some practice at the
beginning. When entering, pay attention to the
following:
Seite 21iDriveAt a glance21
Online Edition for Part no. 01 40 2 960 520 - II/15
Page 26 of 247

▷For the input of upper/lower case letters
and numbers, it may be necessary to reel
via the controller to the corresponding In‐
put mode, refer to page 25, e.g. when the
spelling of upper and lower case letters is
identical.▷Enter characters as they are displayed on
the Control Display.▷Always enter associated characters, such
as accents or periods so that the letter can
be clearly recognized. Possible input de‐
pends on the set language. Where neces‐
sary, enter special characters via the con‐
troller.▷To delete a character, slide to the left on
the touchpad.▷To enter a blank space, slide to the right in
the center of the touchpad.▷To enter a hyphen, slide to the right in the
upper area of the touchpad.▷To enter an underscore, swipe to the right
in the lower area of the touchpad.
Using interactive map and Internet
Via touch-pad move the interactive map in the
navigation system and Internet sites.
FunctionControlsMove interactive map or
Internet sites.Swipe into re‐
spective direc‐
tion.Enlarge/shrink interactive
map or Internet sites.Drag in or out on
the touchpad with
fingers.Display the menu or open
a link in the Internet.Tap once.
Changing settings
You may change control display settings via
touchpad. Swipe left or right accordingly.
Example: setting the clock
Setting the clock
On the Control Display:1. Press button. The main menu is dis‐
played.2.Turn the controller until "Settings" is high‐
lighted, and then press the controller.3.If necessary, move the controller to the left
to display "Time/Date".4.Turn the controller until "Time/Date" is
highlighted, and then press the controller.5.Turn the controller until "Time:" is high‐
lighted, and then press the controller.Seite 22At a glanceiDrive22
Online Edition for Part no. 01 40 2 960 520 - II/15
Page 35 of 247
Context help - Owner's Manual to the
temporarily selected function
You may open the relevant information di‐
rectly.
Opening via the iDrive
To move directly from the application on the
Control Display to the Options menu:1. Press button or move the controller
to the right repeatedly until the "Options"
menu is displayed.2."Display Owner's Manual"
Opening when a Check Control
message is displayed
Directly from the Check Control message on
the Control Display:
"Display Owner's Manual"
Changing between a function and the
Owner's Manual
To reel from a function, e. g., radio, to the
Owner's Manual on the Control Display and to
alternate between the two displays:
1. Press button or move the controller
to the right repeatedly until the "Options"
menu is displayed.2."Display Owner's Manual"3.Select the desired page in the Owner's
Manual.4. Press button again to return to last
displayed function.5. Press button to return to the page of
the Owner's Manual displayed last.
To alternate permanently between the last dis‐
played function and the Owner's Manual re‐
peat steps 4 & 5. Opens a new display every
time.
Programmable memory buttons
General information
The Owner's Manual can be stored on the pro‐
grammable memory buttons and called up di‐
rectly.
Storing1."Owner's Manual" Select via the iDrive.2. Press selected button for more
than 2 seconds.
Executing
Press button.
The Owner's Manual is displayed im‐
mediately.
Seite 31Integrated Owner's Manual in the vehicleAt a glance31
Online Edition for Part no. 01 40 2 960 520 - II/15
Page 53 of 247
AdjustingVehicle features and options
This chapter describes all standard, country-
specific and optional features offered with the
series. It also describes features that are not
necessarily available in your car, e. g., due to
the selected options or country versions. This
also applies to safety-related functions and
systems. The respectively applicable country
provisions must be observed when using the
respective features and systems.
Sitting safely The ideal seating position can make a vital
contribution to relaxed, fatigue-free driving.
The seating position plays an important role in
an accident in combination with:▷Safety belts, refer to page 53.▷Head restraints, refer to page 54.▷Airbags, refer to page 96.
Seats
Hints Do not adjust the seat while driving
Do not adjust the driver's seat while driv‐
ing, or the seat could respond with unexpected
movement and the ensuing loss of vehicle
control could lead to an accident.◀
Do not incline the backrest too far to the
rear
Do not incline the backrest too far to the rear
while driving, or there is a risk of slipping under
the safety belt in the event of an accident. This
would eliminate the protection normally pro‐
vided by the belt.◀
Keep the movement area unobstructed
When changing the seat position, keep
the seat's area of movement unobstructed;
otherwise, people might get injured or objects
damaged.◀
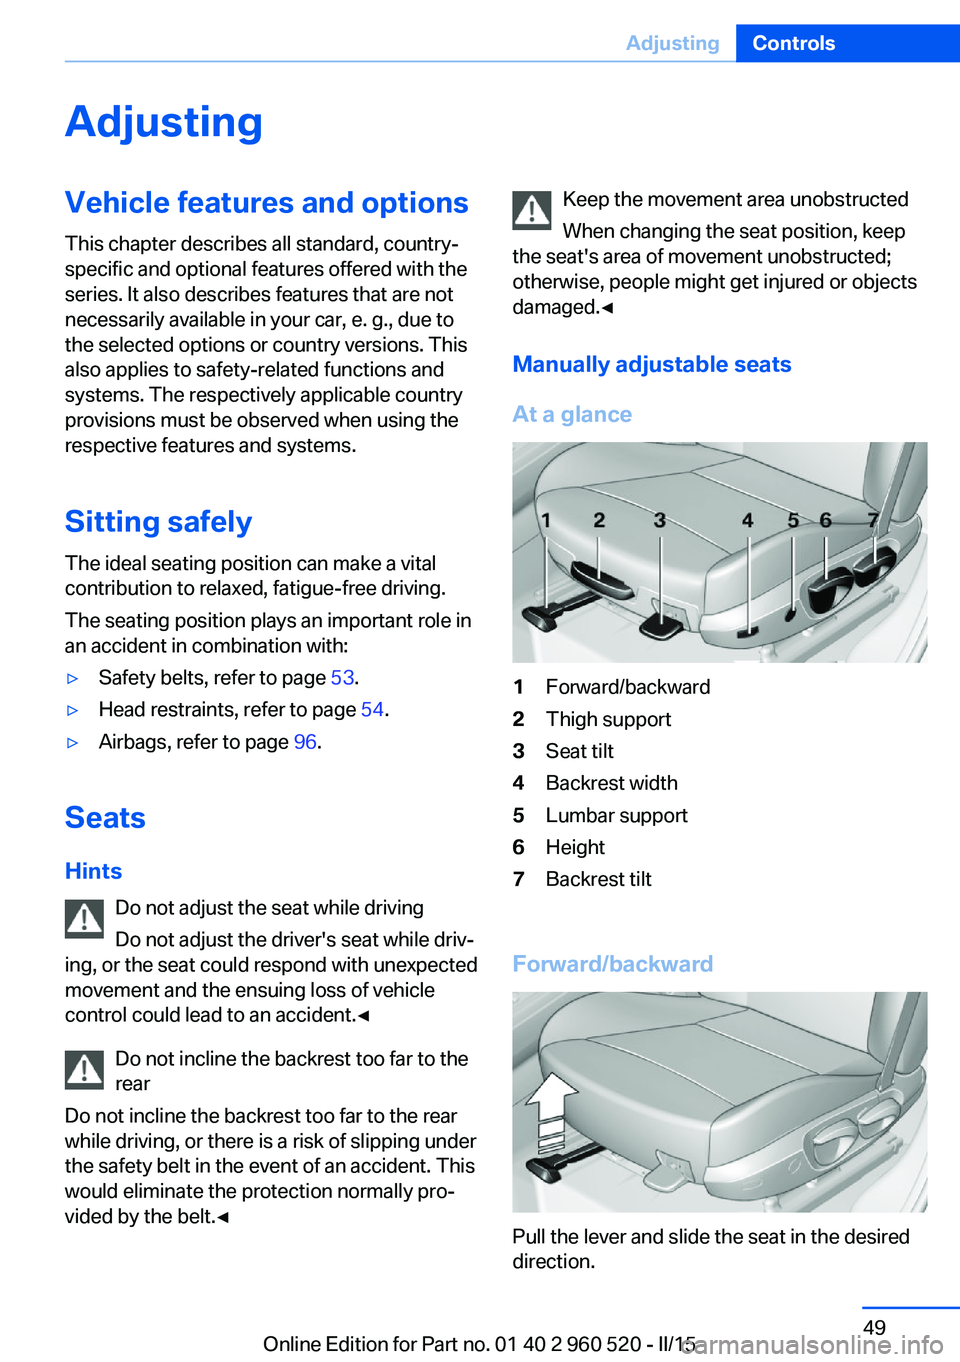
Manually adjustable seats
At a glance1Forward/backward2Thigh support3Seat tilt4Backrest width5Lumbar support6Height7Backrest tilt
Forward/backward
Pull the lever and slide the seat in the desired
direction.
Seite 49AdjustingControls49
Online Edition for Part no. 01 40 2 960 520 - II/15
Page 56 of 247
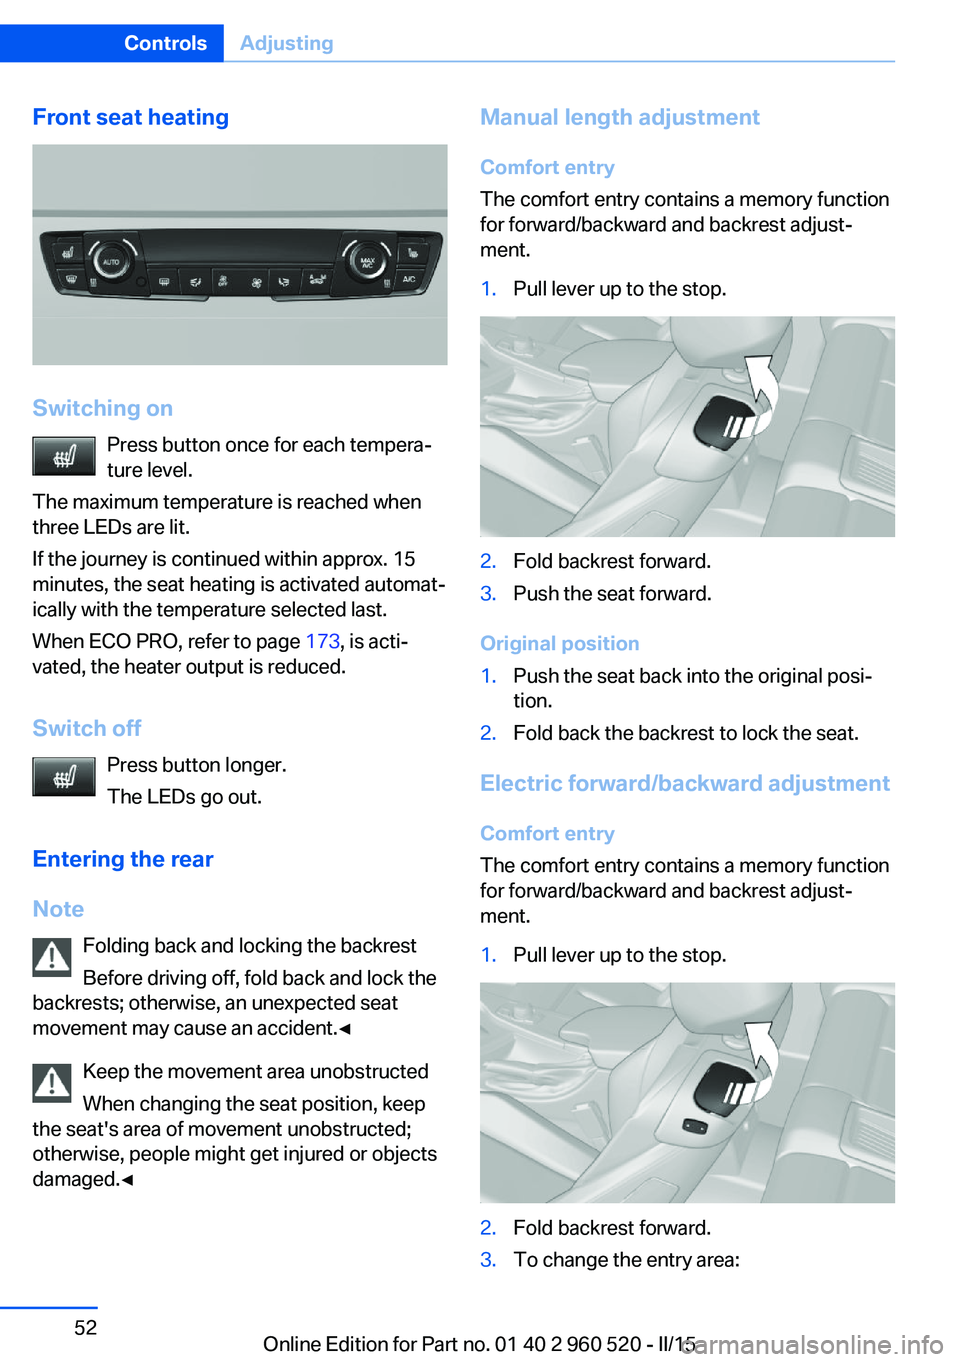
Front seat heating
Switching onPress button once for each tempera‐
ture level.
The maximum temperature is reached when
three LEDs are lit.
If the journey is continued within approx. 15
minutes, the seat heating is activated automat‐
ically with the temperature selected last.
When ECO PRO, refer to page 173, is acti‐
vated, the heater output is reduced.
Switch off Press button longer.
The LEDs go out.
Entering the rear
Note Folding back and locking the backrest
Before driving off, fold back and lock the
backrests; otherwise, an unexpected seat
movement may cause an accident.◀
Keep the movement area unobstructed
When changing the seat position, keep
the seat's area of movement unobstructed;
otherwise, people might get injured or objects
damaged.◀
Manual length adjustment
Comfort entry
The comfort entry contains a memory function
for forward/backward and backrest adjust‐
ment.1.Pull lever up to the stop.2.Fold backrest forward.3.Push the seat forward.
Original position
1.Push the seat back into the original posi‐
tion.2.Fold back the backrest to lock the seat.
Electric forward/backward adjustment
Comfort entry
The comfort entry contains a memory function
for forward/backward and backrest adjust‐
ment.
1.Pull lever up to the stop.2.Fold backrest forward.3.To change the entry area:Seite 52ControlsAdjusting52
Online Edition for Part no. 01 40 2 960 520 - II/15
Page 59 of 247
Distance
Adjust the distance so that the head restraint is as close as possible to the back of the head.
If necessary, adjust the distance by adjusting
the tilt of the backrest.
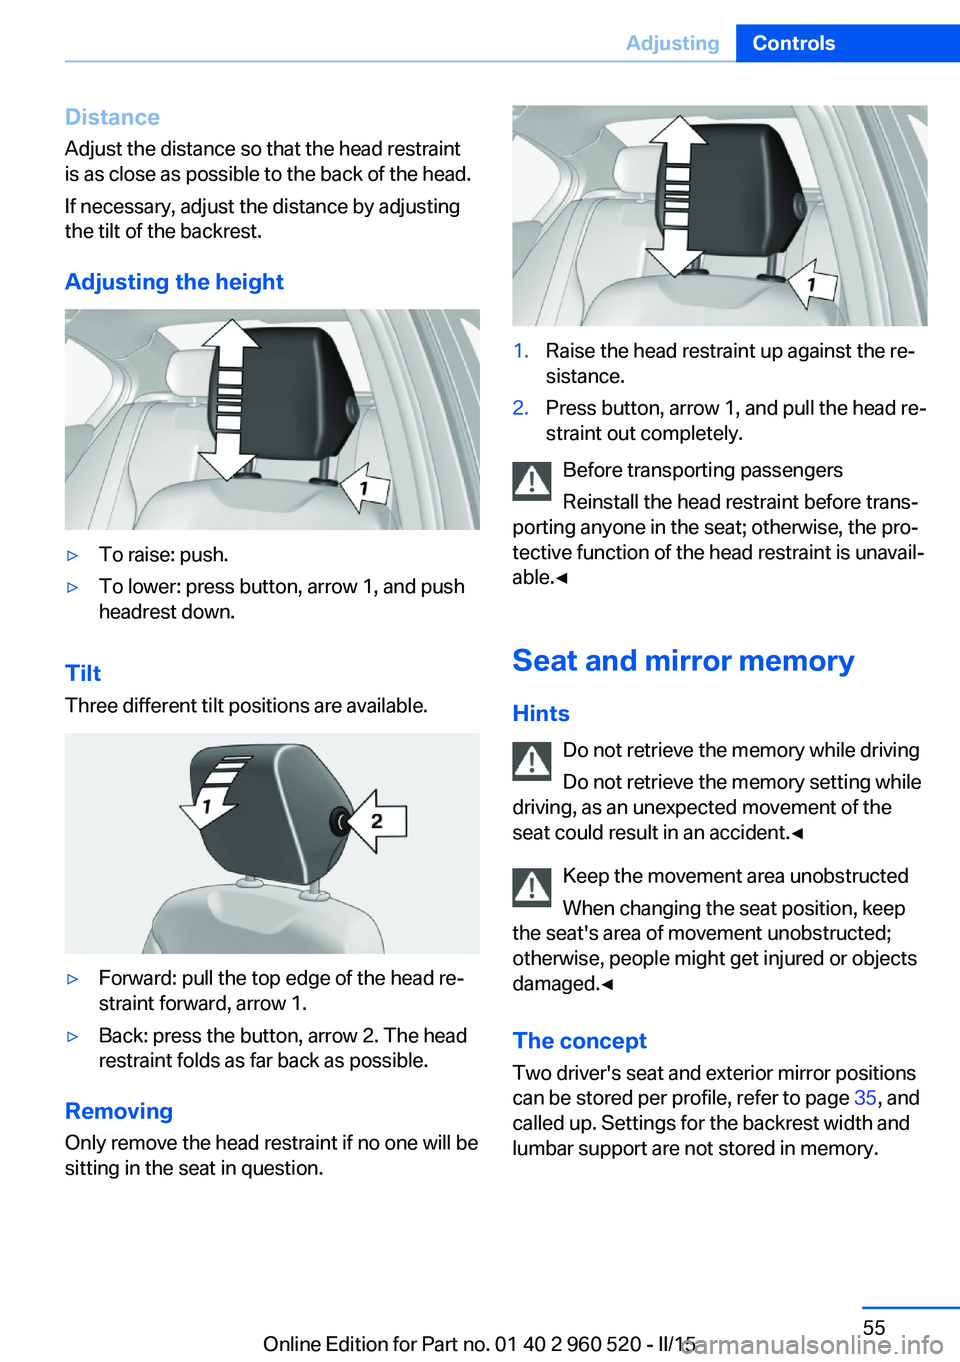
Adjusting the height▷To raise: push.▷To lower: press button, arrow 1, and push
headrest down.
Tilt
Three different tilt positions are available.
▷Forward: pull the top edge of the head re‐
straint forward, arrow 1.▷Back: press the button, arrow 2. The head
restraint folds as far back as possible.
Removing
Only remove the head restraint if no one will be
sitting in the seat in question.
1.Raise the head restraint up against the re‐
sistance.2.Press button, arrow 1, and pull the head re‐
straint out completely.
Before transporting passengers
Reinstall the head restraint before trans‐
porting anyone in the seat; otherwise, the pro‐
tective function of the head restraint is unavail‐
able.◀
Seat and mirror memory
Hints Do not retrieve the memory while driving
Do not retrieve the memory setting while
driving, as an unexpected movement of the
seat could result in an accident.◀
Keep the movement area unobstructed
When changing the seat position, keep
the seat's area of movement unobstructed;
otherwise, people might get injured or objects
damaged.◀
The conceptTwo driver's seat and exterior mirror positions
can be stored per profile, refer to page 35, and
called up. Settings for the backrest width and
lumbar support are not stored in memory.
Seite 55AdjustingControls55
Online Edition for Part no. 01 40 2 960 520 - II/15
Page 91 of 247
Time of arrivalThe estimated time of arrival is
displayed if a destination is en‐
tered in the navigation system
before the trip is started.
The time must be correctly set.
Speed limit detection
Description of the speed limit detection, refer
to page 84, function.
Trip computer
The vehicle features two types of board com‐
puters.▷"Onboard info": the values can be reset as
often as necessary.▷"Trip computer": the values provide an
overview of the current trip.
Resetting the trip computer
On the Control Display:
1."Vehicle info"2."Trip computer"3."Reset": all values are reset.
"Automatically reset": all values are reset
approx. 4 hours after the vehicle came to a
standstill.
Display on the Control Display
Display the computer or trip computer on the
Control Display.
1."Vehicle info"2."Onboard info" or "Trip computer"
Resetting the fuel consumption or
speed
On the Control Display:
1."Vehicle info"2."Onboard info"3."Consumpt." or "Speed"4."Yes"
Sport displays
The concept
On the Control Display, the current values for
performance and torque can be displayed if
the vehicle is appropriately equipped.
Displaying sport displays on the
Control Display
1."Vehicle info"2."Sport displays"
Speed warning
The concept Displays a speed, when reached, should cause
a warning to be issued.
The warning is repeated if the vehicle speed
drops below the set speed once by at least
3 mph/5 km/h.
Displaying, setting or changing the
speed warning
On the Control Display:
1."Settings"2."Speed"3."Warning at:"4.Turn the controller until the desired speed
is displayed.5.Press the controller.
Speed warning is stored.
Seite 87DisplaysControls87
Online Edition for Part no. 01 40 2 960 520 - II/15