2016 BMW 335I XDRIVE GRAN TURISMO trunk
[x] Cancel search: trunkPage 45 of 251
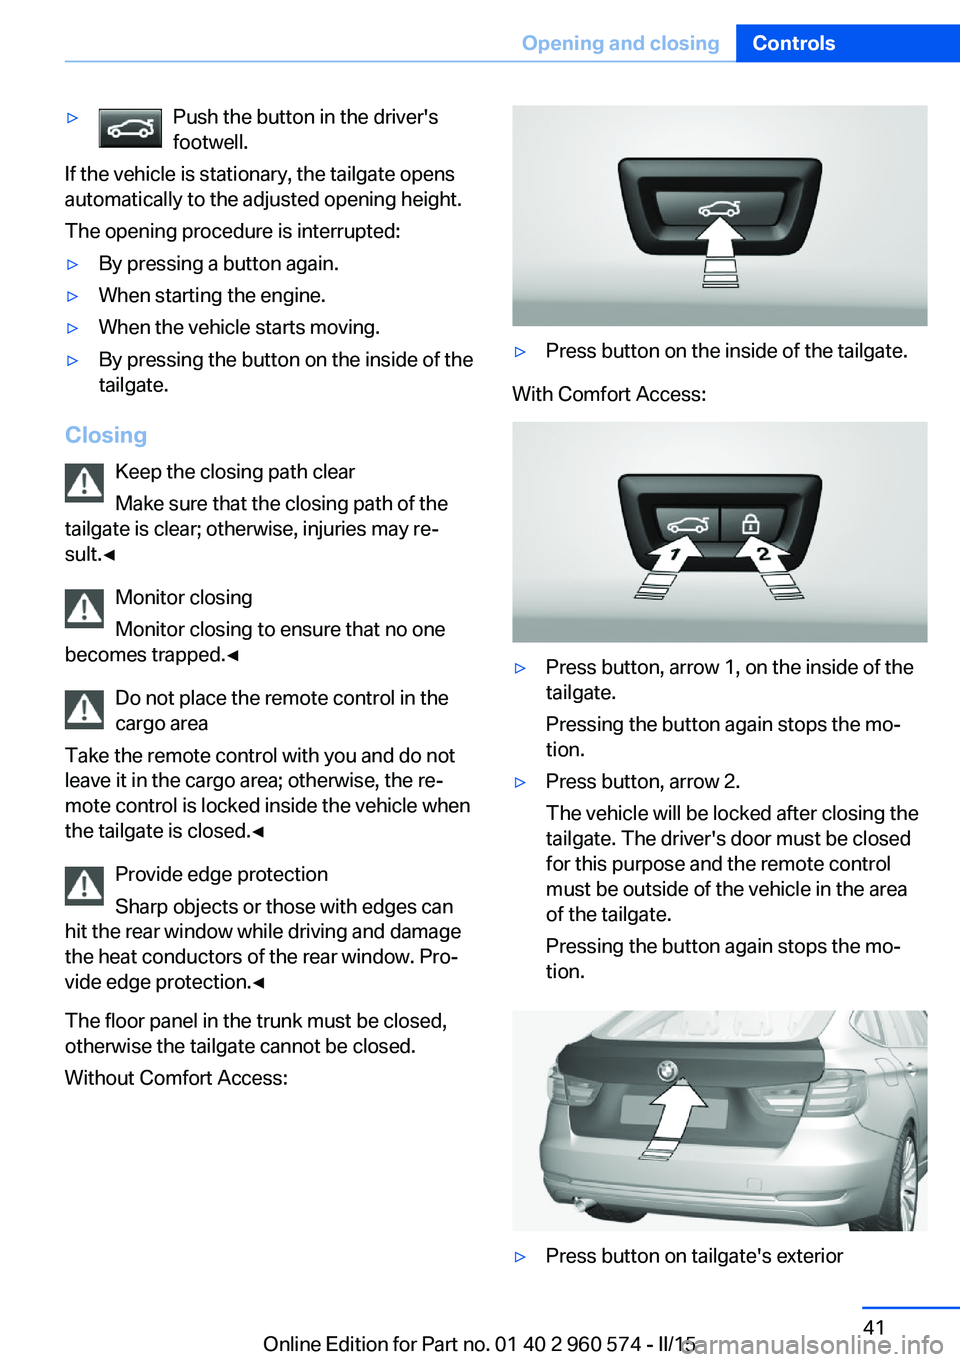
▷Push the button in the driver's
footwell.
If the vehicle is stationary, the tailgate opens
automatically to the adjusted opening height.
The opening procedure is interrupted:
▷By pressing a button again.▷When starting the engine.▷When the vehicle starts moving.▷By pressing the button on the inside of the
tailgate.
Closing
Keep the closing path clear
Make sure that the closing path of the
tailgate is clear; otherwise, injuries may re‐
sult.◀
Monitor closing
Monitor closing to ensure that no one
becomes trapped.◀
Do not place the remote control in the
cargo area
Take the remote control with you and do not
leave it in the cargo area; otherwise, the re‐
mote control is locked inside the vehicle when the tailgate is closed.◀
Provide edge protection
Sharp objects or those with edges can
hit the rear window while driving and damage the heat conductors of the rear window. Pro‐
vide edge protection.◀
The floor panel in the trunk must be closed,
otherwise the tailgate cannot be closed.
Without Comfort Access:
▷Press button on the inside of the tailgate.
With Comfort Access:
▷Press button, arrow 1, on the inside of the
tailgate.
Pressing the button again stops the mo‐
tion.▷Press button, arrow 2.
The vehicle will be locked after closing the
tailgate. The driver's door must be closed
for this purpose and the remote control
must be outside of the vehicle in the area
of the tailgate.
Pressing the button again stops the mo‐
tion.▷Press button on tailgate's exteriorSeite 41Opening and closingControls41
Online Edition for Part no. 01 40 2 960 574 - II/15
Page 46 of 251
Pressing the button again stops the mo‐
tion.
An acoustic signal sounds and the tailgate
closes.
The closing operation is interrupted:
▷When starting the engine.▷The vehicle starts off with jerks.
Manual operation
Do not operate the tailgate manually if it
is blocked
If the tailgate is blocked, do not operate it man‐
ually as the tailgate may otherwise become
damaged and injury may result.
Contact your service center.◀
In the event of an electrical malfunction, oper‐
ate the unlocked tailgate manually with a slow
and smooth motion.
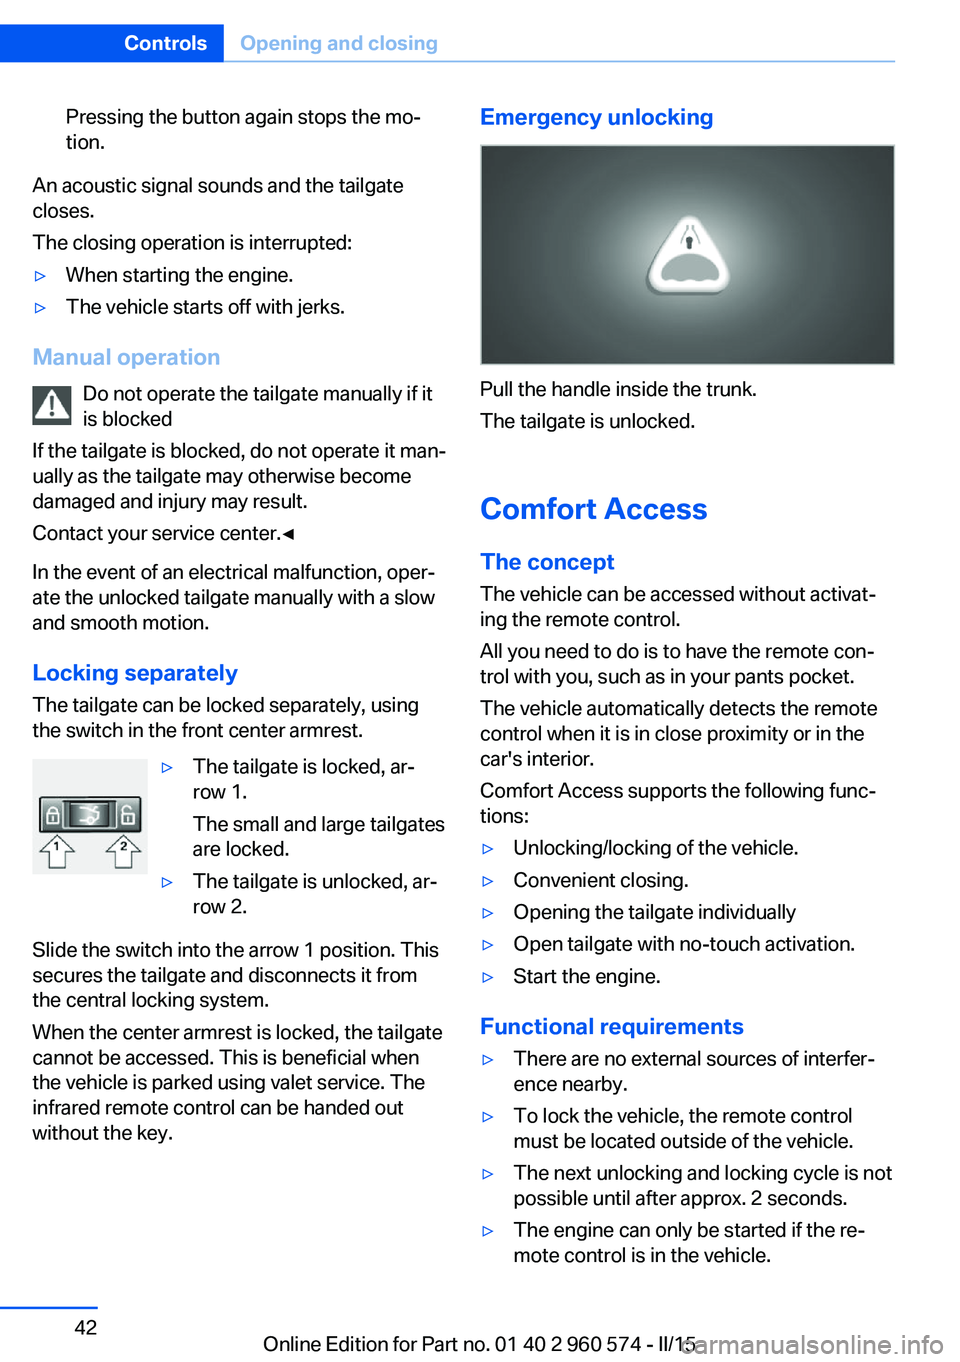
Locking separately The tailgate can be locked separately, using
the switch in the front center armrest.
▷The tailgate is locked, ar‐
row 1.
The small and large tailgates
are locked.▷The tailgate is unlocked, ar‐
row 2.
Slide the switch into the arrow 1 position. This
secures the tailgate and disconnects it from
the central locking system.
When the center armrest is locked, the tailgate
cannot be accessed. This is beneficial when
the vehicle is parked using valet service. The
infrared remote control can be handed out
without the key.
Emergency unlocking
Pull the handle inside the trunk.
The tailgate is unlocked.
Comfort Access
The concept The vehicle can be accessed without activat‐
ing the remote control.
All you need to do is to have the remote con‐ trol with you, such as in your pants pocket.
The vehicle automatically detects the remote
control when it is in close proximity or in the
car's interior.
Comfort Access supports the following func‐
tions:
▷Unlocking/locking of the vehicle.▷Convenient closing.▷Opening the tailgate individually▷Open tailgate with no-touch activation.▷Start the engine.
Functional requirements
▷There are no external sources of interfer‐
ence nearby.▷To lock the vehicle, the remote control
must be located outside of the vehicle.▷The next unlocking and locking cycle is not
possible until after approx. 2 seconds.▷The engine can only be started if the re‐
mote control is in the vehicle.Seite 42ControlsOpening and closing42
Online Edition for Part no. 01 40 2 960 574 - II/15
Page 48 of 251
area at the rear of the car and the trunk lid
opens and/or closes.
Foot movement to be carried out Do not touch vehicle
With the foot motion, make sure there is
steady stance and do not touch the vehicle;
otherwise, there is a danger of injury, e. g. from
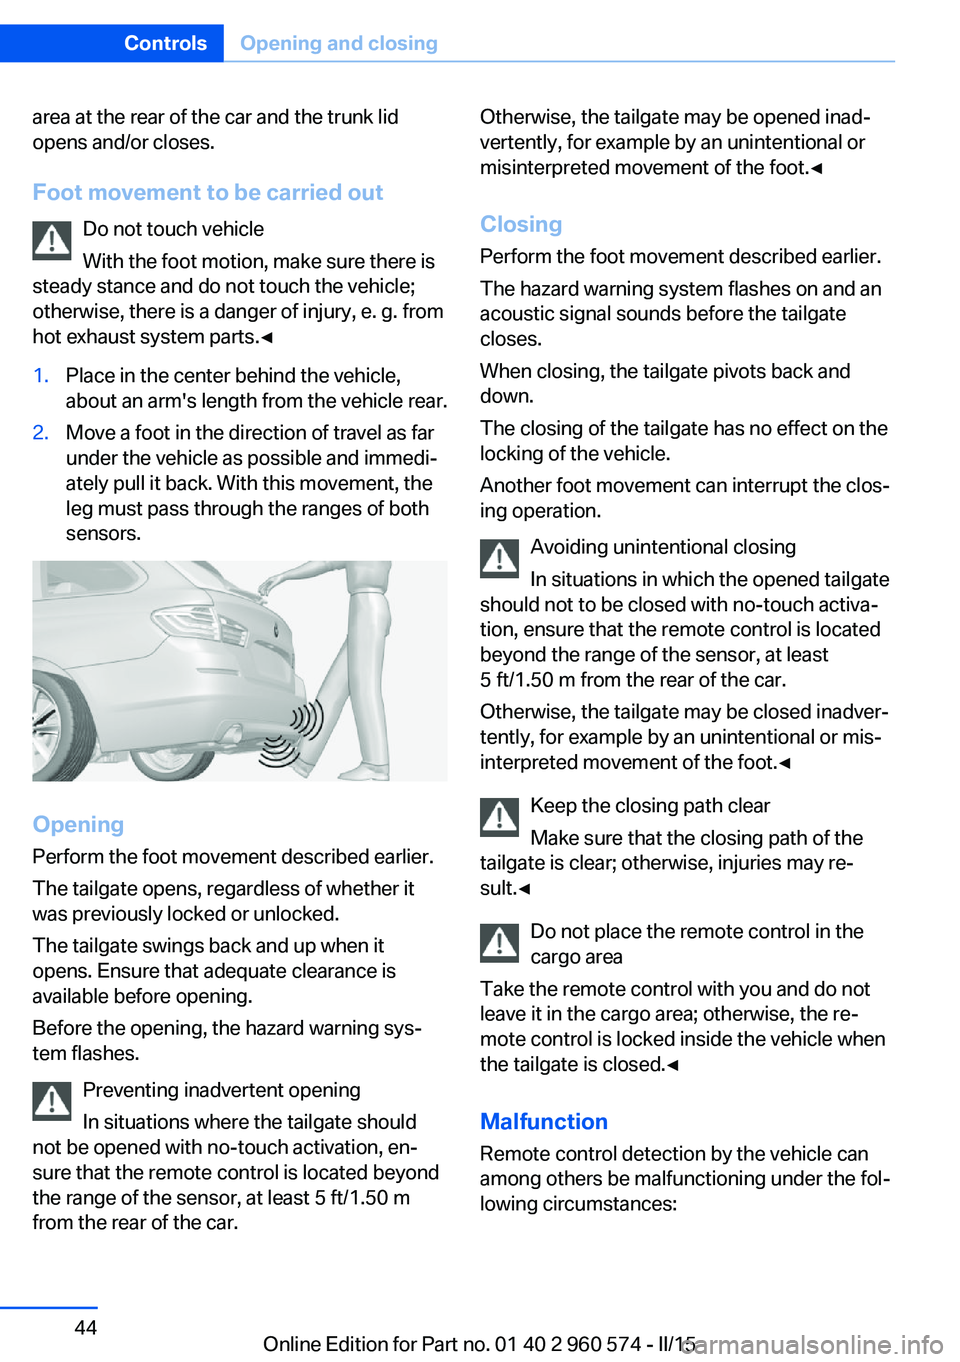
hot exhaust system parts.◀1.Place in the center behind the vehicle,
about an arm's length from the vehicle rear.2.Move a foot in the direction of travel as far
under the vehicle as possible and immedi‐
ately pull it back. With this movement, the
leg must pass through the ranges of both
sensors.
Opening
Perform the foot movement described earlier.
The tailgate opens, regardless of whether it
was previously locked or unlocked.
The tailgate swings back and up when it
opens. Ensure that adequate clearance is
available before opening.
Before the opening, the hazard warning sys‐
tem flashes.
Preventing inadvertent opening
In situations where the tailgate should
not be opened with no-touch activation, en‐
sure that the remote control is located beyond
the range of the sensor, at least 5 ft/1.50 m
from the rear of the car.
Otherwise, the tailgate may be opened inad‐
vertently, for example by an unintentional or
misinterpreted movement of the foot.◀
Closing Perform the foot movement described earlier.
The hazard warning system flashes on and an
acoustic signal sounds before the tailgate
closes.
When closing, the tailgate pivots back and
down.
The closing of the tailgate has no effect on the
locking of the vehicle.
Another foot movement can interrupt the clos‐
ing operation.
Avoiding unintentional closing
In situations in which the opened tailgate
should not to be closed with no-touch activa‐
tion, ensure that the remote control is located
beyond the range of the sensor, at least
5 ft/1.50 m from the rear of the car.
Otherwise, the tailgate may be closed inadver‐
tently, for example by an unintentional or mis‐
interpreted movement of the foot.◀
Keep the closing path clear
Make sure that the closing path of the
tailgate is clear; otherwise, injuries may re‐
sult.◀
Do not place the remote control in the
cargo area
Take the remote control with you and do not
leave it in the cargo area; otherwise, the re‐
mote control is locked inside the vehicle when
the tailgate is closed.◀
Malfunction
Remote control detection by the vehicle can
among others be malfunctioning under the fol‐
lowing circumstances:Seite 44ControlsOpening and closing44
Online Edition for Part no. 01 40 2 960 574 - II/15
Page 62 of 251
Safety mode1.Close the driver's door or reel on the igni‐
tion.2.Press and hold the desired button 1 or 2
until the adjustment procedure is com‐
pleted.
Calling up of a seat position
deactivated
After a brief period, calling up stored seat posi‐
tions is deactivated to save battery power.
To reactivate calling up of a seat position:
▷Open and close the door or trunk lid.▷Press a button on the remote control.▷Press the Start/Stop button.
Mirrors
Exterior mirrors
General information The mirror on the passenger side is more
curved than the driver's side mirror.
Depending on the vehicle equipment, the mir‐
ror setting is stored for the profile currently in
use. When the vehicle is unlocked via the re‐
mote control, the position is automatically re‐
trieved if this function is active.
Note Estimating distances correctly
Objects reflected in the mirror are closer
than they appear. Do not estimate the distance
to the traffic behind you based on what you
see in the mirror, as this will increase your risk
of an accident.◀
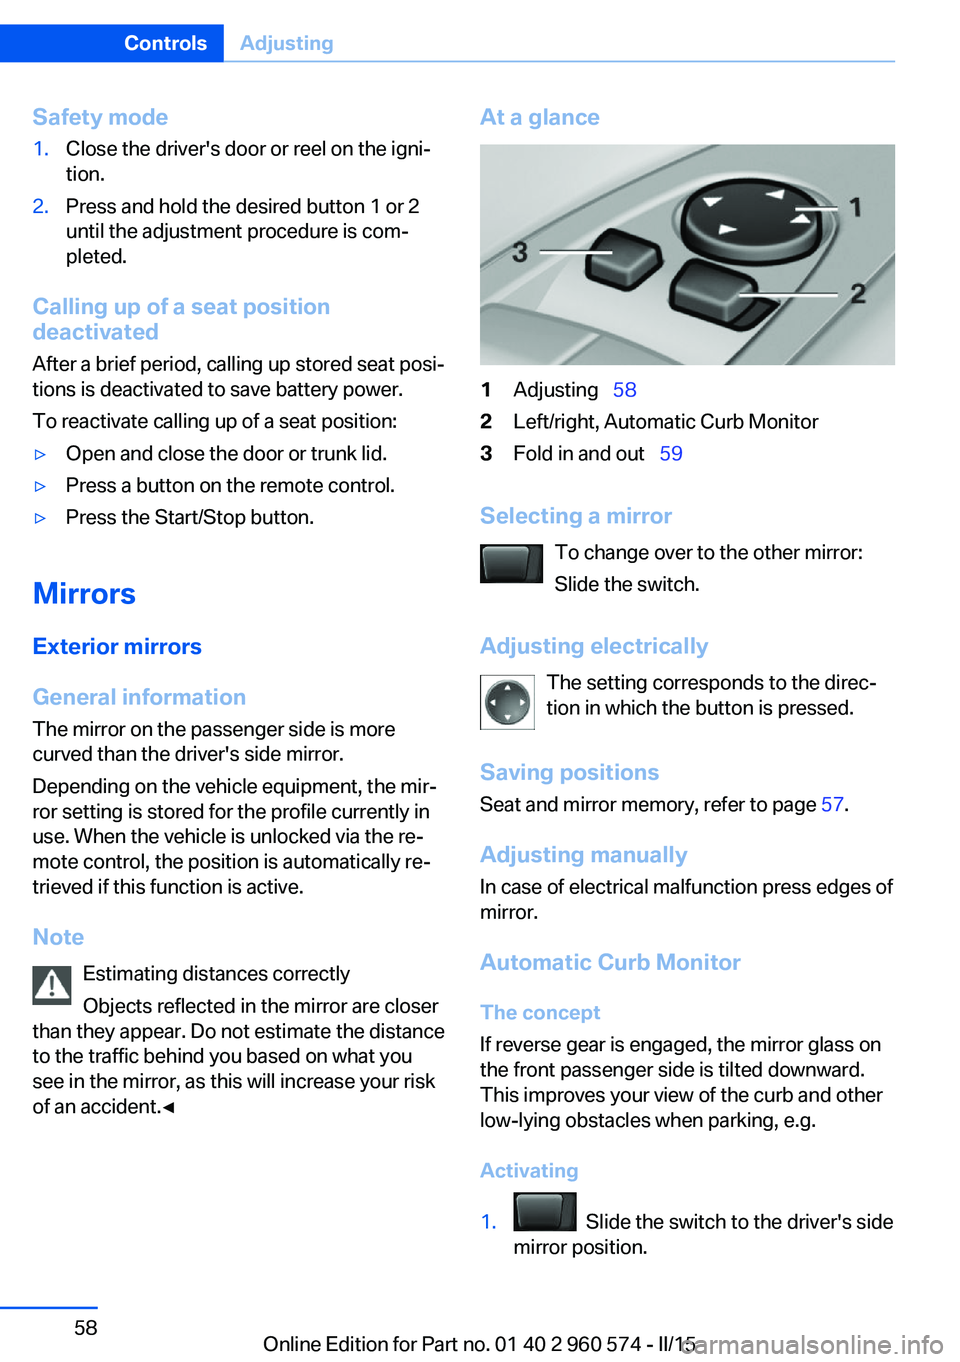
At a glance1Adjusting 582Left/right, Automatic Curb Monitor3Fold in and out 59
Selecting a mirror
To change over to the other mirror:
Slide the switch.
Adjusting electrically The setting corresponds to the direc‐
tion in which the button is pressed.
Saving positions
Seat and mirror memory, refer to page 57.
Adjusting manually
In case of electrical malfunction press edges of
mirror.
Automatic Curb MonitorThe concept
If reverse gear is engaged, the mirror glass on
the front passenger side is tilted downward.
This improves your view of the curb and other
low-lying obstacles when parking, e.g.
Activating
1. Slide the switch to the driver's side
mirror position.
Seite 58ControlsAdjusting58
Online Edition for Part no. 01 40 2 960 574 - II/15
Page 147 of 251
HintsPersonal responsibility
Even an active system does not relieve
the driver from personal responsibility while
driving.
Technically the system has its limits, it cannot
independently react to all traffic situations.
Monitor your driving, be on the alert, observe
the vehicle surroundings and other traffic and
react when needed - risk of accident.◀
Changes to the parking space
Changes to the parking space after it was
measured are not taken into account by the system.
Therefore, always be alert and ready to inter‐
vene; otherwise, there is the risk of an acci‐
dent.◀
Transporting cargo
Cargo that extends beyond the perimeter
of the vehicle is not taken into account by the
system during the parking procedure.
Therefore, always be alert and ready to inter‐
vene; otherwise, there is the risk of an acci‐
dent.◀
Curbs
The parking assistant may steer the vehi‐
cle over or onto curb if need be.
Therefore, always be alert and ready to inter‐
vene; otherwise, the wheels, tires, or the vehi‐
cle may become damaged.◀
An engine that has been switched off by the
Auto Start Stop function is restarted automati‐
cally when the parking assistant is activated.
Requirements
For measuring parking spaces▷Maximum speed while driving forward ap‐
prox. 22 mph/35 km/h.▷Maximum distance to row of parked vehi‐
cles: 5 ft/1.5 m.
Suitable parking space
▷Gap between two objects with a minimum
length of approx. 5 ft/1.5 m.▷Min. length of gap between two objects:
your vehicle's length plus approx.
4 ft/1.2 m.▷Minimum depth: approx. 5 ft/1.5 m.
Regarding the parking procedure
▷Doors and trunk lid closed.▷Parking brake released.▷When parking in parking spaces on the
driver's side, the corresponding turn signal
must be set where applicable.
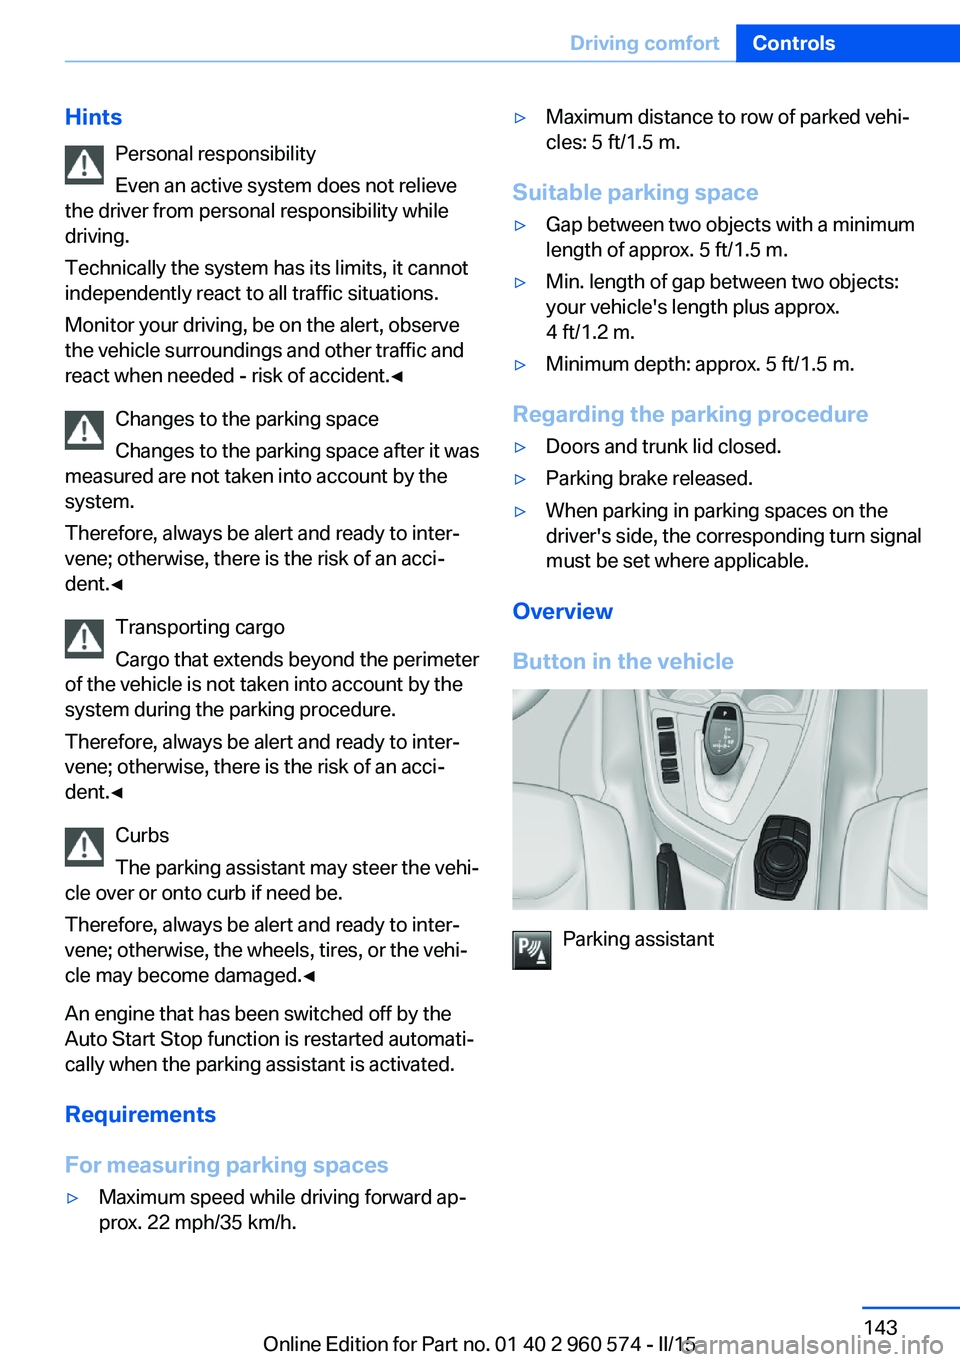
Overview
Button in the vehicle
Parking assistant
Seite 143Driving comfortControls143
Online Edition for Part no. 01 40 2 960 574 - II/15
Page 163 of 251
NoteThe total load of all sockets must not exceed
140 watts at 12 volts.
Do not damage the socket by using unsuitable
connectors.
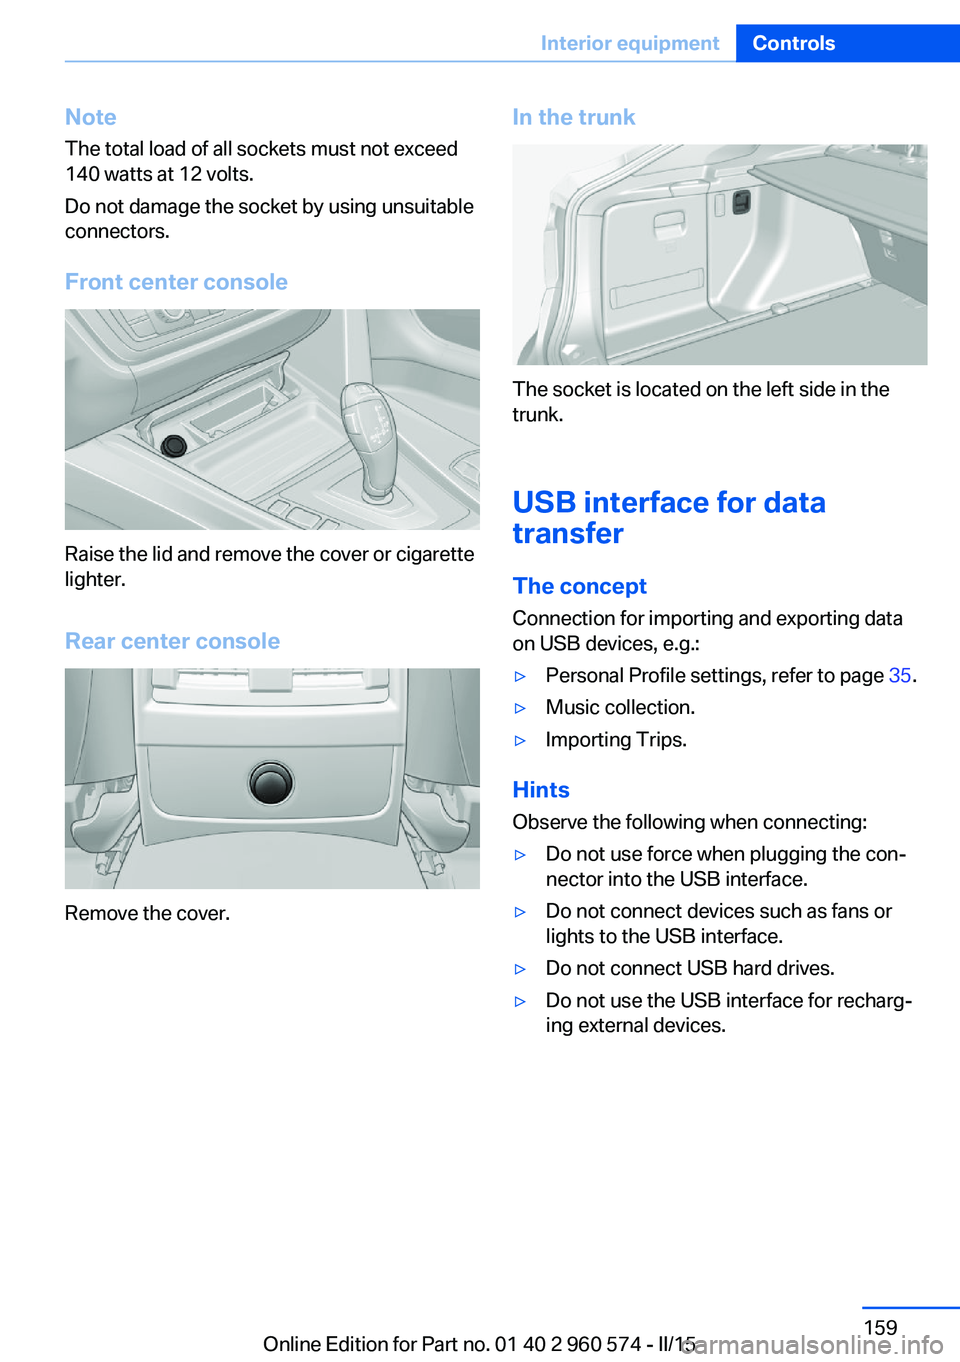
Front center console
Raise the lid and remove the cover or cigarette
lighter.
Rear center console
Remove the cover.
In the trunk
The socket is located on the left side in the
trunk.
USB interface for data
transfer
The concept
Connection for importing and exporting data
on USB devices, e.g.:
▷Personal Profile settings, refer to page 35.▷Music collection.▷Importing Trips.
Hints
Observe the following when connecting:
▷Do not use force when plugging the con‐
nector into the USB interface.▷Do not connect devices such as fans or
lights to the USB interface.▷Do not connect USB hard drives.▷Do not use the USB interface for recharg‐
ing external devices.Seite 159Interior equipmentControls159
Online Edition for Part no. 01 40 2 960 574 - II/15
Page 165 of 251
in the section on the left under the cargo
floor panel.
Installing
Proceed in the reverse order to reinstall. The
cargo covers must snap audibly into place on
their respective holders.
Enlarging the trunk
General information
The cargo area can be enlarged by folding
down the rear seat backrest.
the rear seat backrest is divided in the ratio 40–
20–40. The sides and the middle section can
be folded down separately.
Hints Danger of jamming
Before folding down the rear seat back‐
rests, ensure that the area of movement of the
backrests is clear. In particular, ensure that no
one is located in or reaches into the area of
movement of the rear seat backrests when the
middle section is folded down. Otherwise, in‐
jury or damage may result.◀
Ensuring the stability of the child seat
When installing child restraint systems,
make sure that the child seat is securely fas‐
tened to the backrest of the seat. Angle and
headrest of the backrest might need to be ad‐
justed or possibly be removed. Make sure that
all backrests are securely locked. Otherwise
the stability of the child seat can be affected,
and there is an increased risk of injury because
of unexpected movement of the seat back‐
rest.◀
Ensure that the lock is securely engaged
When you fold back the backrest make
sure that it locks in place. When this happens
the red warning field on the seat disappears.
Otherwise transported cargo could shoot into
the car's interior during braking or evasive ma‐
neuvers and endanger occupants.◀
Retract the head restraint if needed be‐
fore backrest is folded down
With folding head restraints, fold in the head
restraints before folding down the rear seat
backrests, or damage may result.◀
Using the middle safety belt
If the middle safety belt in the rear is
used, the larger side of the backrest must be
locked. Otherwise, the safety belt will not have
a restraining effect.◀
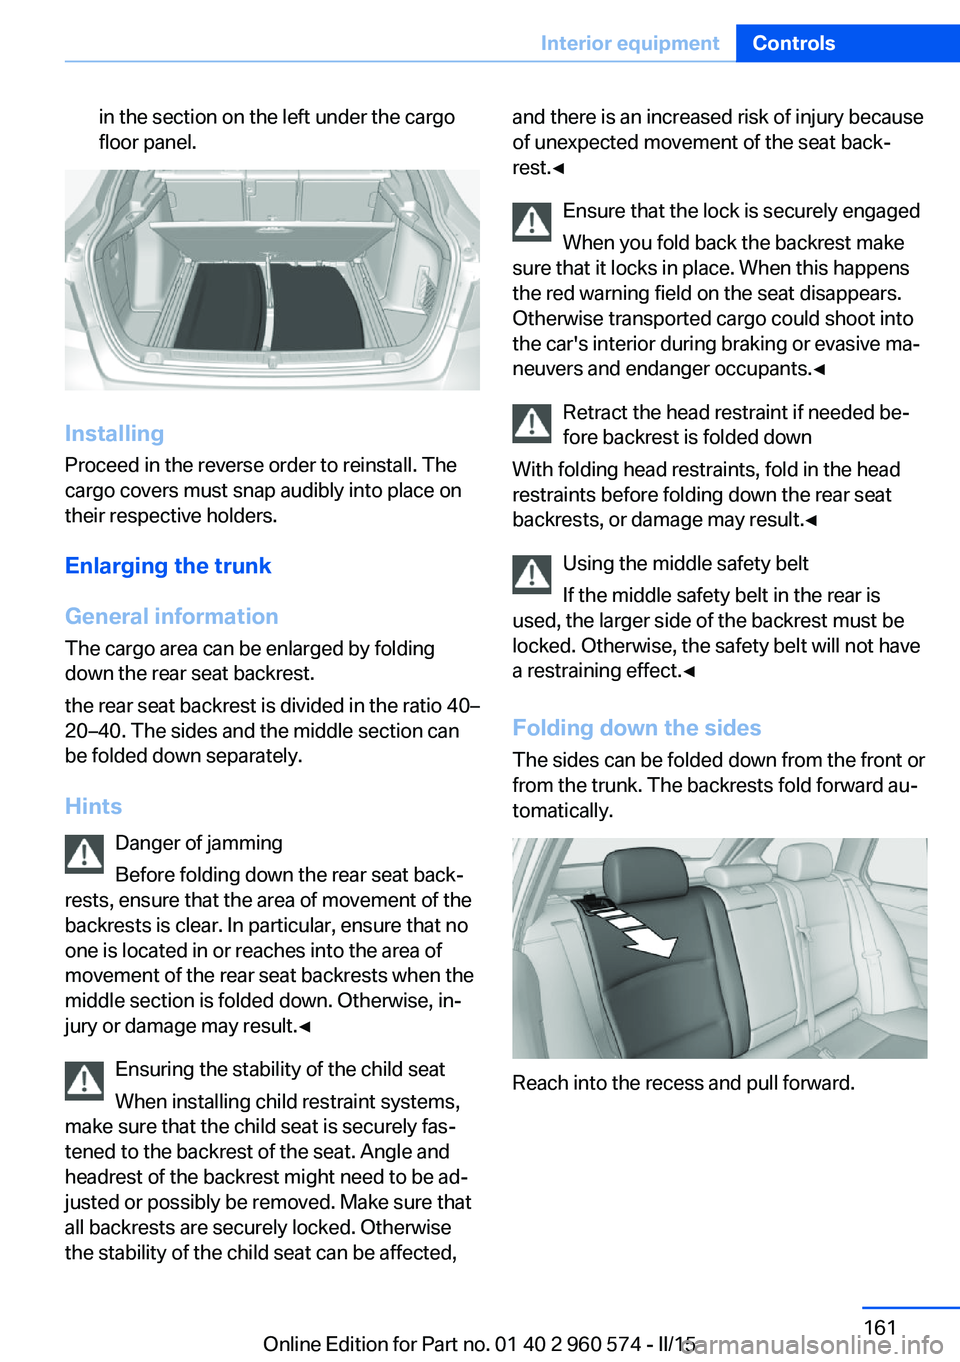
Folding down the sidesThe sides can be folded down from the front or
from the trunk. The backrests fold forward au‐
tomatically.
Reach into the recess and pull forward.
Seite 161Interior equipmentControls161
Online Edition for Part no. 01 40 2 960 574 - II/15
Page 166 of 251
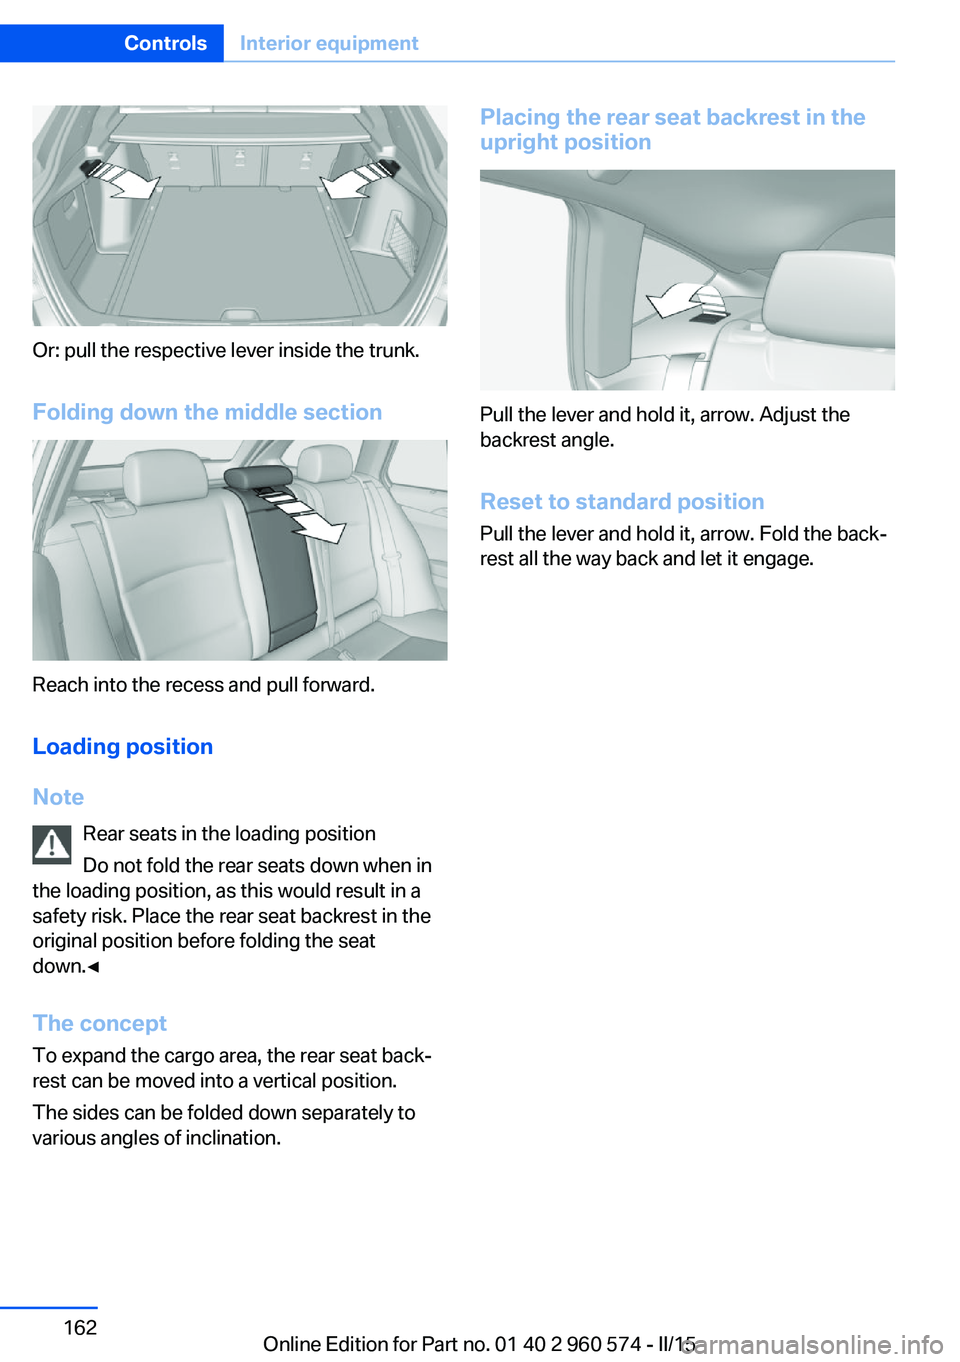
Or: pull the respective lever inside the trunk.Folding down the middle section
Reach into the recess and pull forward.
Loading position
Note Rear seats in the loading position
Do not fold the rear seats down when in
the loading position, as this would result in a
safety risk. Place the rear seat backrest in the
original position before folding the seat
down.◀
The concept To expand the cargo area, the rear seat back‐
rest can be moved into a vertical position.
The sides can be folded down separately to
various angles of inclination.
Placing the rear seat backrest in the
upright position
Pull the lever and hold it, arrow. Adjust the
backrest angle.
Reset to standard position
Pull the lever and hold it, arrow. Fold the back‐
rest all the way back and let it engage.
Seite 162ControlsInterior equipment162
Online Edition for Part no. 01 40 2 960 574 - II/15