2016 BMW 3 SERIES SPORTS WAGON automatic
[x] Cancel search: automaticPage 19 of 255
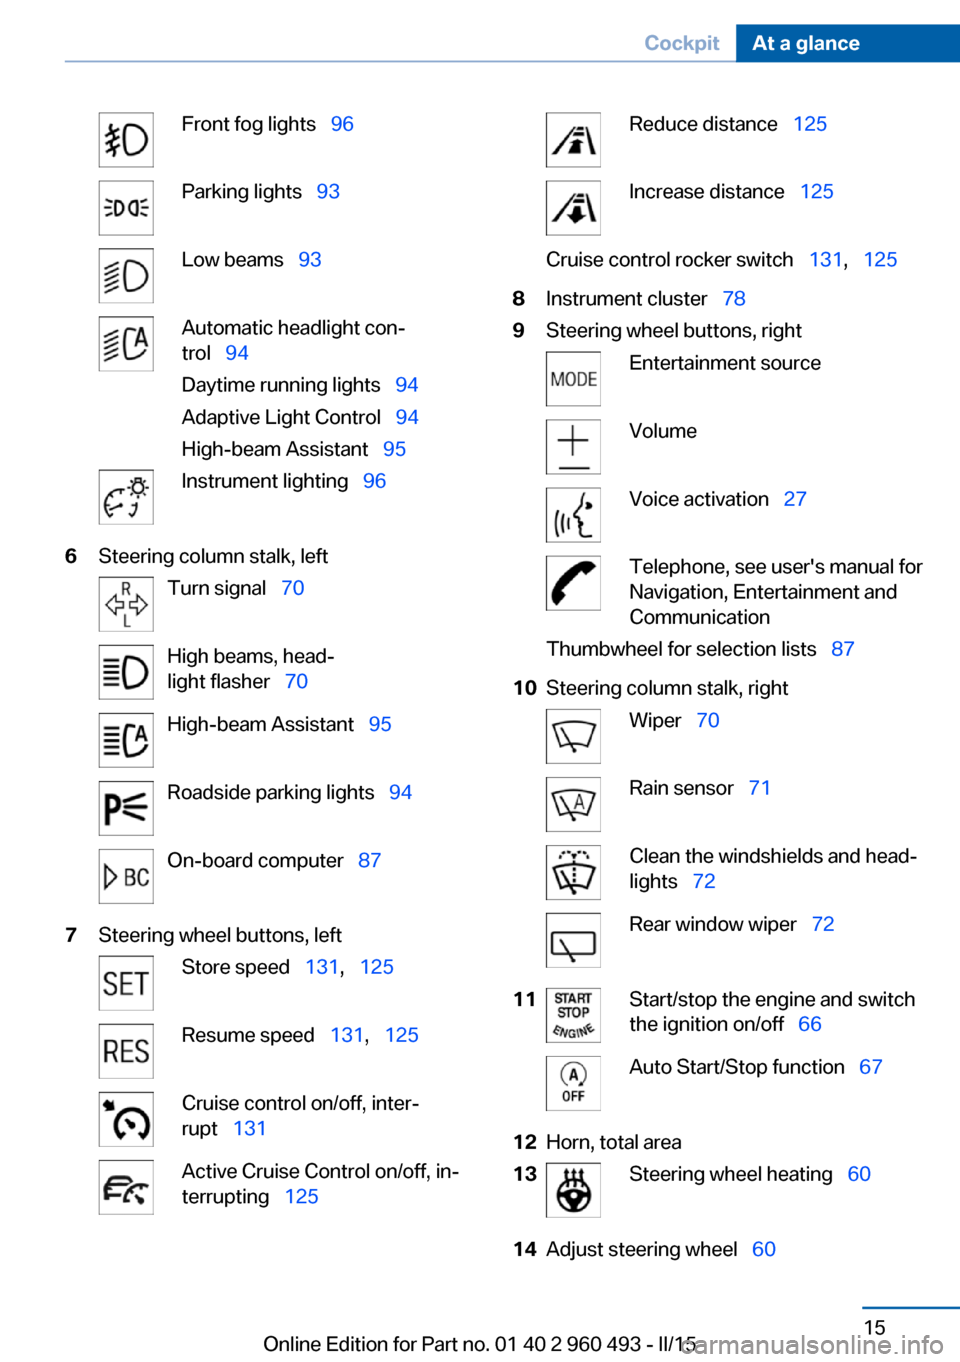
Front fog lights 96Parking lights 93Low beams 93Automatic headlight con‐
trol 94
Daytime running lights 94
Adaptive Light Control 94
High-beam Assistant 95Instrument lighting 966Steering column stalk, leftTurn signal 70High beams, head‐
light flasher 70High-beam Assistant 95Roadside parking lights 94On-board computer 877Steering wheel buttons, leftStore speed 131, 125Resume speed 131, 125Cruise control on/off, inter‐
rupt 131Active Cruise Control on/off, in‐
terrupting 125Reduce distance 125Increase distance 125Cruise control rocker switch 131, 1258Instrument cluster 789Steering wheel buttons, rightEntertainment sourceVolumeVoice activation 27Telephone, see user's manual for
Navigation, Entertainment and
CommunicationThumbwheel for selection lists 8710Steering column stalk, rightWiper 70Rain sensor 71Clean the windshields and head‐
lights 72Rear window wiper 7211Start/stop the engine and switch
the ignition on/off 66Auto Start/Stop function 6712Horn, total area13Steering wheel heating 6014Adjust steering wheel 60Seite 15CockpitAt a glance15
Online Edition for Part no. 01 40 2 960 493 - II/15
Page 29 of 255
Deleting personal in the
vehicle
The concept
Depending on the usage, the vehicle saves
personal data, such as stored radio stations.
These personal data can be permanently de‐
leted through iDrive.
General information
Depending on the equipment package, the fol‐
lowing data can be deleted:▷Personal Profile settings.▷Stored radio stations.▷Stored Favorites buttons.▷Travel and computer information.▷Music collection.▷Navigation, e.g. stored destinations.▷Phone book.▷Online data, e.g. Favorites, cookies.▷Voice notes.▷Login accounts.▷RemoteApp smartphone tethering.
Altogether, the deletion of the data can take up
to 30 minutes.
Functional requirement Data can only be deleted while stationary.
Deleting data Heed and follow the instructions on the Con‐
trol Display.
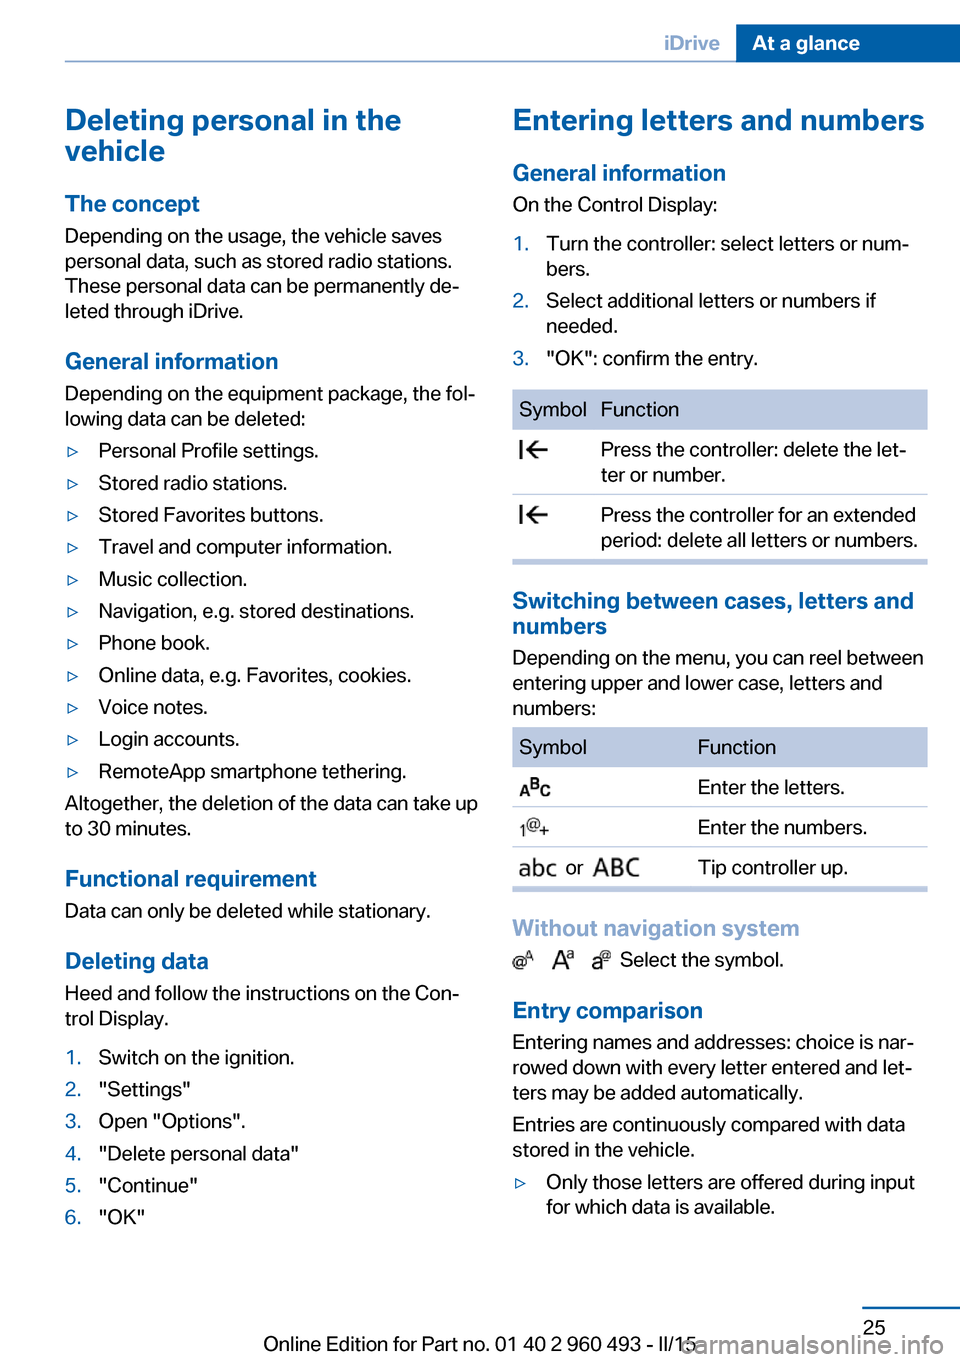
1.Switch on the ignition.2."Settings"3.Open "Options".4."Delete personal data"5."Continue"6."OK"Entering letters and numbers
General information
On the Control Display:1.Turn the controller: select letters or num‐
bers.2.Select additional letters or numbers if
needed.3."OK": confirm the entry.SymbolFunction Press the controller: delete the let‐
ter or number. Press the controller for an extended
period: delete all letters or numbers.
Switching between cases, letters and
numbers
Depending on the menu, you can reel between
entering upper and lower case, letters and
numbers:
SymbolFunction Enter the letters. Enter the numbers. or Tip controller up.
Without navigation system
Select the symbol.
Entry comparison Entering names and addresses: choice is nar‐
rowed down with every letter entered and let‐
ters may be added automatically.
Entries are continuously compared with data
stored in the vehicle.
▷Only those letters are offered during input
for which data is available.Seite 25iDriveAt a glance25
Online Edition for Part no. 01 40 2 960 493 - II/15
Page 40 of 255
vated. All settings stored in the profile are au‐
tomatically applied.
If several drivers use their own remote control,
the vehicle will adjust the personal settings
during unlocking. These settings are also re‐
stored, if the vehicle has been used in the
meantime by a person with a different remote
control.
Changes to the settings are automatically
saved in the personal profile.
Three personal profiles and a guest profile can
be created.
Adjusting
The settings for the following systems and
functions are saved in the active profile. The
scope of storable settings is country- and
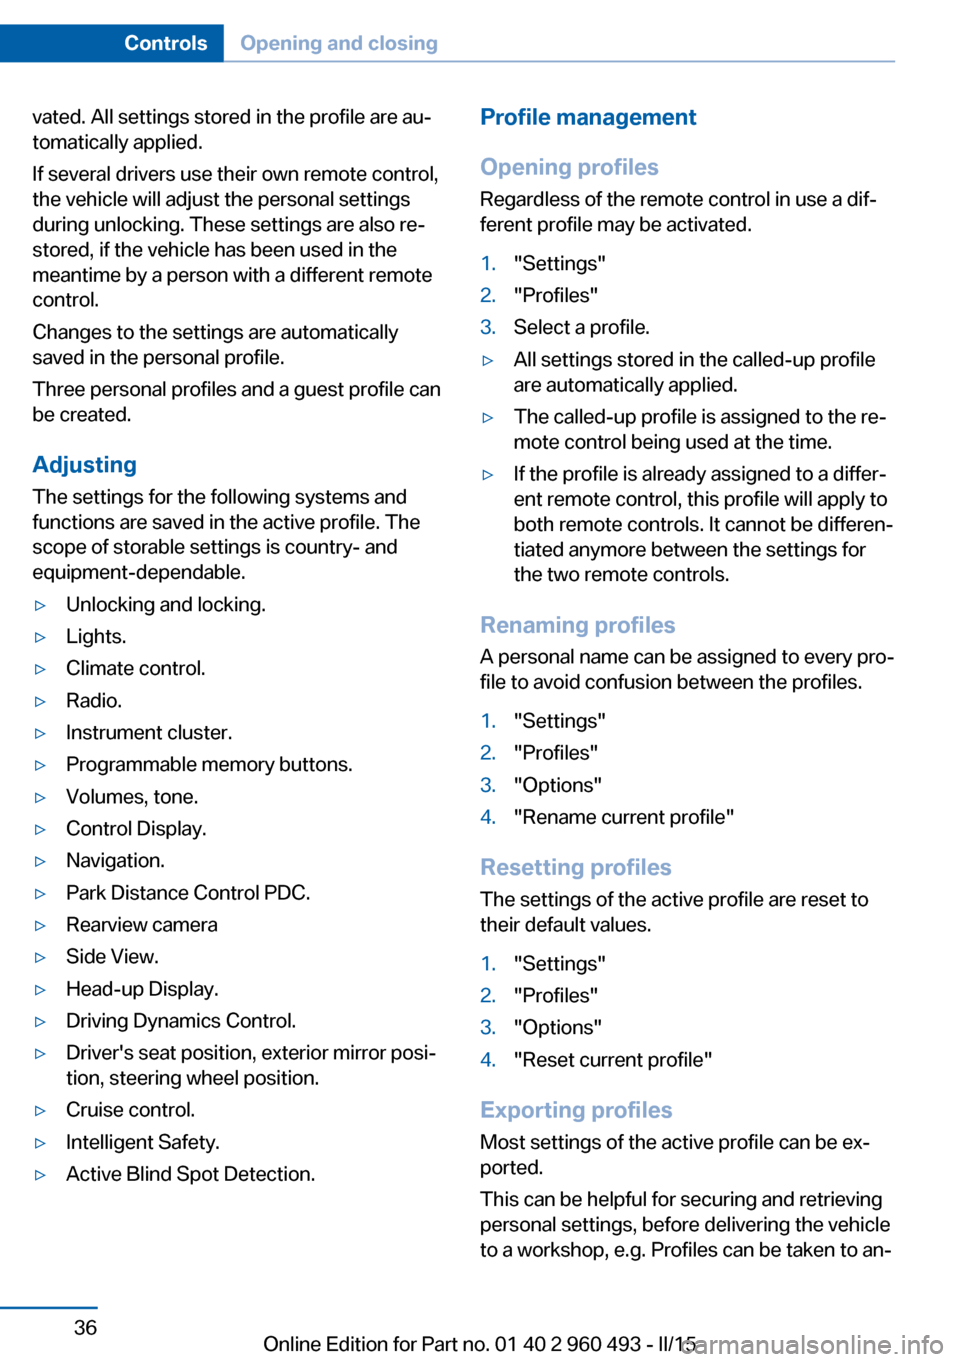
equipment-dependable.▷Unlocking and locking.▷Lights.▷Climate control.▷Radio.▷Instrument cluster.▷Programmable memory buttons.▷Volumes, tone.▷Control Display.▷Navigation.▷Park Distance Control PDC.▷Rearview camera▷Side View.▷Head-up Display.▷Driving Dynamics Control.▷Driver's seat position, exterior mirror posi‐
tion, steering wheel position.▷Cruise control.▷Intelligent Safety.▷Active Blind Spot Detection.Profile management
Opening profiles Regardless of the remote control in use a dif‐
ferent profile may be activated.1."Settings"2."Profiles"3.Select a profile.▷All settings stored in the called-up profile
are automatically applied.▷The called-up profile is assigned to the re‐
mote control being used at the time.▷If the profile is already assigned to a differ‐
ent remote control, this profile will apply to
both remote controls. It cannot be differen‐
tiated anymore between the settings for
the two remote controls.
Renaming profiles
A personal name can be assigned to every pro‐
file to avoid confusion between the profiles.
1."Settings"2."Profiles"3."Options"4."Rename current profile"
Resetting profiles
The settings of the active profile are reset to
their default values.
1."Settings"2."Profiles"3."Options"4."Reset current profile"
Exporting profiles
Most settings of the active profile can be ex‐
ported.
This can be helpful for securing and retrieving
personal settings, before delivering the vehicle
to a workshop, e.g. Profiles can be taken to an‐
Seite 36ControlsOpening and closing36
Online Edition for Part no. 01 40 2 960 493 - II/15
Page 42 of 255
The windows and the glass sunroof are
opened, as long as the button on the remote
control is pressed.
Locking Locking from the outside
Do not lock the vehicle from the outside
with people inside the car, as the vehicle can‐
not be unlocked from inside without special knowledge.◀
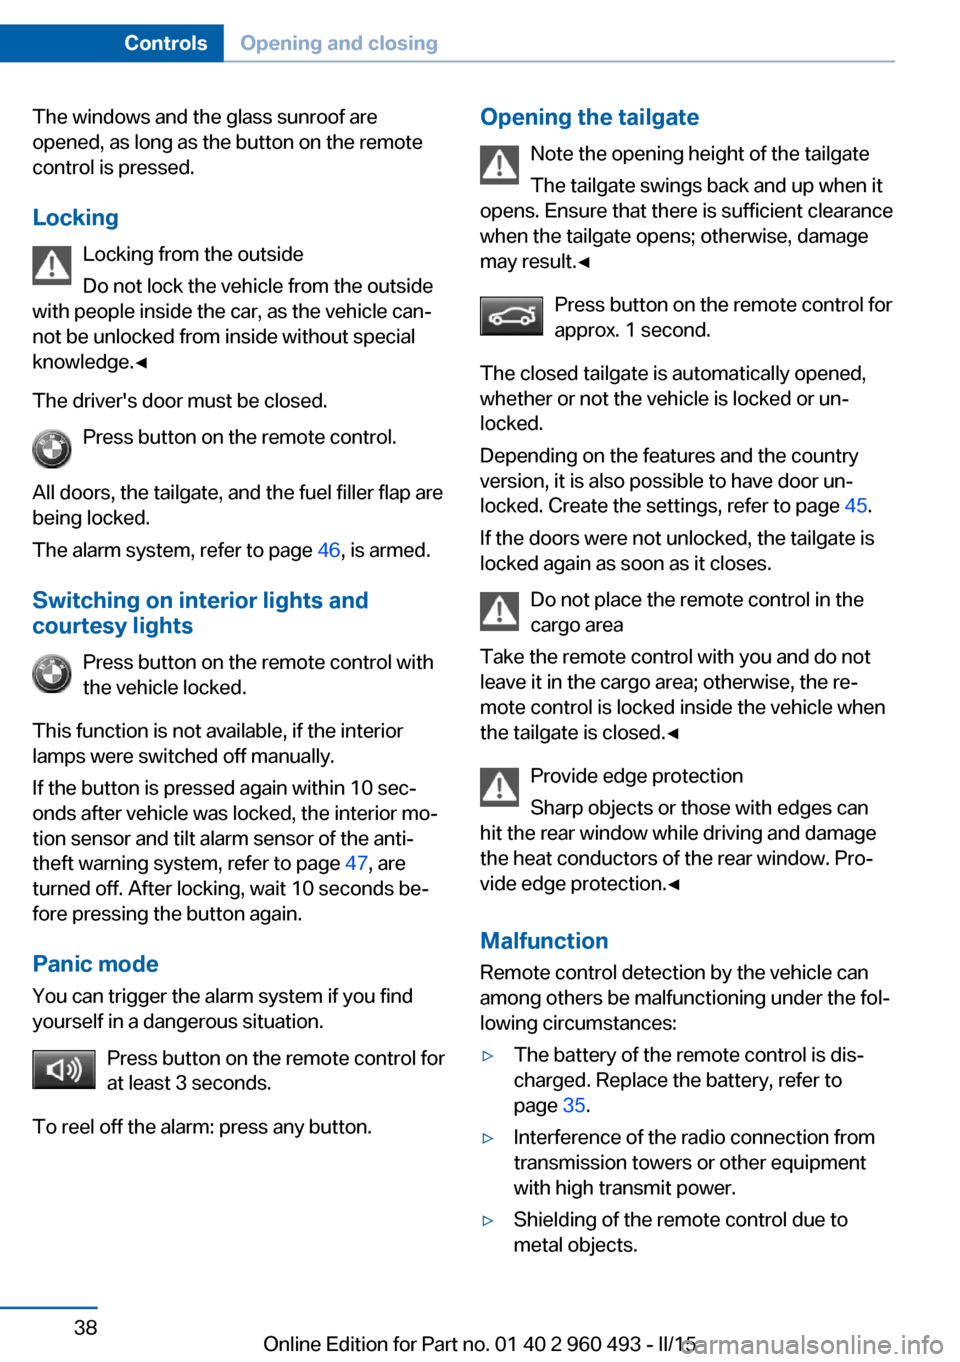
The driver's door must be closed. Press button on the remote control.
All doors, the tailgate, and the fuel filler flap are
being locked.
The alarm system, refer to page 46, is armed.
Switching on interior lights and
courtesy lights
Press button on the remote control with
the vehicle locked.
This function is not available, if the interior
lamps were switched off manually.
If the button is pressed again within 10 sec‐
onds after vehicle was locked, the interior mo‐
tion sensor and tilt alarm sensor of the anti-
theft warning system, refer to page 47, are
turned off. After locking, wait 10 seconds be‐
fore pressing the button again.
Panic mode
You can trigger the alarm system if you find
yourself in a dangerous situation.
Press button on the remote control for
at least 3 seconds.
To reel off the alarm: press any button.Opening the tailgate Note the opening height of the tailgate
The tailgate swings back and up when it
opens. Ensure that there is sufficient clearance
when the tailgate opens; otherwise, damage
may result.◀
Press button on the remote control for
approx. 1 second.
The closed tailgate is automatically opened,
whether or not the vehicle is locked or un‐
locked.
Depending on the features and the country
version, it is also possible to have door un‐
locked. Create the settings, refer to page 45.
If the doors were not unlocked, the tailgate is
locked again as soon as it closes.
Do not place the remote control in the
cargo area
Take the remote control with you and do not
leave it in the cargo area; otherwise, the re‐
mote control is locked inside the vehicle when
the tailgate is closed.◀
Provide edge protection
Sharp objects or those with edges can
hit the rear window while driving and damage the heat conductors of the rear window. Pro‐
vide edge protection.◀
Malfunction
Remote control detection by the vehicle can
among others be malfunctioning under the fol‐
lowing circumstances:▷The battery of the remote control is dis‐
charged. Replace the battery, refer to
page 35.▷Interference of the radio connection from
transmission towers or other equipment
with high transmit power.▷Shielding of the remote control due to
metal objects.Seite 38ControlsOpening and closing38
Online Edition for Part no. 01 40 2 960 493 - II/15
Page 44 of 255
From the inside
Unlocking and locking
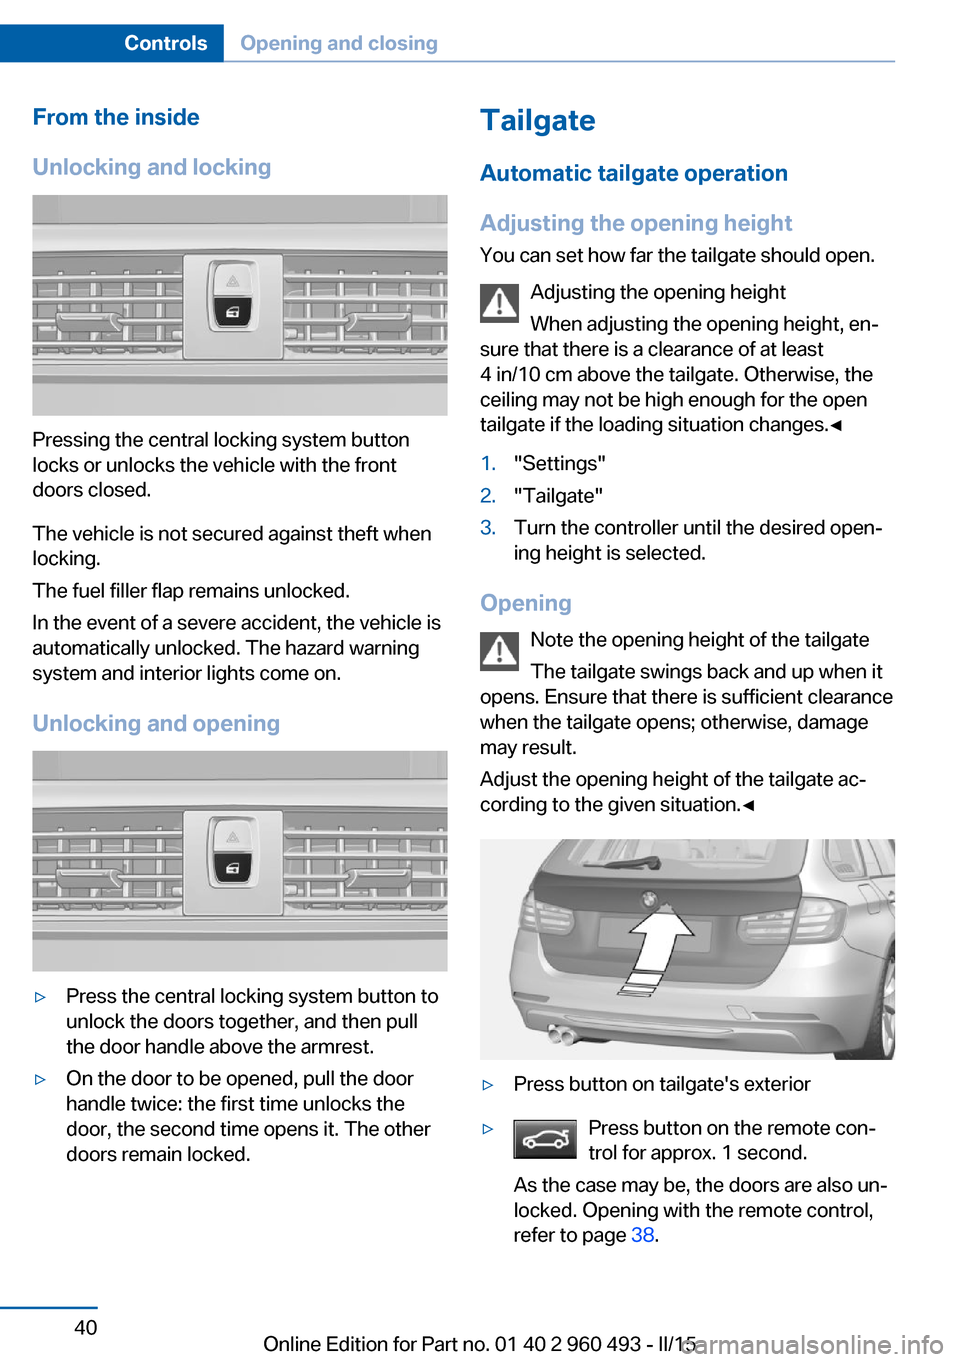
Pressing the central locking system button
locks or unlocks the vehicle with the front
doors closed.
The vehicle is not secured against theft when
locking.
The fuel filler flap remains unlocked.
In the event of a severe accident, the vehicle is
automatically unlocked. The hazard warning
system and interior lights come on.
Unlocking and opening
▷Press the central locking system button to
unlock the doors together, and then pull
the door handle above the armrest.▷On the door to be opened, pull the door
handle twice: the first time unlocks the
door, the second time opens it. The other
doors remain locked.Tailgate
Automatic tailgate operation
Adjusting the opening height
You can set how far the tailgate should open.
Adjusting the opening height
When adjusting the opening height, en‐
sure that there is a clearance of at least
4 in/10 cm above the tailgate. Otherwise, the
ceiling may not be high enough for the open
tailgate if the loading situation changes.◀1."Settings"2."Tailgate"3.Turn the controller until the desired open‐
ing height is selected.
Opening
Note the opening height of the tailgate
The tailgate swings back and up when it
opens. Ensure that there is sufficient clearance
when the tailgate opens; otherwise, damage
may result.
Adjust the opening height of the tailgate ac‐
cording to the given situation.◀
▷Press button on tailgate's exterior▷Press button on the remote con‐
trol for approx. 1 second.
As the case may be, the doors are also un‐
locked. Opening with the remote control,
refer to page 38.Seite 40ControlsOpening and closing40
Online Edition for Part no. 01 40 2 960 493 - II/15
Page 45 of 255
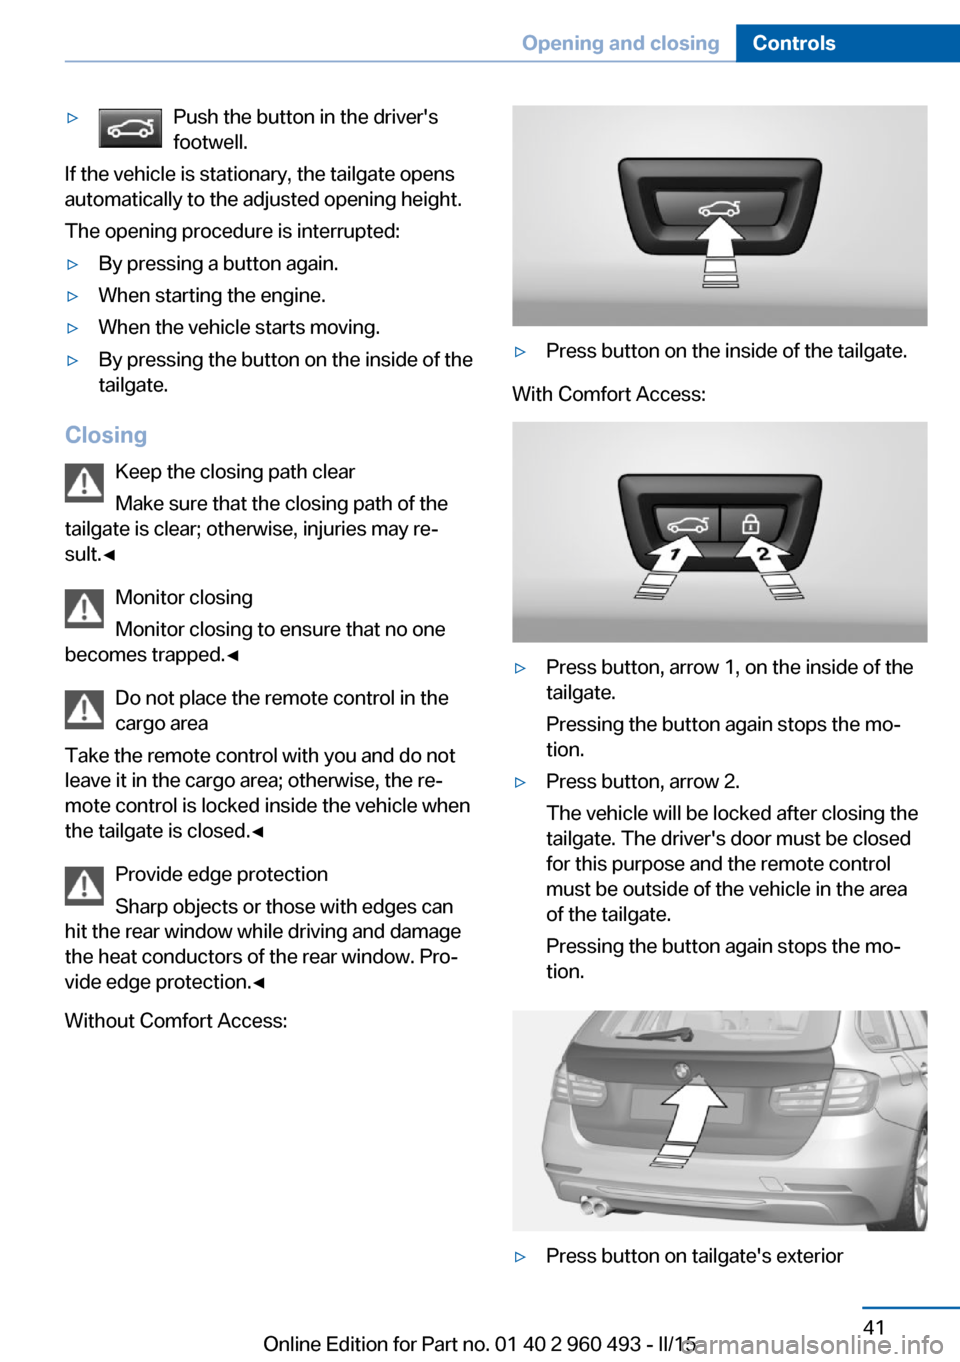
▷Push the button in the driver's
footwell.
If the vehicle is stationary, the tailgate opens
automatically to the adjusted opening height.
The opening procedure is interrupted:
▷By pressing a button again.▷When starting the engine.▷When the vehicle starts moving.▷By pressing the button on the inside of the
tailgate.
Closing
Keep the closing path clear
Make sure that the closing path of the
tailgate is clear; otherwise, injuries may re‐
sult.◀
Monitor closing
Monitor closing to ensure that no one
becomes trapped.◀
Do not place the remote control in the
cargo area
Take the remote control with you and do not
leave it in the cargo area; otherwise, the re‐
mote control is locked inside the vehicle when the tailgate is closed.◀
Provide edge protection
Sharp objects or those with edges can
hit the rear window while driving and damage the heat conductors of the rear window. Pro‐
vide edge protection.◀
Without Comfort Access:
▷Press button on the inside of the tailgate.
With Comfort Access:
▷Press button, arrow 1, on the inside of the
tailgate.
Pressing the button again stops the mo‐
tion.▷Press button, arrow 2.
The vehicle will be locked after closing the
tailgate. The driver's door must be closed
for this purpose and the remote control
must be outside of the vehicle in the area
of the tailgate.
Pressing the button again stops the mo‐
tion.▷Press button on tailgate's exteriorSeite 41Opening and closingControls41
Online Edition for Part no. 01 40 2 960 493 - II/15
Page 46 of 255
Pressing the button again stops the mo‐
tion.
An acoustic signal sounds and the tailgate
closes.
The closing operation is interrupted:
▷When starting the engine.▷The vehicle starts off with jerks.
Manual operation
Do not operate the tailgate manually if it
is blocked
If the tailgate is blocked, do not operate it man‐
ually as the tailgate may otherwise become
damaged and injury may result.
Contact your service center.◀
In the event of an electrical malfunction, oper‐
ate the unlocked tailgate manually with a slow
and smooth motion.
Opening and closing the rear window
Small objects can be loaded and unloaded
quickly by opening the rear window separately.
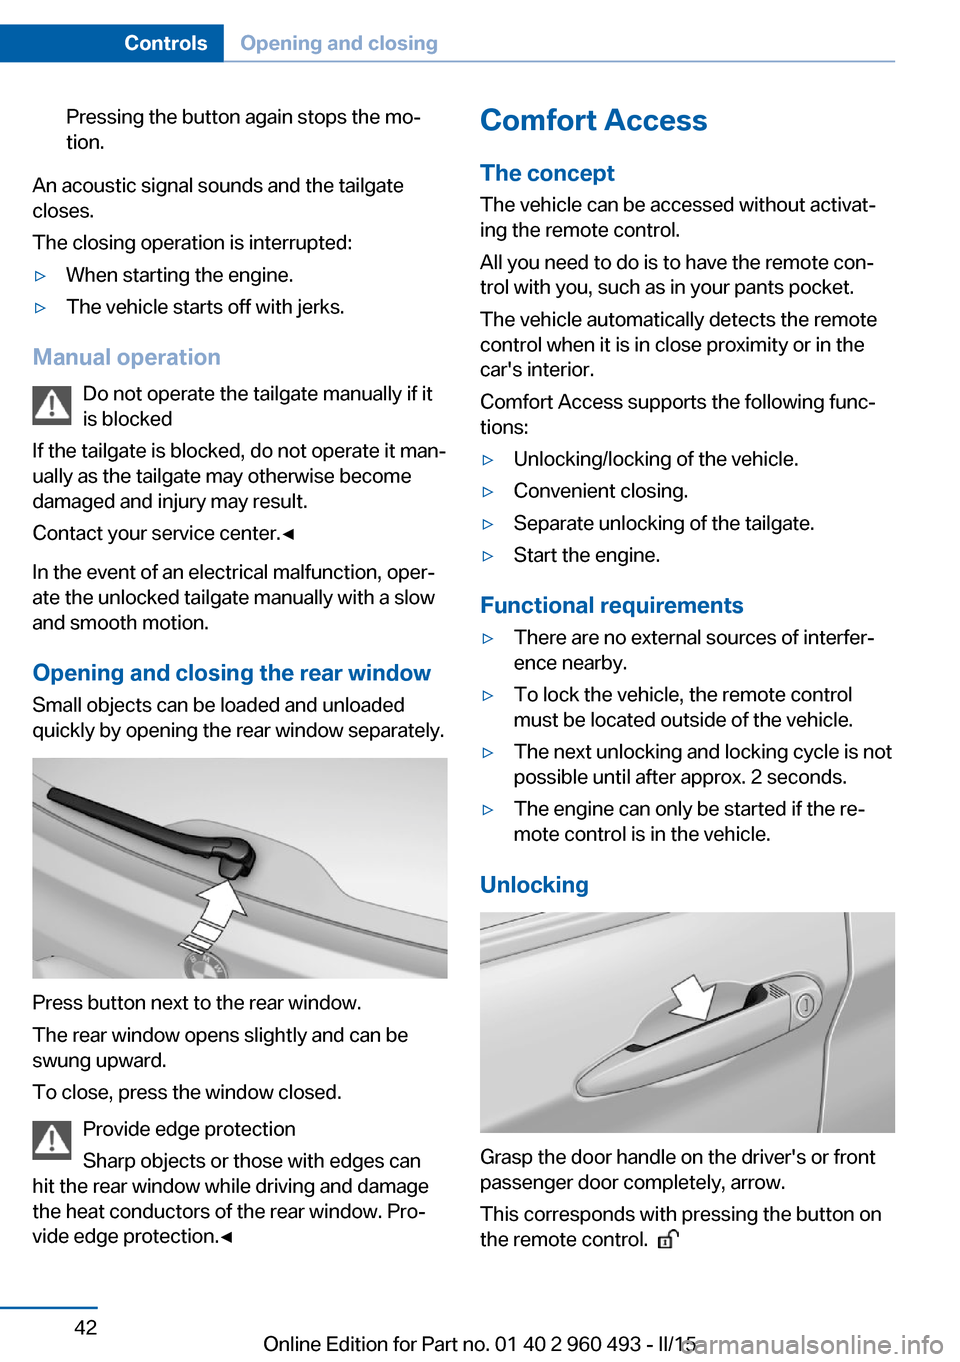
Press button next to the rear window.
The rear window opens slightly and can be
swung upward.
To close, press the window closed.
Provide edge protection
Sharp objects or those with edges can
hit the rear window while driving and damage
the heat conductors of the rear window. Pro‐
vide edge protection.◀
Comfort Access
The concept
The vehicle can be accessed without activat‐
ing the remote control.
All you need to do is to have the remote con‐
trol with you, such as in your pants pocket.
The vehicle automatically detects the remote
control when it is in close proximity or in the
car's interior.
Comfort Access supports the following func‐
tions:▷Unlocking/locking of the vehicle.▷Convenient closing.▷Separate unlocking of the tailgate.▷Start the engine.
Functional requirements
▷There are no external sources of interfer‐
ence nearby.▷To lock the vehicle, the remote control
must be located outside of the vehicle.▷The next unlocking and locking cycle is not
possible until after approx. 2 seconds.▷The engine can only be started if the re‐
mote control is in the vehicle.
Unlocking
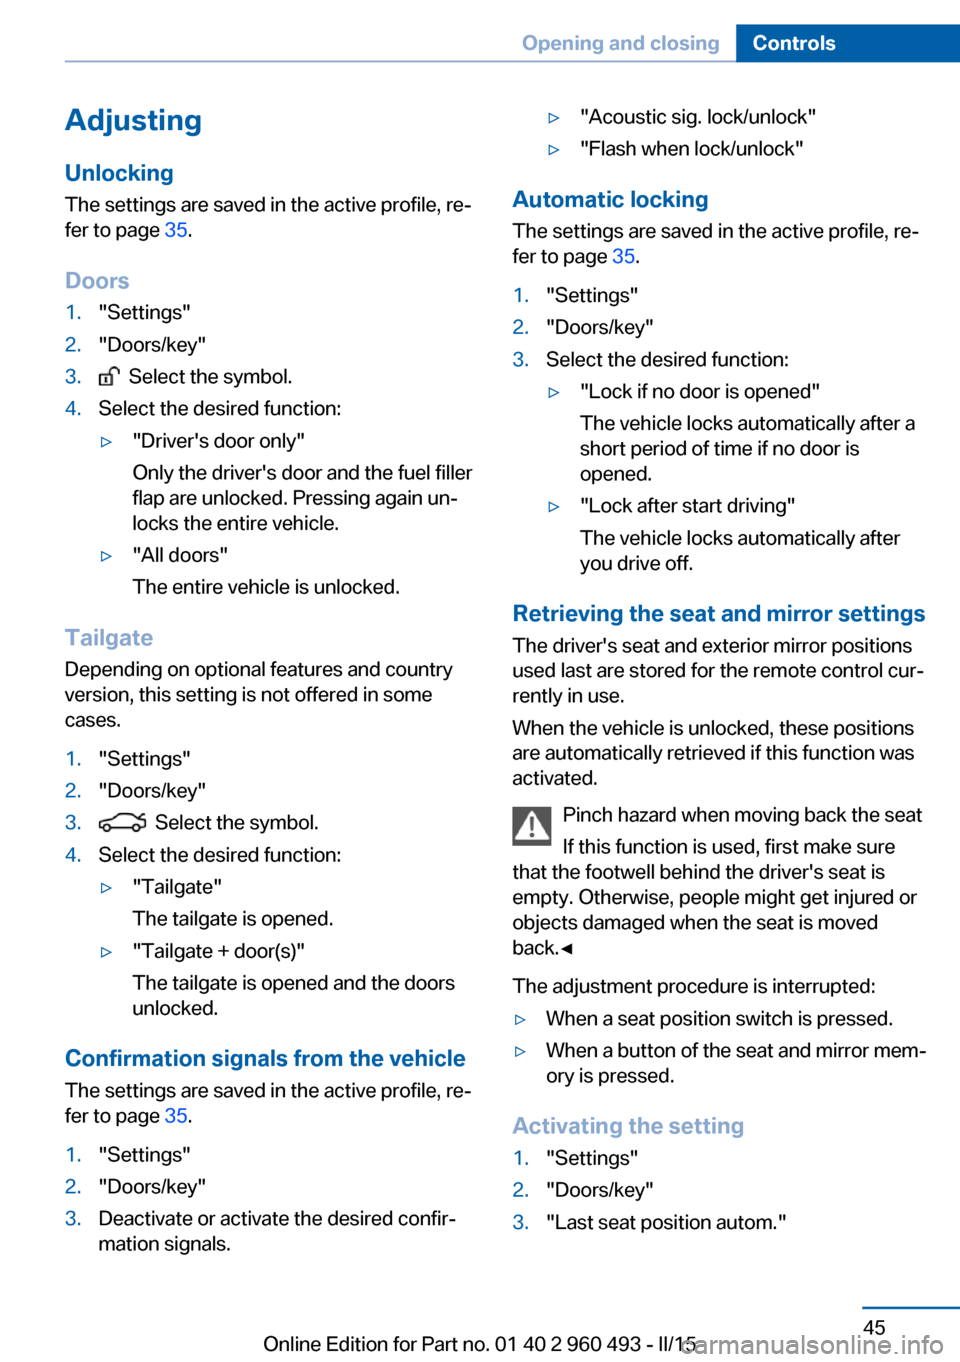
Grasp the door handle on the driver's or front
passenger door completely, arrow.
This corresponds with pressing the button on
the remote control.
Seite 42ControlsOpening and closing42
Online Edition for Part no. 01 40 2 960 493 - II/15
Page 49 of 255
Adjusting
Unlocking The settings are saved in the active profile, re‐
fer to page 35.
Doors1."Settings"2."Doors/key"3. Select the symbol.4.Select the desired function:▷"Driver's door only"
Only the driver's door and the fuel filler
flap are unlocked. Pressing again un‐
locks the entire vehicle.▷"All doors"
The entire vehicle is unlocked.
Tailgate
Depending on optional features and country
version, this setting is not offered in some
cases.
1."Settings"2."Doors/key"3. Select the symbol.4.Select the desired function:▷"Tailgate"
The tailgate is opened.▷"Tailgate + door(s)"
The tailgate is opened and the doors
unlocked.
Confirmation signals from the vehicle
The settings are saved in the active profile, re‐
fer to page 35.
1."Settings"2."Doors/key"3.Deactivate or activate the desired confir‐
mation signals.▷"Acoustic sig. lock/unlock"▷"Flash when lock/unlock"
Automatic locking
The settings are saved in the active profile, re‐fer to page 35.
1."Settings"2."Doors/key"3.Select the desired function:▷"Lock if no door is opened"
The vehicle locks automatically after a
short period of time if no door is
opened.▷"Lock after start driving"
The vehicle locks automatically after
you drive off.
Retrieving the seat and mirror settings
The driver's seat and exterior mirror positions
used last are stored for the remote control cur‐
rently in use.
When the vehicle is unlocked, these positions
are automatically retrieved if this function was
activated.
Pinch hazard when moving back the seat
If this function is used, first make sure
that the footwell behind the driver's seat is
empty. Otherwise, people might get injured or
objects damaged when the seat is moved
back.◀
The adjustment procedure is interrupted:
▷When a seat position switch is pressed.▷When a button of the seat and mirror mem‐
ory is pressed.
Activating the setting
1."Settings"2."Doors/key"3."Last seat position autom."Seite 45Opening and closingControls45
Online Edition for Part no. 01 40 2 960 493 - II/15