2016 Acura RLX Hybrid change wheel
[x] Cancel search: change wheelPage 449 of 577

uuSurround View Camera System*uDisplaying an Image From the Surround View Cameras
448
Driving
Following can be displayed when the system is on.
Guide lines : Help you to get a sense of a distance between your vehicle and the
rear surroundings. The distan ce may appear differently than the actual distance.
Projection lines: Indicate vehicle direction while the steering wheel is in the current
position.
Depending on your parking situation, you can select Back-in left park guidance,
Back-in right park guidance , Left parallel park guidance , or Right parallel
park guidance from Parking Guideline menu to display:
Initial position guide : Marks the point
where your vehicle is headed when reversing.
Steering position alignment guide :
Indicates when to change the steering wheel
position.
■Reference Lines and Guides1 Displaying an Image From the Surround View Cameras
Operating the navigation system or audio system
while the surround view camera system screen is
displayed cancels the surr ound view camera system
screen and starts up the navigation system screen.
If you press the CAMERA button while the vehicle
speed is more than 15 mph (25 km/h), the standby
screen appears.
When the vehicle speed is reduced below 12 mph (20
km/h), the screen switches to a surround view camera
system image.
1 Reference Lines and Guides
The positions/distances indi cated by the guide lines
and camera views on the di splay may differ from the
actual positions/distances due to the changes in the
vehicle height, road condi tions, and other factors.
The guide lines should be used as a reference only.
The guide lines can be turned on and off using the
audio/information screen. 2 Customized Features P. 286
If you turn the guide lines off, they remain off until
you turn them back on.
To see the guidance on how to use the reference
lines and guides while they appear on the display,
press and hold the CAMERA button or the interface
dial. To close the guidance, press and hold the
CAMERA button or the interface dial again, or press
the BACK button.
16 ACURA RLX E-AWD-31TY36200.book 448 ページ 2015年3月11日 水曜日 午後1時30分
Page 450 of 577

449
uuSurround View Camera System*uWhen Parking Your Vehicle
Continued
Driving
When Parking Your Vehicle
The display automatically changes to the rear view when the gear position is
changed to
(R.
■Checking for Obstacles at the Back of Your Vehicle1 When Parking Your Vehicle
The ground view can be disp layed even with the door
mirrors folded. However, the viewable angle and
blind spot change.
Do not refer to the surround view camera system
when the door mirrors are folded.
Folded
Not folded
Rear Wide View
Rear Normal View Rear Ground View
When the
steering wheel is
turned more
than 90 degrees.
The projection lines
appear approx. 10
inches (25 cm) outside
the vehicle body.
Blind spots
appear in
black.
Press the CAMERA
button.
Approximate distances
the guide lines indicate
Approximate distances the
projection lines indicate 39 inches (1 m)
79 inches (2 m)
118 inches
(3 m)
20 inches
(50 cm)
118 inches
(3 m)
1
Checking for Obstacles at the Back of Your Vehicle
When changing the gear position from/to
(R, you
may experience a delay in switching between the
audio/information screen and a rear view image.
16 ACURA RLX E-AWD-31TY36200.book 449 ページ 2015年3月11日 水曜日 午後1時30分
Page 453 of 577

uuSurround View Camera System*uWhen Parking Your Vehicle
452
Driving
You can display the front ground view screen using all the four cameras for the
system. Pressing the CAMERA button when the vehicle speed is at below 12 mph
(20 km/h) changes the image as follows.
■Checking for the Sides of Your Vehicle1 Checking for the Sides of Your Vehicle
When the vehicle speed exceeds 15 mph (25 km/h),
the front or side view on the screen automatically
switches to the audio information screen. The front
or side view screen resumes when the vehicle speed
is reduced below 12 mph (20 km/h).
0 mph (0 km/h)
Down Up Camera
Screen
Camera
Screen
Audio/information
Screen
Audio/information
Screen 15 mph (25 km/h)
12 mph (20 km/h)
0 mph (0 km/h)
Side
View Front Wide View Front Ground View
Press and hold the
CAMERA button.
A Combined Image of
Both Side Views
Approximate distance
the reference line
indicates. Blind spots
appear in black.
Projection lines
appear.
Press the CAMERA
button.
When the
steering wheel
is turned.
approx. 3 feet (1 m)
16 ACURA RLX E-AWD-31TY36200.book 452 ページ 2015年3月11日 水曜日 午後1時30分
Page 510 of 577

509Continued
Handling the Unexpected
If a Tire Goes Flat
Temporarily Repairing a Flat Tire
If the tire has a large cut or is otherwise severely damaged, you will need to have the
vehicle towed. If the tire only has a small puncture, from a nail for instance, you can
use the temporary tire repair kit so that you can drive to the nearest service station
for a more permanent repair.
If a tire goes flat while driving, grasp the steering wheel firmly, and brake gradually
to reduce speed. Then stop in a safe place.
1. Park the vehicle on a firm, level, and n on-slippery surface and apply the parking
brake.
2. Change the gear position to
(P.
3. Turn on the hazard warning lights an d set the power mode to VEHICLE OFF
(LOCK).
Vehicles with temporary tire repair kit
1 Temporarily Repairing a Flat Tire
The kit should not be used in the following situations.
Instead, contact a dealer or a roadside assistant to
have the vehicle towed.
•The tire sealant has expired.•More than one tire is punctured.•The puncture or cut is larger than 3/16 inch (4 mm).•The tire side wall is da maged or the puncture is
outside the contact area.
•Damage has been caused by driving with the tire
extremely under inflated.
•The tire bead is no longer seated.•The rim is damaged.
Do not remove a nail or screw that punctured the
tire. If you remove it from the tire, you may not be
able to repair the puncture using the kit.
NOTICE
Do not use a puncture-repairing agent other than the
one provided in the kit that came with your vehicle. If
a different agent is used, you may permanently
damage the tire pressure sensor.
When the puncture is:Kit Use
Smaller than 3/16 inch
(4 mm)Yes
Larger than 3/16 inch (4 mm)No
Contact
Area
16 ACURA RLX E-AWD-31TY36200.book 509 ページ 2015年3月11日 水曜日 午後1時30分
Page 522 of 577
521
uuIf a Tire Goes Flat uChanging a Flat Tire
Continued
Handling the Unexpected
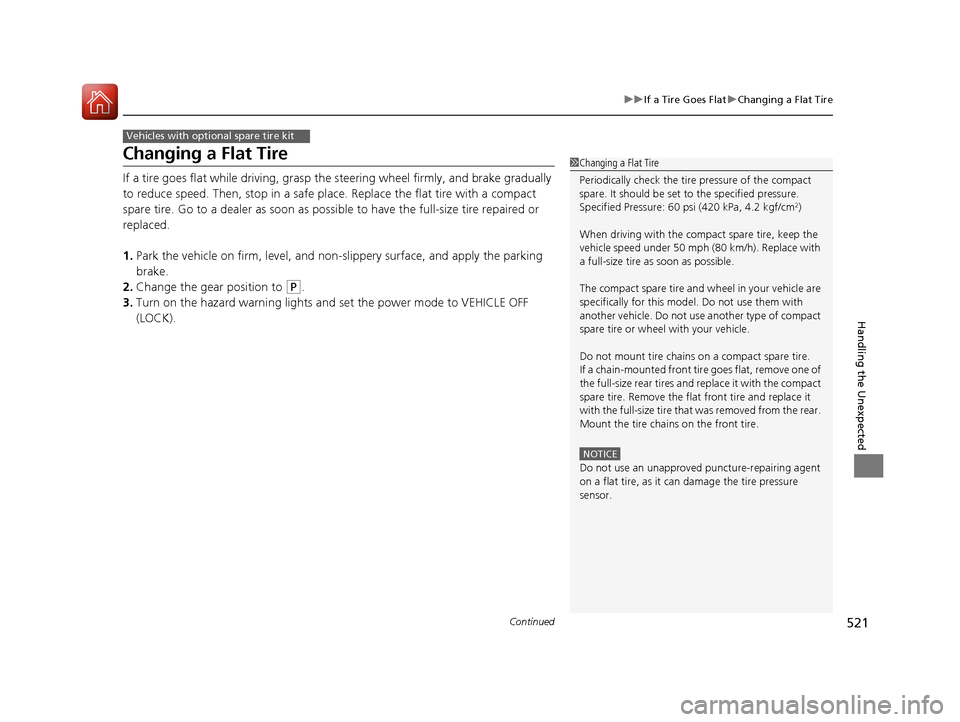
Changing a Flat Tire
If a tire goes flat while driving, grasp the steering wheel firmly, and brake gradually
to reduce speed. Then, stop in a safe plac e. Replace the flat tire with a compact
spare tire. Go to a dealer as soon as possib le to have the full-size tire repaired or
replaced.
1. Park the vehicle on firm, level, and non-slippery surface, and apply the parking
brake.
2. Change the gear position to
(P.
3. Turn on the hazard warning lights an d set the power mode to VEHICLE OFF
(LOCK).
Vehicles with optional spare tire kit
1 Changing a Flat Tire
Periodically check the tire pressure of the compact
spare. It should be set to the specified pressure.
Specified Pressure: 60 psi (420 kPa, 4.2 kgf/cm
2)
When driving with the compact spare tire, keep the
vehicle speed under 50 mph (80 km/h). Replace with
a full-size tire as soon as possible.
The compact spare tire and wheel in your vehicle are
specifically for this model. Do not use them with
another vehicle. Do not us e another type of compact
spare tire or wheel with your vehicle.
Do not mount tire chains on a compact spare tire.
If a chain-mounted front tire goes flat, remove one of
the full-size rear tires and replace it with the compact
spare tire. Remove the flat front tire and replace it
with the full-size tire that was removed from the rear.
Mount the tire chains on the front tire.
NOTICE
Do not use an unapproved puncture-repairing agent
on a flat tire, as it can damage the tire pressure
sensor.
16 ACURA RLX E-AWD-31TY36200.book 521 ページ 2015年3月11日 水曜日 午後1時30分
Page 525 of 577

uuIf a Tire Goes Flat uChanging a Flat Tire
524
Handling the Unexpected
1. Place the jack under the jacking point
closest to the tire to be changed.
2. Turn the end bracket cl ockwise as shown in
the image until the top of the jack contacts
the jacking point.
u Make sure that the jacking point tab is
resting in the jack notch.
3. Raise the vehicle, using the jack handle bar
and the jack handle, until the tire is off the
ground.
■How to Set Up the Jack1How to Set Up the Jack
Do not use the jack with people or luggage in the
vehicle.
Use the jack provided in your vehicle.
Other jacks may not support the weight (“load”) or
may not fit the jacking point.
The following instructions must be followed to use
the jack safely:
•Do not use while the power system is on.
•Use only where the ground is firm and level.
•Use only at the jacking points.•Do not get in the vehicle while using the jack.
•Do not put anything on top of or underneath the
jack.
3WARNING
The vehicle can easily roll off the jack,
seriously injuring anyone underneath.
Follow the directions for changing a tire
exactly, and never get under the vehicle
when it is supported only by the jack.
Jack
Handle
Bar Wheel Nut
Wrench as Jack Handle
16 ACURA RLX E-AWD-31TY36200.book 524 ページ 2015年3月11日 水曜日 午後1時30分
Page 530 of 577

529
uuPower System Won’t Start uEmergency Power System Off
Handling the Unexpected
Emergency Power System Off
The POWER button may be used to turn the power system off due to an emergency
situation even while driving. If you must tu rn the power system off, do either of the
following operations:
• Press and hold the POWER button for about two seconds.
• Firmly press the POWER button twice.
The steering wheel will not lock. However, because turning off the engine disables
the power assist the engine provides to the steering and braking systems, it will
require significantly more physical effort an d time to steer and slow the vehicle. Use
both feet on the brake pedal to slow down the vehicle and stop immediately in a
safe place.
The gear position auto matically changes to
(P after the vehicle comes to a complete
stop. Then, the power mode changes to VEHICLE OFF.
1 Emergency Power System Off
Do not press the button while driving unless it is
absolutely necessary for the power system to be
turned off.
16 ACURA RLX E-AWD-31TY36200.book 529 ページ 2015年3月11日 水曜日 午後1時30分
Page 554 of 577

553
uuSpecifications u
Information
■Brake Fluid
■ Dual Clutch Transmission Fluid
■ Twin Motor Unit Fluid
SpecifiedAcura Heavy Duty Brake Fluid DOT 3
SpecifiedAcura Automatic Transmission Fluid
ATF DW-1
Capacity Change 3.7 US qt (3.5 ℓ)
SpecifiedAcura Automatic Transmission Fluid
ATF DW-1
Capacity Change 2.56 US qt (2.42 ℓ)
■ Engine Oil
■ Engine Coolant
■ Inverter Coolant
Recommended·Genuine Acura Motor Oil 0W-20
·API Premium-grade 0W-20 detergent oil
Capacity Change 4.2 US qt (4.0 ℓ)
Change
including
filter
4.5 US qt (4.3 ℓ)
SpecifiedAcura Long Life Antifreeze/Coolant Type2
Ratio 50/50 with distilled water
Capacity2.1 US gal (7.9 ℓ)
(change including the remaining
0.225 US gal (0.85 ℓ) in the reserve tank)
SpecifiedAcura Long Life Antifreeze/Coolant Type2
Ratio 50/50 with distilled water
Capacity0.32 US gal (1.23 ℓ)
(change including the remaining
0.03 US gal (0.11 ℓ) in the reserve tank)
■ Tire
*1: Vehicles with optional spare tire kit
RegularSize245/40R19 98WPressure
psi (kPa [kgf/cm2])36 (250 [2.5])
Compact
Spare*1
SizeT155/70D17 110M
Pressure
psi (kPa [kgf/cm
2]) 60 (420 [4.2])
Wheel SizeRegular19 x 8JCompact Spare*117 x 4T
16 ACURA RLX E-AWD-31TY36200.book 553 ページ 2015年3月11日 水曜日 午後1時30分