2015 YAMAHA XT1200Z change wheel
[x] Cancel search: change wheelPage 2 of 118

EAU50921
Read this manual carefully before operatin g this vehicle. This manual shoul d stay with this vehicle if it is sol d.
General manager of quality assurance div.
Date of issue: 1 Aug. 2002 Place of issue: Shizuoka, Japan
DECLARATION of CONFORMITY
YAMAHA MOTOR ELECTRONICS CO., LTD.1450-6, Mori, Mori-machi, Shuchi-gun, Shizuoka-ken, 437-0292 Japan
Company: YAMAHA MOTOR ELECTRONICS CO., LTD. We
Address: 1450-6, Mori, Mori-Machi, Shuchi-gun, Shizuoka-Ken, 437-0292 Japan
Kind of equipment: IMMOBILIZER Hereby declare that the product:
Type-designation: 5SL-00
is in compliance with following norm(s) or documents:
R&TTE Directive(1999/5/EC)
EN300 330-2 v1.3.1(2006-01), EN300 330-2 v1.5.1(2010-02)
EN60950-1:2006/A11:2009
Two or Three-Wheel Motor Vehicles Directive(97/24/EC: Chapter 8, EMC)
1
2
3
4 Version up the norm of EN60950 to EN60950-1
To change company name
version up of the following norm:
• EN300 330-2 v1.1.1 to EN300 330-2 v1.3.1 and EN300 330-2 v1.5.1
27 Feb. 2006
1 Mar. 2007
8 Jul. 2010
Revision record
No. Contents
To change contact person and integrate type-designation. Date
9 Jun. 2005
U2BSE1E0.book Page 1 Thursday, July 31, 2014 4:31 PM
Page 43 of 118

INSTRUMENT AND CONTROL FUNCTIONS
3-28
3
pin
g. As with any motorcycle, ap-
proach surfaces that may be
slippery with caution an d avoi d es-
pecially slippery surfaces.
There are three traction control system
modes: “TCS 1”: Default mode
“TCS 2”: Sporty mode
This mode decreases traction
control system assist, allowing the
rear wheel to spin more freely than
“TCS 1”.
“TCS OFF”: The traction control
system is turned off. The system
may also be automatically dis-
abled in some riding conditions
(see “Resetting” on page 3-28).
When the key is turned to “ON”, the
traction control system is enabled and
“TCS 1” is displayed in the multi-func-
tion meter.
The traction control system mode can
be changed only when the key is in the
“ON” position and the vehicle is not
moving.
TIPUse the mode “TCS OFF” to help free
the rear wheel if the motorcycle gets
stuck in mud, sand, or other soft sur-
faces.NOTICE
ECA16801
Use only the specifie d tires. (See
pa ge 6-18.) Usin g different sized
tires will prevent the traction control
system from controllin g tire rotation
accurately.Settin g the traction control system
WARNING
EWA15441
Be sure to stop the vehicle before
makin g any settin g chan ges to the
traction control system. Chan gin g
settin gs while ri din g can distract the
operator an d increase the risk of an
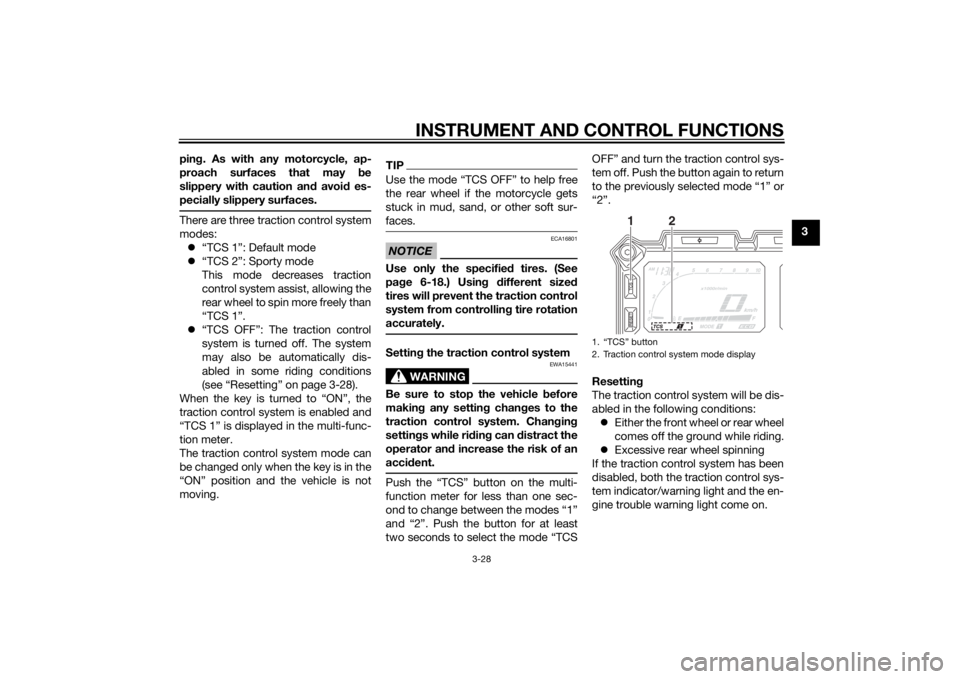
acci dent.Push the “TCS” button on the multi-
function meter for less than one sec-
ond to change between the modes “1”
and “2”. Push the button for at least
two seconds to select the mode “TCS OFF” and turn the traction control sys-
tem off. Push the button again to return
to the previously selected mode “1” or
“2”.
Resettin
g
The traction control system will be dis-
abled in the following conditions: Either the front wheel or rear wheel
comes off the ground while riding.
Excessive rear wheel spinning
If the traction control system has been
disabled, both the traction control sys-
tem indicator/warning light and the en-
gine trouble warning light come on.
1. “TCS” button
2. Traction control system mode display
1
2
U2BSE1E0.book Page 28 Thursday, July 31, 2014 4:31 PM
Page 78 of 118

PERIODIC MAINTENANCE AND ADJUSTMENT
6-14
6a
ddition, do not use oils la beled
“ENERGY CONSERVING II” or
hi gher.
Make sure that no forei gn mate-
rial enters the crankcase.
14. Start the engine, and then let it idle for several minutes while checking
it for oil leakage. If oil is leaking,
immediately turn the engine off
and check for the cause.TIPAfter the engine is started, the engine
oil level warning light should go off if
the oil level is sufficient.NOTICE
ECA10402
If the oil level warnin g lig ht flickers
or remains on even if the oil level is
correct, imme diately turn the en gine
off an d have a Yamaha d ealer check
the vehicle.15. Turn the engine off, wait a few minutes until the oil settles, and
then check the oil level and cor-
rect it if necessary.
EAU20028
Final g ear oilThe final gear case must be checked
for oil leakage before each ride. If any
leakage is found, have a Yamaha deal-
er check and repair the vehicle. In ad-
dition, the final gear oil level must be
checked and the oil changed as fol-
lows at the intervals specified in the
periodic maintenance and lubrication
chart.
WARNING
EWA10371
Make sure that no forei gn mate-
rial enters the final g ear case.
Make sure that no oil gets on
the tire or wheel.To check the final gear oil level
1. Place the vehicle on a level sur- face and hold it in an upright posi-
tion.TIPMake sure that the vehicle is posi-
tioned straight up when checking the
oil level. A slight tilt to the side can re-
sult in a false reading.
2. Remove the final gear oil filler boltand its gasket, and then check the
oil level in the final gear case.TIPThe oil level should be at the brim of
the filler hole.3. If the oil is below the brim of thefiller hole, add sufficient oil of the
recommended type to raise it to
the correct level.
4. Check the gasket for damage, and replace it if necessary.
5. Install the final gear oil filler bolt and its gasket, and then tighten
the bolt to the specified torque.1. Final gear oil filler bolt
2. Gasket
3. Correct oil level
1
2
3
U2BSE1E0.book Page 14 Thursday, July 31, 2014 4:31 PM
Page 84 of 118

PERIODIC MAINTENANCE AND ADJUSTMENT
6-20
6characteristics of the motorcy-
cle may
be different, which
coul d lea d to an acci dent.
Always make sure that the valve
caps are securely installe d to
prevent air pressure leaka ge.
Use only the tire valves an d
valve cores listed below to
avoi d tire d eflation durin g a ri de.
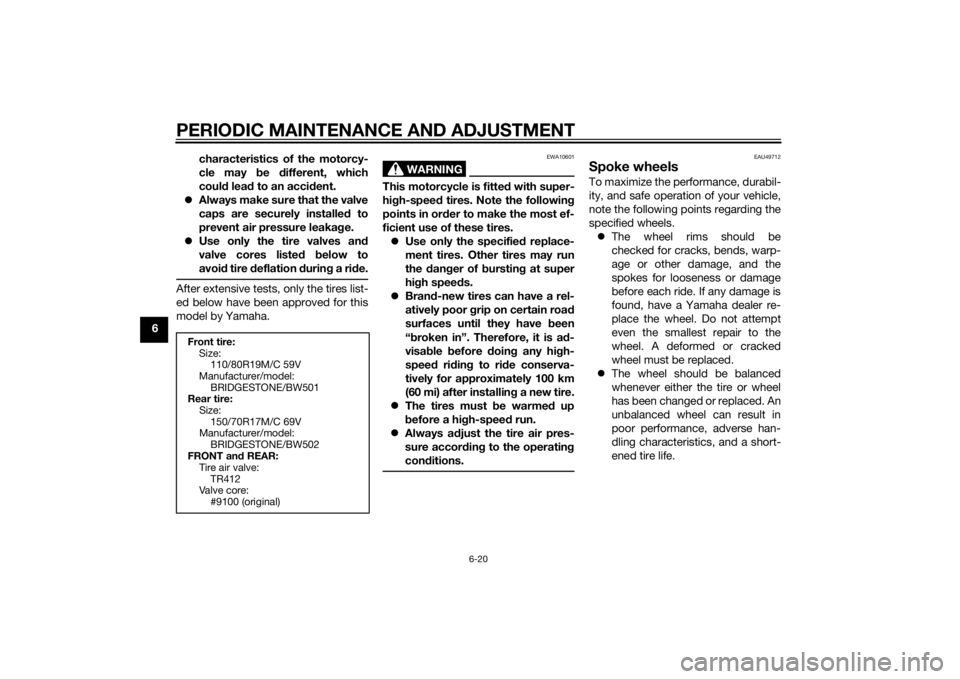
After extensive tests, only the tires list-
ed below have been approved for this
model by Yamaha.
WARNING
EWA10601
This motorcycle is fitte d with super-
hi gh-spee d tires. Note the followin g
points in or der to make the most ef-
ficient use of these tires. Use only the specified replace-
ment tires. Other tires may run
the dan ger of burstin g at super
hi gh spee ds.
Bran d-new tires can have a rel-
atively poor g rip on certain roa d
surfaces until they have been
“ b roken in”. Therefore, it is a d-
visa ble before doin g any hi gh-
speed ridin g to ri de conserva-
tively for approximately 100 km
(60 mi) after installin g a new tire.
The tires must be warme d up
b efore a hi gh-spee d run.
Always a djust the tire air pres-
sure accor din g to the operating
con ditions.
EAU49712
Spoke wheelsTo maximize the performance, durabil-
ity, and safe operation of your vehicle,
note the following points regarding the
specified wheels.
The wheel rims should be
checked for cracks, bends, warp-
age or other damage, and the
spokes for looseness or damage
before each ride. If any damage is
found, have a Yamaha dealer re-
place the wheel. Do not attempt
even the smallest repair to the
wheel. A deformed or cracked
wheel must be replaced.
The wheel should be balanced
whenever either the tire or wheel
has been changed or replaced. An
unbalanced wheel can result in
poor performance, adverse han-
dling characteristics, and a short-
ened tire life.
Front tire:
Size:110/80R19M/C 59V
Manufacturer/model: BRIDGESTONE/BW501
Rear tire:
Size:150/70R17M/C 69V
Manufacturer/model:
BRIDGESTONE/BW502
FRONT an d REAR:
Tire air valve:
TR412
Valve core: #9100 (original)
U2BSE1E0.book Page 20 Thursday, July 31, 2014 4:31 PM